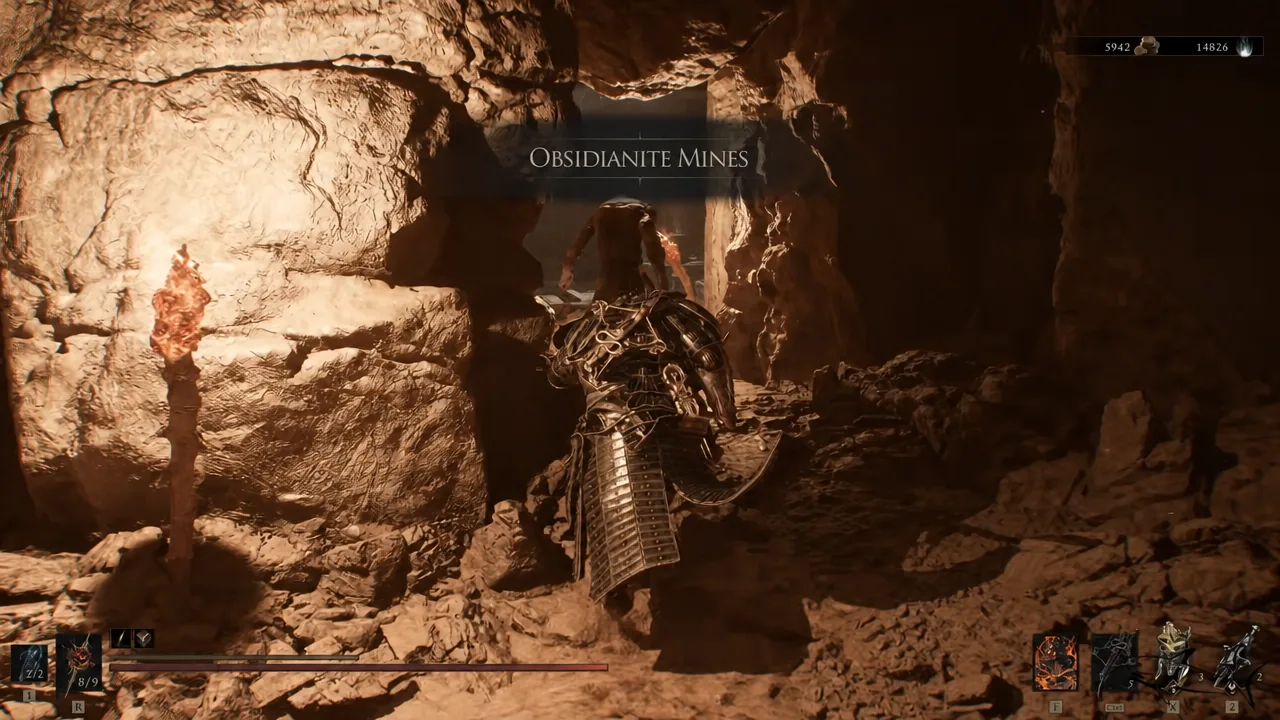
The Obsidian Hammer is one of the heaviest main weapons in Mortal Shell 2, and it is not sitting in a chest waiting to be looted. It is carried by a mini-boss at the very bottom of the Obsidianite Mines, a dungeon buried under the Deserted Slums in the Mammon region. The route there is long but it can be done early, and the fight at the end is short if you know what you are walking into.
Quick answer: Travel to the Outskirts of Mammon beacon, work southwest to the Deserted Slums, take the wooden elevator down into the Obsidianite Mines, drop to the lowest level, and kill Prophet of Profane Infinities. The Obsidian Hammer is his drop.
Obsidian Hammer location in Mortal Shell 2
The weapon sits in the southwestern corner of the map, inside the Obsidianite Mines dungeon at the bottom of the central circular pit in the Deserted Slums. Nothing gates the dungeon itself, so the hammer is available surprisingly early in a run. The only real prerequisite is access to the Mammon region, which means clearing the corruption blocking the southern jump pad at Marrow Keep.
Enemies in Mammon hit hard and carry large health pools, so an underlevelled character will struggle with the trip more than with the boss. There is no beacon inside the mines, which means a death partway down sends you back to the surface to run the whole route again.
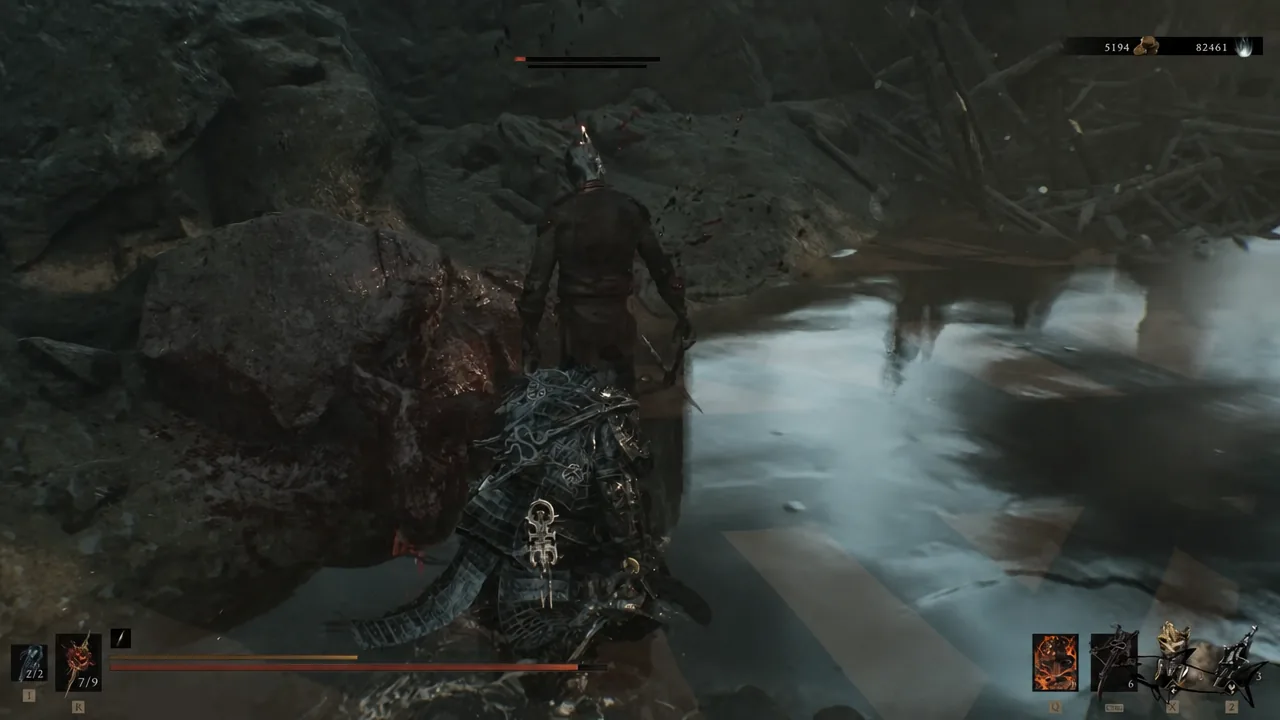
Route from the Outskirts of Mammon beacon to the mine entrance
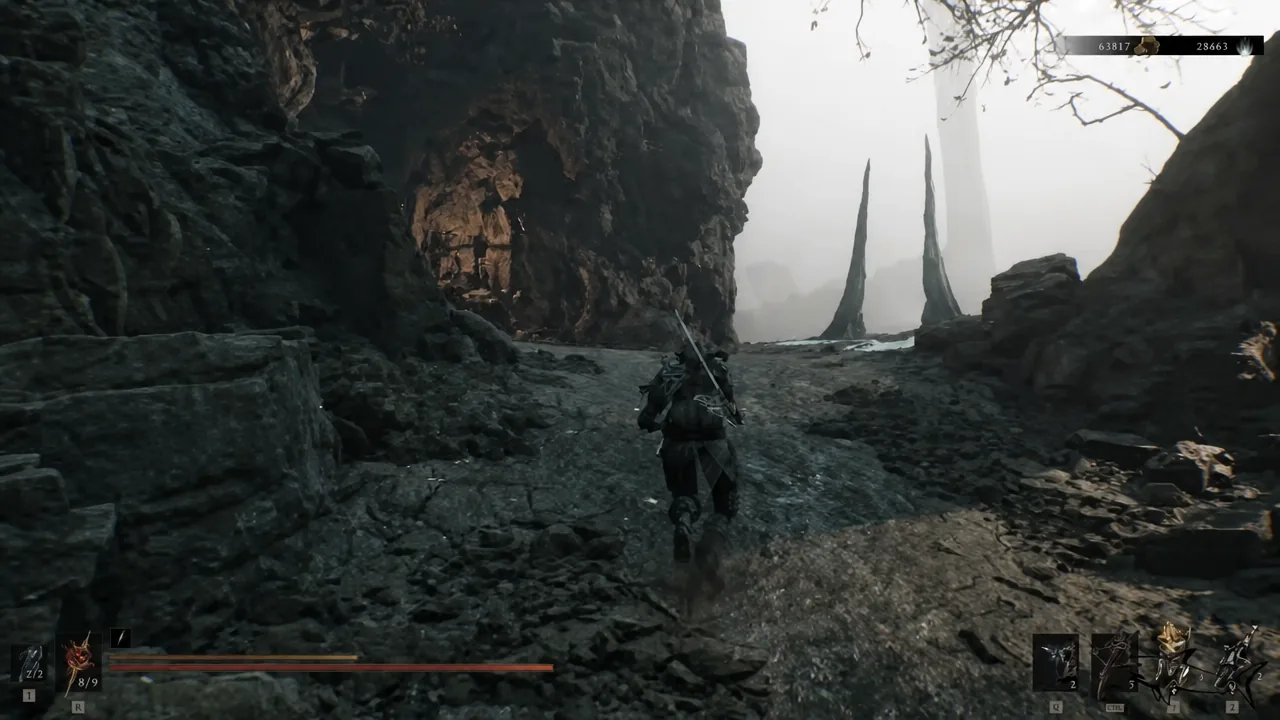
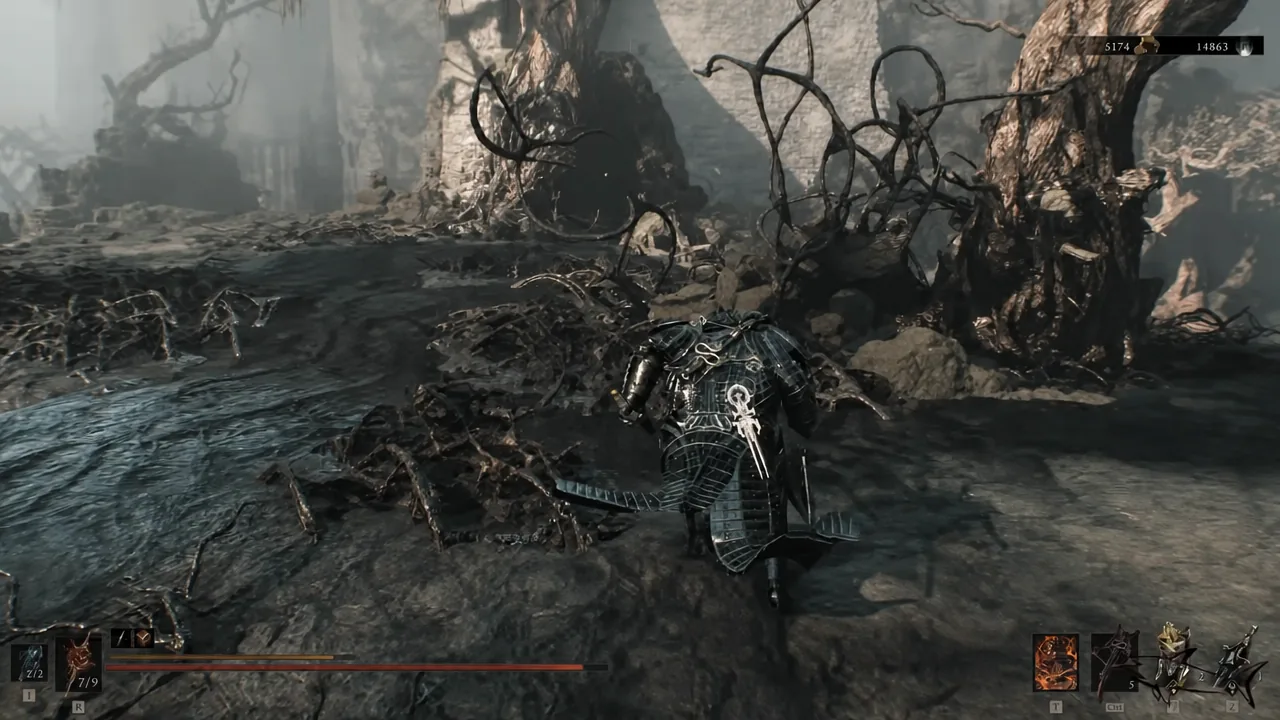
Tip: cleanse the Deserted Slums beacon before you drop in. It becomes your respawn point if the dungeon goes badly, and it saves you the entire overland run on a second attempt.
Beacon order if you are travelling on foot
If you have not unlocked the Deserted Slums beacon yet and want to light every checkpoint along the way, the chain runs in a straight sequence south and west from the starting point. Each one is worth cleansing on the way through.
| Order | Beacon | What connects it |
|---|---|---|
| 1 | Outskirts of Mammon | Starting point for the run |
| 2 | Abandoned Outpost | Downhill path toward a teleportation gate |
| 3 | High Lords Terrace | Cliffside paths with roaming enemies |
| 4 | High Lord’s Courtyard | Ruins and a bridge into High Lords Keep |
| 5 | Gate of Mammon | Cliff edges and wooden bridges |
| 6 | Lonesome Spire | Stone archways and swamp ground |
| 7 | Deserted Slums | Scaffolding down to the mine elevator |
Getting through the Obsidianite Mines
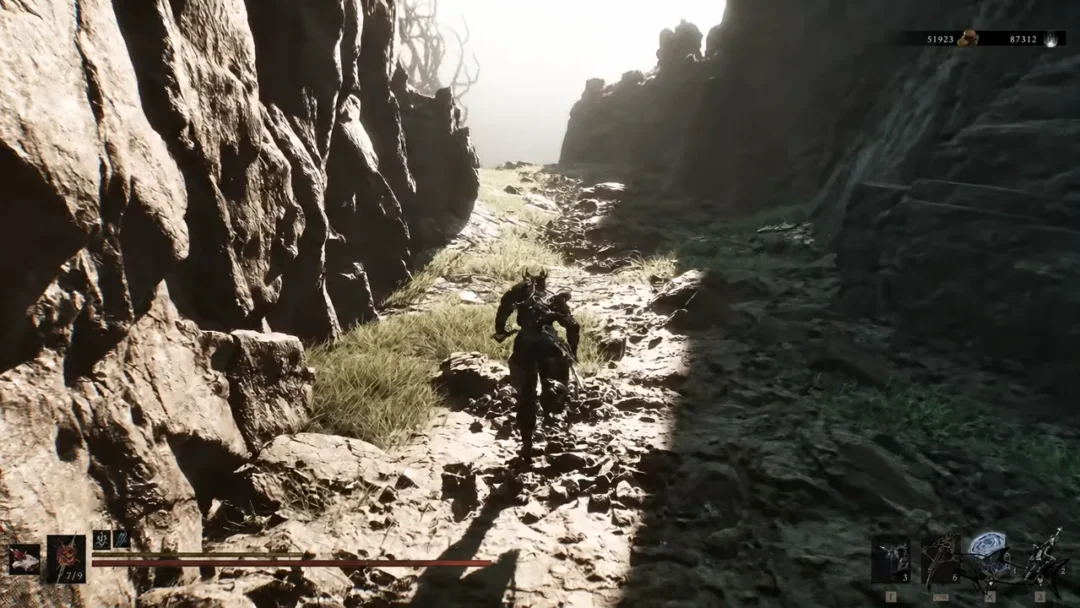
The dungeon is mostly a controlled fall. Its layout is confusing on a first visit because progress depends on dropping to lower ledges rather than following corridors, and the candle-lit shafts make it hard to judge distance.
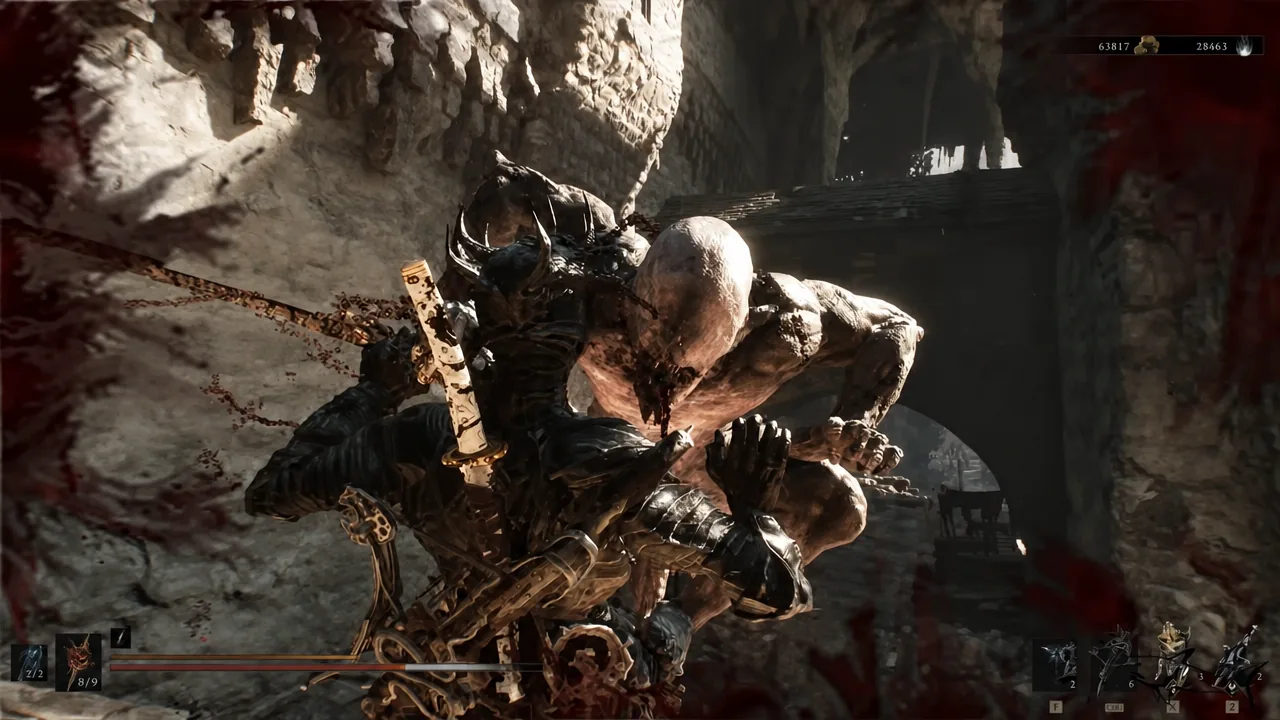
Note: you can cancel fall damage by pressing the light attack button while falling from height. It works on most of the long drops in the mines and removes the need to hunt for a shorter route down.
Beating Prophet of Profane Infinities
The mini-boss is a larger, tougher version of the armored Hierarchs that carry hammers elsewhere in Mammon. His moveset is limited to wide hammer swings with long wind-ups, so the fight is about patience rather than pattern recognition. Dodging or parrying both work comfortably against his slow attacks, and a shell built around dodge counters can punish almost every swing.
The danger is his damage output, not his complexity. A single connected hit can end an underlevelled run, and dying here means repeating the descent from the surface.
How to confirm you have the Obsidian Hammer
A “NEW WEAPON ACQUIRED” banner appears the moment the boss dies, and the Obsidian Hammer lands in your inventory with its stats and description attached. On PlayStation, the “Stop – Hammer Time” trophy pops at the same time. The weapon reads:
A brutalist chunk of obsidianite, profaned by bloodshed beyond the Seat of Infinity.
If you return to the arena later, the pickup prompt will read “Weapon Already Equipped” once it is in your loadout.
Buying the map from Merrick to skip the search
Merrick, the merchant in Marrow Keep, sells a cloth map fragment called Location: Obsidian Hammer. Buying it marks the weapon’s spot directly on your map, which removes the guesswork if you would rather not track the route by landmarks. It does not shorten the trip or open the dungeon early, so treat it as a navigation aid rather than a shortcut.
Obsidian Hammer upgrade materials and abilities
The hammer’s unique weapon ability is Heavy Stomps, and its dedicated ability tarstone is the Colossus Stone, which spends 80 Resolve to drive the weapon into the ground and send shockwaves through nearby enemies. Clerik’s Stone is a solid combat pick, while Torpor Stone and Wretchcaller’s Stone cover infusions. Upgrades run through the Tarforge and follow a three-tier material path.
| Level | Materials | Damage |
|---|---|---|
| +1 | Ventrium x2, 100 Coin | 105% |
| +2 | Ventrium x2, 100 Coin | 110% |
| +3 | Ventrium x4, 300 Coin | 115% |
| +4 | Ventrium x9, 500 Coin | 120% |
| +5 | Ventrium x13, 1,000 Coin | 125% |
| +6 | Ventrium x18, 1,250 Coin | 130% |
| +7 | Laterite x2, 2,750 Coin | 135% |
| +8 | Laterite x4, 2,750 Coin | 140% |
| +9 | Laterite x9, 3,500 Coin | 145% |
| +10 | Laterite x13, 4,250 Coin | 150% |
| +11 | Laterite x18, 5,000 Coin | 155% |
| +12 | Dorsalite x2, 5,750 Coin | 160% |
| +13 | Dorsalite x4, 6,500 Coin | 165% |
| +14 | Dorsalite x9, 7,250 Coin | 170% |
| +15 | Dorsalite x13, 8,000 Coin | 175% |
| +16 | Dorsalite x18, 8,750 Coin | 180% |
The hammer swings slowly, closer in pace to the Great Martyr’s Blade than to quicker options like the Axe and Dagger, but it staggers well and its moveset covers more ground than the size suggests. It also received a full balance pass in the Week 1 Update and now hits noticeably harder than it did at launch, which makes the trip down the mines worth taking earlier rather than later.