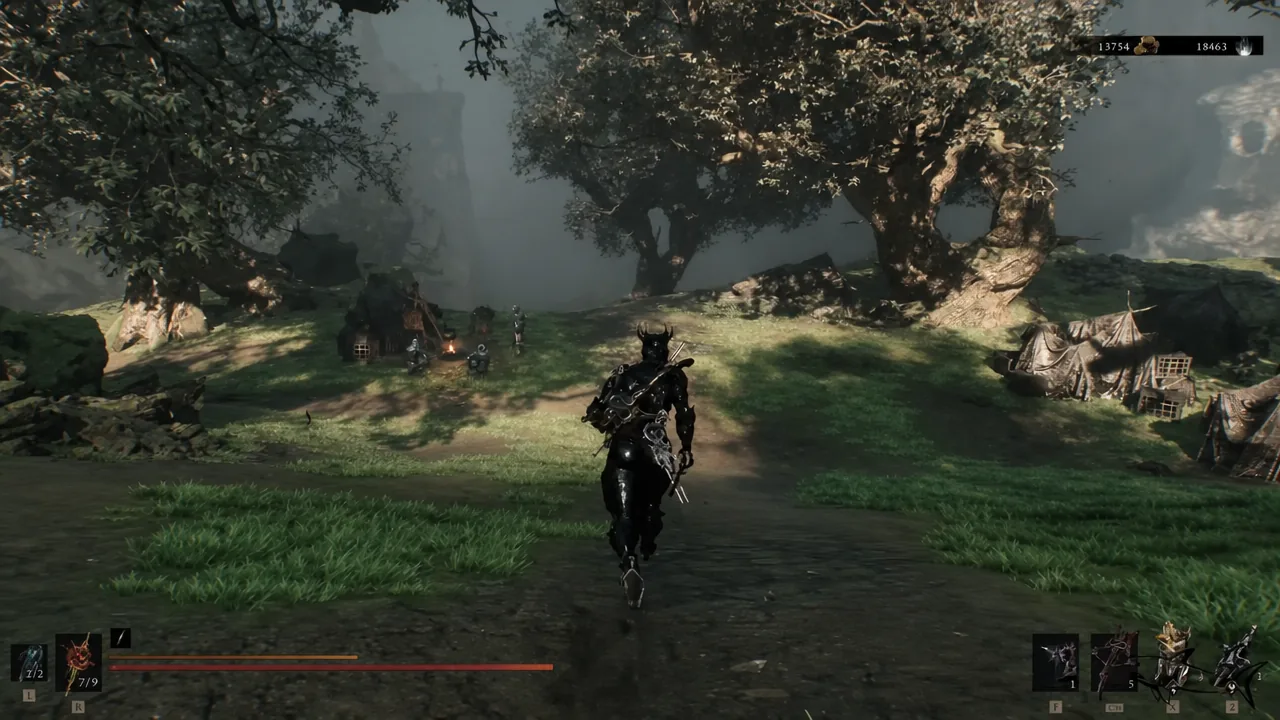
The Obsidianite Mines sit at the bottom of the mining pit in the Deserted Slums, deep in the Ruins of Mammon region of Mortal Shell 2. It is a short vertical dungeon built almost entirely around controlled falls, and the reward at the end is the Obsidian Hammer, one of the game’s heavy blunt weapons.
Quick answer: Fast travel to the Outskirts of Mammon beacon, head west and down through the siege camp and rope bridges into the Deserted Slums quarry, then take the mine entrance in the central pit. Ride the elevator down, drop through the collapsing wooden floor, keep descending to the chasm floor, and take the jump pad up to kill the Prophet of Profane Infinities for the Obsidian Hammer.
What you need before entering the Obsidianite Mines
Access to this stretch of Mammon depends on one thing. The corruption blocking the southern jump pad at Marrow Keep has to be cleansed first, which means you need Mether’s Breath from clearing one of the main gates. Once that pad works, the Outskirts of Mammon beacon becomes your staging point and the mine is a short run away.
There is no level gate on the dungeon itself, but every enemy in Mammon hits hard and carries a lot of health. The boss is slow and readable, so a mid-teens character with a well-upgraded weapon can clear it. Going in badly underlevelled just means repeating the whole descent after every death, since there is no beacon inside.
Tip: Merrick in Marrow Keep sells the Obsidian Hammer’s map for 1,300 Coins. Buying it marks the location on your own map if you would rather not track the route by landmarks.
Route from the Outskirts of Mammon beacon to the mine entrance
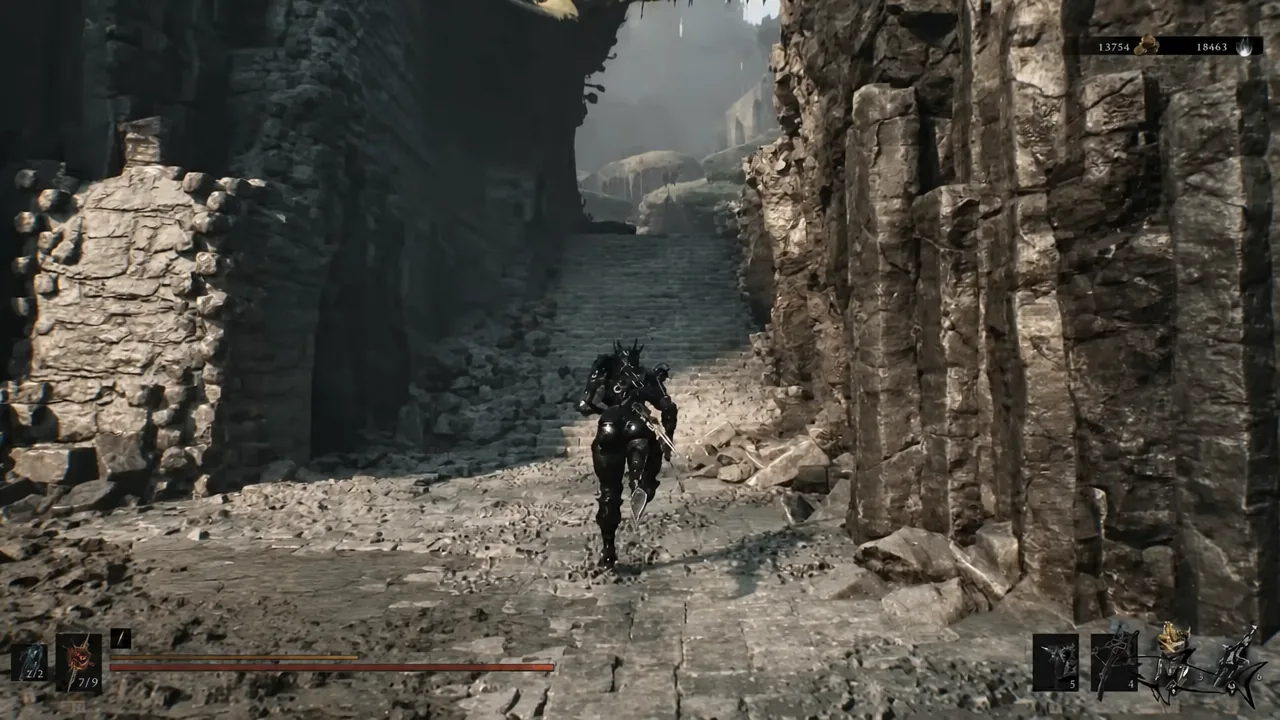
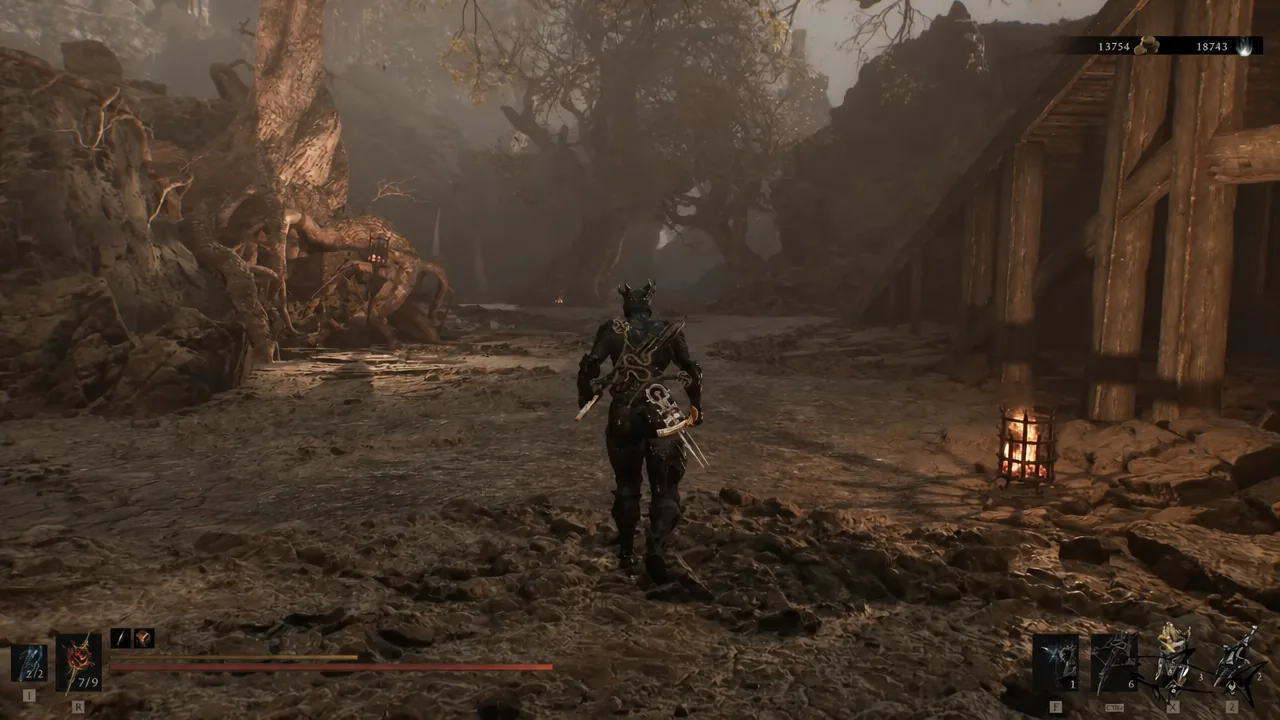
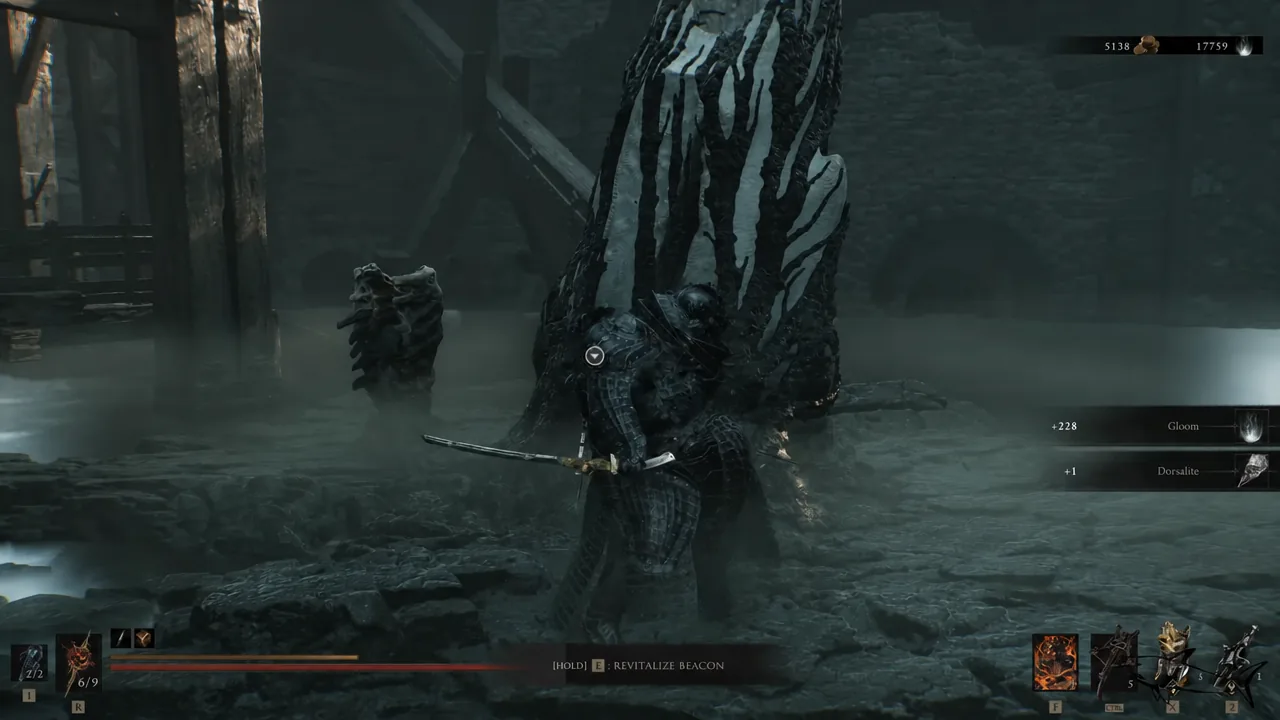
Obsidianite Mines dungeon walkthrough
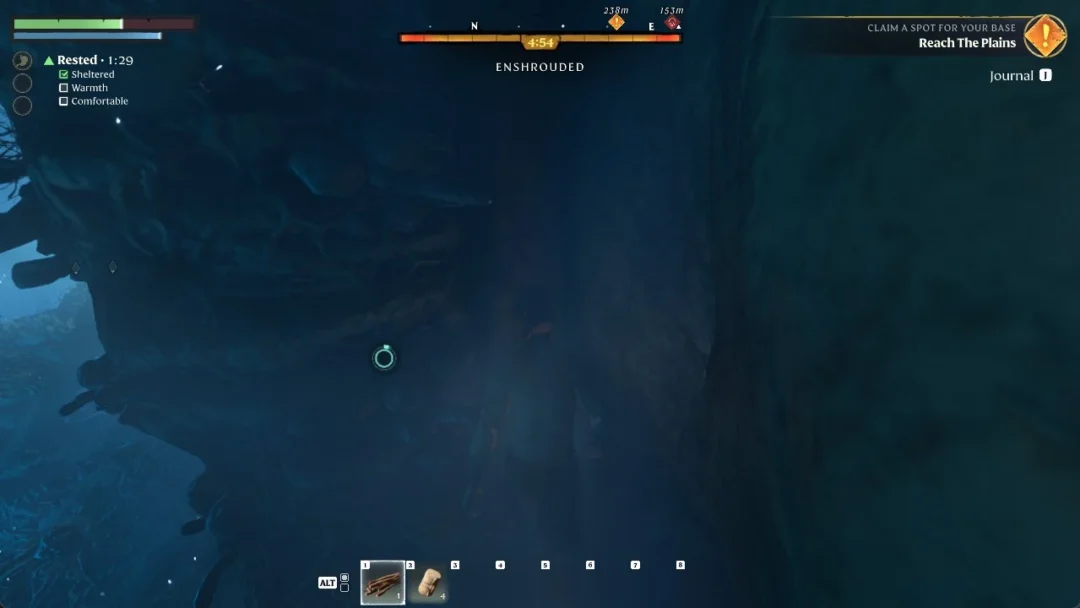
The layout has no branching corridors. Every problem here is about height, and the only real risk outside combat is taking chip damage from falls that were meant to be broken up into shorter hops. Pressing the light attack button mid-fall cancels fall damage, which is worth remembering on the longer drops.
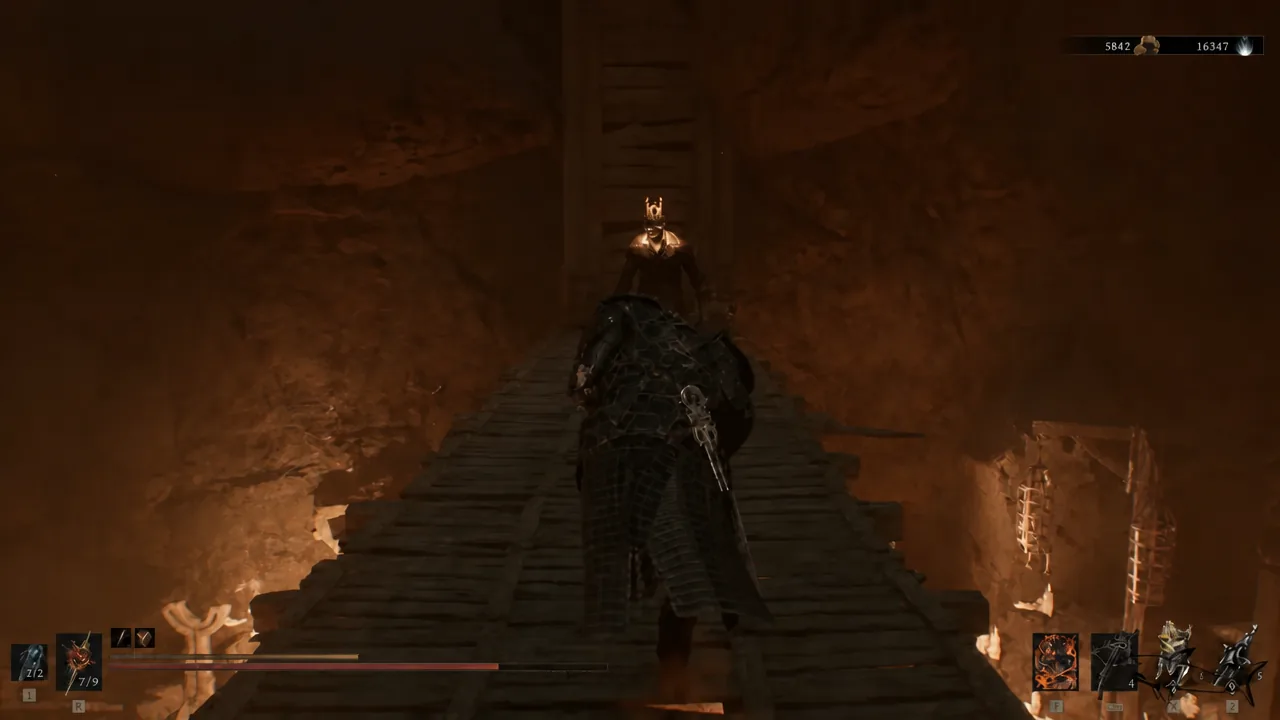
Prophet of Profane Infinities boss fight
The Prophet is an oversized version of the hammer-wielding enemies you have already fought across Mammon. Its moveset is slow and telegraphed, but the swings cover a wide arc and it can apply Stasis, which locks you in place long enough for a follow-up to land.
Stay outside the arc of the hammer, let a swing finish, then step in for one or two hits and back out. Overcommitting is the main way this fight goes wrong, and because there is no beacon inside the mine, dying means running the entire descent again. Patience costs you a couple of minutes; greed costs you the whole trip.
Obsidianite Mines rewards and full item list
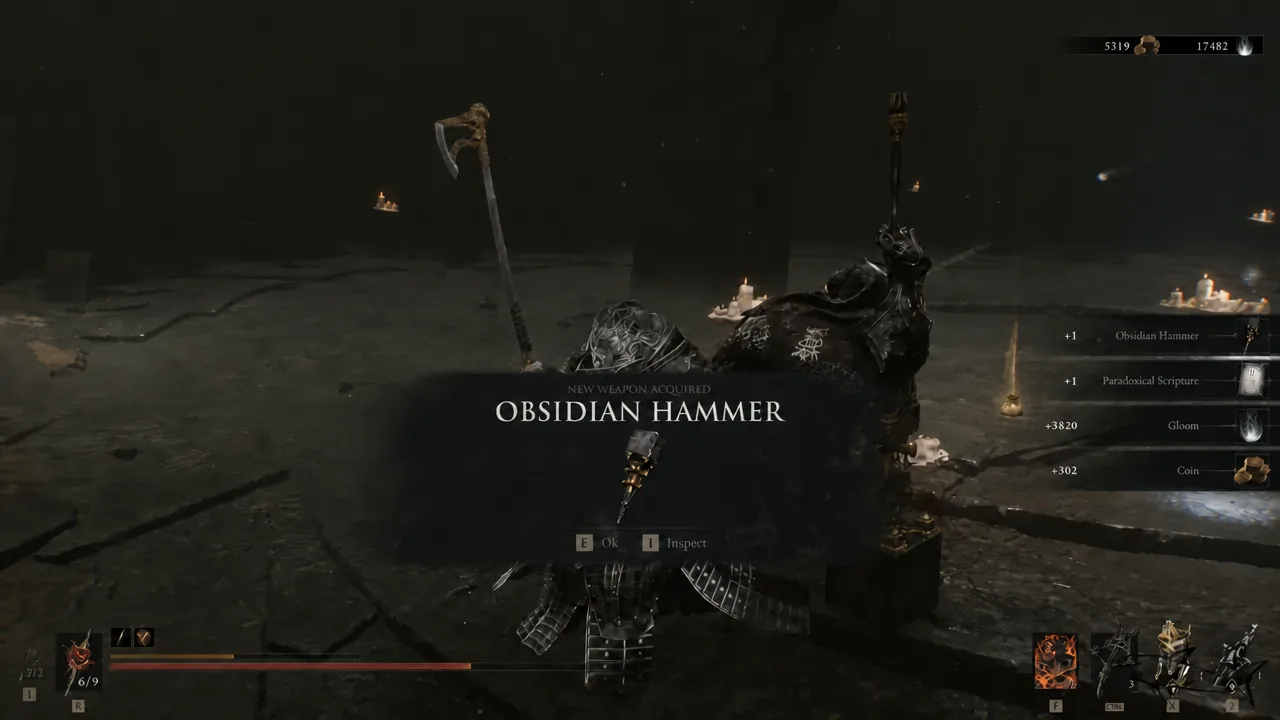
Killing the Prophet drops both the weapon and a lore item, and a confirmation prompt appears on screen naming the Obsidian Hammer. That prompt is how you know the dungeon’s main objective is done. The hammer then sits in your inventory and has to be equipped manually before you can use it.
| Item | Where it is |
|---|---|
| Obsidian Hammer | Dropped by the Prophet of Profane Infinities |
| Paradoxical Scripture | Dropped by the Prophet of Profane Infinities |
| Ventrium x2 | One across the plank floor, one on the candle-lit level below |
| Dorsalite | In the growth at the bottom of the void chamber |
The Obsidian Hammer is Proxima’s signature melee weapon, described in-game as a brutalist chunk of obsidianite. It swings slowly, much like the Great Martyr’s Blade, but it deals heavy damage and staggers enemies reliably. Its weapon ability is Heavy Stomps, and it upgrades with Ventrium through the early levels before switching to Laterite and then Dorsalite at higher ranks.
How to leave the Obsidianite Mines
You do not have to climb back out. A translucent orb sits in the boss arena, and interacting with it warps you to the dungeon entrance where you can walk out past the elevator. If you would rather retrace your steps, the elevator at the top still works normally.
Before you head off, sweep the arena and the lower chasm for anything you skipped on the way down. The Ventrium and Dorsalite here feed straight into upgrading the hammer you just picked up, and once you leave with the boss dead, there is no reason to make the descent a second time.