Chapter 3 of Halloween: The Game, titled Returning Home, hides two of the 14 cassette recordings in Michael’s Story. Both sit inside optional houses in the neighborhood around the Myers residence, and both can be walked past without ever seeing a prompt. Neither is tied to a mission objective, so the chapter can be finished with a clean score and still leave the collection incomplete.
Quick answer: Grab Loomis Log #5 from the bedroom desk beside the typewriter in the house across the street from Michael’s home, then grab Loomis Log #1 from the wooden cabinet in the hallway of the house beside Marcus’s. Do both before the escape objective ends the level.
Both Chapter 3 recordings and where they sit
The tape numbers do not match the order you find them. Log #5 registers as the seventh collectible in the counter, and Log #1 registers as the eighth.
| Recording | Building | Exact spot |
|---|---|---|
| Loomis Log #5 (7/14) | House across the street from the Myers home, to the southeast, with a yellow van parked outside | Bedroom desk, next to a lamp and a typewriter |
| Loomis Log #1 (8/14) | Optional house next to Marcus’s home, on the same street | Wooden cabinet in the hallway toward the back of the house, near the laundry room |
When to search during Returning Home
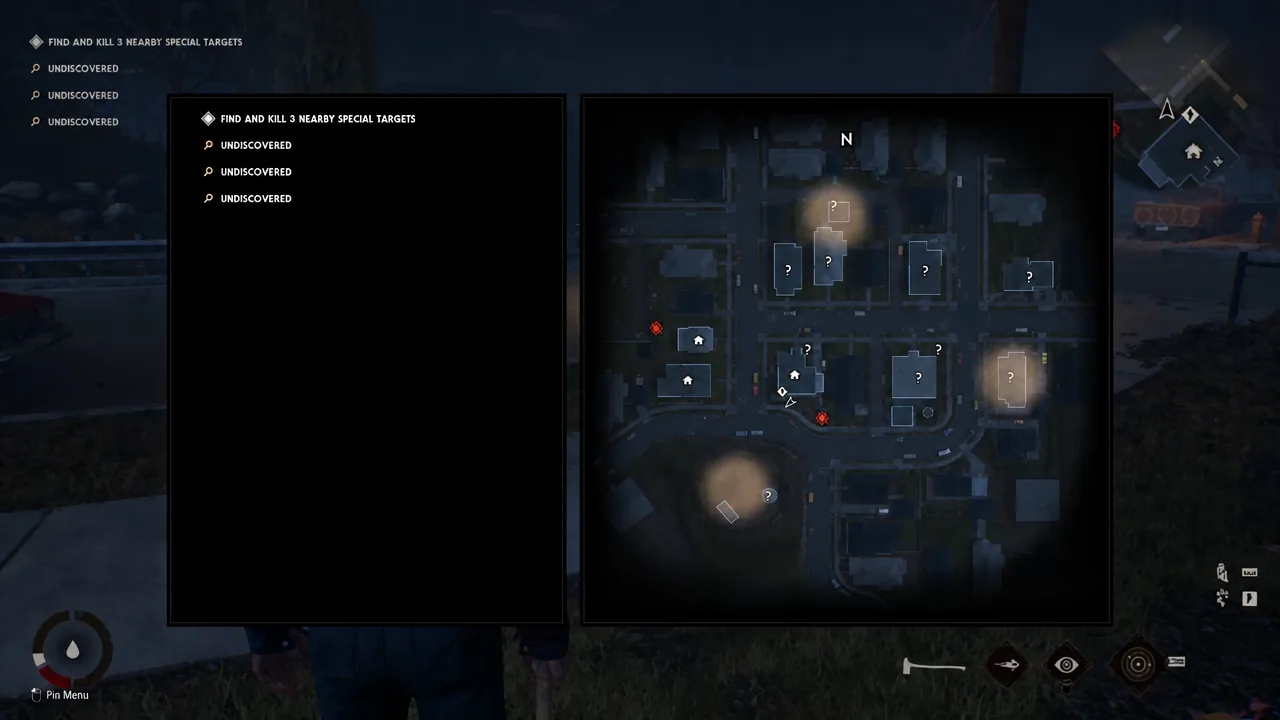
The neighborhood only opens up after the flashback and the backyard kill. Once the intruder is dead and hidden in the shed, the objective changes to hunting three nearby special targets, and the minimap becomes your main tool. Nine buildings on the map can be entered, and the two tapes are inside two of the optional ones.
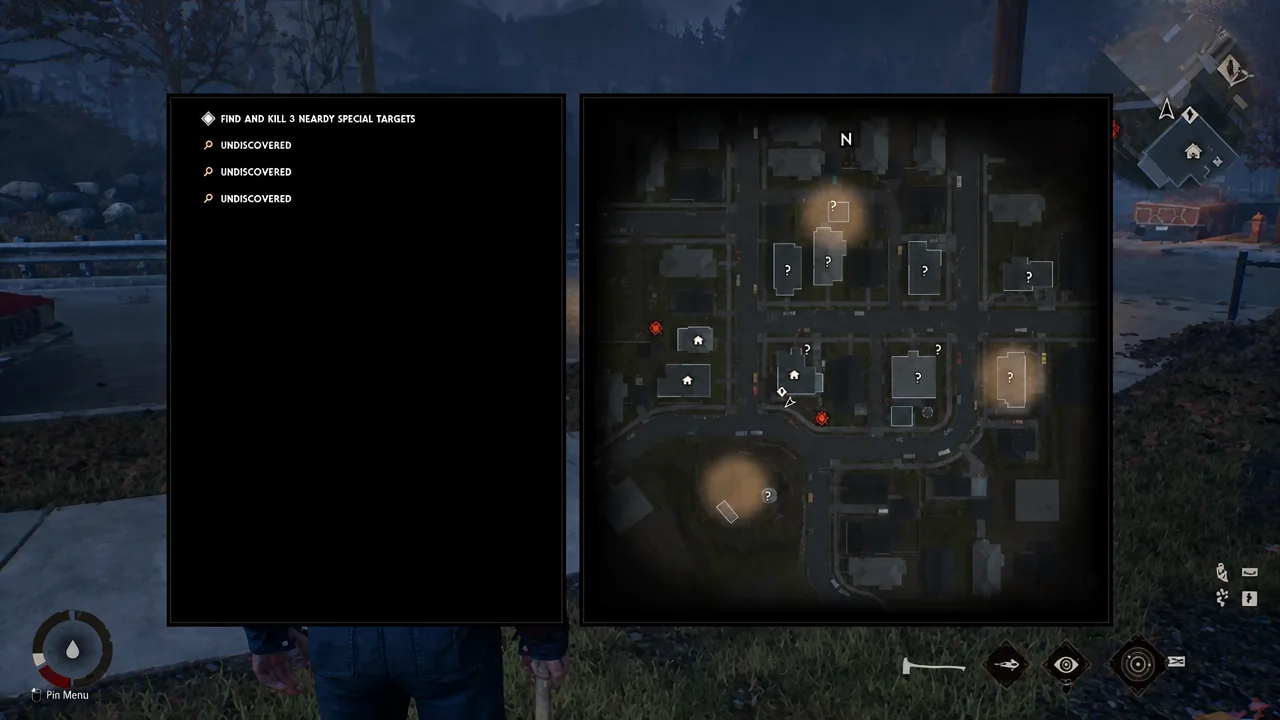
Both houses have residents inside. Clear them first, otherwise you will be interrupted mid-search and risk detection. There is no timer pushing you out of the neighborhood until you reach the final escape objective, so the safest approach is to collect both tapes before killing your last special target.
Loomis Log #5 location (bedroom desk with the typewriter)
E Flip Switch prompt to cut the lights. Killing the power makes the interior far easier to move through without being spotted.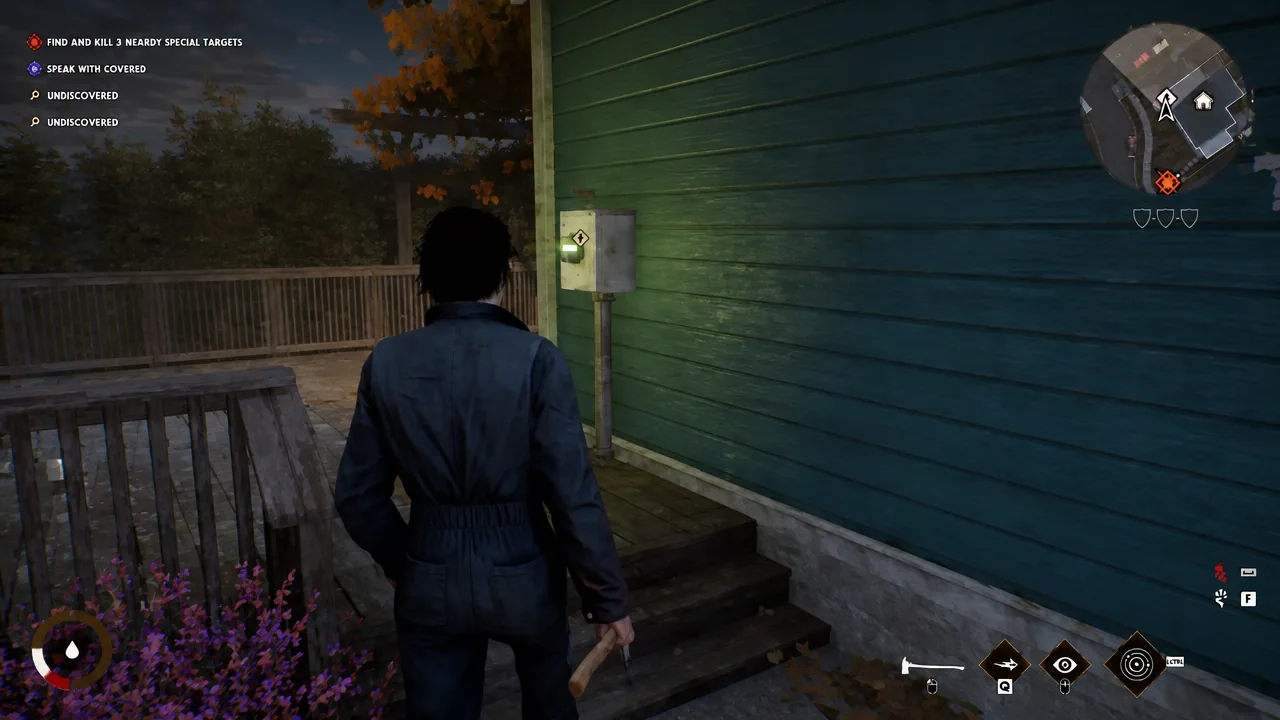
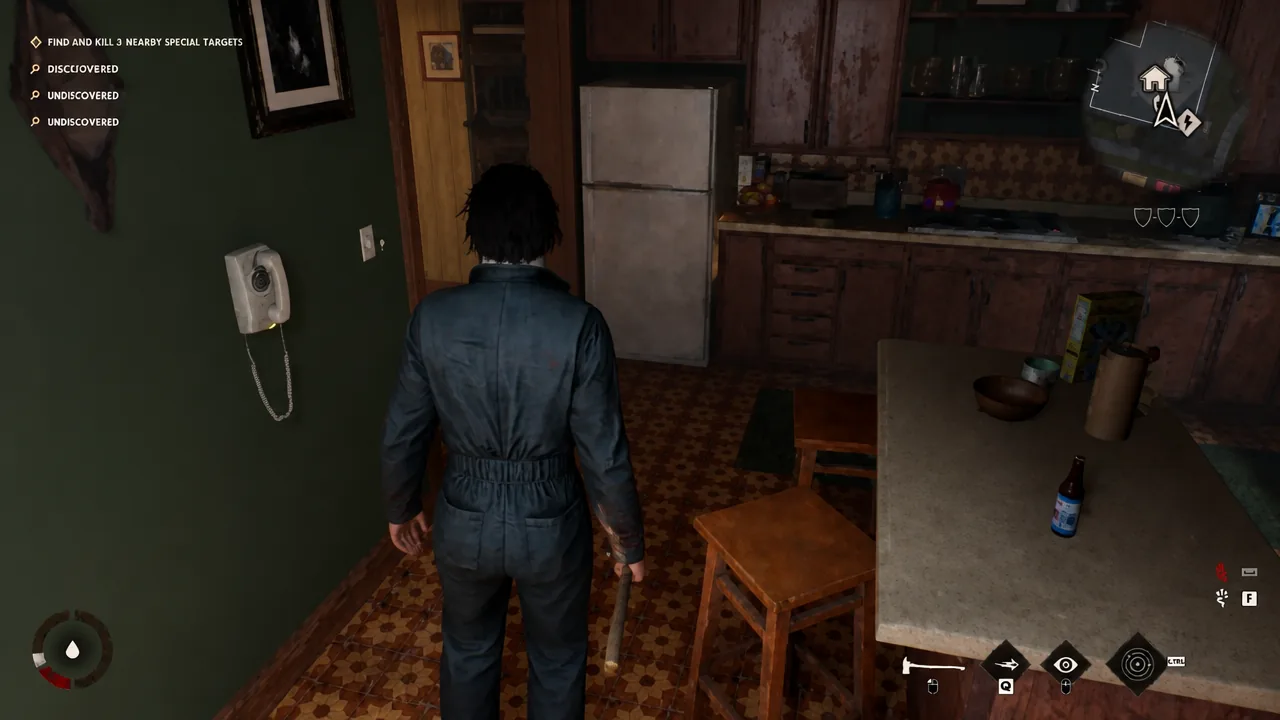
E Pick Up Tape prompt.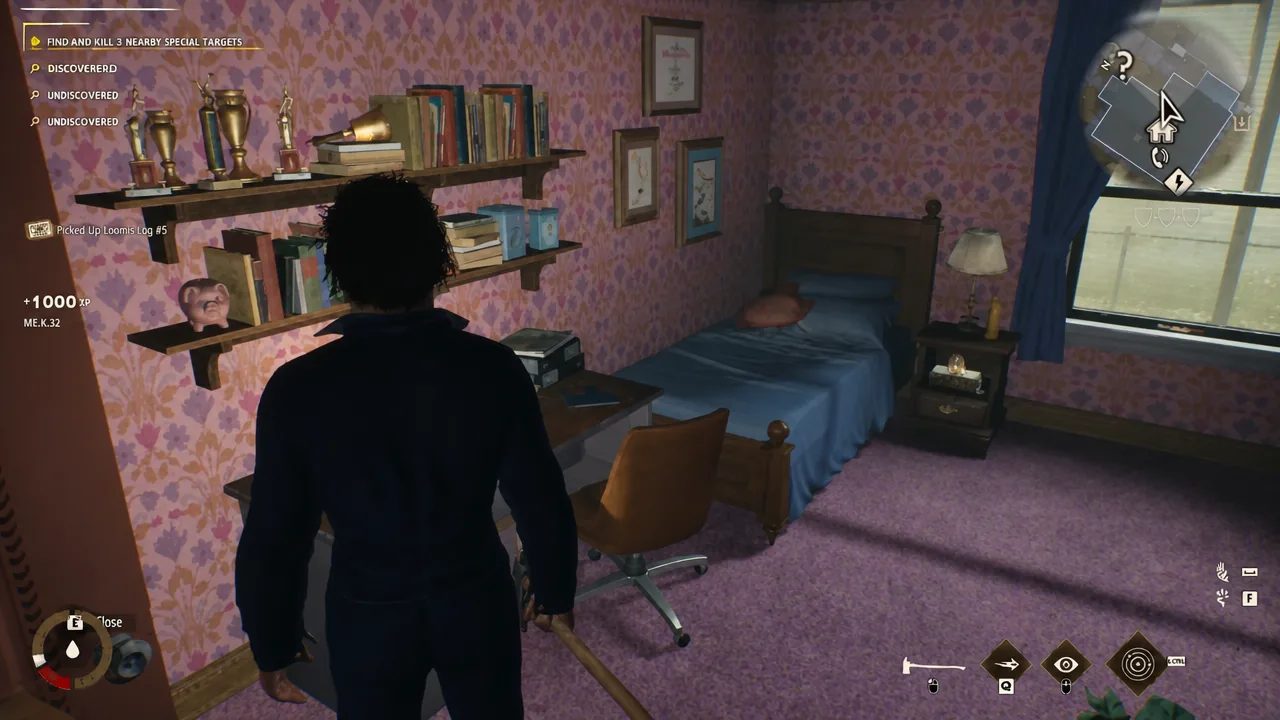
The pickup registers with a “Picked Up Loomis Log #5” message and an XP award, and the collectible counter reads 7/14. If no prompt appears, you are looking at the lamp or the typewriter rather than the tape itself, so step back slightly and re-aim at the desk surface.
Loomis Log #1 location (hallway cabinet near the laundry room)
E Close prompt behind you if you are still stalking someone inside.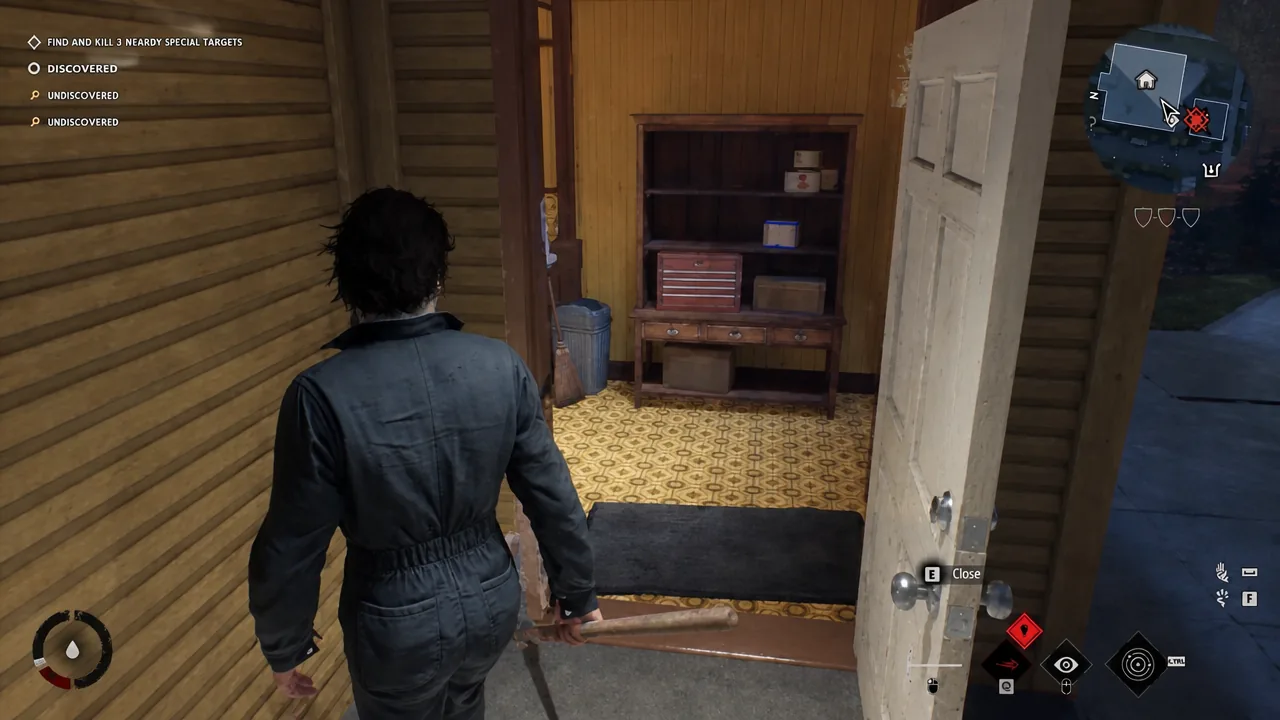
Collecting it pushes the counter to 8/14 and confirms with a “Picked Up Loomis Log #1” message. That is every recording in Returning Home, and nothing else on this map counts toward the collection.
Confirming both tapes registered
Two checks tell you whether the chapter is clean. The counter in the top corner should read 8/14 by the time you trigger the escape objective, and the mission summary screen at the end of Returning Home lists both Loomis Log #1 and Loomis Log #5 as unlocked. The tapes also appear permanently in the Graveyard Recordings menu.
There are only a few reasons a Chapter 3 tape does not appear in that summary. Recordings exist solely in Michael’s Story, the single-player mode, so nothing collectible spawns elsewhere. Finishing the escape objective ends the level immediately, which locks you out of any house you have not entered yet. And if you cleared a house but never opened the bedroom door opposite the dining room, or never walked past the laundry room, you were simply in the right building at the wrong end of it.
How Chapter 3 counts toward the Collector trophy
All 14 recordings are spread across the Prologue and Chapters 1 through 5, and finding every one awards the Collector trophy. Chapter 3 supplies two of them, which is the same haul as the Prologue, Chapter 1 and Chapter 2. Chapters 4 and 5 each hold three, including the tapes attributed to Sheriff Brackett, Laurie and Nurse Chambers rather than Loomis.
The minimap only becomes available from Chapter 2 onward, so Returning Home is one of the easier chapters to sweep — you can mark the two optional houses before you start hunting and clear them on the way through. Handle both tapes while the special targets objective is still active, and Chapter 3 never needs a second run.