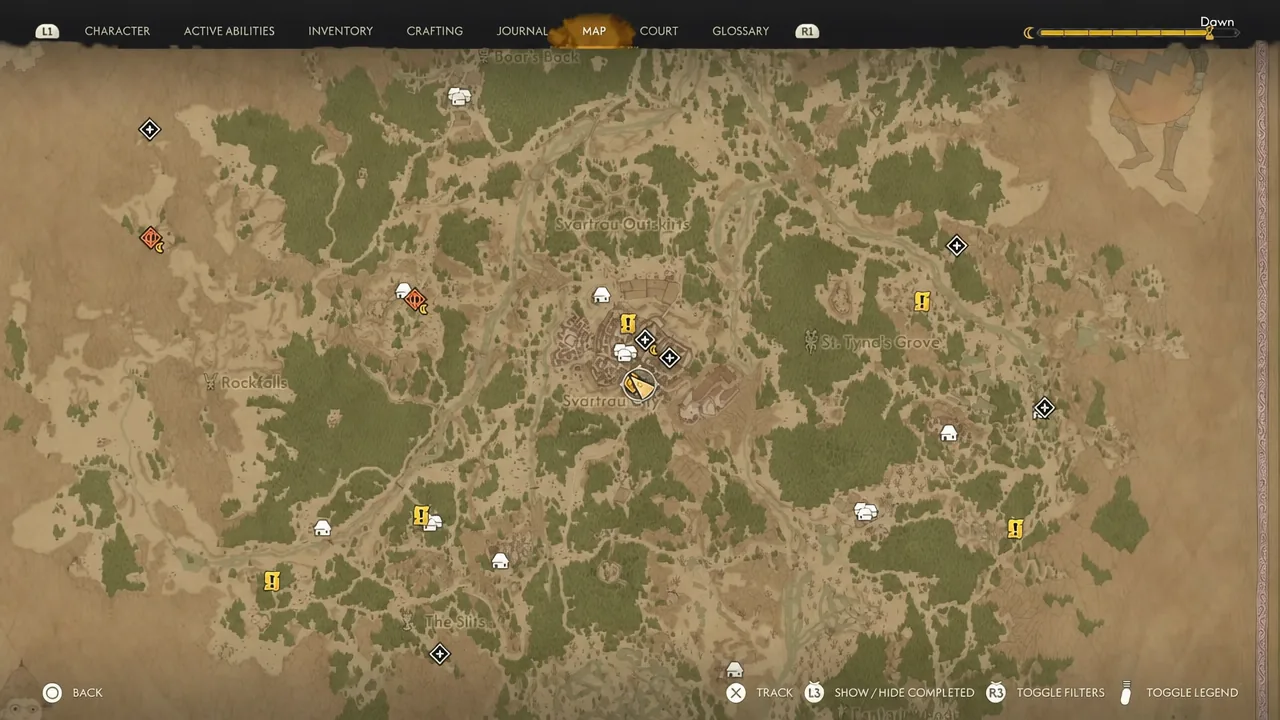
Rise at Dawn is the quest that turns Crake’s rebellion into an actual army. It closes out the Manumit questline in The Blood of Dawnwalker by storming Eastridge Outpost, and the moment you accept it, the game stops being a sandbox and starts being an ending.
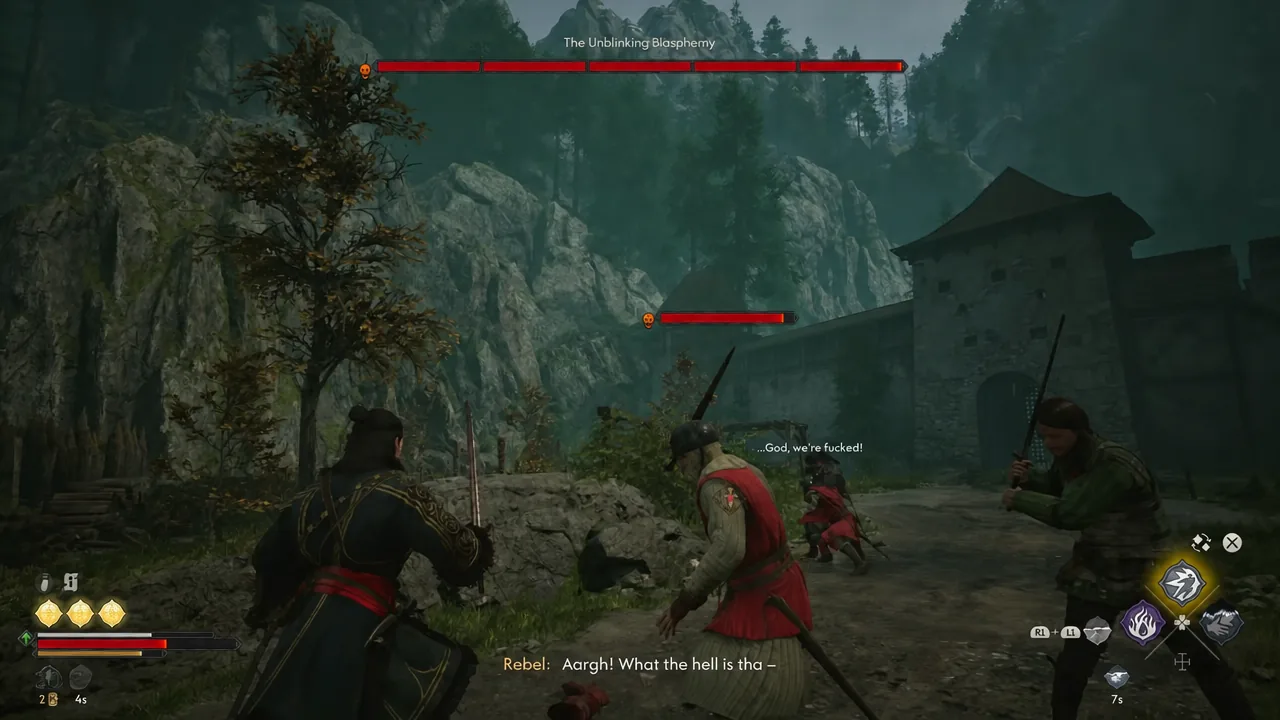
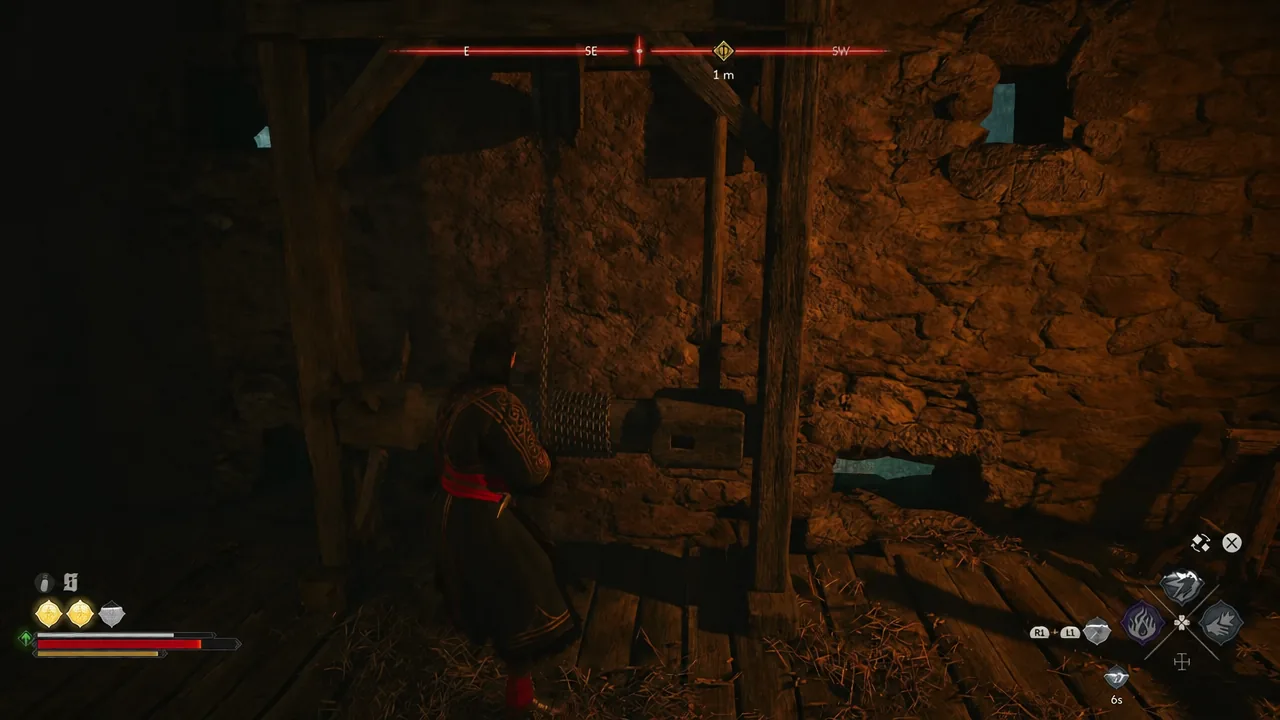
Quick answer: Talk to Marat in Svartrau City and confirm the point-of-no-return prompt, follow him through Tantari Woods, tie your rope and rappel into Eastridge Outpost, defeat the vanguard and The Unblinking Blasphemy, then climb the tower and turn the wooden turnstile to open the outer gate for Catalin. Report back to Marat to start the final battle.
Rise at Dawn requirements and the point of no return
The quest unlocks once you finish Who Pulls the Strings, the previous step in Crake’s chain. Marat then needs time to prepare, so the journal will park you on “Come back in a few days” and later “Come back by morning” before the real objective appears.
Once the objective reads “Return to Marat once you’re ready to move,” speaking to him triggers a warning screen: You’re nearing the point of no return in your story. Confirming it abandons every quest and activity currently in progress and sets the final quest in motion. There is no free roam after the ending.
Note: Anything you have already started gets wiped, not paused. Half-finished side content such as Where Old Devils Lie or Bakir’s Transports: Ill-Gotten Gains fails outright the moment the assault begins. Untouched quests are simply gone with the rest of the world once you finish the story.
Make a manual save before you confirm. The game supports 54 manual slots, and that single save is what lets you reload later and see the other endings without a second playthrough.
Rise at Dawn objectives in order
| Objective | What it means |
|---|---|
| Come back in a few days | Marat needs time before the Manumits can move on Grefberg. |
| Come back by morning | Catalin’s troops are in position; the rebellion moves at dawn. |
| Return to Marat once you’re ready to move | Talking to him triggers the point-of-no-return prompt. |
| Follow Marat | The march through Tantari Woods to the cliff above the outpost. |
| Tie your rope | Rig the rope for the descent onto the garrison. |
| Defeat the vanguard | Clear the first wave of defenders that spots you. |
| Breach the second gate | Push inward through the next set of garrison troops. |
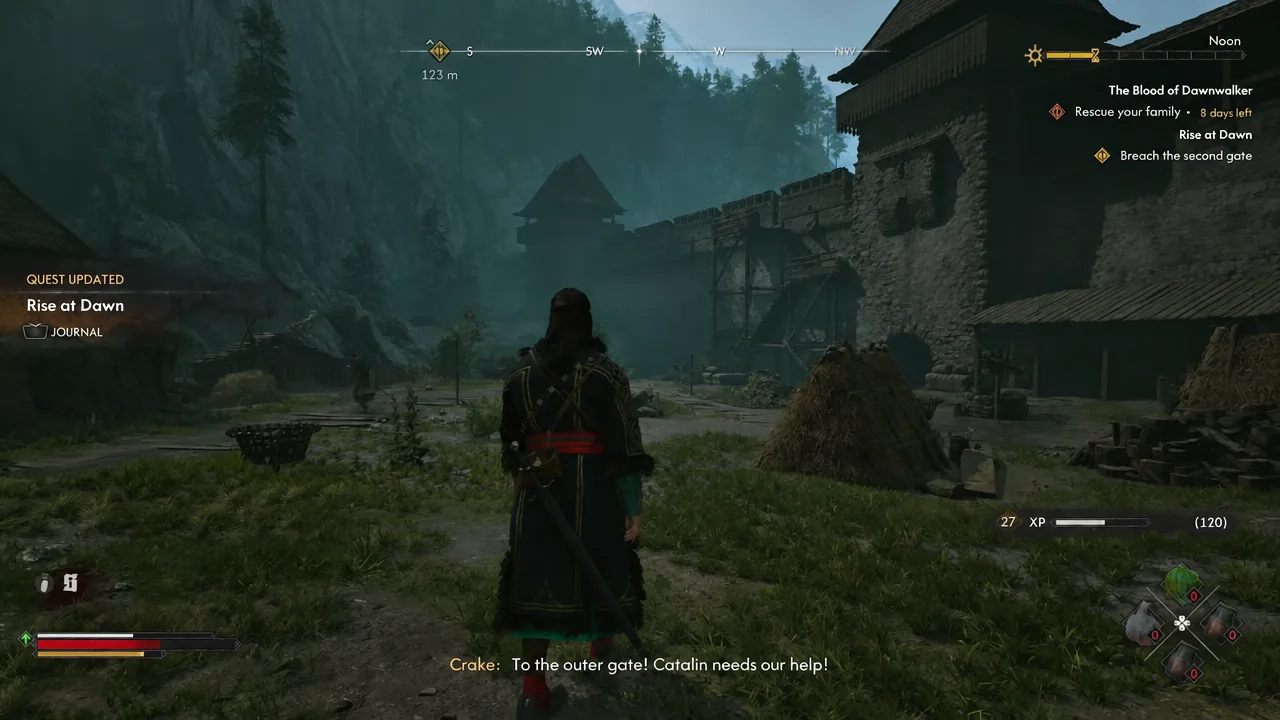
| Open the outer gate | Climb the tower and turn the turnstile to let Catalin in. |
| Talk to the quartermaster | Optional restock before the strike on Grefberg. |
| Go to Marat once you’re ready for the final battle | Ends Rise at Dawn and rolls into Fall Before Dusk. |
Rise at Dawn walkthrough: Svartrau City to Eastridge Outpost
After Eastridge falls: Catalin’s judgment and the final battle prep
Catalin’s armoured troops mop up the remaining defenders without much help from you. He then confronts the men who surrendered, executes one as a warning, and presses the other two into his army. Coen can object, but Catalin dismisses him and the outcome does not change.
The objective becomes “Go to Marat once you’re ready for the final battle,” with an optional prompt to talk to the quartermaster first. Take it. This is the last chance to restock and repair before Grefberg, and once you tell Marat you are ready, there is no coming back to camp.
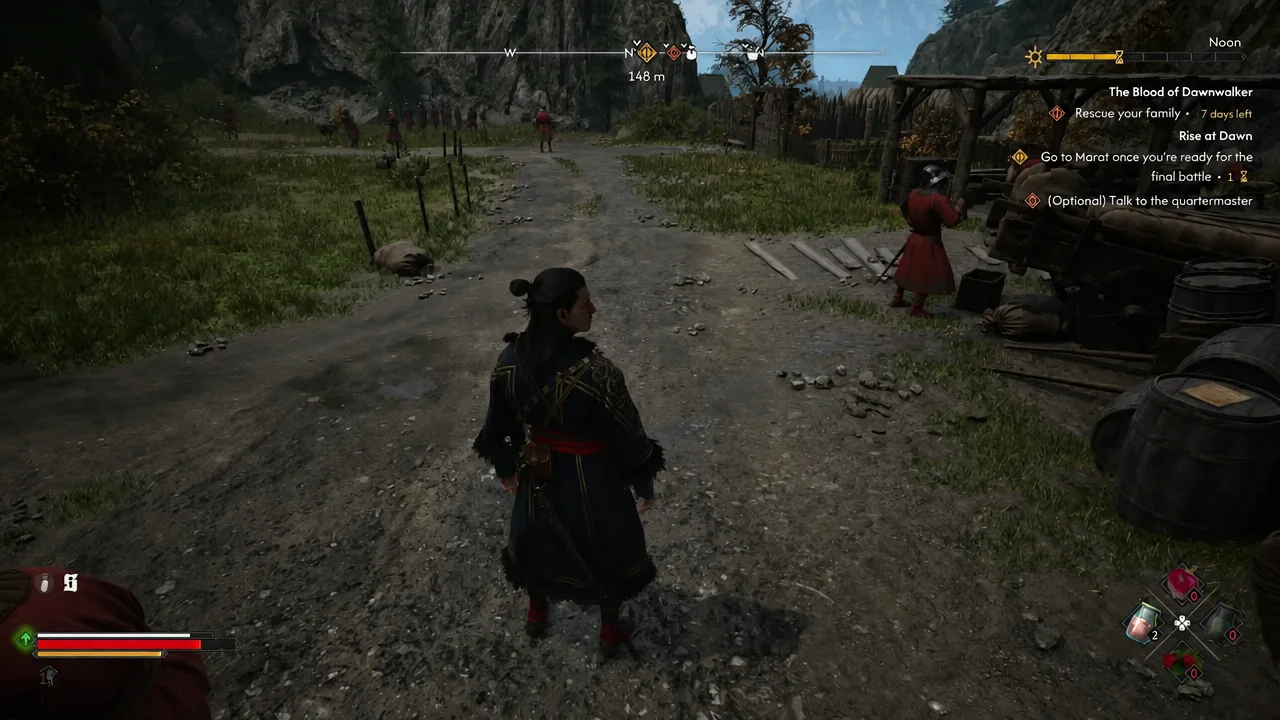
Climb the stairs to meet Marat and Catalin on the wall when you are done. Crake explains the infiltration plan, which is to slip through a secret tunnel and reach Brencis while Catalin’s troops hold his attention with a false siege. Confirm, and the group heads for the cave.
How to confirm Rise at Dawn is complete
The quest is finished when the journal swaps Rise at Dawn for Fall Before Dusk and gives you the objective “Inspect the tunnels” at the cave entrance. Catalin asserts command, severed limbs on the ground signal that something is already living in the passages, and the tunnel search begins.
Rise at Dawn resolves one of two ways depending on whether you go through with the assault.
| Outcome | Result |
|---|---|
| Take the outpost | Eastridge falls, Catalin’s troops breach the walls, and the story moves to Grefberg via Fall Before Dusk. |
| Back out | Coen turns his back on Crake and the rebellion, and this route to the ending closes. |
Rise at Dawn and Fall Before Dusk together are Crake’s path to the finale, so the assault is the commitment step rather than an optional detour. If you want Eastridge taken and every other thread still on the table, the only reliable move is that manual save made before you confirmed the warning screen.