
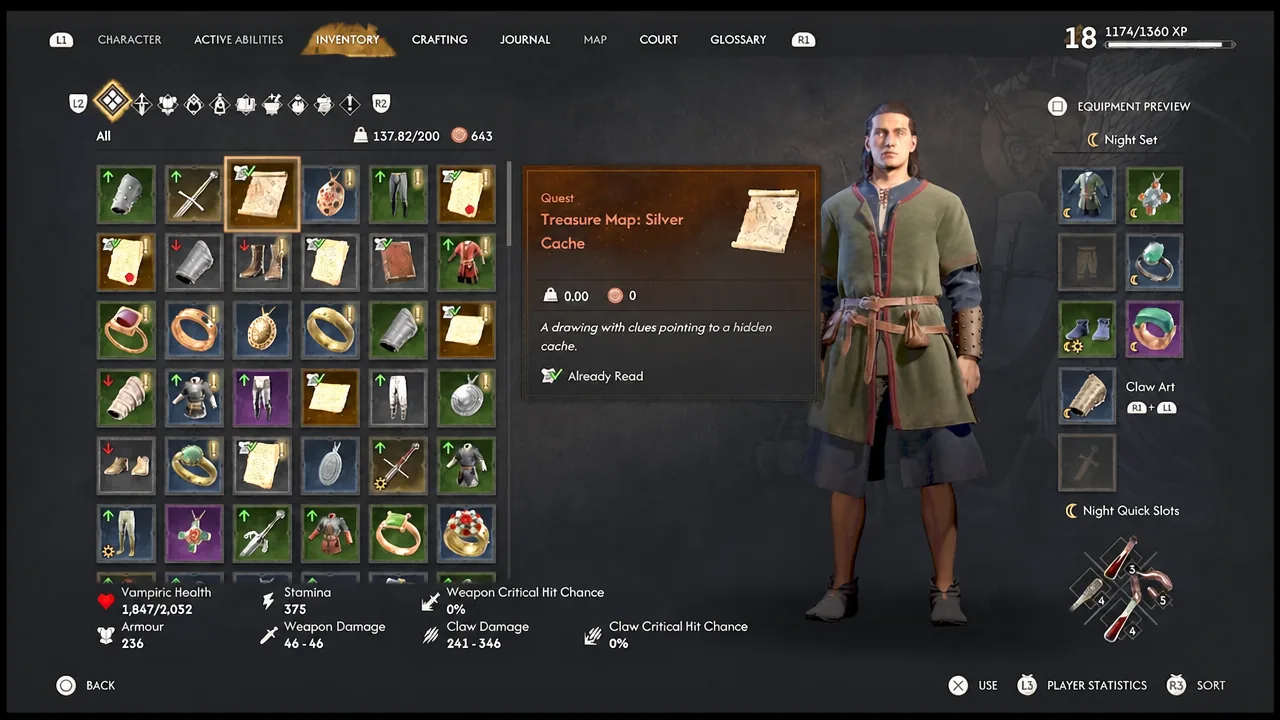
Finders Keepers is one of the quieter side quests in The Blood of Dawnwalker, and it hides its payout behind a wolf pack rather than a puzzle. The treasure map you loot mid-quest never names a location, so the whole thing comes down to reading a hand-drawn sketch of a rock and matching it to a landmark in the Briar Sloughs woods. Once you know which rock, the run takes minutes.
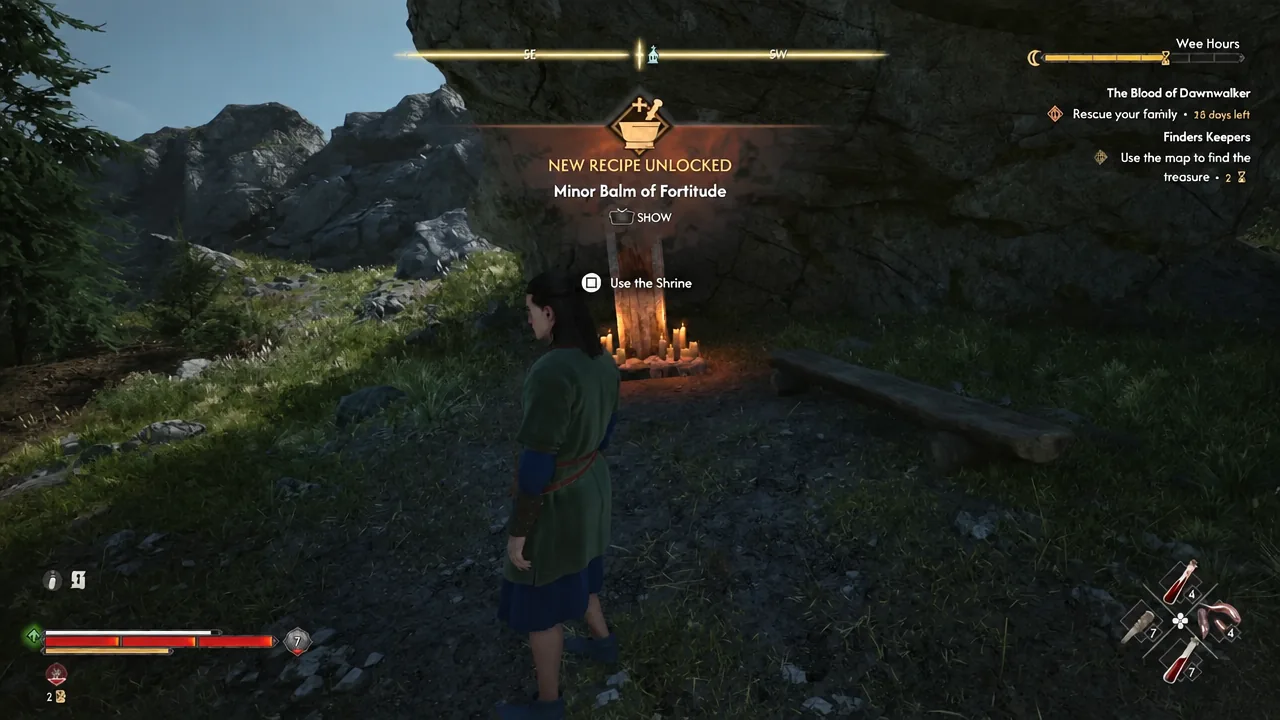
Quick answer: The Silver Cache is buried inside the shallow cave under a sloped rock northwest of the Briar Slough Hillock Shrine. Kill the wolves and the Pack Leader, use Focus Mode to highlight the disturbed earth, then dig with a shovel — the dig costs 2 time segments.
What starts Finders Keepers and what you need to bring
The quest has no quest giver. It appears in Coen’s journal the moment you pick up the Treasure Map: Silver Cache, which sits in a broken barrel among the wreckage at the bottom of the chasm below Greifberg Castle. You reach that spot during The Cursed Chasm, the quest you start by speaking to the innkeeper on the western edge of Altenarkt in Svartrau City. The barrel is west of the Coward’s Path Shrine, near the fallen wagon.
Bring a shovel before you set out. There is no shovel lying next to this dig site, so if Coen’s inventory is empty you will walk all the way to the rock for nothing. One is propped against the wall beside the tavern entrance in Parlita Town.
| Detail | Value |
|---|---|
| Quest type | Side quest |
| Starts with | Treasure Map: Silver Cache (broken barrel, The Cursed Chasm) |
| Region | Briar Sloughs |
| Nearest shrine | Briar Slough Hillock Shrine |
| Guarding enemies | Wolf pack plus Pack Leader miniboss |
| Time cost | 2 time segments to dig |
| Completion rewards | 100 XP, 1 Skill Point, Silver Cache contents |
Route to the Silver Cache from Coward’s Path Shrine
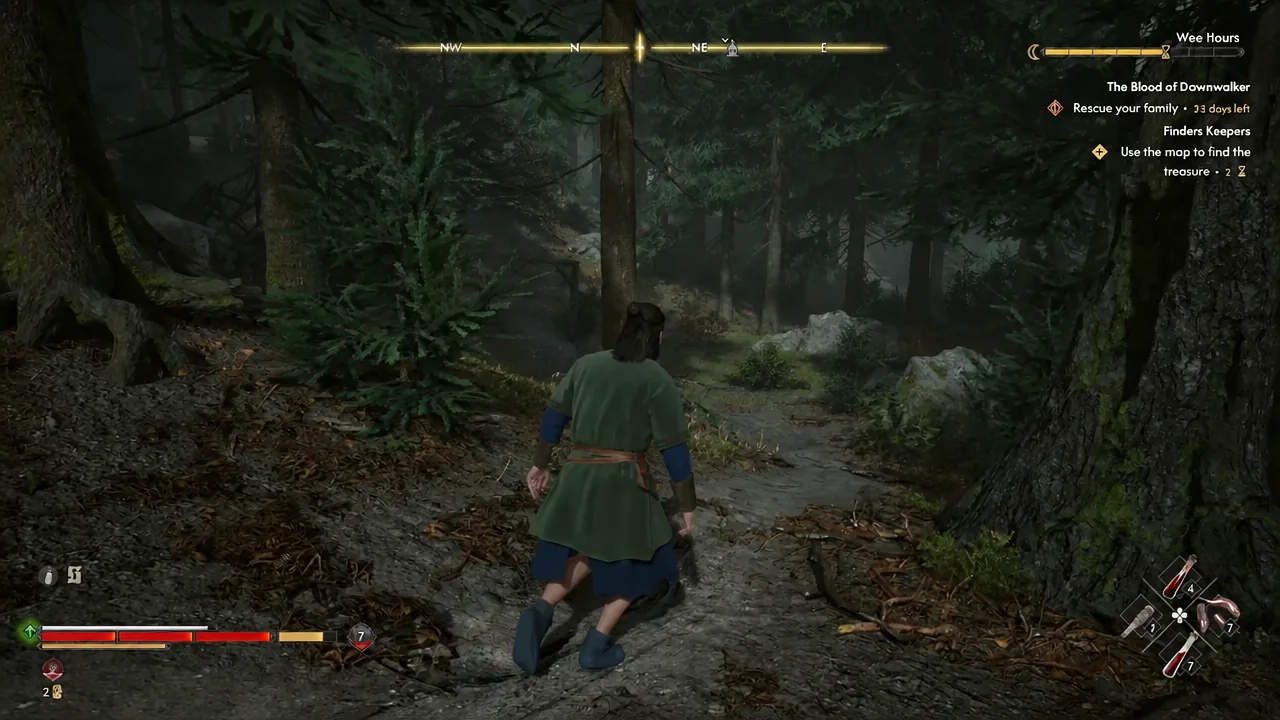
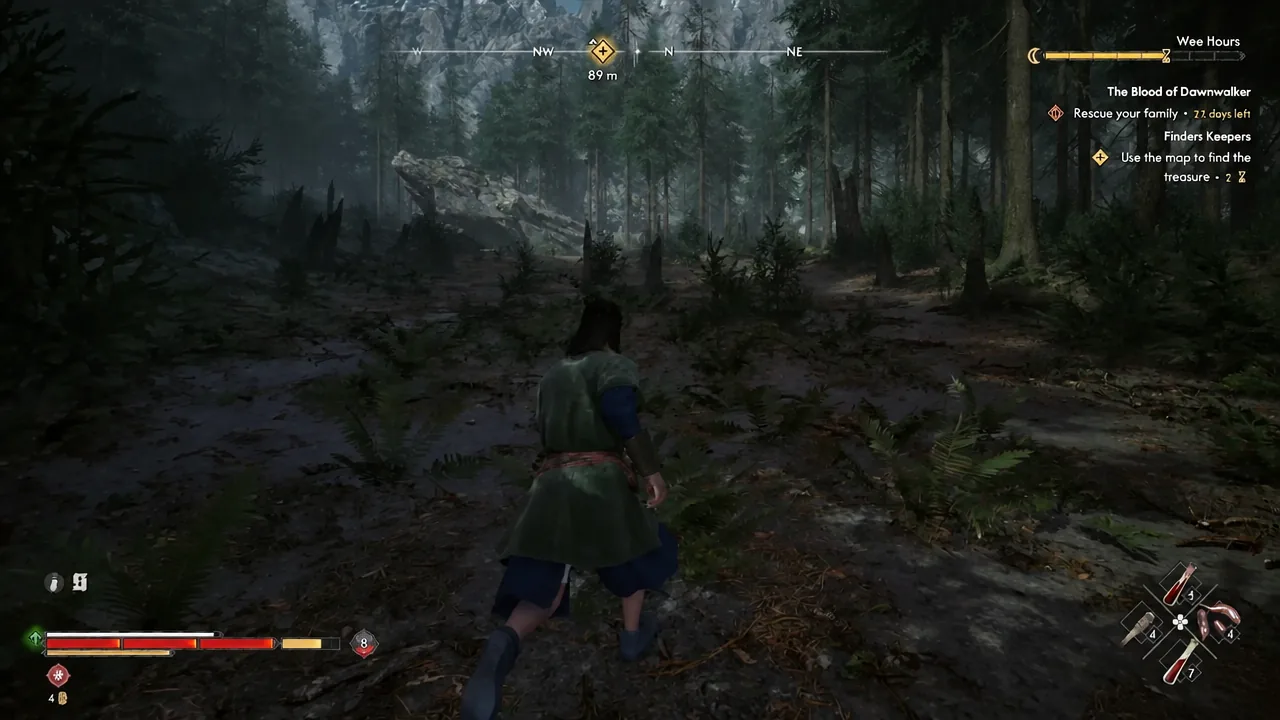
With the map active, the game feeds you a series of search zones instead of a single pin. The first zone points at Coward’s Path, which sits on the road leading to the broken bridge from the start of The Cursed Chasm. Everything below assumes you fast travel there first.
Beating the Pack Leader at the sloped rock
Roughly half a dozen wolves patrol the ground in front of the rock, led by a Pack Leader miniboss. It carries a boss health bar but fights like an oversized wolf, with no unblockable pattern to learn. Wolves also wander the road on the way in, so expect a few smaller scraps before the main one.
The pack is genuinely useful as a resource. Vampiric feeding, including Voracious Bite, tops Coen up mid-fight, so if you are under-leveled, take the fight at night and use the regular wolves to heal rather than burning consumables. If you walked away from The Cursed Chasm with the legendary sword Durandal, this is a fine place to swing it.
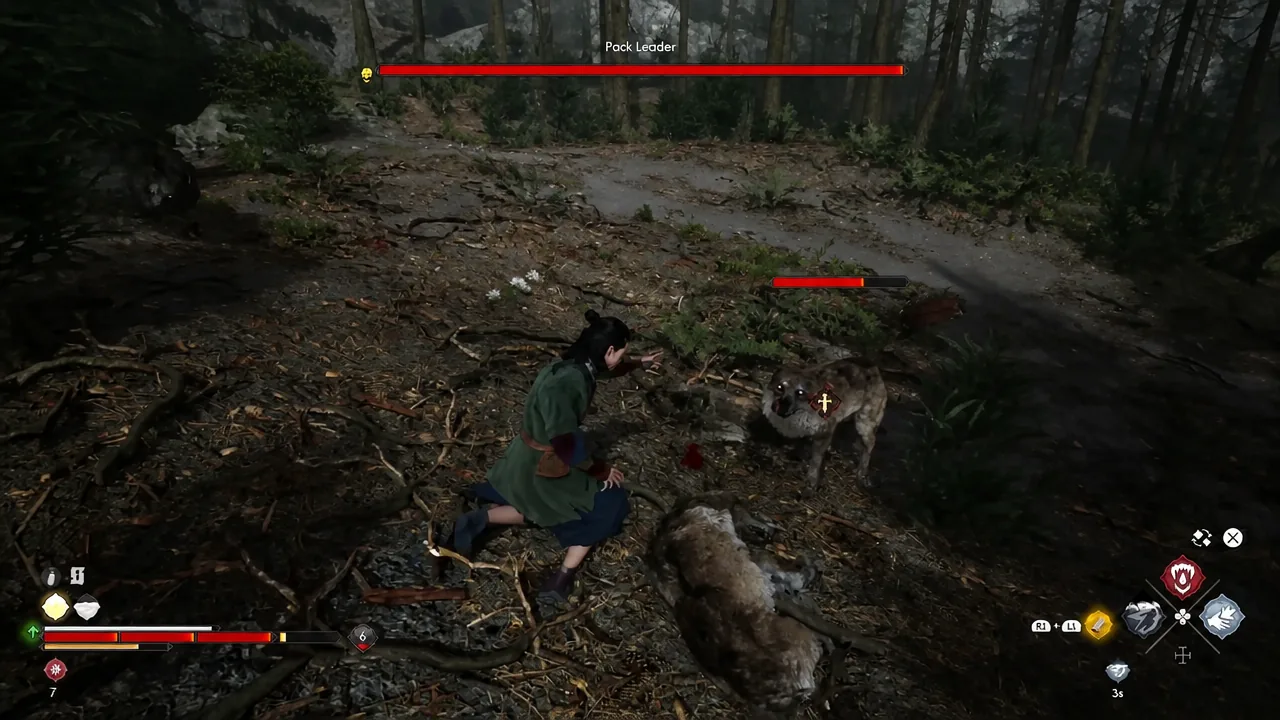
Clear every wolf before you try to dig. Combat interrupts the digging animation, and a straggler circling behind you will cancel it repeatedly.
Digging up the Silver Cache and confirming the quest is done
The dig spot is inside the shallow cave beneath the rock, not out in the open where the wolves were standing. Duck in and switch on Focus Mode — the patch of disturbed earth lights up immediately, which saves you sweeping the floor manually.
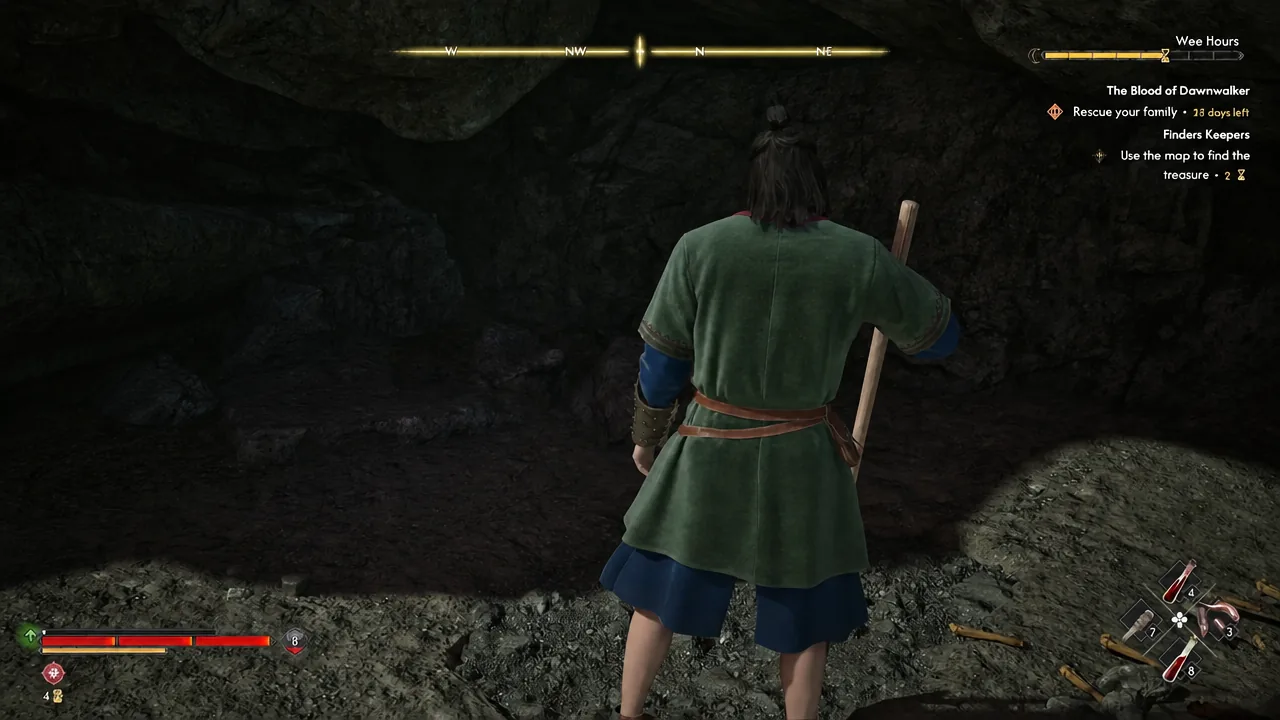
Interacting with the soil consumes 2 time segments, which is a real cost in a game running on a clock. If you are budgeting your remaining time carefully, save before you dig, check what the chest gives you, and reload if the silver is not worth the hours.
You know it worked when the buried container appears and can be looted. Opening it closes out Finders Keepers in the journal and pays out 100 XP and 1 Skill Point. If the dig prompt never appears at all, the two usual causes are an empty shovel slot or a surviving wolf still in combat range.
Silver Cache contents and what to do with them
The chest is almost entirely silverware plus a small amount of coin. None of it is equipment, so its value is in what you can sell it for.
| Item | Notes |
|---|---|
| Silver Cache Letter | Explains who the hoard belongs to |
| Lump of Silver | Trade good |
| Silver Cross | Trade good |
| Silver Chalice | Trade good |
| Silver Bowl | Trade good |
| 41 Denarius | Currency |
The letter frames the hoard as the property of the rightful ruler of Vale Sangora. It instructs whoever finds it to spend the silver on the war against the Vrakhiri, and threatens anyone who pockets it for themselves. Nothing in the quest forces you to honor that, but it does hint at where silver becomes useful later, with Brencis and his vrakhiri in the picture.
Ordinary merchants will lowball you on this kind of loot. There is a single dedicated silver trader in Svartrau City, and unlocking access to them is the difference between a modest sale and a genuinely worthwhile one — hold onto the pieces until you have that vendor available rather than dumping them on the first shopkeeper you pass.


