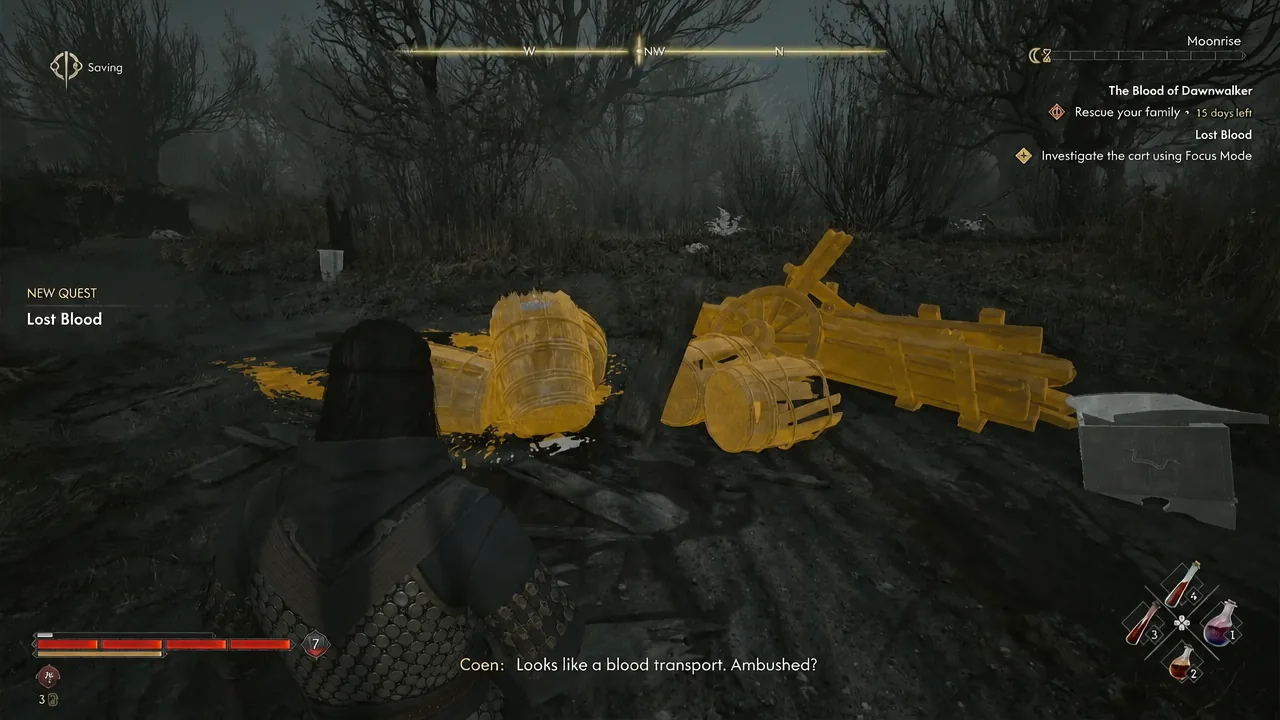
Lost Blood is one of the shorter side quests in The Blood of Dawnwalker, and one of the bleaker ones. It starts with a smashed blood transport in the swampy northern stretch of St. Tyna’s Grove and ends with Coen telling a shopkeeper in Svartrau City that the monster he killed used to be the man’s son. There is no quest giver, no fail state, and only one real obstacle: a mandatory in-game day of waiting before you can finish it.
Quick answer: Approach the wrecked blood cart north of the Pilgrim’s Trail Shrine to trigger the quest, follow the blood trail west into the cave, kill the Murohn, loot the Mysterious Ring and A Letter From Father, then tell the Silberstein General Trader in Svartrau City what you found. Wait one full in-game day (16 time segments) and speak to him again to close it out.
Lost Blood quest details and requirements
| Detail | Value |
|---|---|
| Starting location | St. Tyna’s Grove, north of the Pilgrim’s Trail Shrine |
| Quest giver | None — begins automatically on approach |
| Requirement | None |
| Missable | No |
| Fail state | None |
| Availability | Day and night, though the merchant step needs his shop open |
| Time cost | Roughly 2–3 time segments, plus 16 segments of waiting |
| Enemy | Murohn, Malformed Monstrosity |
| Quest items | Mysterious Ring, A Letter From Father |
| Rewards | Medicus II Manual, Phial of Ambrus’s Blood, quest XP |
Because nothing here is timed, you can leave the quest sitting on your map indefinitely and pick it up whenever you are passing through the grove. The only currency it really costs you is time segments, which matter in a game that gives you 30 days to save your family.
Where Lost Blood starts in St. Tyna’s Grove
Head to the road directly north of the Pilgrim’s Trail Shrine. You are looking for an overturned cart surrounded by shattered barrels with blood soaking the mud around them. Walking up to it is enough to add Lost Blood to your journal.
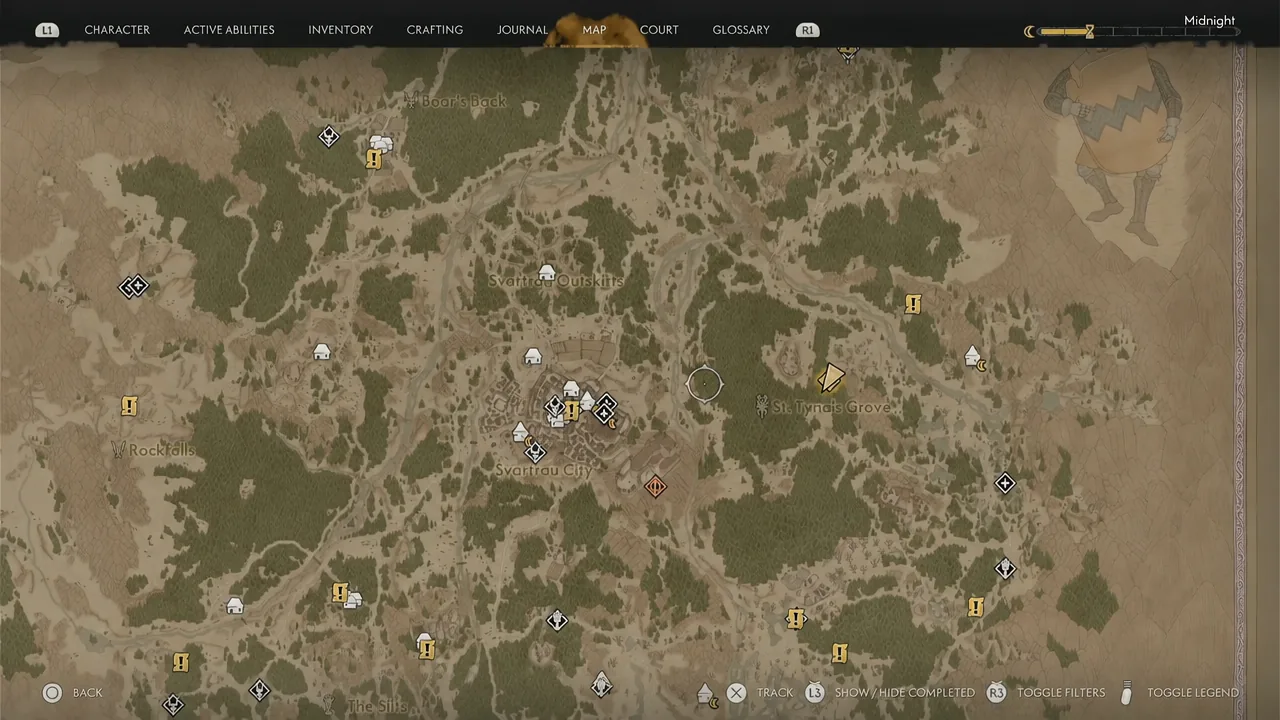
There is a second trigger. The cave the trail leads to sits west of the wreck, and stumbling into that first also starts the quest — you simply run the investigation backwards, killing the Murohn before you ever see the cart. Either entry point works, and neither locks you out of anything.
Follow the blood trail and kill the Murohn
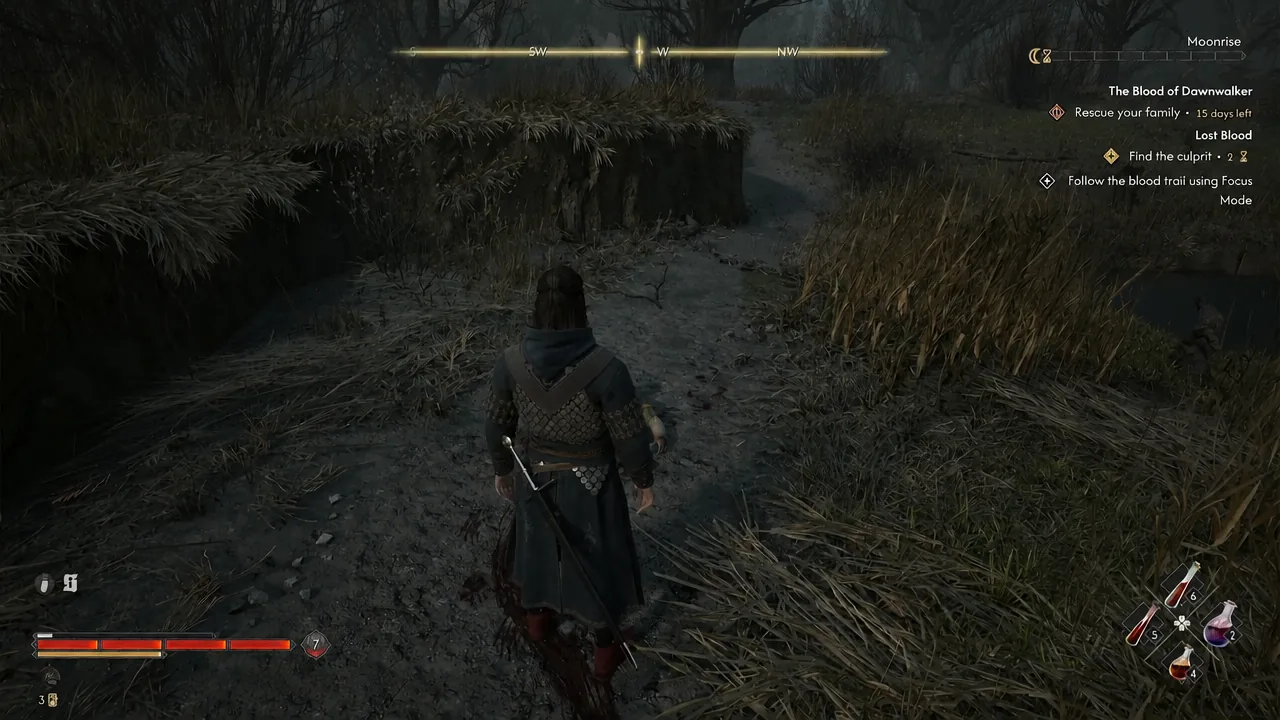
Note: the fight is easier at night, when Coen’s vampiric form and claws come out, but the merchant leg of the quest still needs daylight.
Loot the Mysterious Ring and A Letter From Father
Do not leave the cave the moment the fight ends. Search the Murohn’s corpse for the Mysterious Ring, a Phial of Ambrus’s Blood, and Murohn Blood. The phial is the best thing in the quest from a build perspective — drinking it unlocks the Scarlet Shield vampiric power, which gives Coen a chance to recover health on a block. It also pushes your Corruption up noticeably, so save it for a moment when that tradeoff suits you.
Then run Focus Mode inside the lair and pick up A Letter From Father, lying near the body by the bed. Reading it is what actually advances the quest: it identifies the ring’s family emblem and points you at a merchant in the Silberstein district of Svartrau City. Skip the letter and the objective will not update.
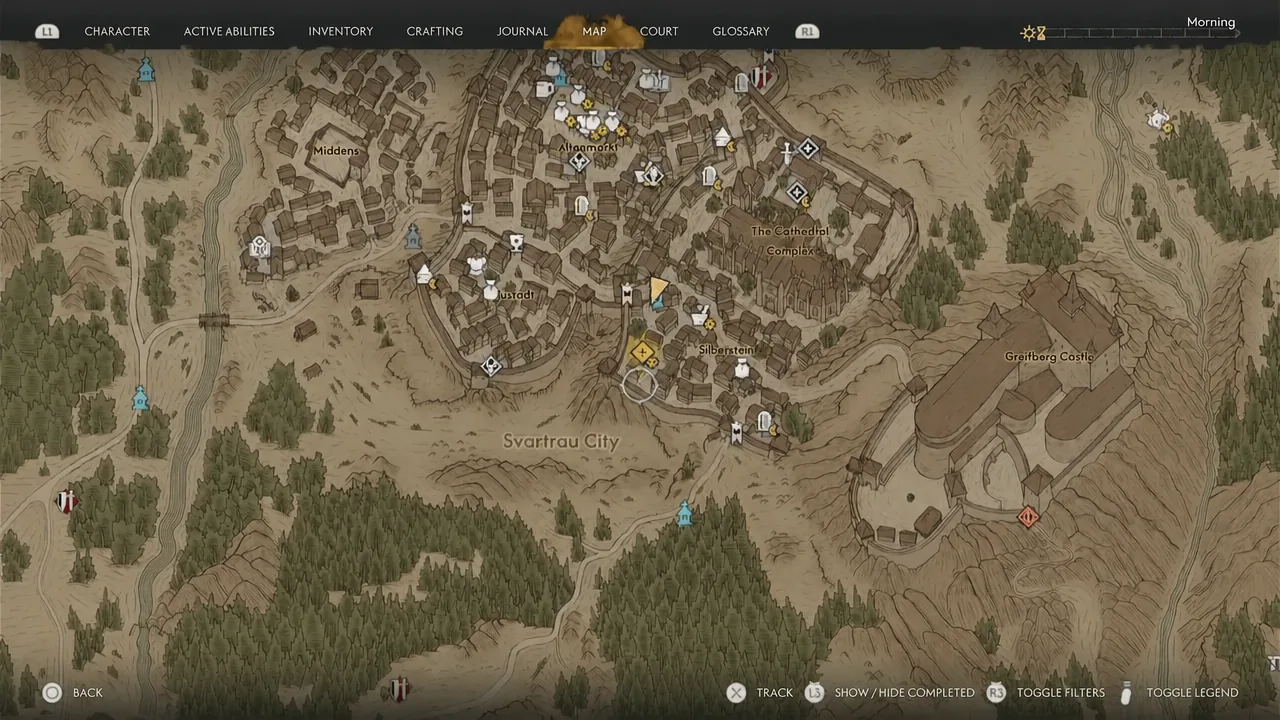
Find the Silberstein General Trader in Svartrau City
Wait one in-game day for the shop to reopen
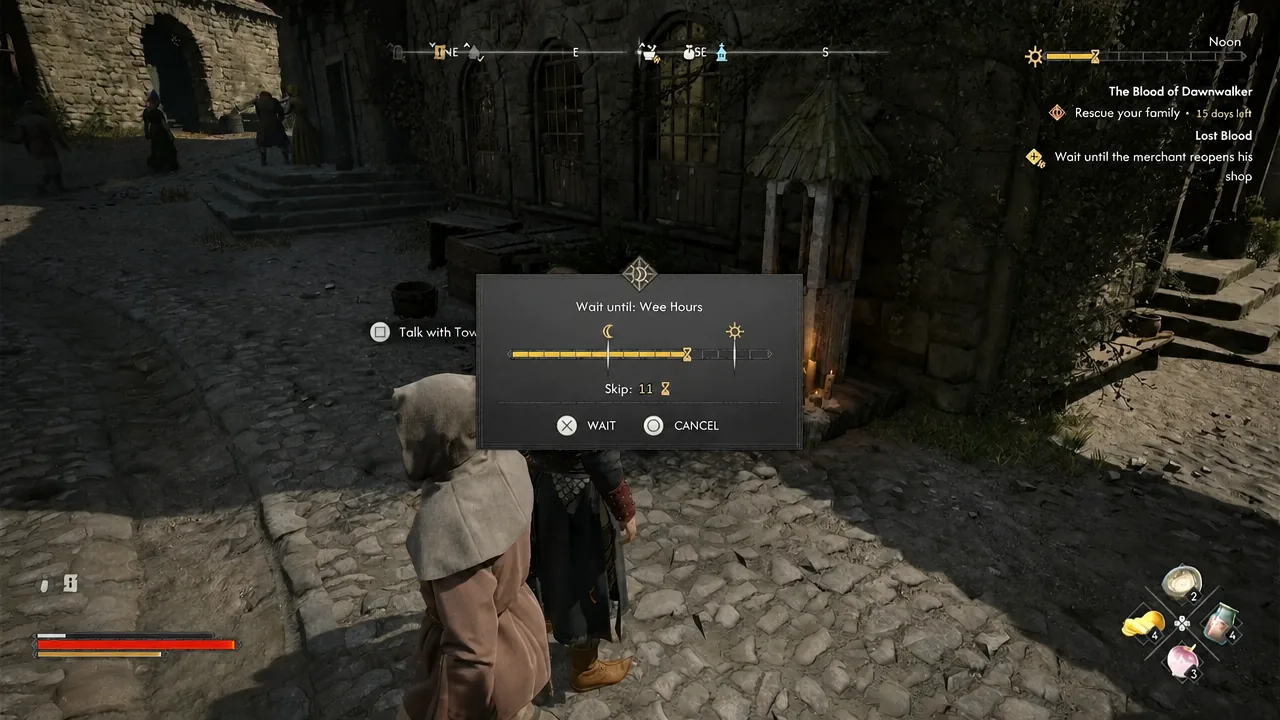
The trader stays closed for a full in-game day — 16 time segments — while he grieves. Returning before then does nothing; the door stays shut and the objective will not tick over.
Rather than burning segments on the wait screen for nothing, spend that day productively. Court activities, other side quests, or a run of exploration will all pass the required time, and you can drop back into Silberstein around midday afterwards.
Keep or sell the Mysterious Ring, then collect the rewards
Come back to the counter and the trader apologizes for lashing out, accepts that Coen had no choice, and fills in the rest of what happened to his son. Then he asks whether you still have the ring.
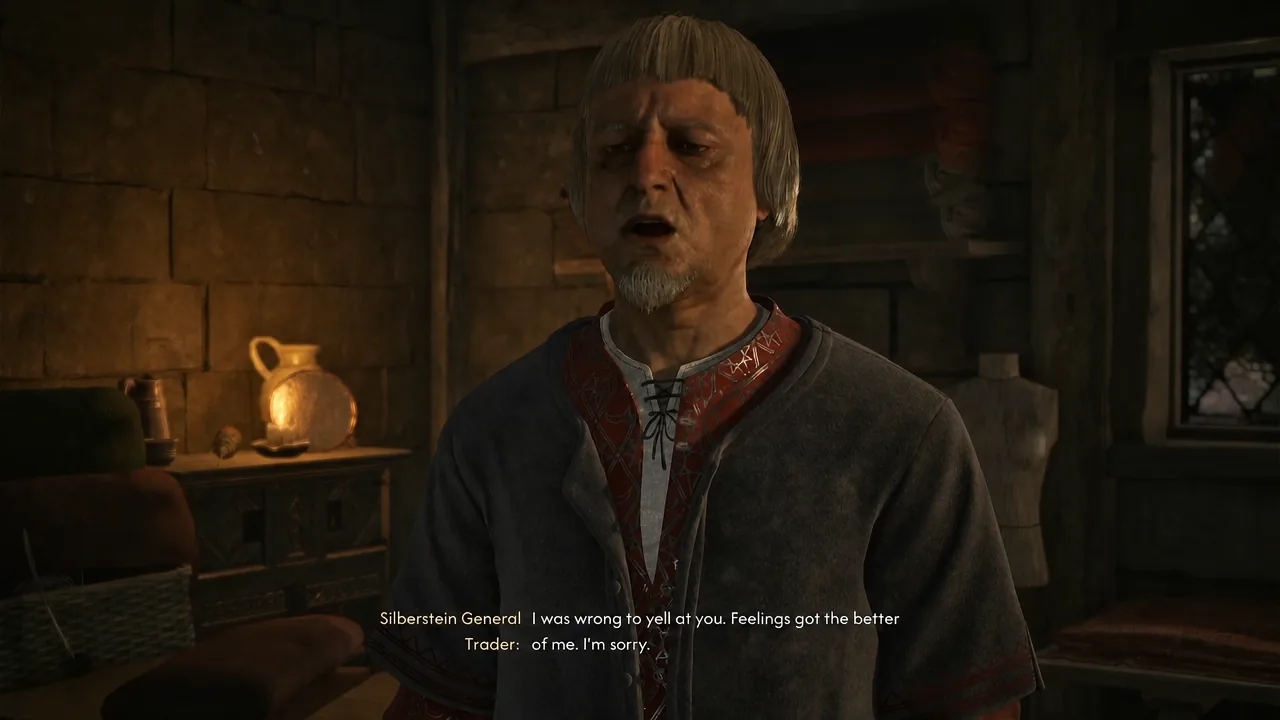
| Dialogue choice | Outcome |
|---|---|
| “I do.” | He offers to buy the ring back from you for coin. You can purchase it again from his stock afterwards if you change your mind. |
| “I don’t, sorry.” | He thanks you anyway and is disappointed it was lost. You keep the Mysterious Ring. |
Neither answer changes the ending of the quest or unlocks anything extra. The ring itself carries no stats, so the decision is purely whether you want the coin or the keepsake. Completing the conversation awards the Medicus II Manual and quest XP on top of what you already pulled off the Murohn.
Why Lost Blood might not complete
The quest is clean and has no timers, but there are a few specific ways it stalls or ends without resolution.
- You killed the Murohn but never picked up A Letter From Father, so the objective pointing to Silberstein never appears.
- You returned to the shop before a full in-game day had passed and found it closed.
- You reached Silberstein at night, when the trader is not behind his counter.
- The merchant refuses to speak to Coen because of what you did to the manumits, which ends the quest with the mystery unresolved.
- You dropped the investigation entirely and moved on, which closes it out as abandoned.
You know it worked when the journal logs the outcome describing the monster as the merchant’s transformed son, with the trader accepting that Coen had no other option. At that point the entry closes and the shop goes back to normal trading.
For a quest that takes a handful of time segments, Lost Blood pays out well. The Medicus II Manual and the XP are fine, but the Phial of Ambrus’s Blood and its Scarlet Shield unlock are the reason to detour north of the Pilgrim’s Trail Shrine early, especially if you are leaning into the Vampirism tree and can absorb the Corruption hit.