Valheim looks like a free-roam survival game, but its progression is tightly gated. Each biome hands you a new metal or resource, that resource lets you build the gear to beat the local boss, and the boss drops the key item that opens the next region. Push ahead out of order and the environment or enemies will end your run fast.
Quick answer: Clear the biomes in this order and you will never be under-geared: Meadows (Eikthyr) → Black Forest (The Elder) → Swamp (Bonemass) → Mountain (Moder) → Plains (Yagluth) → Mistlands (The Queen) → Ashlands (Fader), with the Deep North added as the eighth biome in the 1.0 update. The Ocean sits outside this chain and can be visited whenever you have a boat.
The full biome, boss, and key-drop order
Every boss drops two things: a trophy you place on the Sacrificial Stone to unlock a Forsaken Power, and a progression item that gates the next tier. Swap Forsaken Powers to match the task in front of you, since only one is active at a time.
| Biome | Boss | Key drop | What it unlocks |
|---|---|---|---|
| Meadows | Eikthyr | Hard Antler | Antler pickaxe, mining copper and tin |
| Black Forest | The Elder | Swamp Key | Sunken Crypts and iron |
| Swamp | Bonemass | Wishbone | Finding buried silver |
| Mountain | Moder | Dragon Tears | Artisan Table, Blast Furnace |
| Plains | Yagluth | Torn Spirit | Wisp fountain, Mistlands gear |
| Mistlands | The Queen | Majestic Carapace | Ashlands access and boats |
| Ashlands | Fader | Fader Relic | Likely a Deep North key item |
Meadows: wood, flint, and Eikthyr
The Meadows is the tutorial zone. Punch trees for wood and pick up loose stone to build your first Workbench, Bed, Campfire, and Cooking station. Repairing and reusing the abandoned houses scattered here is often faster than building a shelter from scratch.
Collect Flint near the water to craft a Spear, Knife, and Flint axe, and hunt boar and deer for Leather Scraps to make Leather armor. Watch for Necks around the same shorelines. When you are geared, farm two Deer Trophies and summon Eikthyr at the Sacrificial Stone. He drops Hard Antler, which is required to craft the Antler pickaxe and start mining.
Black Forest: bronze and The Elder
The Black Forest is where real danger starts, with Greydwarfs, Skeletons, and Trolls. Use the Antler pickaxe to mine Copper and Tin, and bring Flint weapons for fights. Do not carry a heavy inventory when a Troll appears, since you will want to run.
Explore the Burial Chambers for Surtling Cores, which you need to build a Smelter and Charcoal kiln. Smelt Copper and Tin, then combine them at a Forge into Bronze for weapons and armor. Skeletons resist pierce damage, so use a club or torch inside dungeons. Farm three Ancient Seeds from Greydwarf brutes to summon The Elder, who drops the Swamp Key.
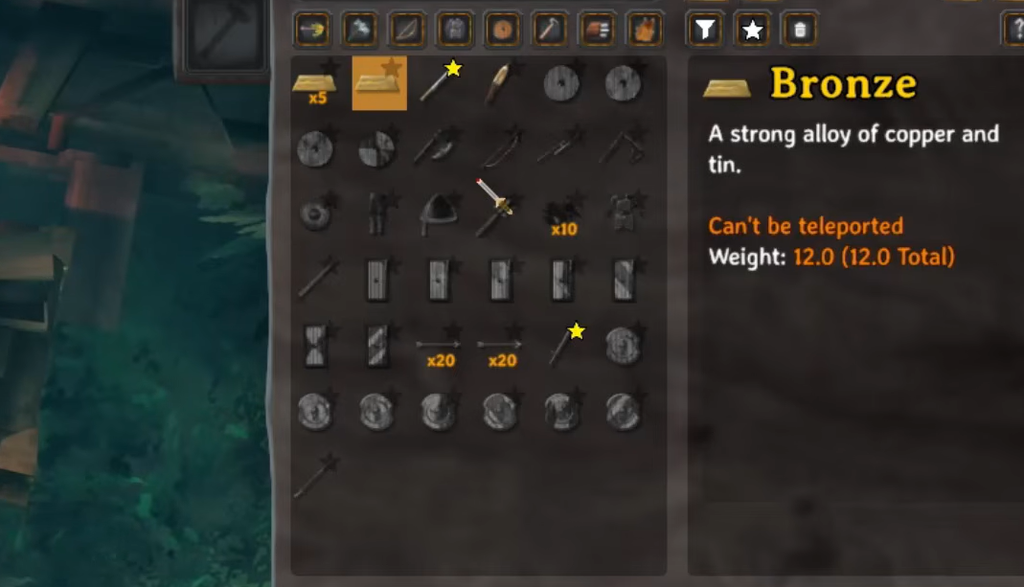
Note: Raw ore and metal bars cannot go through portals, so plan to carry or sail them home. A Karve or Cart makes hauling much easier.
Swamp: iron and Bonemass
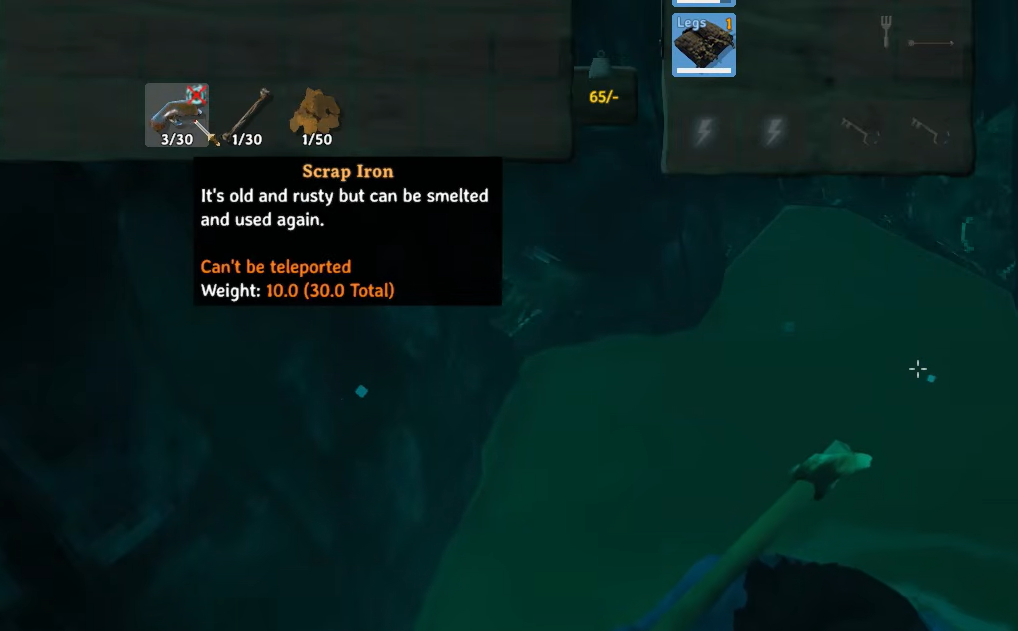
The Swamp is the first major difficulty spike and your main source of Iron Scraps, Ancient Bark, and more Surtling Cores. Cores let you set up a portal network, Ancient Bark builds the Longship, and Iron Scraps smelt into iron for armor, weapons, and tools. Draugr, Wraiths, Oozers, Blobs, and Leeches all want you dead here.
Use the Swamp Key to open Sunken Crypts and mine iron from the muddy piles inside. Collect Withered Bones as you go, gather 10, and summon Bonemass at his altar. He is weak to blunt damage, so bring an Iron Mace and Poison Resistance mead. His drop, the Wishbone, points you toward buried silver in the Mountains.
Mountain: silver and Moder
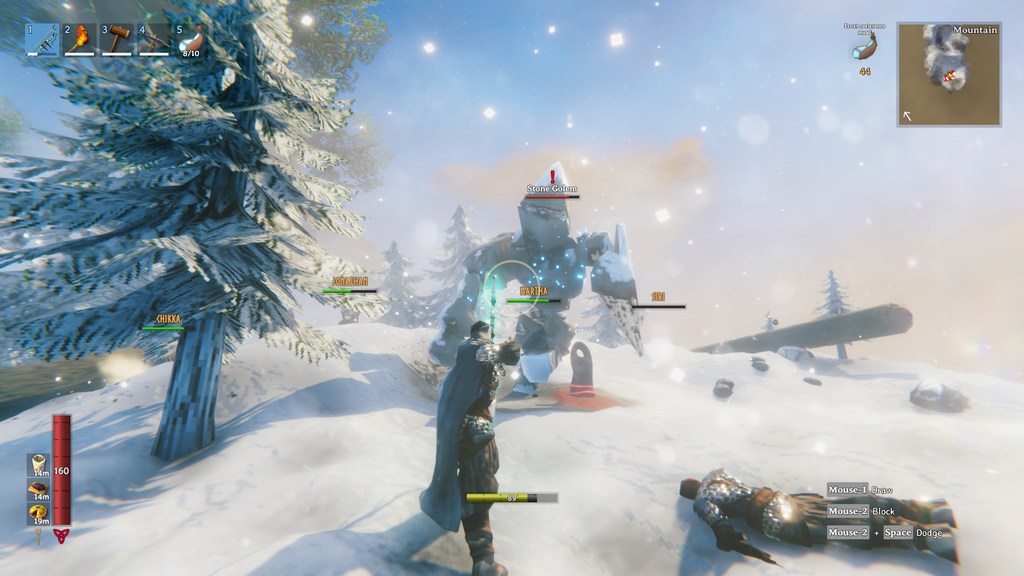
The Mountain applies a Freezing effect that stops passive healing and drains stamina regen. Counter it with a Frost Resistance mead or a frost-resistant piece like the Wolf Hide chest. Expect Wolves, Drakes, Stone Golems, night-only Fenring, and Cultists inside Frost Caves.
Activate the Wishbone and it glows near a Silver Vein. Mine silver with an Iron pickaxe for new gear such as Frostner and the Draugr Fang bow. Gather three Dragon Eggs from Drake nests to summon Moder. She drops Dragon Tears, which unlock the Artisan Table and, through it, the Blast Furnace.
Plains: black metal and Yagluth
The Plains hides a huge jump in danger behind pretty grassland. Fulings swarm in groups, and Deathsquitos can one-shot you if you drop below 90 health, so enter with fully upgraded Silver gear. The main resource is Blackmetal Scraps, which drop from Fulings.
Refine Blackmetal Scraps into pure Blackmetal using a Blast Furnace, since the regular Smelter cannot process it. Grow Flax and spin it into Linen thread on a Spinning Wheel for Padded armor. Collect five Fuling totems from villages to summon Yagluth. His Torn Spirit drop is what starts your Mistlands setup.
Mistlands: Eitr magic and The Queen
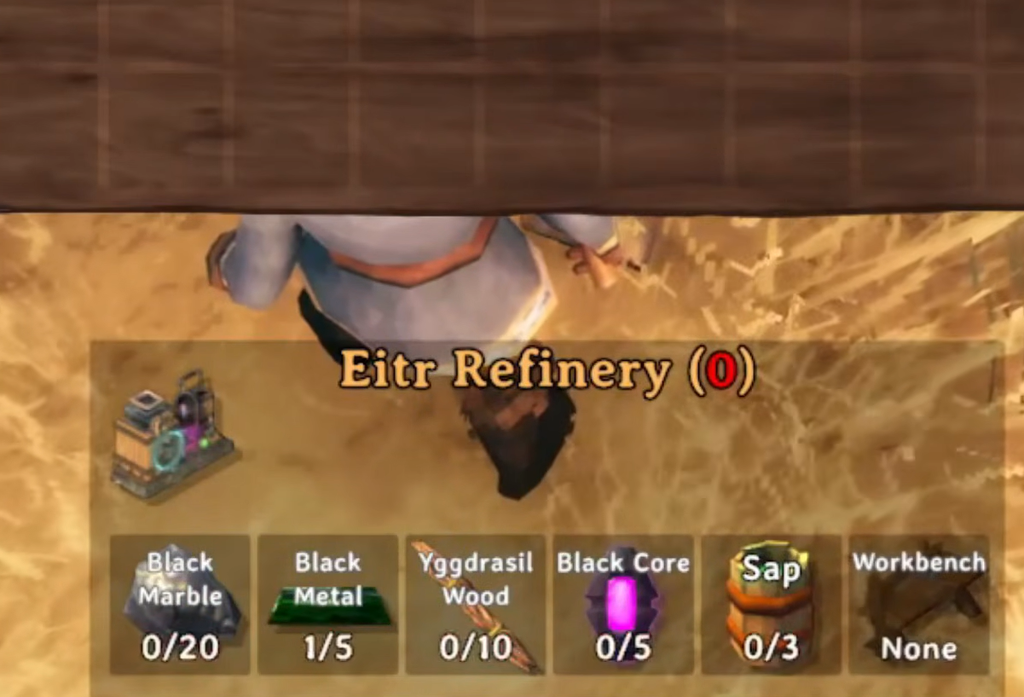
Thick fog makes the Mistlands hard to navigate. Use the Torn Spirit to build a Wisp fountain, farm Wisps, and craft a Wisplight and Wisp torches to clear the mist around you. Ticks, Seekers, and the flying Gjall are the main threats. This is also where Eitr appears, a resource that powers a whole new magic combat system.
Farm Yggdrasil wood and Black marble in the open, and enter the Infested Mines for Black cores while collecting at least nine Sealbreaker fragments. Loot open crates in Dvergr settlements for the Dvergr extractor, and do not aggro the Dvergr themselves. Craft the Sealbreaker to enter the Infested Citadel and fight The Queen. Her Majestic Carapace drop is required to reach and survive the Ashlands.
Ashlands: flametal and Fader
The Ashlands is a hostile volcanic region where regular boats cannot even reach the shore. Upgrade the Artisan Table with Majestic Carapace to unlock the Ceramic Plate for the Drakkar and the Shield Core for a Shield Generator that protects your base. Keep Fire Resistance armor and mead active as your default buff, not an emergency item.
Set up a portal early, then farm Ashwood and Grausten for building before moving on to Flametal ore for endgame weapons and armor. To summon Fader, a skeletal dragon, place three Bells around the coliseum using Bell Fragments found in Charred Fortresses and Ruins. Fader drops the Fader Relic, a likely key item for the Deep North.
Ocean: the side biome you can skip
The Ocean sits outside the main progression chain, so you can leave it until after the Swamp. You can enter it as soon as you build a Raft in the Black Forest, though a Karve offers better storage and durability. Only two creatures live here: the hostile Serpent and the shy, dormant Leviathan.
Killing a Serpent lets you craft the Serpent Scale Shield, an upgrade over anything from the Black Forest. Climb onto a Leviathan and mine Abyssal Barnacles with a pickaxe before it dives. Those barnacles give Chitin for the Abyssal Harpoon, which makes hunting Serpents far easier.
Deep North: the eighth biome in 1.0
The Deep North is the eighth and final biome, arriving with the Valheim 1.0 update as a frozen continent along the far northern edge of the map. Constant cold, blizzards, and slippery ice sheets define the region, so you will need Deep North armor or the highest-tier Frost Resistance mead to stay alive.
The endgame metal here is Bloodgold, smelted from Petrified Tissue at the Frost Foundry. Petrified Tissue comes from blowing up petrified Gammeltroll corpses with Ember Charges. Bloodgold feeds the Nord weapon tier, which has a variant for every weapon class, plus three new armor sets. Explore the Winding Tunnels for Frostcores, Moulds, and Luminous Larvae, and tame Moose as a rideable mount for cargo and cold-weather travel.
Best weapon to aim for at each stage
| Stage | Standout weapon |
|---|---|
| Black Forest | Bronze Atgeir or Bronze Mace |
| Swamp | Iron Mace, Iron Sword |
| Mountain | Frostner, Draugr Fang bow |
| Plains | Black-metal Sword or Atgeir |
| Mistlands | Carapace weapons or Eitr staffs |
| Ashlands | Flametal weapons |
Rules that keep the whole run on track
- Do not skip biomes. Each new metal needs the previous tier’s tools, such as a Bronze pickaxe to mine iron in the Swamp crypts.
- Always eat three different foods before heading out. Food is the biggest source of max HP and stamina, and it matters more than a small weapon upgrade in the late game.
- Ore and metal bars cannot be teleported, so build a Karve or Longship and haul them, or smelt near the mine.
- Max out your current gear tier before pushing on. A fully upgraded lower-tier set often beats a fresh higher-tier one.
- Swap Forsaken Powers for the job: Eikthyr for running and grinding, Moder for sailing, Bonemass or Yagluth for tough fights.
Follow the chain in order, build the beachhead before you push each late-game biome, and the game stops feeling random and starts feeling like a checklist. Mine the new metal, craft the new gear, beat the boss, and repeat until the frozen north.