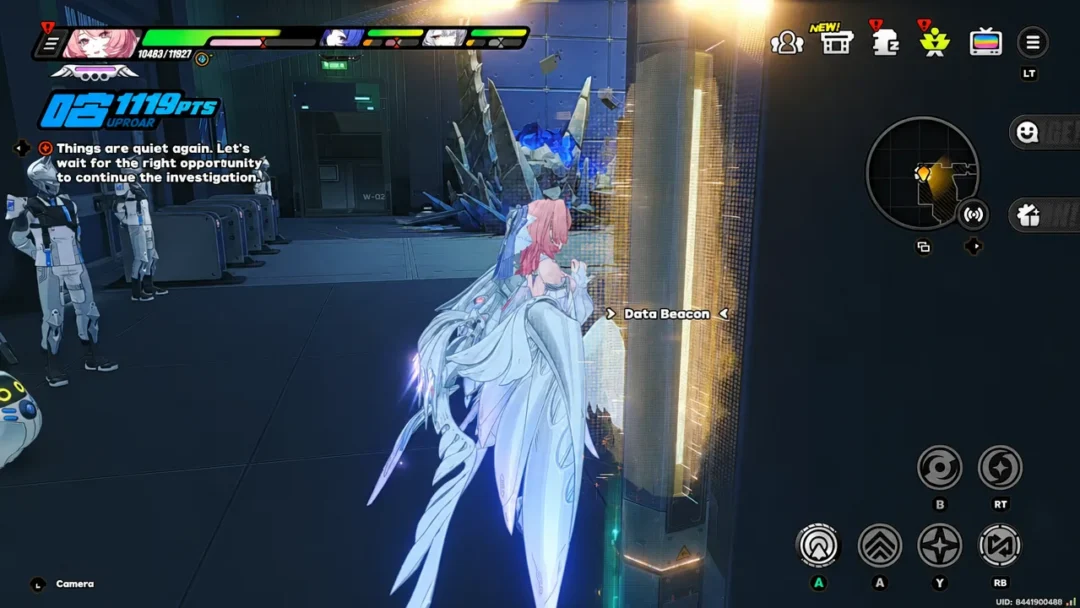
The 3.2 main story of Zenless Zone Zero is a short, tightly packed chapter. It opens with a girl stuck inside a cardboard box outside Amber Hall and ends on a cliffside conversation that quietly rewrites what the Sunbringer actually is. In between, there is a mech bay ambush, a hidden room behind a bookshelf, and a crystalline boss summoned specifically to rip out a Karma Core.
Quick answer: Chapter 3, “Their Secret Histories,” ends with the team destroying the boss Kusarikku in the TOPS Containment Sector, Serpico escaping after revealing he is a Youkai piloting a fake human body, and Lindverne explaining to Belle that the original Sunbringer split her Karma Core into three parts to create the three current Sunbringers.
Chapter 3 “Their Secret Histories” setup and cast
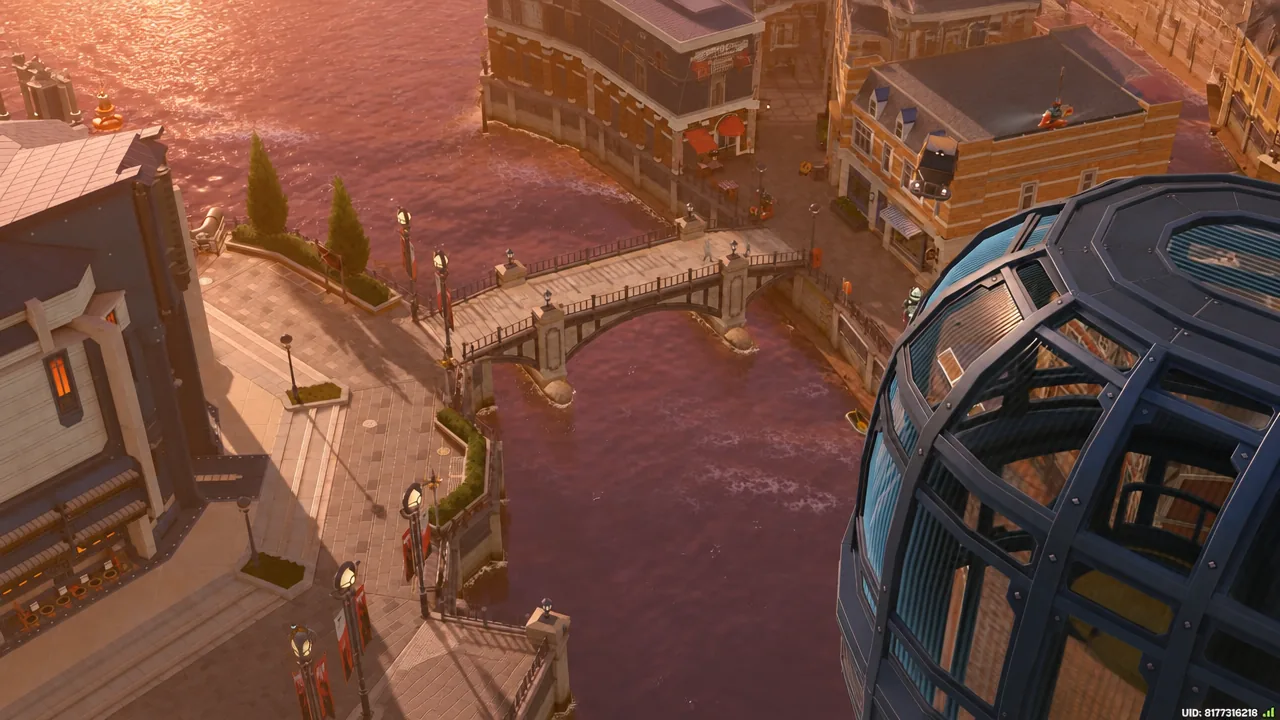
The title card reads S3-CHAPTER 003 Their Secret Histories, and the action stays anchored around Amber Hall, with on-screen location markers for Amber Hall and Enbarr. Belle, Claret, Lindverne and Roxy carry most of the chapter, with Remielle meeting the group at the dock and walking them in.
The cold open is played for comedy. A blonde girl in a cardboard box costume turns up at Amber Hall, fails to climb out of the box, and gets knocked into a bush by Roxy. When the group finally gets inside after the dock reunion, they find Claret standing over a dazed Roxy on the floor.
Full cutscene timeline for the 3.2 main story
The chapter runs a little over eleven minutes when the story scenes and boss gameplay are watched back to back. Here is the order of events.
The hidden pod room behind the Amber Hall bookshelf
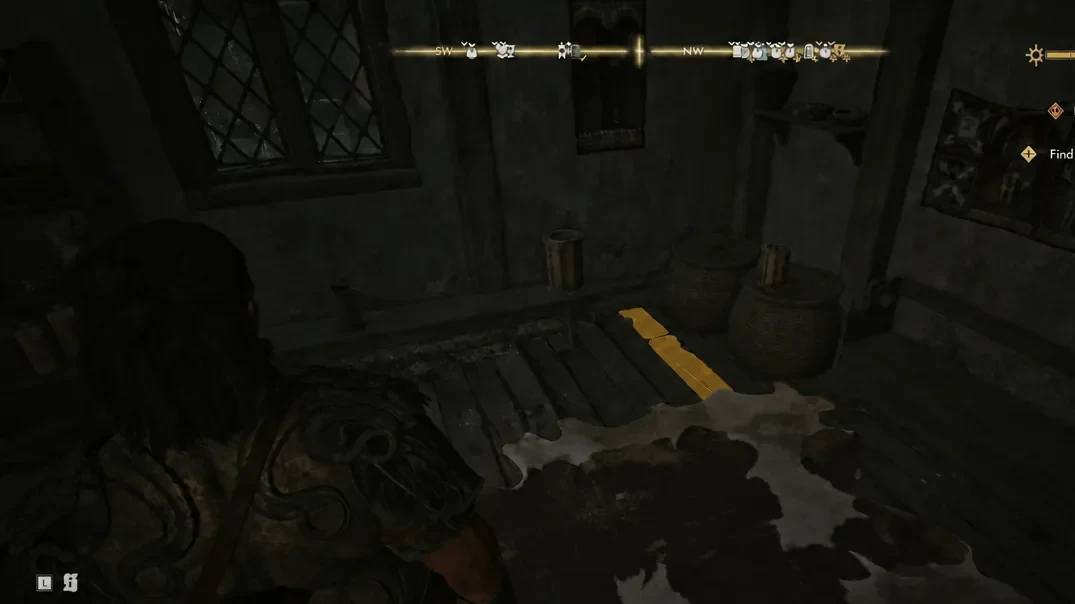
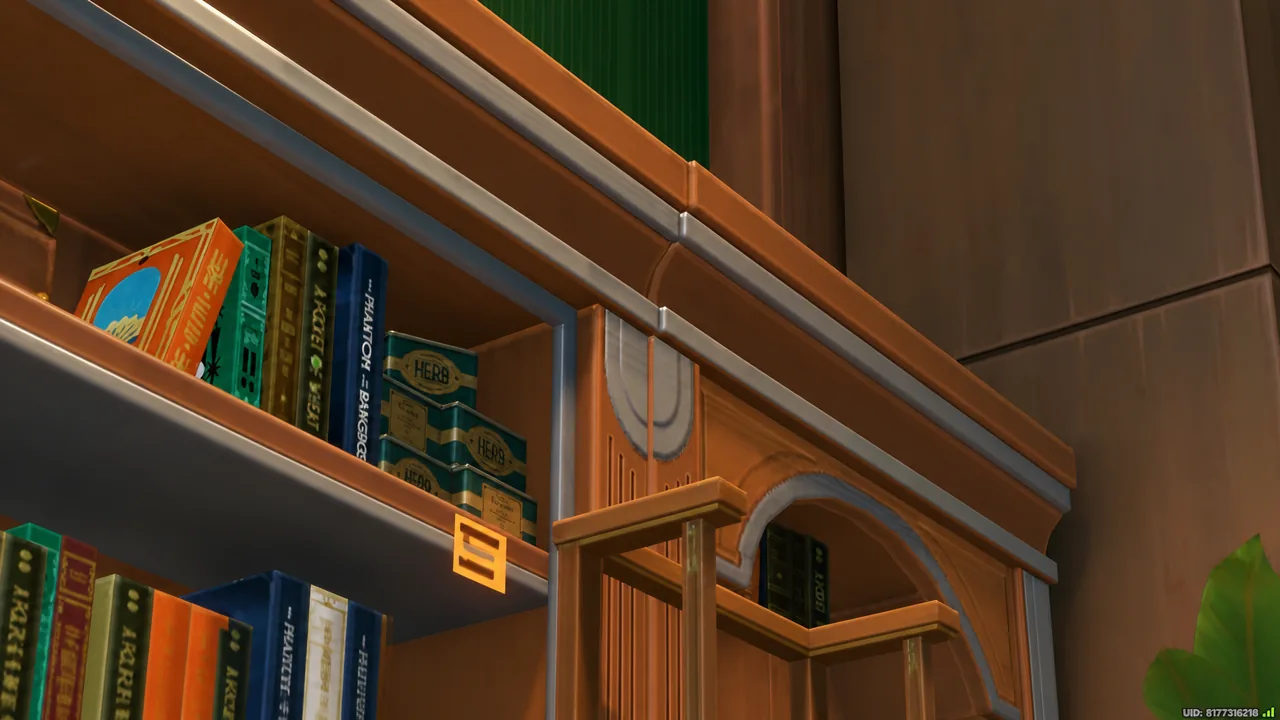
The first real story beat is a puzzle in miniature. Interacting with a green figurine in Amber Hall swings a bookshelf aside and opens a passage into a concealed room fitted with a medical pod. It is the moment the chapter stops being a reunion scene and becomes an investigation.
What follows is delivered as a comic-style storyboard. The characters track footprints and turn up a “Practical Infiltration Guide,” which sets up the push into the mech bays. The bay signage counts up from Mech Bay 01 to Mech Bay 05, and a purple security mech wakes up mid-approach and declares an elimination protocol.
That fight is Claret’s. She takes on the mech alone, and it changes form partway through before going down. Immediately after, another storyboard sequence covers Roxy overhearing a conspiracy, getting grabbed, and being pulled out by the rest of the team.
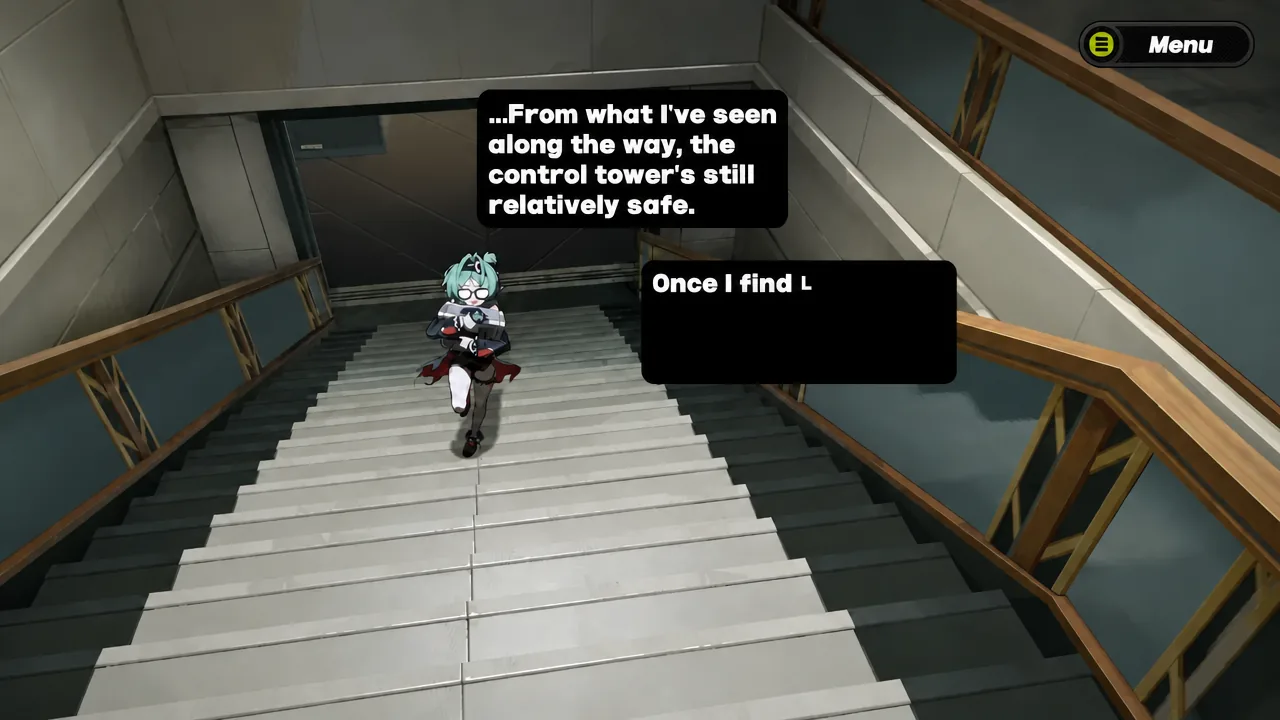
Kusarikku boss fight in the TOPS Containment Sector
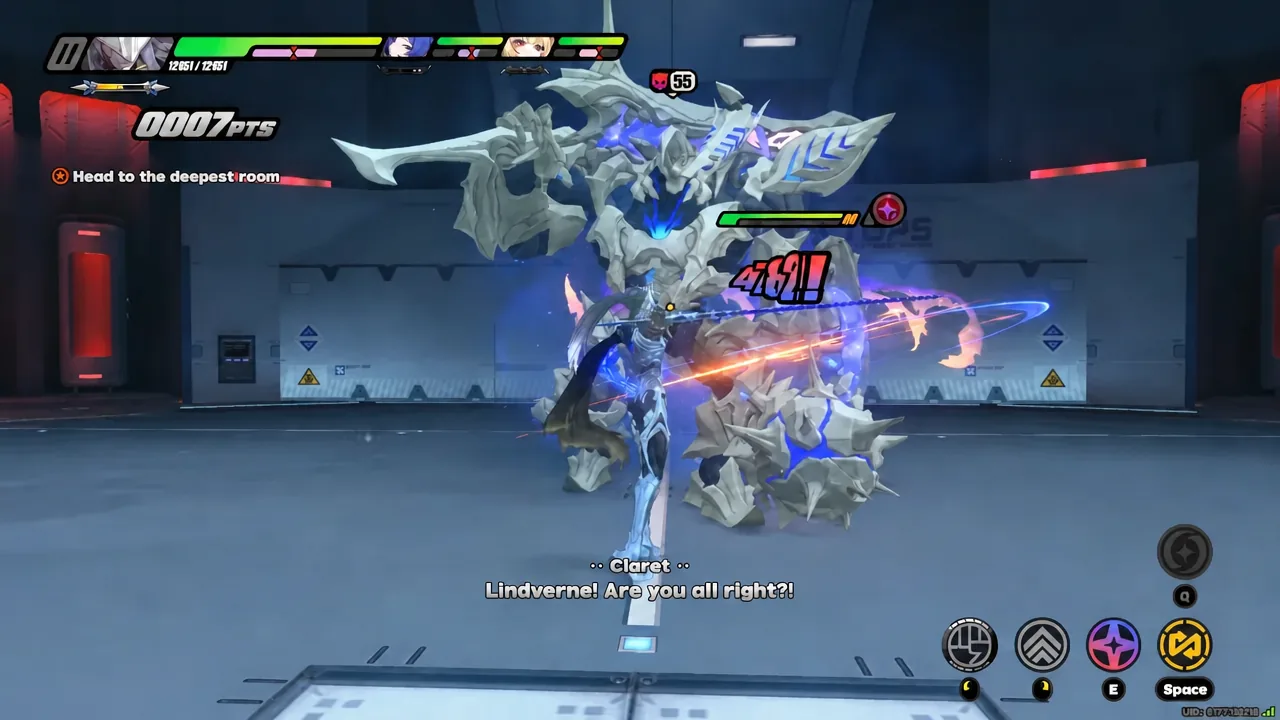
The trap springs in a large containment chamber, signposted as the TOPS Containment Sector and marked “Danger Do Not Enter.” Serpico is waiting on an overhead balcony, and rather than fight the group himself, he summons a massive crystalline monster named Kusarikku with one goal: extract the Karma Core.
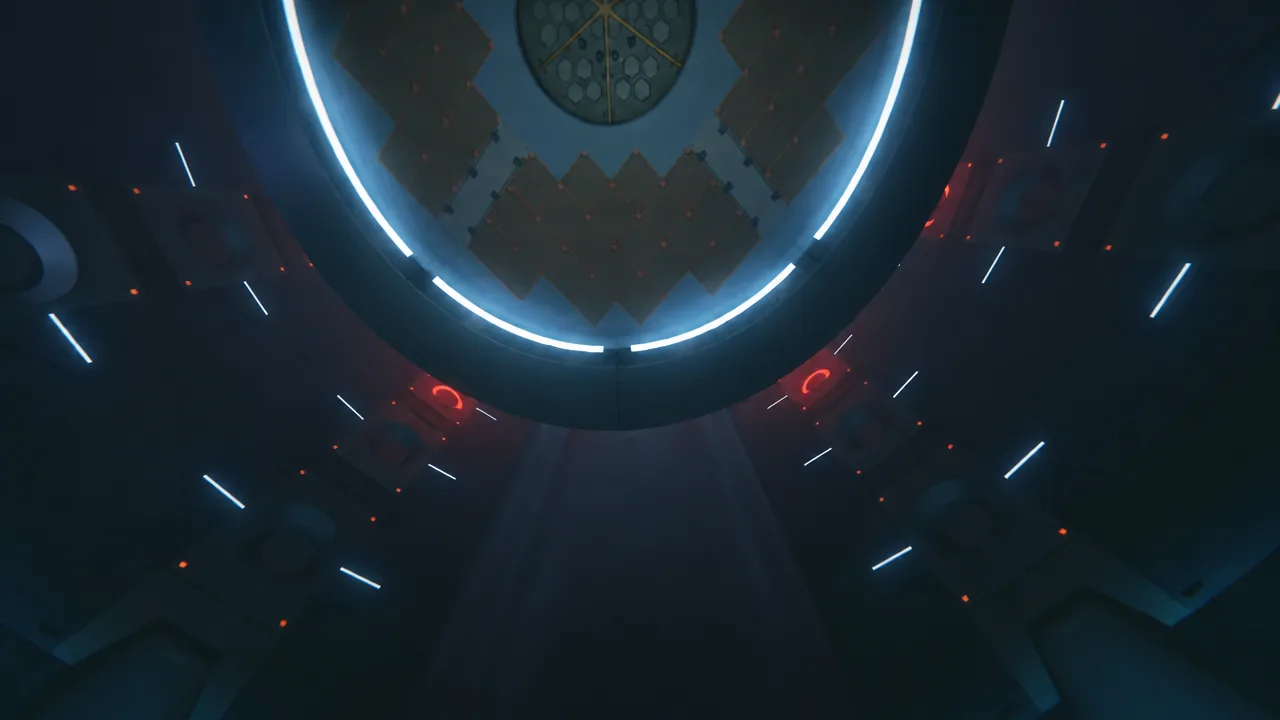
The encounter is a standard multi-character boss fight rather than a scripted set piece. You rotate between party members, chain coordinated attacks, and work the boss down until its core is exposed and destroyed. Health bars, damage numbers, combo counters, and button prompts stay on the HUD throughout, so the fight reads clearly even when the arena fills with crystal.
Note: destroying the core is what ends the fight. The Karma Core stays with the team — Serpico’s extraction attempt fails, which is why he leaves rather than presses the attack.
Serpico revealed as a Youkai
With Kusarikku down, Serpico gets the chapter’s biggest turn. He taunts the group, drops the disguise, and confirms he is a Youkai — the human body everyone has been dealing with is a counterfeit. He then vanishes and leaves the fake body behind, which is the visual confirmation that nobody was ever talking to a person.
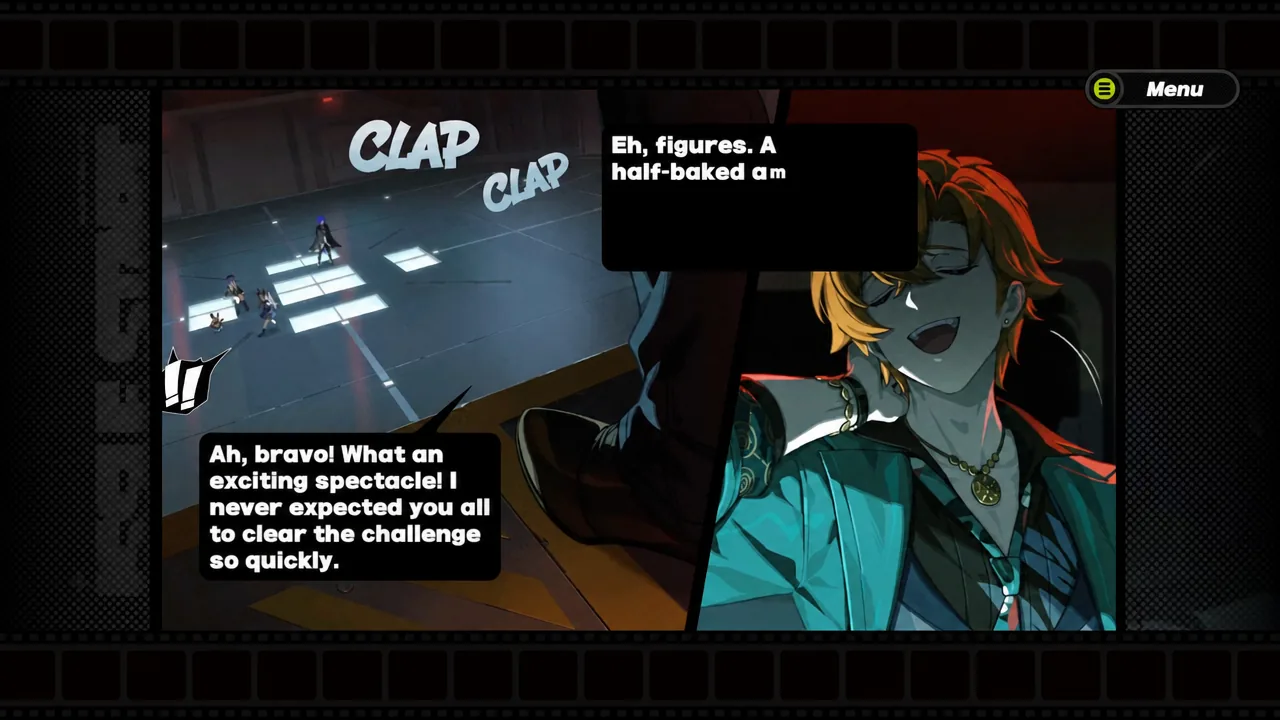
It also reframes his earlier appearances. Serpico had already been flagged as an oddity in the previous chapter’s investigation footage, where Belle questioned why he was at the scene at all. The Youkai reveal is the answer to that thread.
How the Sunbringer’s Karma Core split into three
The chapter closes quietly. Lindverne and Belle talk on a cliffside, and Lindverne lays out the origin of the Sunbringers as they exist now. The original Sunbringer divided her Karma Core into three pieces, and those three fragments are what produced the three current Sunbringers.
That single line is why the Karma Core is worth stealing, and it links back to earlier story material about Karma Cores, Void Hunter weaponry, and Project Sunseeker. If you were wondering why Serpico went to the trouble of summoning a boss inside a sealed containment sector, this is the reason.
Watched end to end, “Their Secret Histories” spends most of its runtime on comedy, storyboards and a single boss, then hands over two pieces of information that matter for everything after it. Serpico is not human, and the Sunbringer everyone knows is one third of someone who came first.