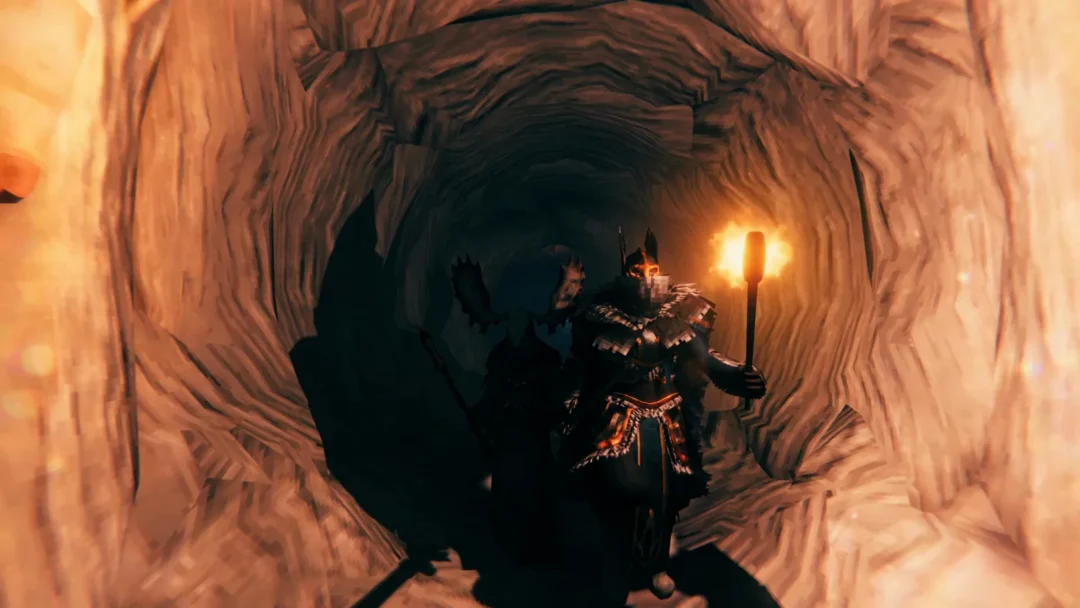
The Workbench is the first real foothold you get in Valheim. Nothing else in your base works until one is standing, because it defines the area you can build in, unlocks the early tool and armor recipes, and repairs your gear for free. It also costs almost nothing to make, which is why it should go up within the first few minutes of a new world.
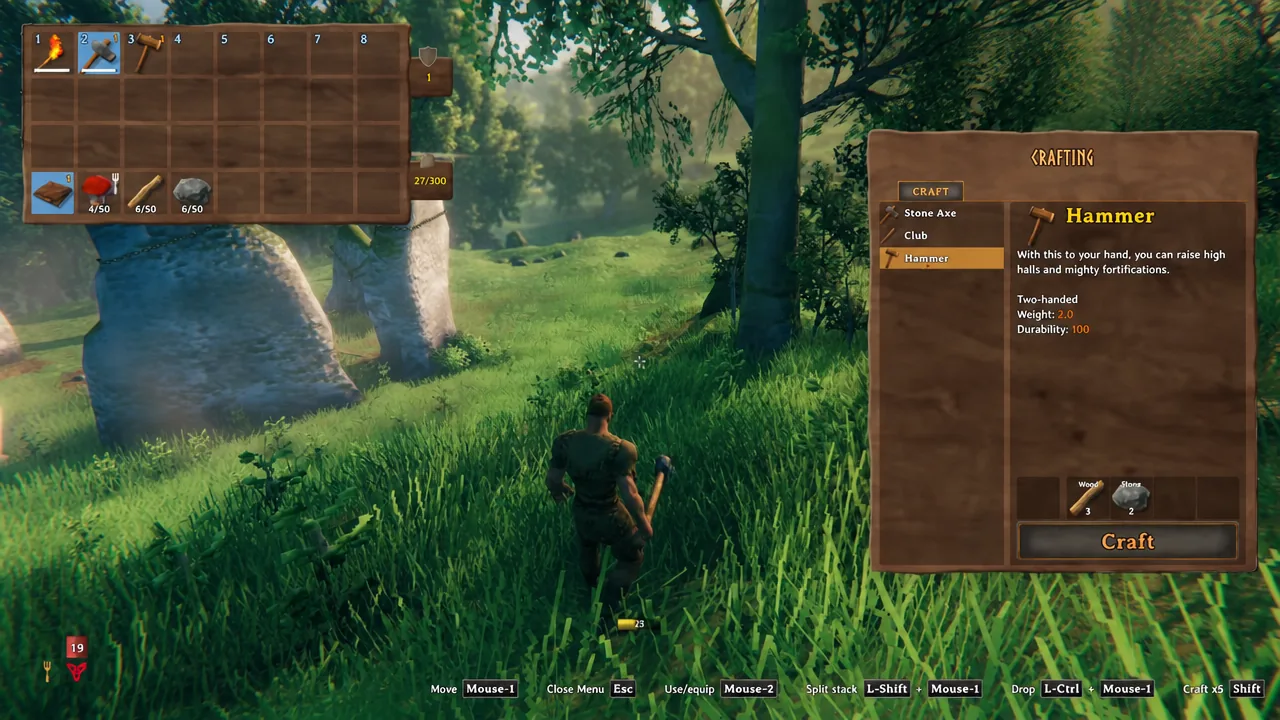
Quick answer: Pick up 3 Wood and 2 Stone from the ground, craft a Hammer in your inventory, gather 10 more Wood, then equip the Hammer, right-click to open the build menu, and place the Workbench. To actually craft or repair at it, put a roof over it and enclose roughly 70 percent of it with walls.
Workbench materials and Hammer cost
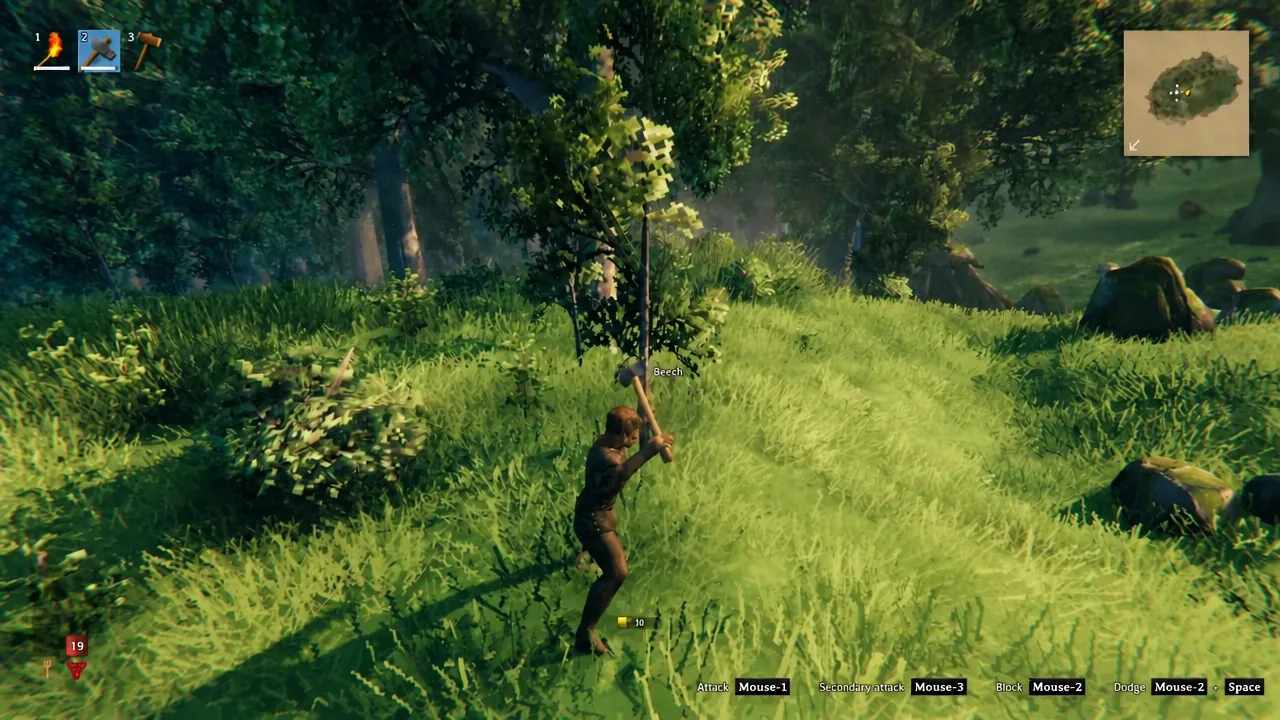
You need 13 Wood and 2 Stone in total, and every bit of it comes from the Meadows biome where you spawn. Branches and loose stones sit on the ground and are picked up by hand, so you can get the Hammer built before you have any tools at all.
| Item | Cost | How to gather it |
|---|---|---|
| Hammer | 3 Wood, 2 Stone | Pick up wood branches and stone pebbles lying on the ground |
| Workbench | 10 Wood | More ground branches, or chop small trees with a Stone Axe |
Note: the Hammer is crafted straight from your inventory and does not need a station, which is what breaks the chicken-and-egg problem of needing a Workbench to build a Workbench.
How to build the Workbench
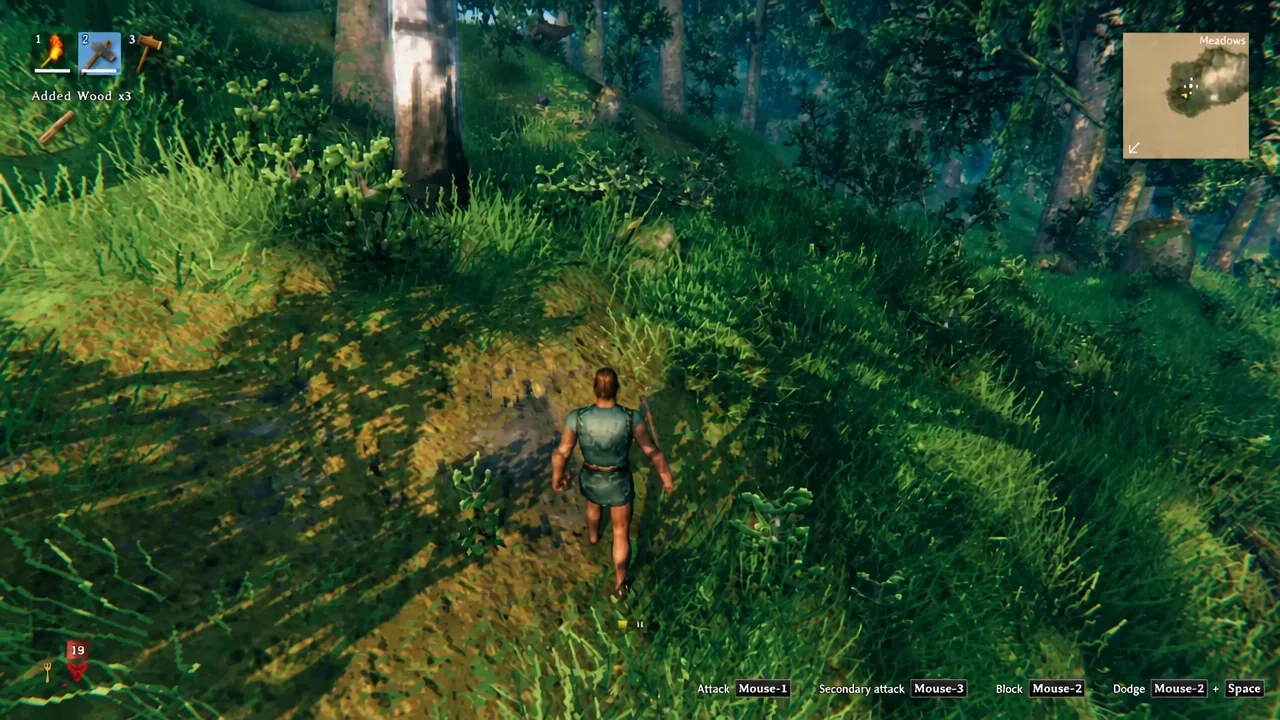
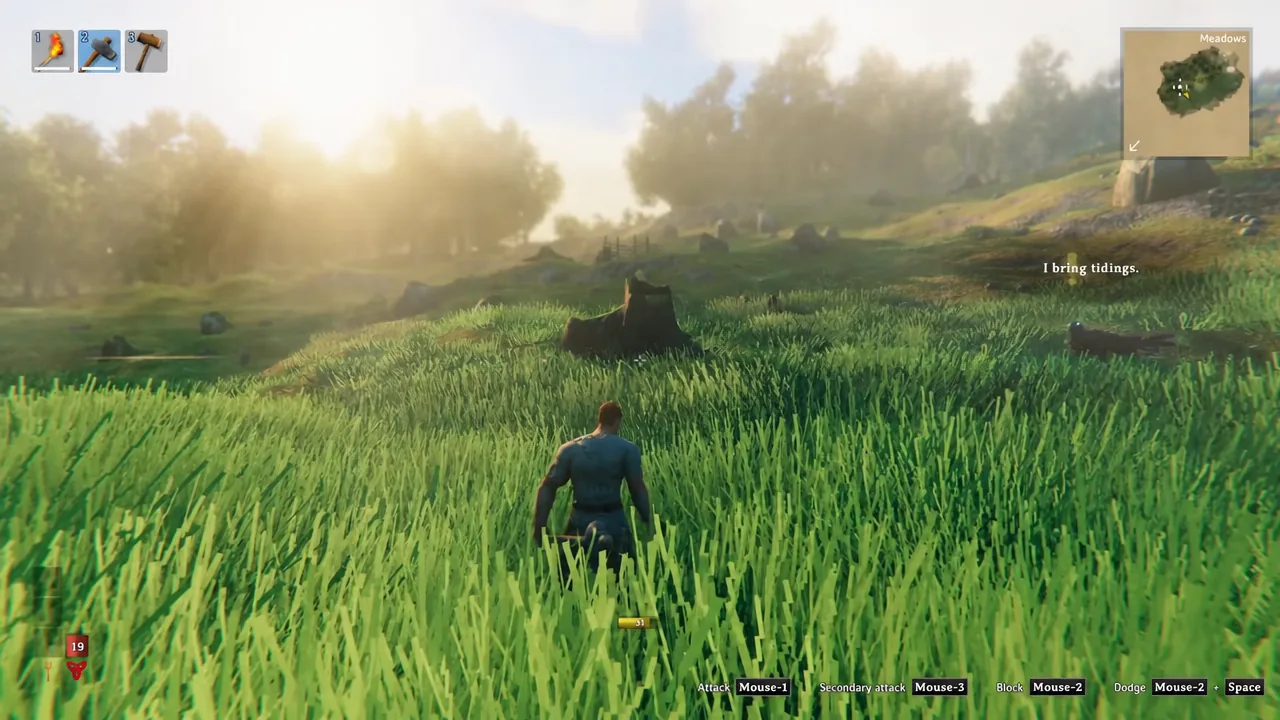
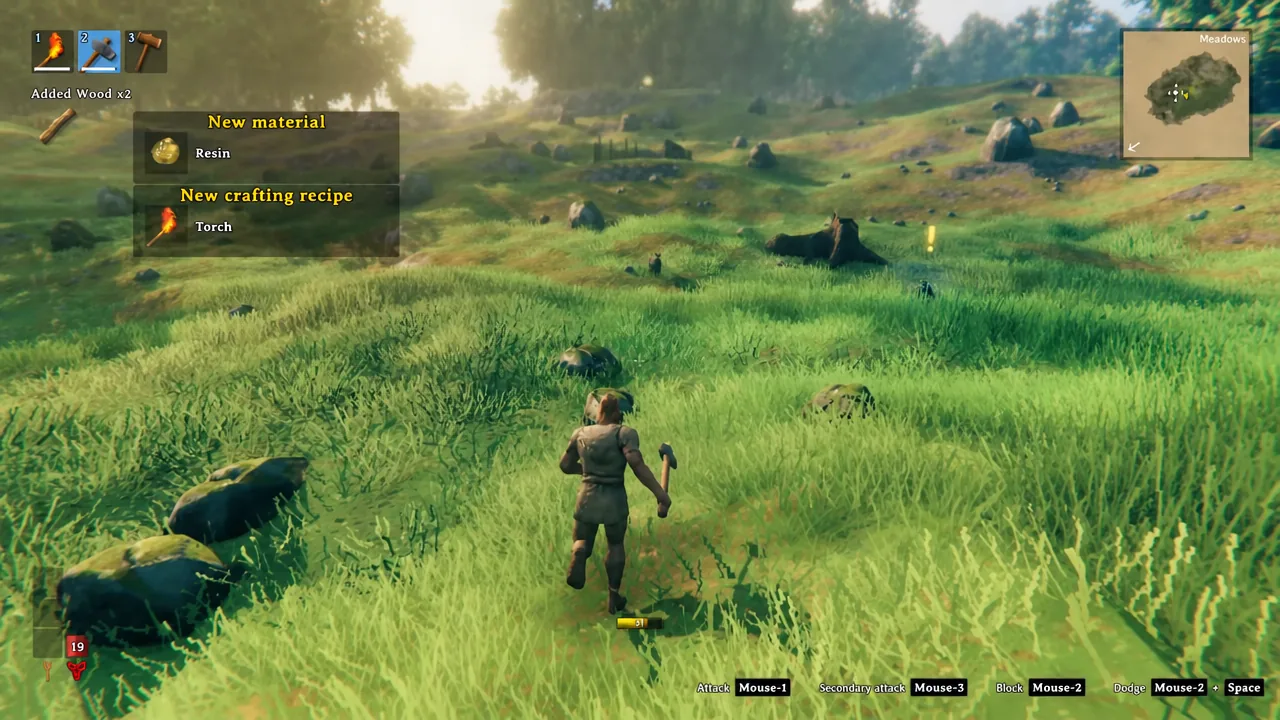
Picking up a material for the first time is also what reveals new recipes, so expect a “New crafting recipe” pop-up for things like the Torch while you are collecting wood. If a recipe seems to be missing later, it usually means you have not touched one of its ingredients yet.
Roof and 70 percent cover requirement
A Workbench sitting in the open will let you place building pieces, but it will refuse to craft or repair anything. It needs a roof directly above it and about 70 percent of the surrounding space enclosed by structures such as walls and floors. The simplest fix is a small shed, four walls and a roof, built with the Wood Wall and roof pieces that the Workbench itself unlocks.
You will know it worked when interacting with the station opens the crafting window instead of showing an error. Repairs cost nothing, so once the shelter is up you can top up your Hammer, axe, and armor for free by using the repair icon.
Rain also damages the Workbench, which is another reason the roof matters. The station has 200 durability, is weak to chop damage, resistant to pierce, and immune to poison and spirit damage, so raiders that swing axes are the real threat to it.
What the Workbench does without a roof
Two of the Workbench’s functions ignore the cover rule entirely. The 20-meter build radius works the moment the station is on the ground, so a bare Workbench dropped in a field is enough to let you construct a shelter around it. Monster spawn suppression also works without any cover, which is why players scatter cheap Workbenches around a base perimeter.
If you are using them purely to block spawns, spacing matters. The effect is a circle, so a grid spaced 40 meters apart leaves gaps between the circles. The largest square that fits inside each circle gives an effective range of 14 meters, meaning Workbenches placed 28 meters apart cover an area with no holes.
Workbench levels and upgrade pieces
The Workbench caps at level 5. Each level is earned by building one of four attachment pieces within two meters of the station, and every one of them also extends the build radius by four meters, up to a maximum of 36 meters. Higher levels unlock better recipes and let you push existing tools, weapons, and armor to further upgrade tiers.
| Level | Piece | Materials |
|---|---|---|
| 2 | Chopping Block | 10 Wood, 10 Flint |
| 3 | Tanning Rack | 10 Wood, 15 Flint, 20 Leather scraps, 5 Deer hide |
| 4 | Adze | 10 Finewood, 3 Bronze |
| 5 | Tool Shelf | 10 Finewood, 4 Iron, 4 Obsidian |
Placement is stricter than it looks. Every upgrade needs its own unbroken connection path to the Workbench, shown as a dotted line of light while you are in the build menu. Lining all four pieces up in a row on one side does not work, because each one blocks the next one’s path. Spreading them around the station, or mounting the Tool Shelf on a wall, solves it. Upgrades can sit on the far side of walls and floors, and duplicates of the same piece do not stack.
The current level is displayed in the corner of the crafting window when you interact with the station. If a piece you just built did not raise that number, it is either too far away or its connection line is being blocked by another upgrade.
Why the Workbench won’t let you craft
Three things account for almost every failure. There is no roof directly over the station, the surrounding cover has not reached 70 percent, or the recipe you want simply is not unlocked yet because you have never picked up one of its ingredients. A fourth possibility is that the item needs a higher station level than the one you have built.
One small time saver once you are stocked up on wood: holding Shift while crafting produces five items at a time, which is worth remembering when you start turning out arrows.
From here, the Workbench is what everything else hangs off. It unlocks the Hoe for flattening ground before you build, the Stone Axe and Flint tools, early armor and shields, and eventually the parts that let you place a Forge and the rest of your crafting stations. Building a second and third one further out is cheap enough that most players never stop at just one.