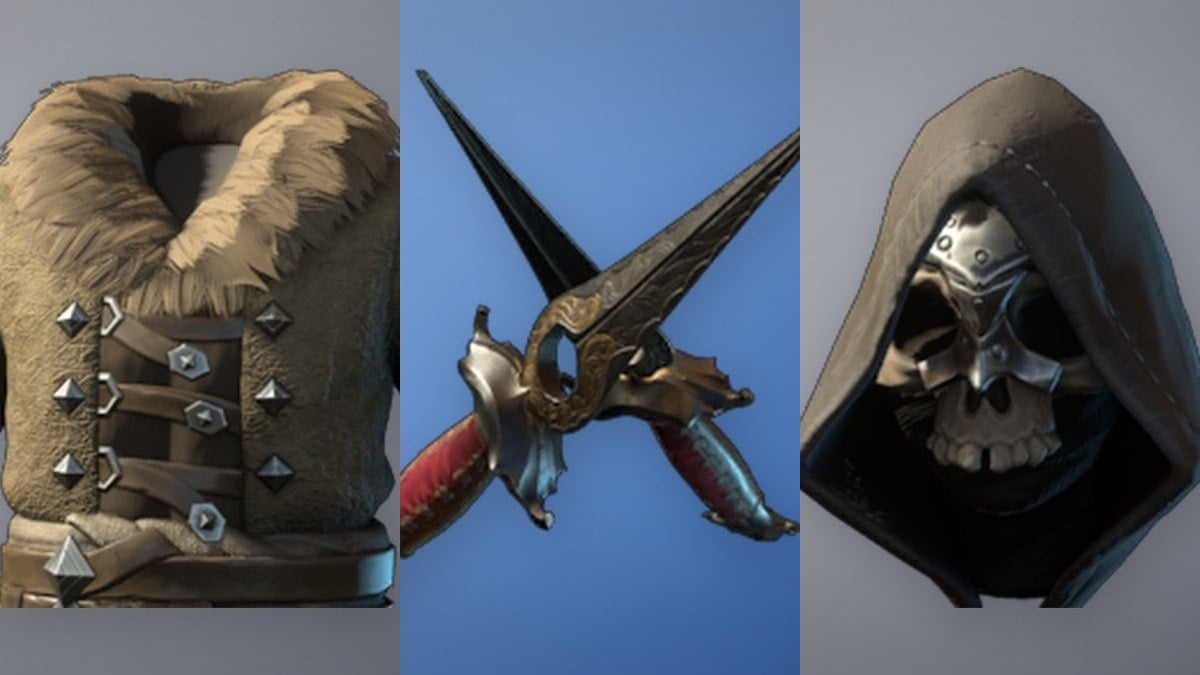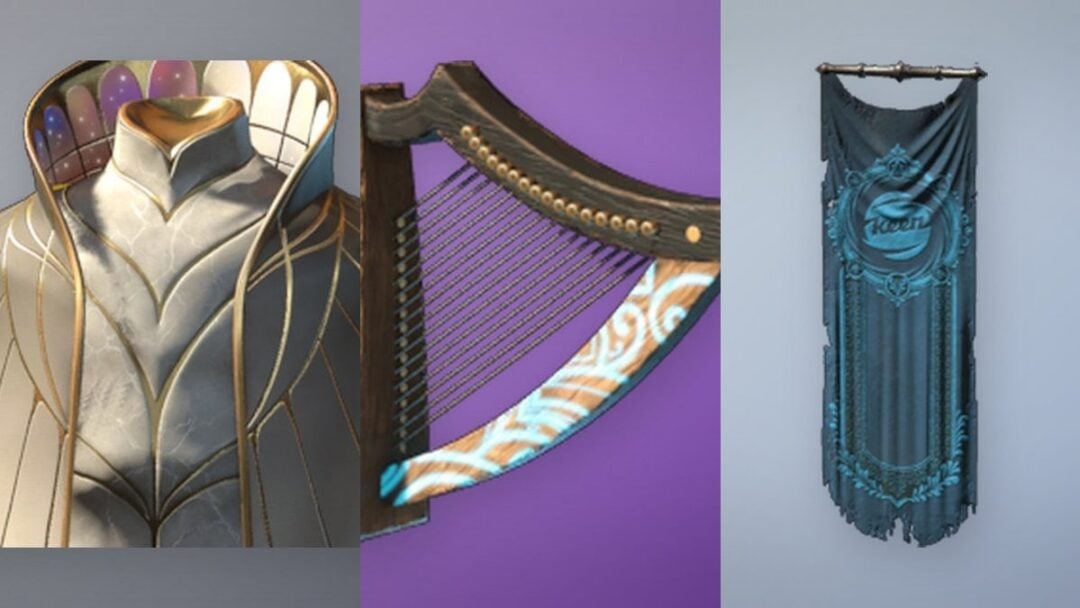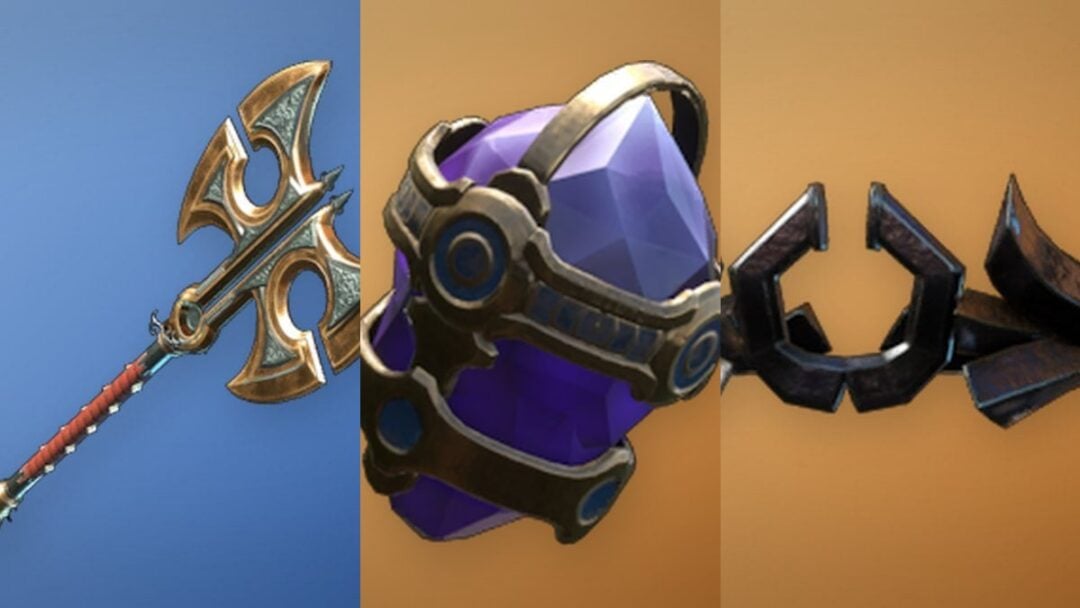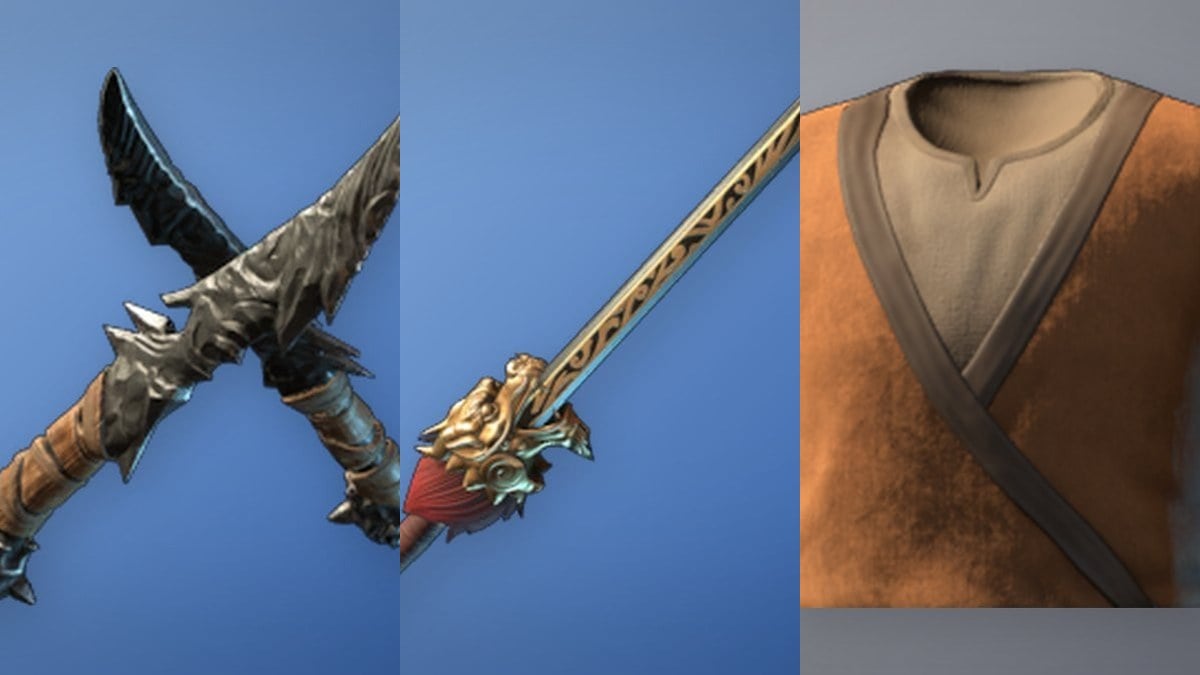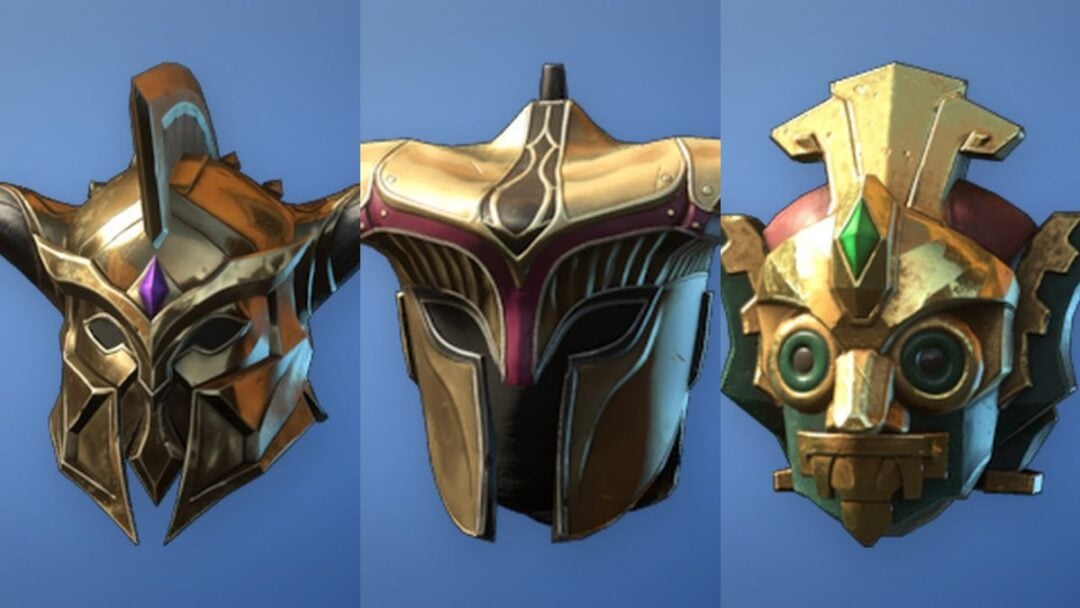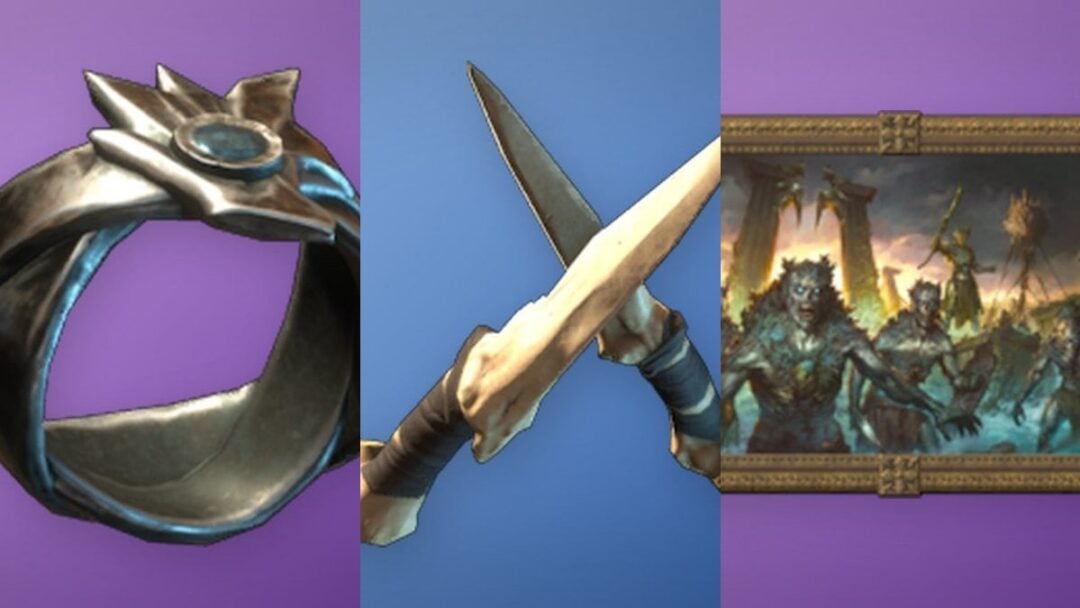
A Bulwark Against Darkness is the only side quest in The Blood of Dawnwalker that hands Coen a complete four-piece Legendary armor set in one go. It starts with an anonymous letter, sends you across Vale Sangora for four crafting components, and ends with a defense fight at a mountain forge. The reward is the Enhanced Armour of the Arbiter set, plus the Arbiter’s Regalia trophy.
Quick answer: Reach Infamy Level 4 (Notorious), read the mysterious letter and the List of Armour Components in your inventory, then bring a Relic of a Saint, the Large Lizard’s Moult, a Bundle of Silk Threads, and a Flask of Quicksilver to Nareh, the uriash blacksmith at the Uriash Hermitage in the northwest, and survive her ritual.
How to trigger A Bulwark Against Darkness
The quest has no map marker and no fixed quest giver. It fires only once your Infamy reaches level 4, the Notorious tier, which you get by sabotaging the operations of Ambrus, Bakir, and Xanthe until Brencis takes notice. After the edict cutscene plays, the letter finds you one of two ways.
Anca can hand it over at the Crossroads Inn, telling you a messenger left something for Coen. Alternatively, a smuggler approaches you around the tavern and market stalls in the Altenmarkt area of Svartrau City. Either way, open your inventory, find the letter under Books & Notes with its orange quest-item background, and read it. Then read the List of Armour Components in the same tab. Reading both is what formally starts the quest.
The four components exist in the world before the letter arrives. Anything you already picked up counts retroactively the moment you read the list, so nothing is missable if you explored early.
The four Arbiter armor components
| Component | Fastest source |
|---|---|
| Relic of a Saint | Any qualifying relic you already own; Saint’s Tibia from St. Tyna’s Convent is the cheapest to give up |
| Large Lizard’s Moult | Cave in the marshes between Briar Sloughs and Maragir Wealds |
| Bundle of Silk Threads | Free from the Murohn’s lair during the Come Hither Sanzhani quest |
| Flask of Quicksilver | Top floor of Aurelius Tower, after the Home Sweet Home quest |
Relic of a Saint: pick the one you lose nothing by burning
The quest does not ask for one specific relic. Several qualify, and the component is consumed, so the real decision is which one you can afford to hand over. If you have explored much of Vale Sangora, one is probably sitting in your inventory already.
| Relic | Where it comes from | Worth keeping? |
|---|---|---|
| Saint’s Tibia | Echoes of Silenced Bells, in St. Tyna’s Convent. West of the central compound with the zombie nuns, climb down the ladder and loot the corpse at the bottom | No. It is junk with no other use and cannot be sold, making it the ideal offering |
| Relic of St. Tobias | The Night of Horrors quest with Lacra | Rare junk item, so it is also a safe choice |
| Relic of St. Tyna | Behind a locked door inside St. Tyna’s Convent during the same Anca quest | An epic amulet you can wear. Keep it if you can |
| Relic of St. Dasius | A lantern-locked room in Xanthe’s Howling Keep during The Cycle of Love, or bought from Vicho after his questline | A legendary amulet. Use it only as a fallback |
If you gave your relic away during the optional Most Precious Thing quest, the Relic of St. Dasius is your backup. When you hold more than one at the forge, Nareh lets you choose which goes into the armor.
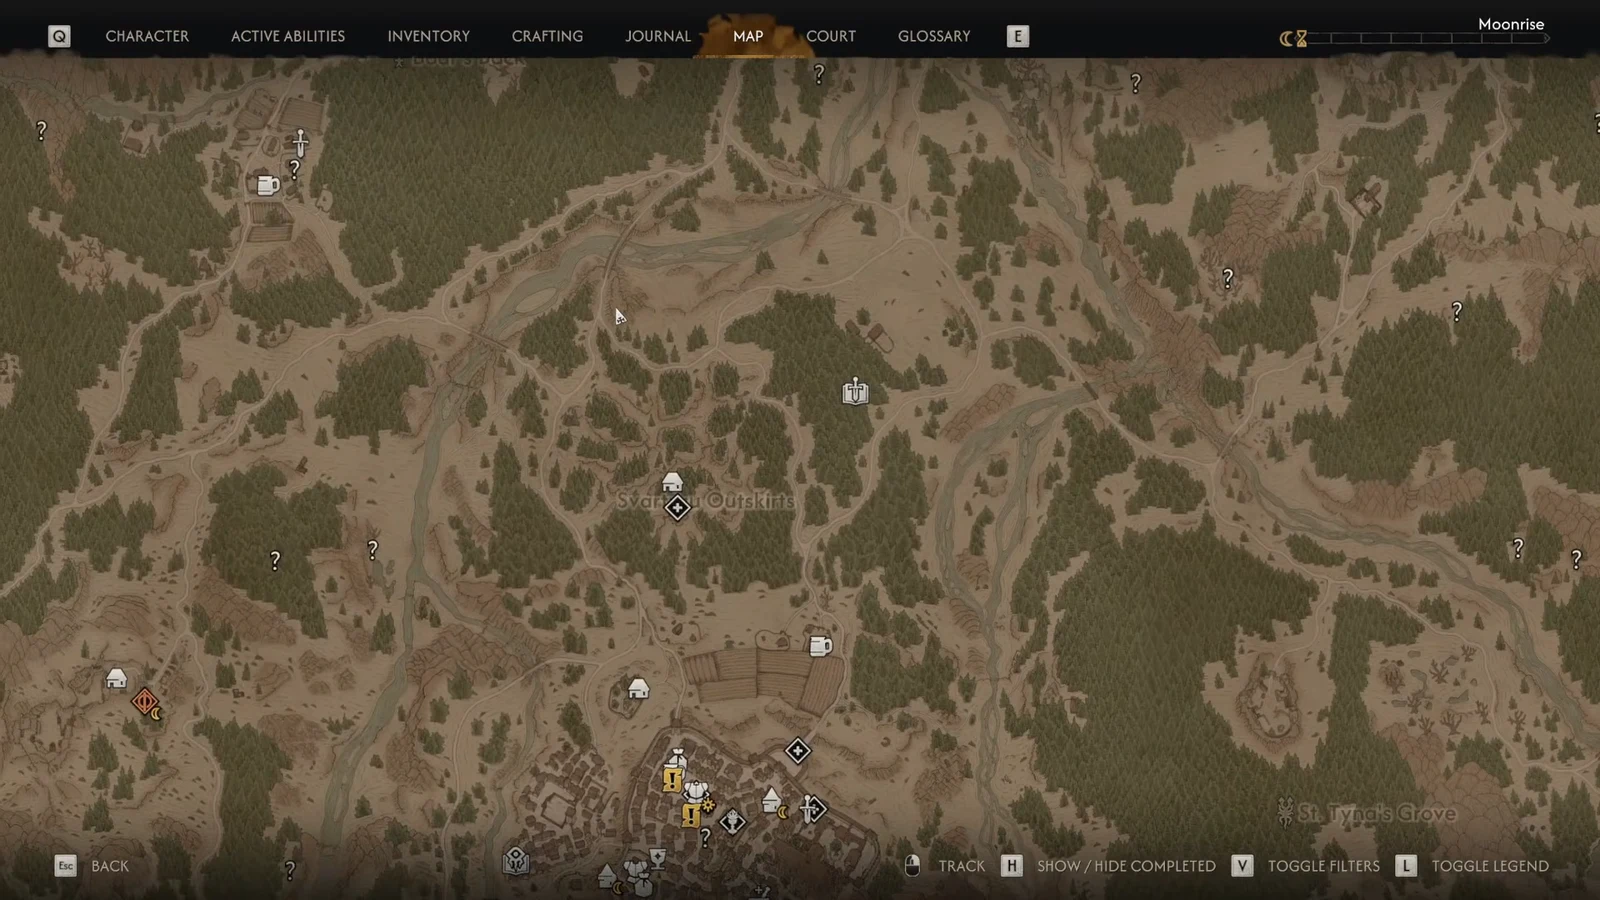
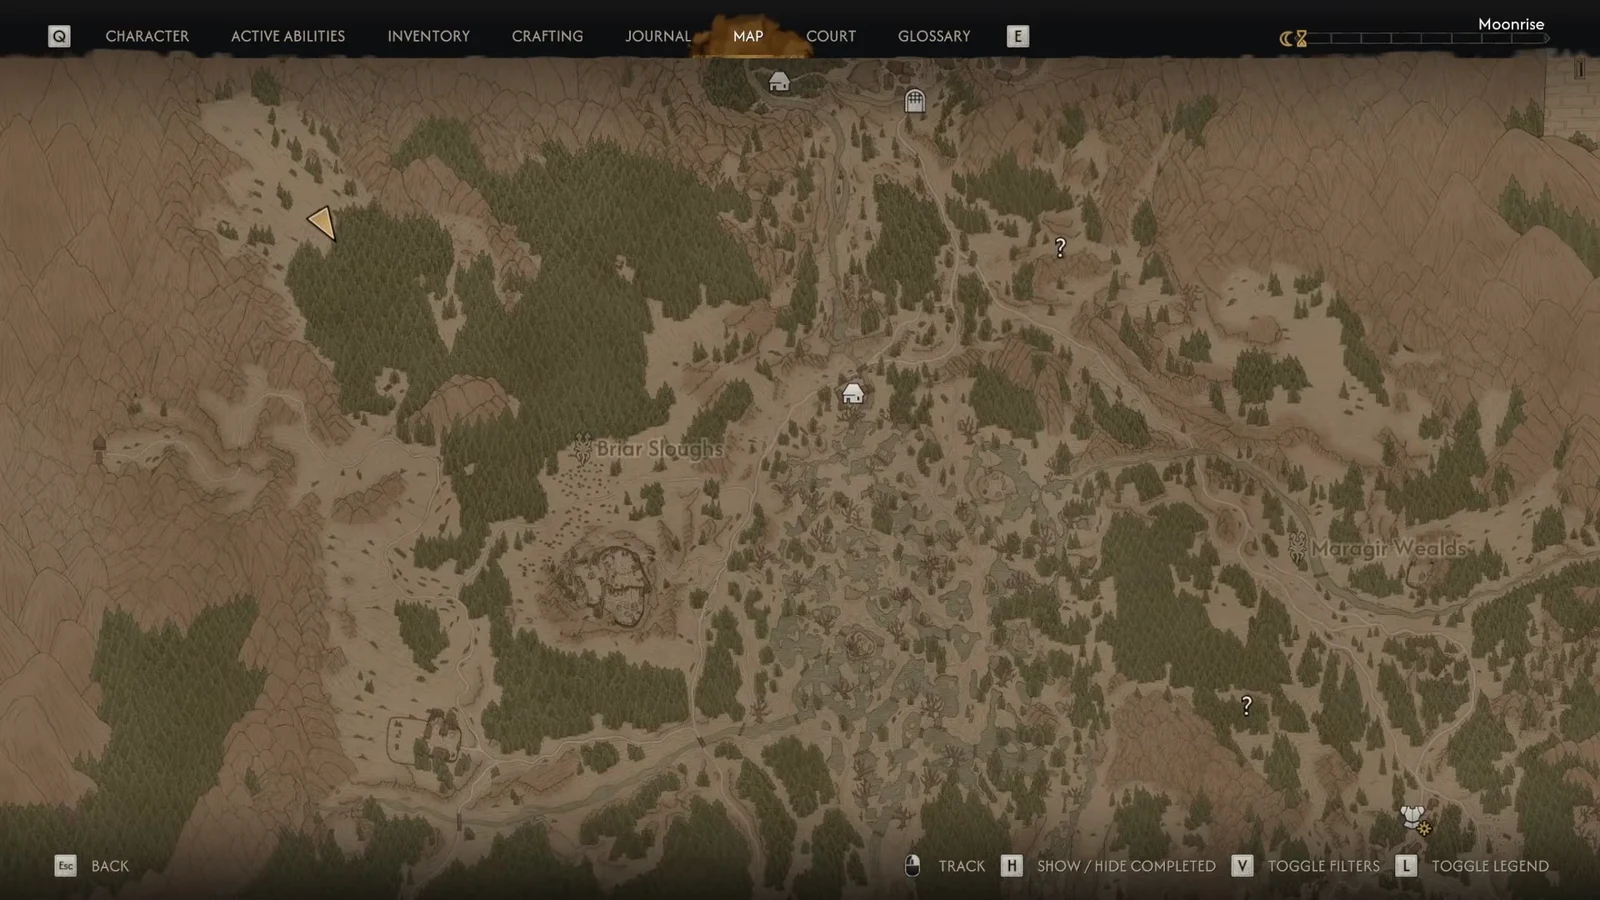
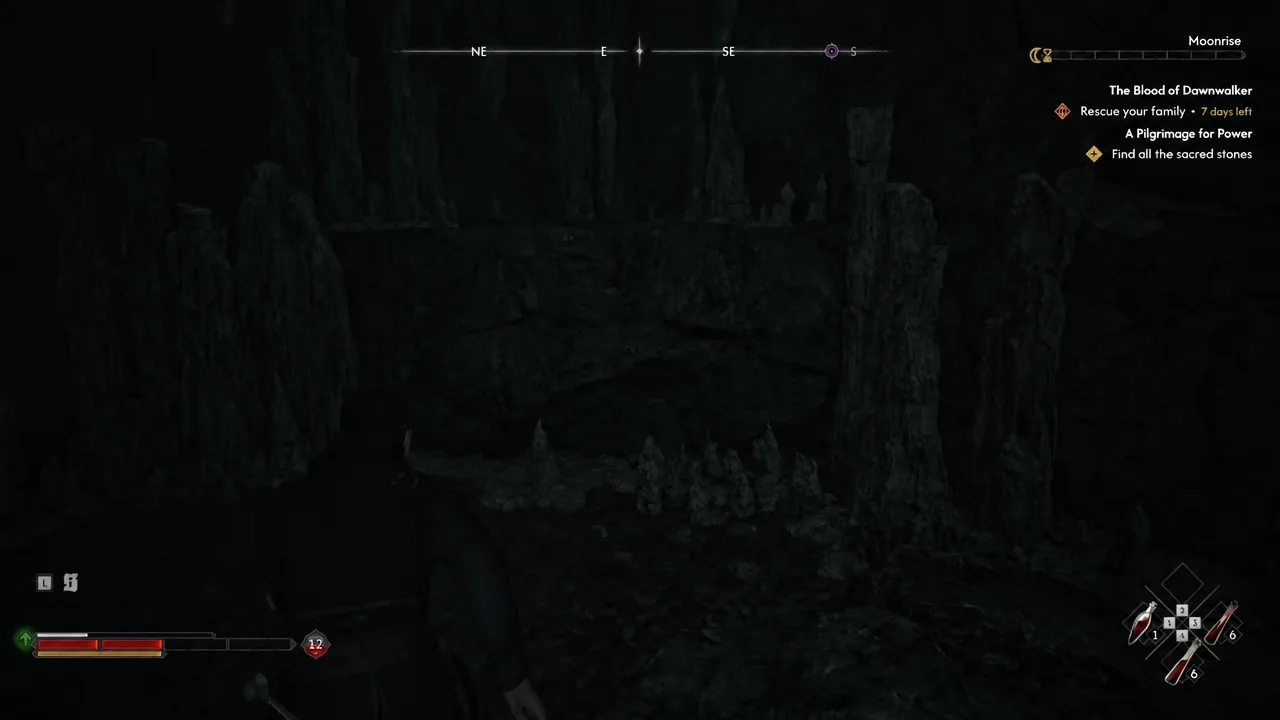
Large Lizard’s Moult location in the Briar Sloughs marshes
This is the only component that is pure exploration, and the cave mouth is easy to walk straight past. Skip the Tatzelwurm lair entirely, because the moult is not there.
Bundle of Silk Threads: the free route versus the 6,000 denarii route
Both silk threads in the game come from the Sanzhani questlines, and one of them costs you nothing. Do that one first.
For the free version, start the Come Hither quest east of the Silty Mug Inn shrine in The Silts. Look for the Sanzhani near a pair of large leafless trees. She needs her burrow cleared, so drop into the cave below and kill the Murohn that took it over. Once it dies, the Bundle of Silk Threads is lying on the cave floor for the taking.
The paid version runs through the Pearly and Precious quest, which unlocks a Sanzhani merchant near the Small Bridge shrine. She sells a Bundle of Silk Threads for roughly 6,000 denarii. It works, but it is a large chunk of coin for something the Murohn hands over for free.
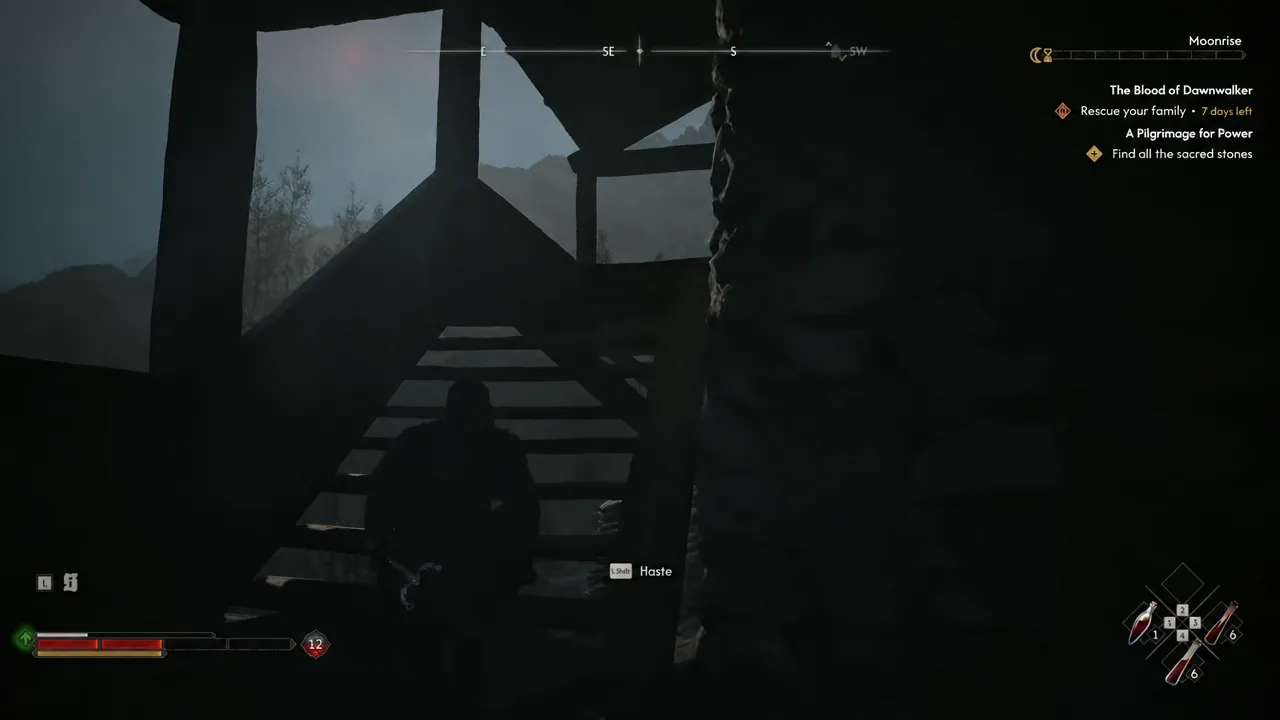
Flask of Quicksilver in Aurelius Tower
This is the slowest component because a full quest sits between you and the item. Aurelius Tower stands in the far south of the map past The Silts, near the Turtle Rock shrine.
Handing the components to Nareh at the Uriash Hermitage
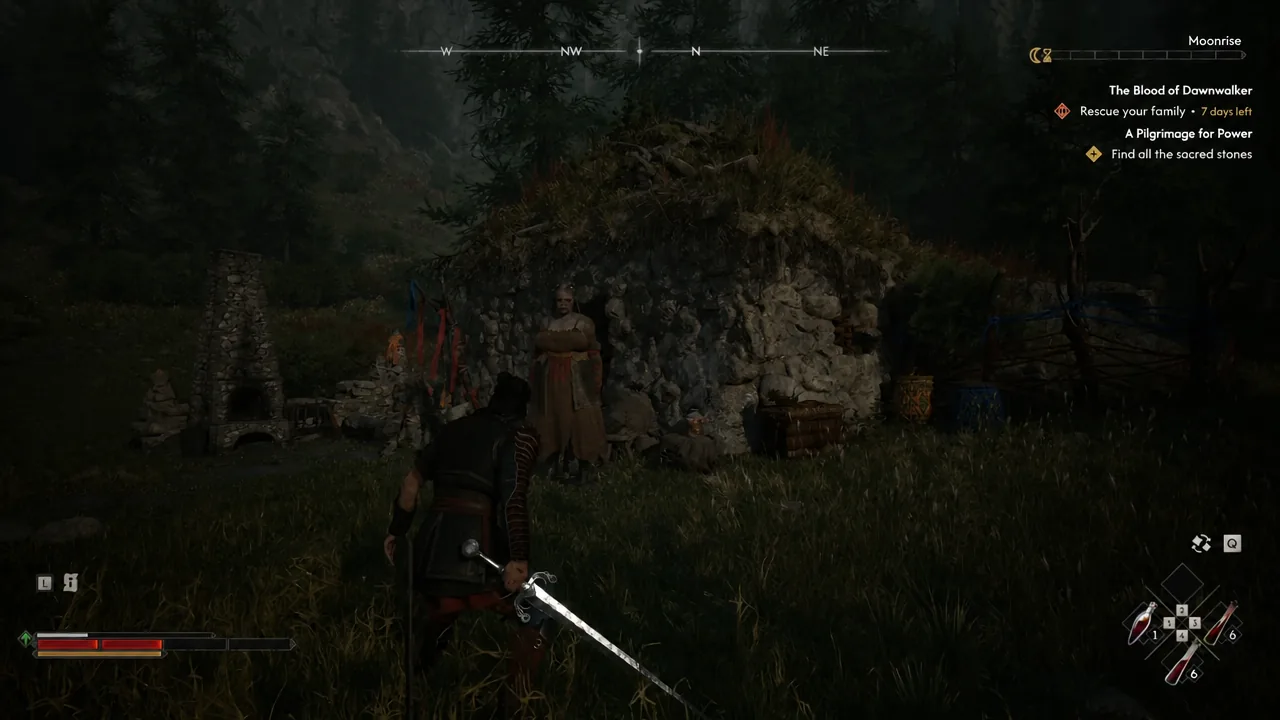
Nareh, the uriash hermit blacksmith, works out of the northwestern hinterlands, reachable from the Uriash Hermitage shrine north of the Briar Sloughs mountains. If you already forged St. Mihai’s sword through Forge It Anew, she is a familiar face and the marker is on your map.
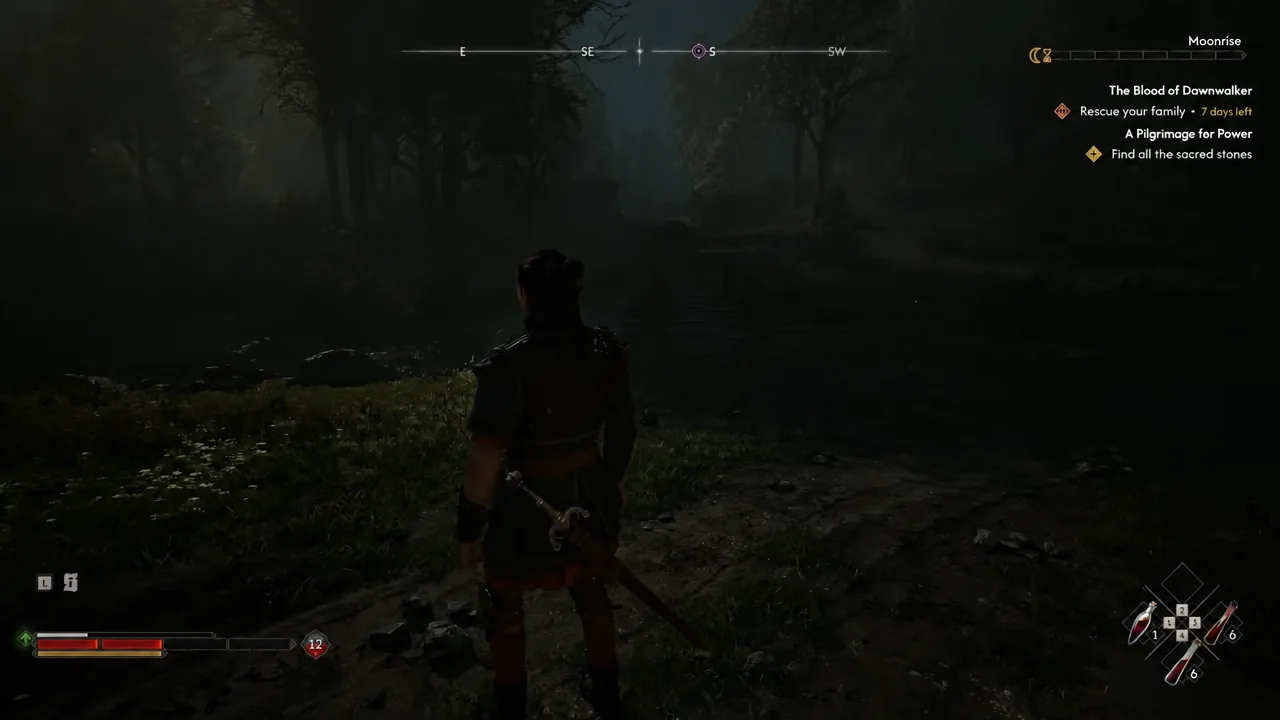
You do not have to arrive with everything at once. Hand over components one at a time and Nareh forges the matching Arbiter piece at epic rarity on the spot, so you can gear up in stages. Once all four are delivered, she tells you the armor is still unfinished and proposes a binding ritual, which costs 3 Time Segments.
Surviving the ritual fight
The ritual is a defense encounter. Nareh works while wildlife swarms the forge, and your job is to keep it off her until she finishes. It comes in two waves.
First comes a pack of wolves. Keep your back to the forge structure so they cannot surround you, and thin them in clusters instead of chasing strays. Then the Ursine Apparition arrives, a bear that hits far harder than ordinary wildlife. Stay mobile, save your strongest abilities for it, and remember that weapons with bonus damage against animals shorten both waves noticeably.
You know it worked when the fight ends and all four pieces upgrade to their Enhanced, fully Legendary versions in your inventory. The quest closes out and the Arbiter’s Regalia trophy or achievement unlocks at the same moment.
Enhanced Arbiter armor set stats
| Piece | Bonuses |
|---|---|
| Enhanced Armour of the Arbiter (heavy chestpiece) | Weapon damage, claw damage, witchcraft ability damage, AC restoration on actions |
| Enhanced Shin Guards of the Arbiter (heavy trousers) | Witchcraft ability cooldown, passive AC restoration, AC restoration on actions, AC restoration on perfect blocks |
| Enhanced Bracers of the Arbiter (heavy bracers) | Maximum vampiric health, vampiric health segment regeneration, blood drinking restoration, weapon damage |
| Enhanced Boots of the Arbiter (heavy boots) | Maximum human health, human health restoration, maximum stamina, magical damage reduction |
The base set also carries roughly six percent to melee damage, claw damage, witchcraft damage, and focus charge regeneration, and those numbers climb as you level the pieces. Because it covers both human and vampire stats, it stays useful across almost every encounter rather than committing you to one form.
Why the quest is not showing up
There are only a few reasons the chain stalls. Your Infamy has not reached the Notorious tier yet, so no letter is coming. The letter is in your inventory but you have not opened both it and the List of Armour Components, which means the objectives never populate. Or you traded away your only relic during Most Precious Thing, in which case you need to secure the Relic of St. Dasius before Nareh can finish the set.
Nothing here is on a timer or missable, so the sensible approach is to bank components as you play. Loot the Saint’s Tibia while you are in the convent, take the free silk threads when the Murohn drops, and grab the flask the moment the time loop ends. By the time the letter arrives, you may only need one last cave trip before the forge.