

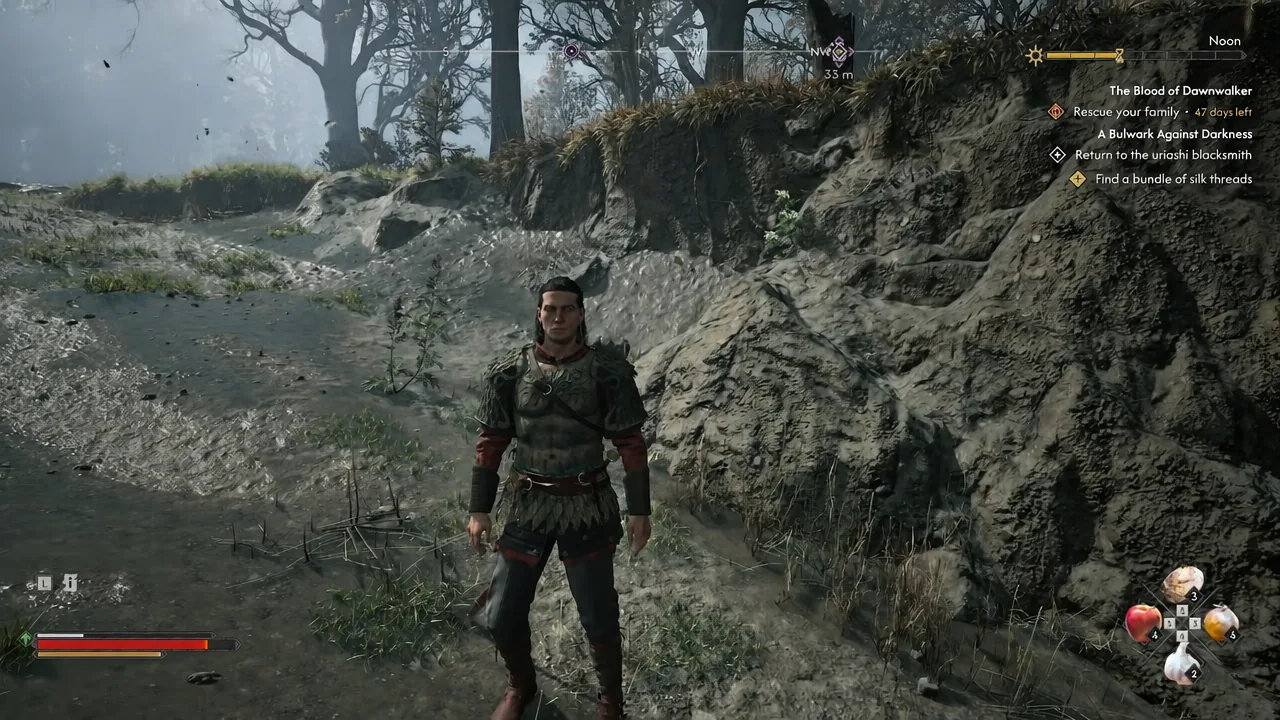
A bundle of Silk Threads is one of the four components Coen needs for the A Bulwark Against Darkness quest, the side chain that ends with the Enhanced Arbiter armour set. It is not lying in a chest somewhere, and it is not sold by ordinary traders. The item is locked behind the Sanzhani questline, and there are two very different ways to walk out with it.
Quick answer: Finish the Come Hither Sanzhani quest, kill the Murohn, and pick the Silk Threads up off the floor of its burrow for free. If you have already skipped that, complete Pearly and Precious instead and buy the bundle from the Sanzhana merchant south of the Small Bridge shrine for roughly 5,000 to 6,500 denarii.
What the Silk Threads objective actually asks for
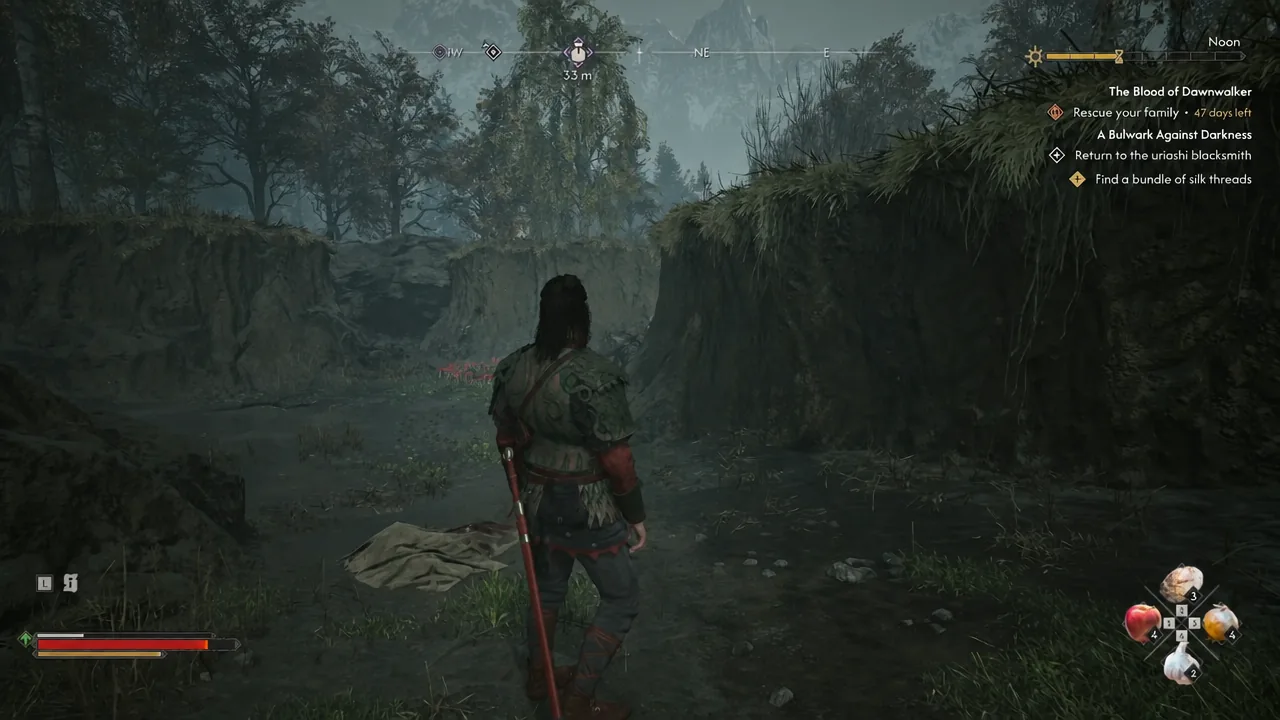
Once the mysterious letter and the list of armour components are in your inventory, the journal lists “Find a bundle of silk threads” alongside the relic of a saint, the flask of quicksilver and the moult of a large lizard. Only one bundle is needed. The item behaves like a normal quest item, so it sits in your inventory with the orange quest-item background until you hand it over.
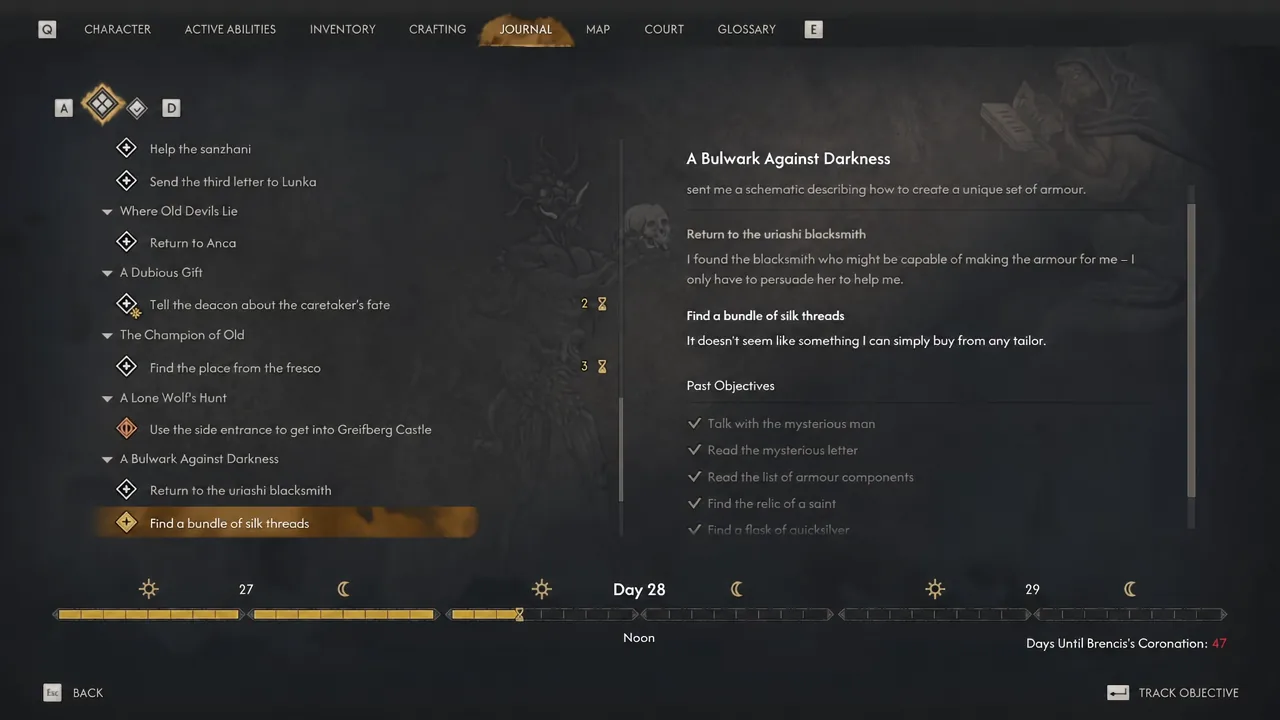
You do not need the quest active to collect the material. The component list never changes, so anything you picked up earlier in the playthrough still counts once the letter arrives.
Free route: The Come Hither quest and the Murohn
This is the cheapest option and the one worth taking if the Sanzhani chain is still open to you. It costs nothing but a fight.
Paid route: Unlock the Sanzhana merchant and buy the bundle
The merchant route works at any point once you have the money, but the shop stays empty until her personal quest is finished. Expect to clear three linked side quests before her stock opens.
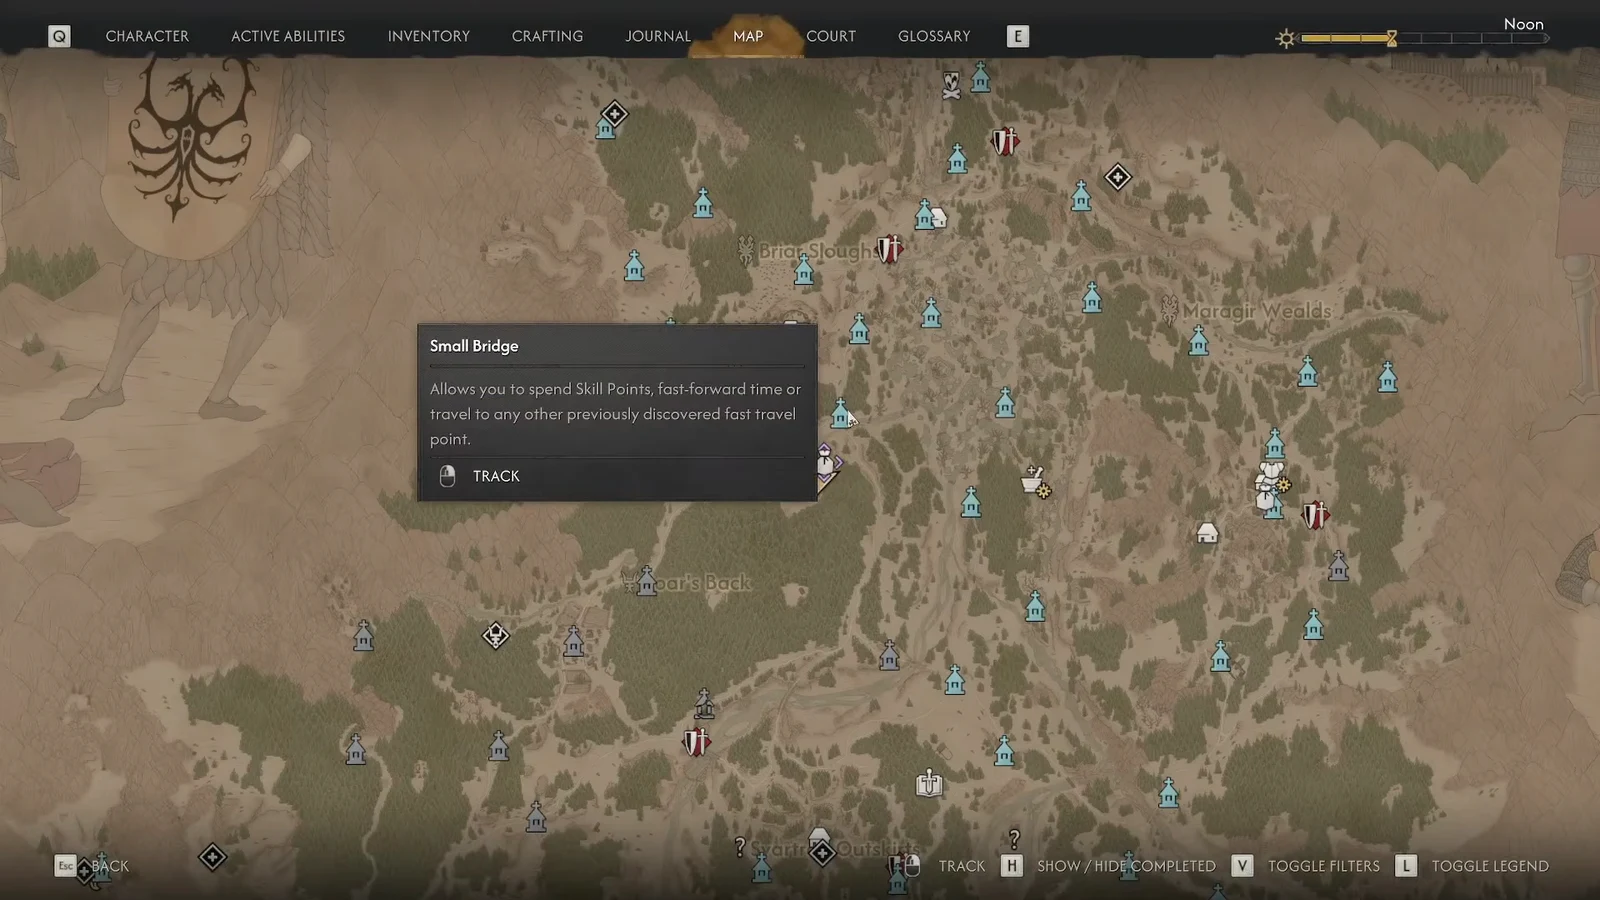
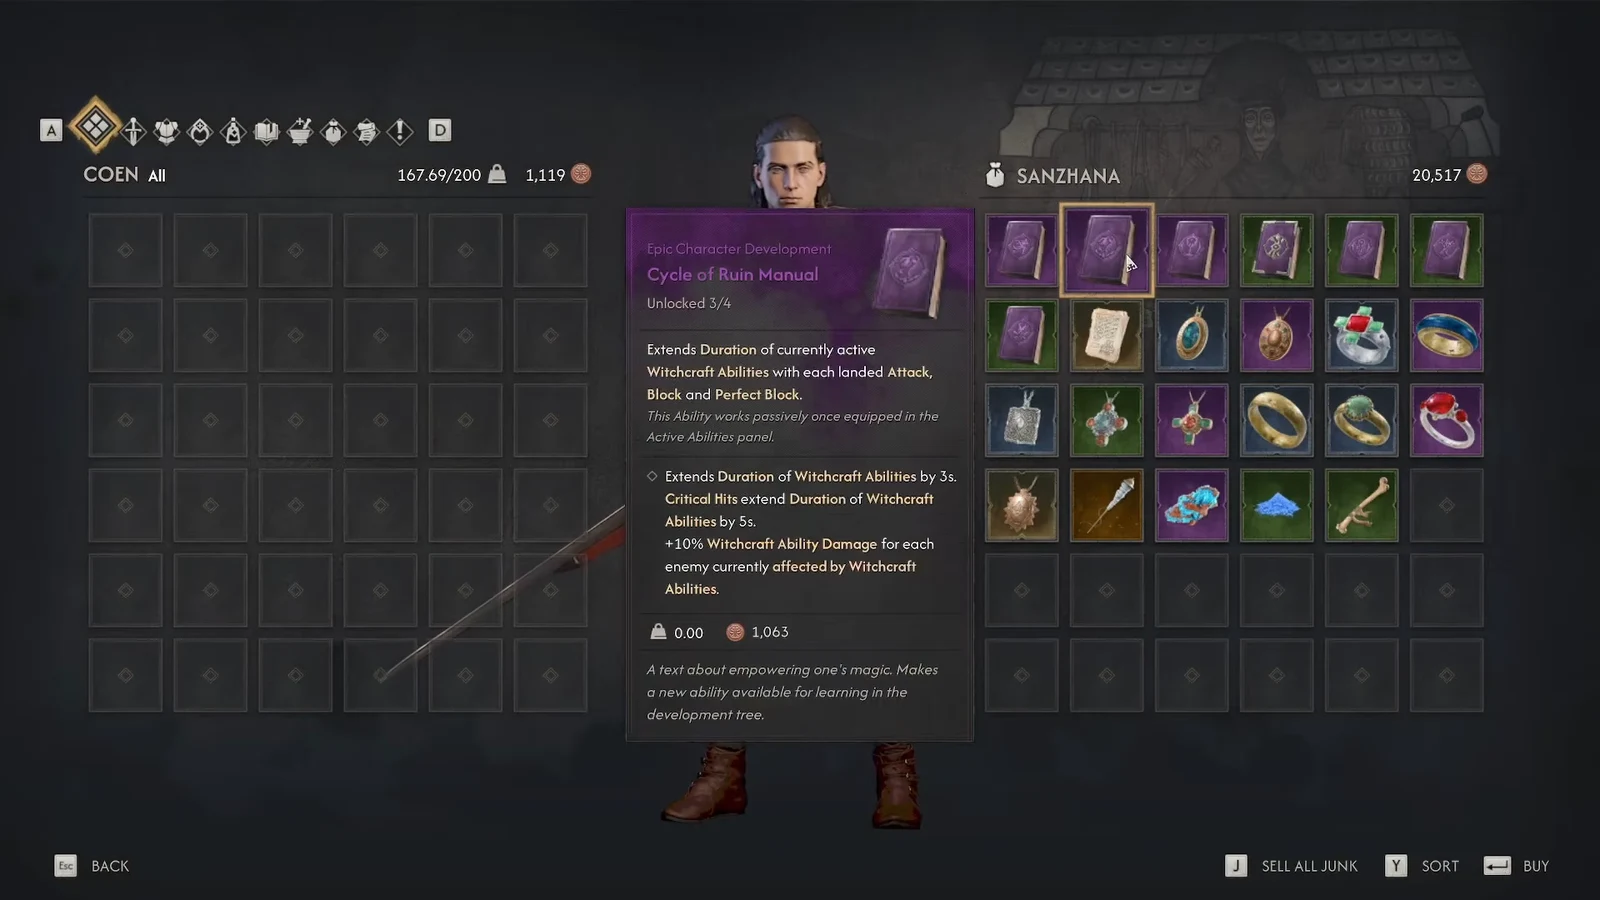
Note: a Sanzhani in Tsarina’s burrow also stocks Silk Threads once you have cleared the Sanzhani tasks, so a second seller exists if you finish that content.
Free pickup vs merchant purchase
| Route | Prerequisite | Cost | Where you get it |
|---|---|---|---|
| Come Hither | Good Home | Free | Ground pickup in the Murohn’s burrow after the fight |
| Sanzhana merchant | Good Home, Letters to Lunka, Pearly and Precious | About 5,000–6,500 denarii | Shop inventory south of the Small Bridge shrine |
How to confirm the Silk Threads counted
The bundle registers the moment it enters your inventory. Open the journal and check A Bulwark Against Darkness, and the “Find a bundle of silk threads” objective should be ticked off. Once all four components are ticked, the tracker switches to “Return to the uriashi blacksmith”.
From there, travel to the Uriash Hermitage shrine in the northwest corner of the map and hand the materials to the blacksmith. She starts the ritual, enemies spawn, and surviving that fight gives you the full Enhanced Arbiter armour set along with the Arbiter’s Regalia trophy.
Why the merchant has no Silk Threads to sell
- Pearly and Precious is still active or untouched. Her trade inventory stays locked until that quest is finished.
- Good Home has not been completed, which keeps the rest of the Sanzhani chain, including Letters to Lunka and Come Hither, from appearing.
- You are short on denarii. The bundle is priced at several thousand coins, and the shop simply refuses the sale.
If you are still early in the Sanzhani chain, take Come Hither first and keep the denarii for gear repairs and levelling your armour at a blacksmith later. The merchant route exists as a fallback for anyone who has already blown past that quest.





