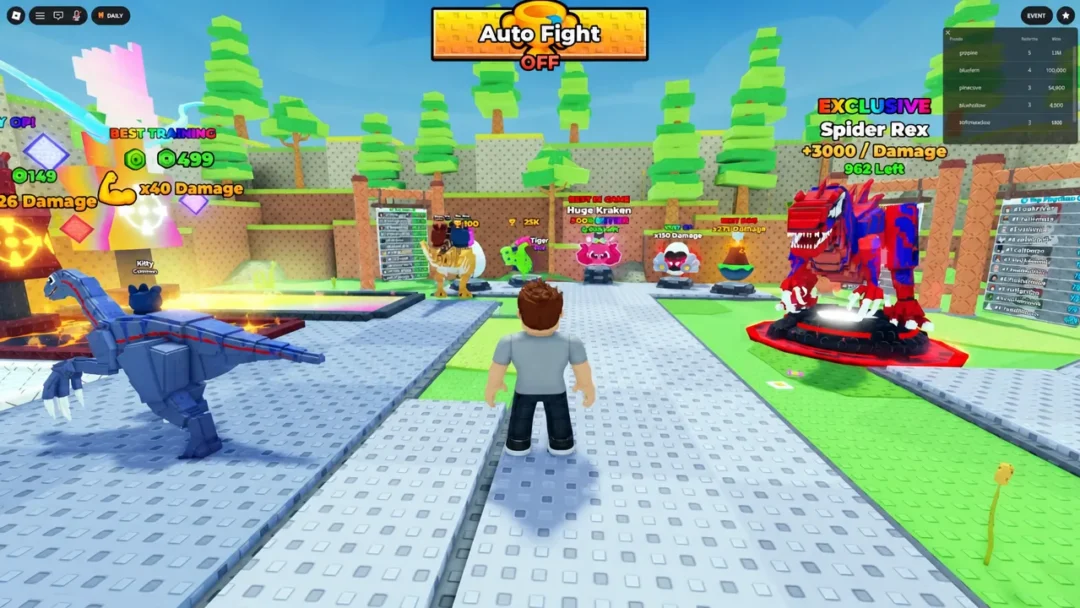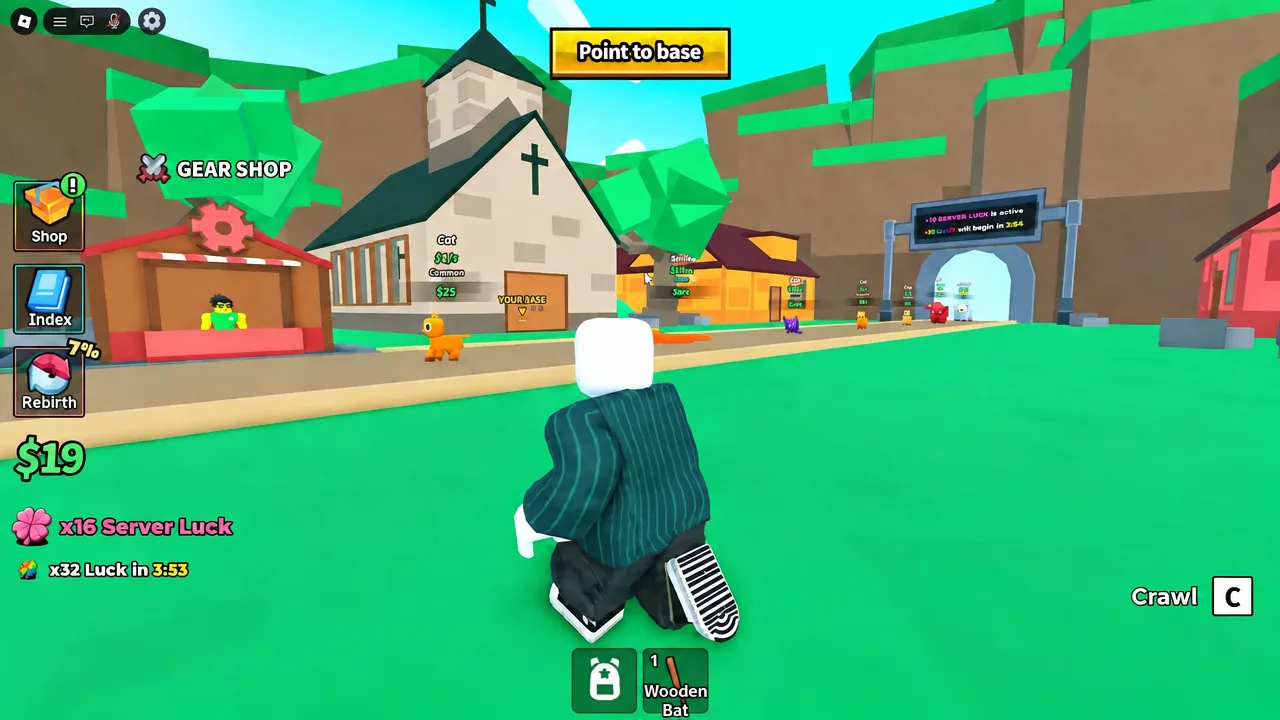
Steal from Secret Bases turns ordinary map furniture into a vault door. Your base entrance is attached to a prop somewhere on the map, and every other player in the server is hunting for it so they can walk in and carry off the pets generating your income. Picking the right prop is the single biggest decision you make in a run.
Quick answer: Anchor your base to a prop that blends into a busy interior and sits away from the obvious sightlines — a bedroom lamp, a refrigerator, or a rock outdoors — and relocate the entrance every time a raider follows you home or after each rebirth.
How hidden base entrances work
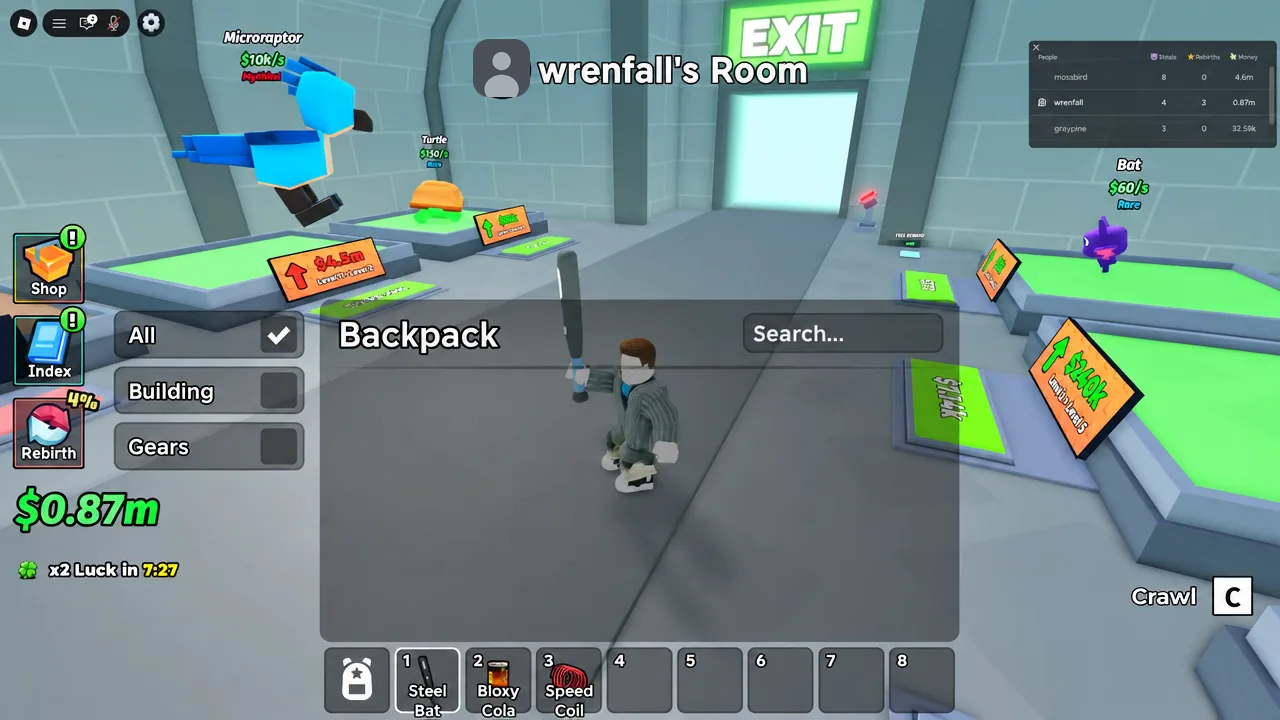
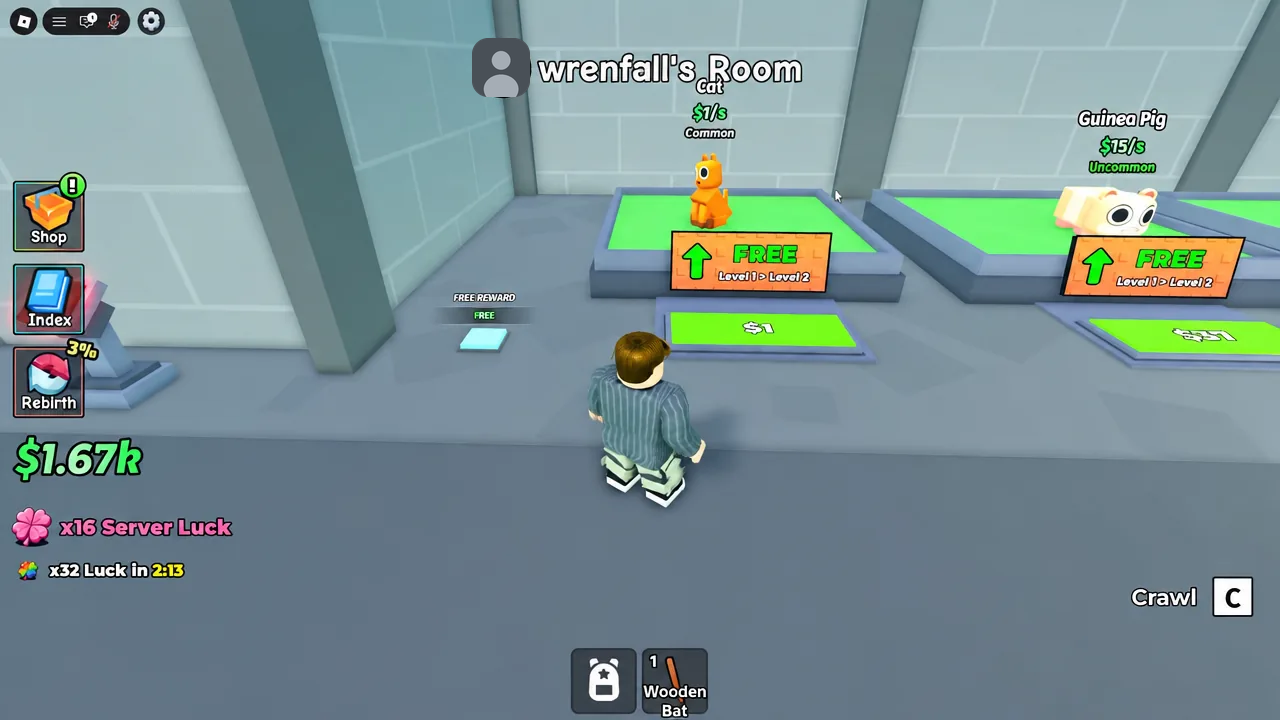
Your base is a private room that connects to the map through one interactive object. Rugs, wall clocks, church benches, cabinets, refrigerators, bedroom lamps, and rocks all work as entrances. From the outside, the prop looks like part of the scenery. Interacting with it drops you into your own room, which is labelled with your username above the door.
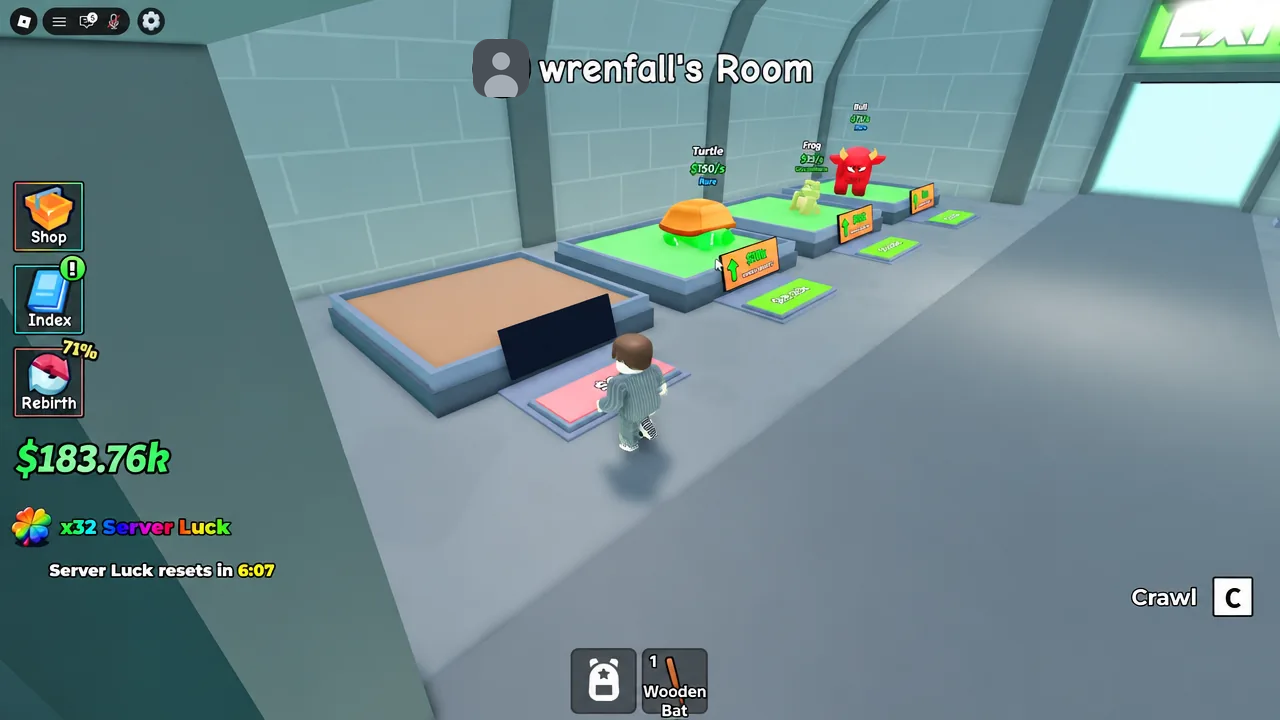
Inside, display pads hold your pets. Each displayed pet pays out cash per second, so your room doubles as your income engine and the thing everyone wants to rob. A floating yellow arrow points you back toward your own entrance, and when you are dragging a stolen pet, directional arrows appear on the ground to show the route home.
Which props make the hardest base hiding spots
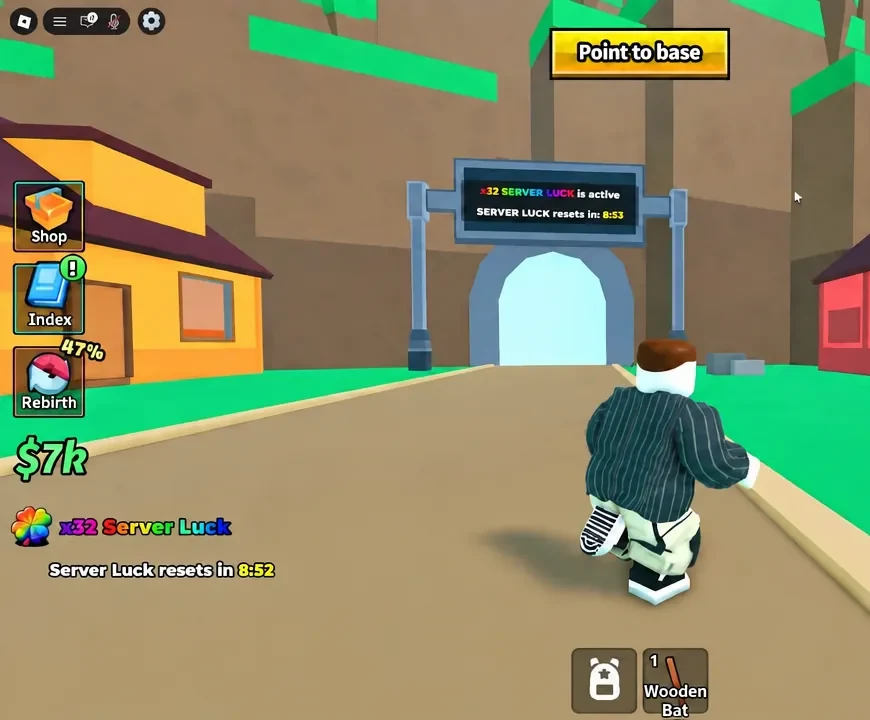
Raiders check the same handful of props first, because those are the ones that pay off most often. A rug in the middle of a room and a bench in an open building are both fast to spot from a doorway. The props that survive longest are the ones a raider has to walk deep into a room and stand next to before they can even test them.
| Prop | Why it holds up (or doesn’t) |
|---|---|
| Bedroom lamp | Sits inside a house, in a corner most raiders pass without checking. One of the stronger interior anchors. |
| Refrigerator | Kitchen prop that reads as background furniture; requires a raider to commit to searching indoors. |
| Rock | Outdoor anchor away from house interiors, where fewer players think to test props at all. |
| Cabinet | Interior and easy to overlook, but a common enough choice that experienced raiders test it. |
| Wall clock | Elevated and off the floor, though it is a known hiding spot and gets checked in busy servers. |
| Rug | Weak. Floor-level and visible the moment someone enters the room. |
| Church bench | Weak. Sits in the open where anyone crossing the area can reach it. |
Note: no prop stays secret if a raider watches you enter it. The moment someone sees you disappear into an object, that spot is burned for the rest of the server.
Relocating your base entrance
Moving the entrance is the main defensive tool in the game, and it costs you nothing but time. Treat it as routine maintenance rather than an emergency measure.
The 15-second raid window after you leave
An on-screen warning spells out the rule directly: your base is raidable for 15 seconds after you leave. Disconnecting or server hopping does not instantly protect your pets. Anyone already standing at your entrance has a short window to walk in and take whatever is on display.
That changes how you should handle a hostile server. If someone has found your room and you plan to leave, either move the entrance first or accept that the pets on your pads are exposed for those 15 seconds. Deleting a high-tier pet outright is an option when the alternative is handing it back to the person who is chasing you.
Raiding other players’ bases
Raiding runs on the same logic in reverse. Test props inside houses and other interiors until one opens into a room, then grab a pet off a display pad and carry it out. The theft only counts once the pet reaches your own base, which is why the ground arrows appear during the trip back.
Owners can and do defend. Getting killed mid-raid inside someone’s room is a normal outcome, and it costs you the pet you were carrying. Rare and mythical pets — the Bat, Turtle, Crocodile, Microraptor, Dimetrodon and Spinosaurus tiers — are worth the risk; low-tier pets rarely are.
Filling your display pads: pets, lassos, and the RNG machine
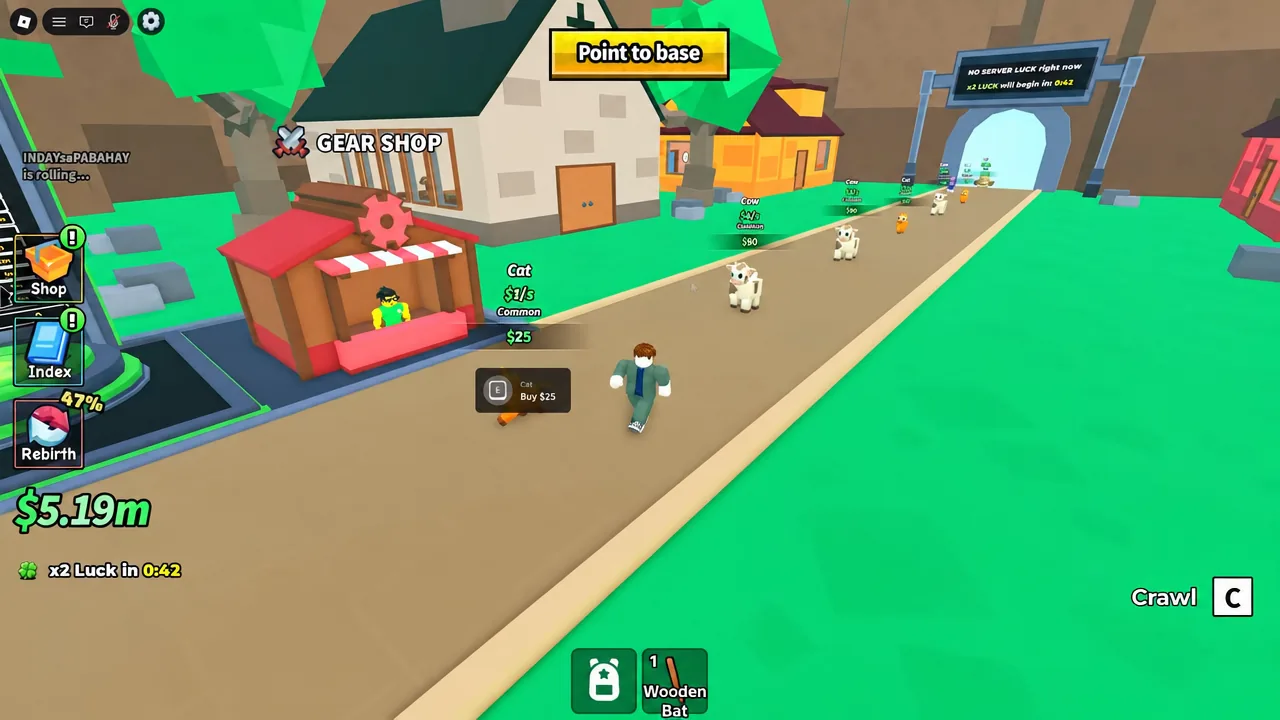
There are three ways to stock a base. You can buy cheap starter pets like the Cat outright, lasso wild animals roaming the map for a cash fee, or spend cash at the RNG machine to roll a random pet. The RNG machine also sells permanent luck and speed upgrades, which raise your odds on future rolls.
Display slots are limited, so clearing out low-value pets matters. Selling a Guinea Pig or a Frog to make room for a Lion or a Crocodile is a straight income upgrade, and it also makes your room a less appealing target for casual raiders who peek in and see nothing worth carrying.
Rebirths and the gear they unlock
Rebirthing wipes your cash but raises your pet income multiplier and opens up utility gear. That gear is what makes both hiding and raiding easier later on. Melee options include the Wooden Bat, Stone Bat, Steel Bat and Golf Club, alongside a Bomb and a Bear Trap for defending your own room. Mobility items like the Speed Coil, Gravity Coil and Grapple Hook cut down the time you spend exposed while carrying a stolen pet.
Some items are gated behind specific rebirth counts, with the shop listing requirements such as “Need 2 Rebirths” and “Need 6 Rebirths” next to locked entries. Plan your rebirths around the item you want rather than rebirthing the moment you can afford it.
When to server hop
A single determined player can make a server unplayable, especially one moving at abnormal speed. If someone repeatedly reaches your entrance faster than you can relocate, hopping to a fresh server resets the situation. Remember the 15-second rule before you go, and set a new entrance as soon as you land rather than parking on your old spot.
The rhythm that holds up over a long session is simple. Hide in an interior prop that takes effort to reach, keep only high-tier pets on your pads, and move the entrance before anyone has a reason to look for it twice.