Rebirth is the only permanent damage lever in +1 Dino Evolution, the incremental simulator from Best Dino Productions. Every rebirth wipes your damage and level back to zero, then hands you a multiplier that applies to everything you build afterward. The trick is not deciding whether to rebirth. It’s knowing the level cap for your tier, and how quickly you can rebuild damage once the counter resets.
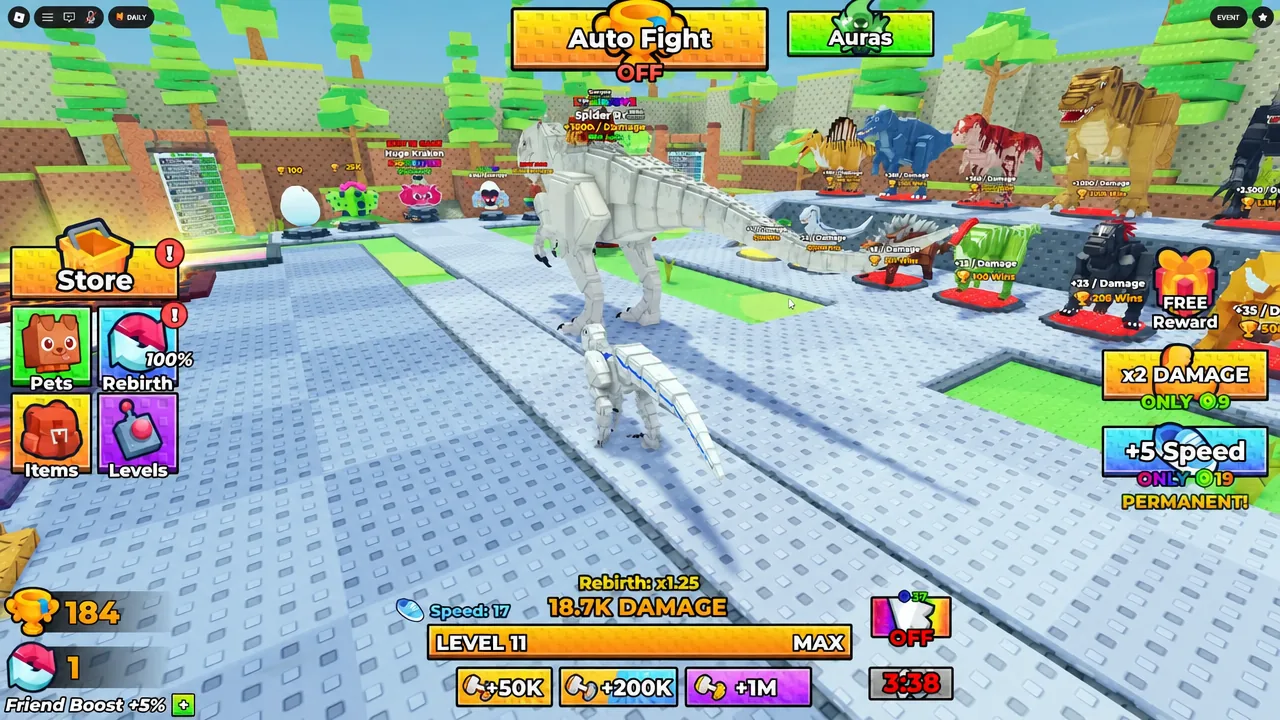
Quick answer: Farm wins until you own the strongest dinosaur you can afford, level to the cap of your current tier, press REBIRTH, then stand on the highest training pad you’ve unlocked and AFK until your damage is back above the recommended value for your next stage.
Rebirth tiers, level caps, and damage multipliers
Each rebirth raises two things at once. The multiplier applied to your damage goes up, and the level ceiling you can train toward goes up with it. The first three tiers are fixed values.
| Tier | Damage multiplier | Max level |
|---|---|---|
| Rebirth 1 | x2 | 22 |
| Rebirth 2 | x3 | 34 |
| Rebirth 3 | x4 | 48 |
The stacking does not stop at three. Long-running accounts show rebirth counts in the hundreds on the HUD, with the multiplier carrying forward each time. The reset itself is total, though. Damage and level both return to zero the moment you confirm, so there is no benefit to hoarding levels above your cap.
Earn wins by clearing stages
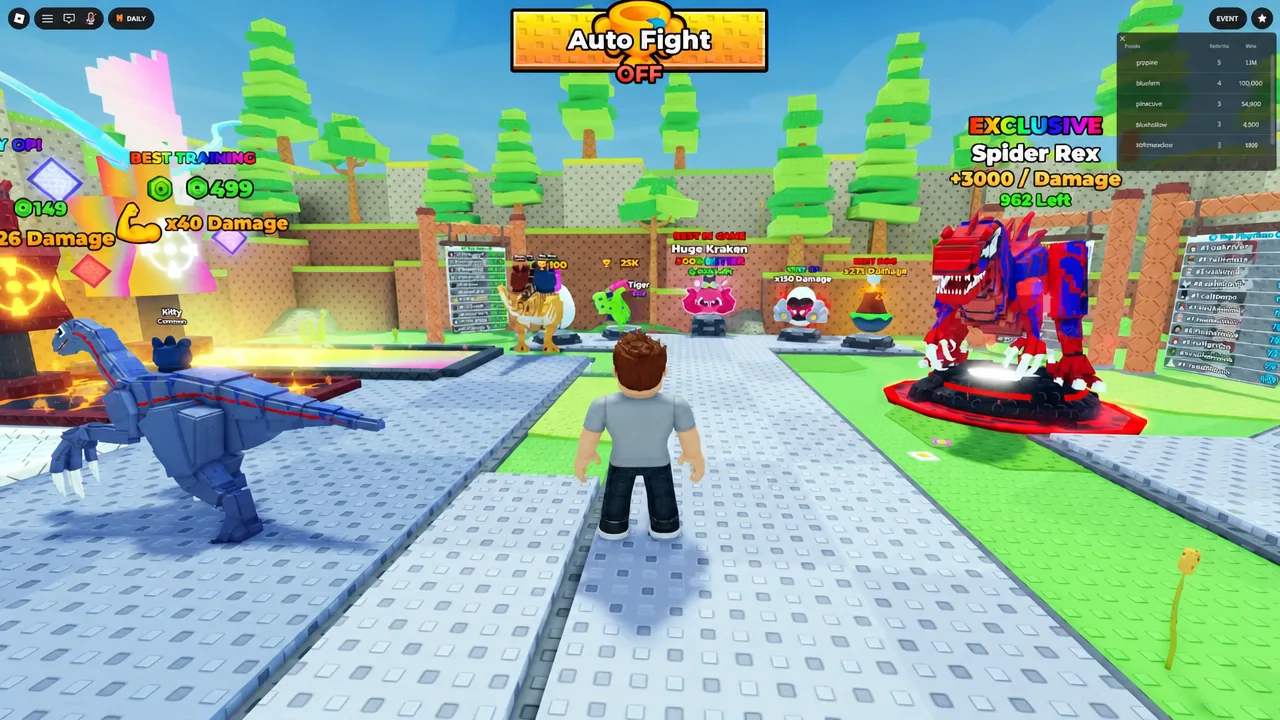
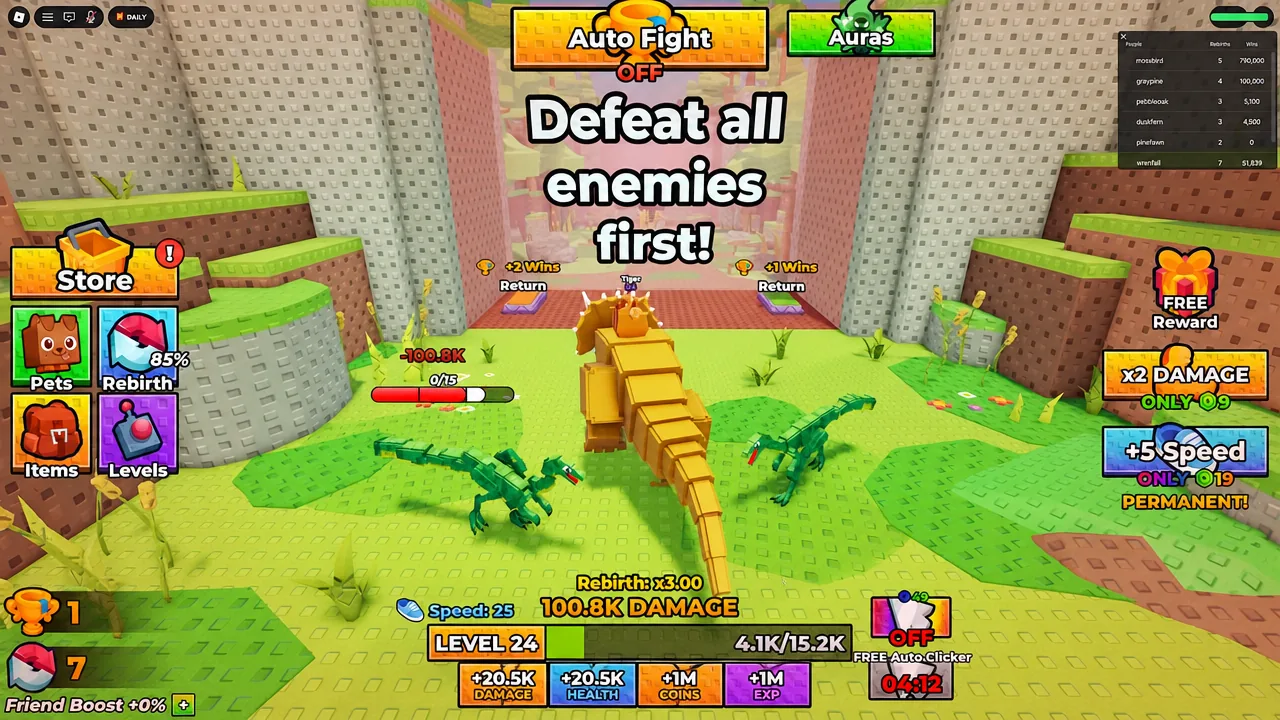
Wins are the currency that gates everything else. You get them by defeating enemy dinosaurs inside a stage, and the game will not let you advance until the area is clear — the objective text reads “Defeat all enemies first!” until the last enemy drops. There’s an Auto Fight toggle on the HUD if you’d rather not click through every group manually.
Wins go straight into dinosaur purchases, and each new dinosaur is a flat jump in base damage. The early ladder is cheap enough that you should never sit on a full wallet.
| Dinosaur slot | Cost in wins |
|---|---|
| 1st | 15 |
| 2nd | 35 |
| 3rd | 80 |
| 4th | 175 |
| 5th (Triceratops) | 500 |
| 6th | 1K |
| 7th | 2.5K |
The Triceratops at 500 wins is the natural checkpoint before your first rebirth. Buy it, then stop spending and go rebirth rather than saving toward the 1K model — the x2 multiplier is worth more than a single extra dinosaur at that point.
Recommended damage for each stage in World 1
Every stage lists a recommended damage figure. Treat it as the number you need before the stage becomes a fast farm rather than a slog. These thresholds are also the practical measure of whether a rebirth has “paid back” yet.
| Stage | Recommended damage |
|---|---|
| 2 | 40 |
| 3 | 375 |
| 4 | 1.5K |
| 5 | 6.2K |
| 6 | 26.2K |
| 7 | 62.5K |
| 8 | 200K |
World 2 sits behind a 50M requirement, so World 1 is where all early rebirth cycles happen.
Performing the rebirth and rebuilding damage on training pads
Note: there is an Auto Rebirth toggle on the HUD as well. Leave it off while you are still buying dinosaurs manually, or it can reset you before you have spent your wins.
Pets and strength multipliers speed up every rebirth after the first
Pets are the single biggest accelerator on the training pads, because their strength multipliers stack on top of the rebirth multiplier. A Normal Egg costs 100 wins, and you can equip four pets at once.
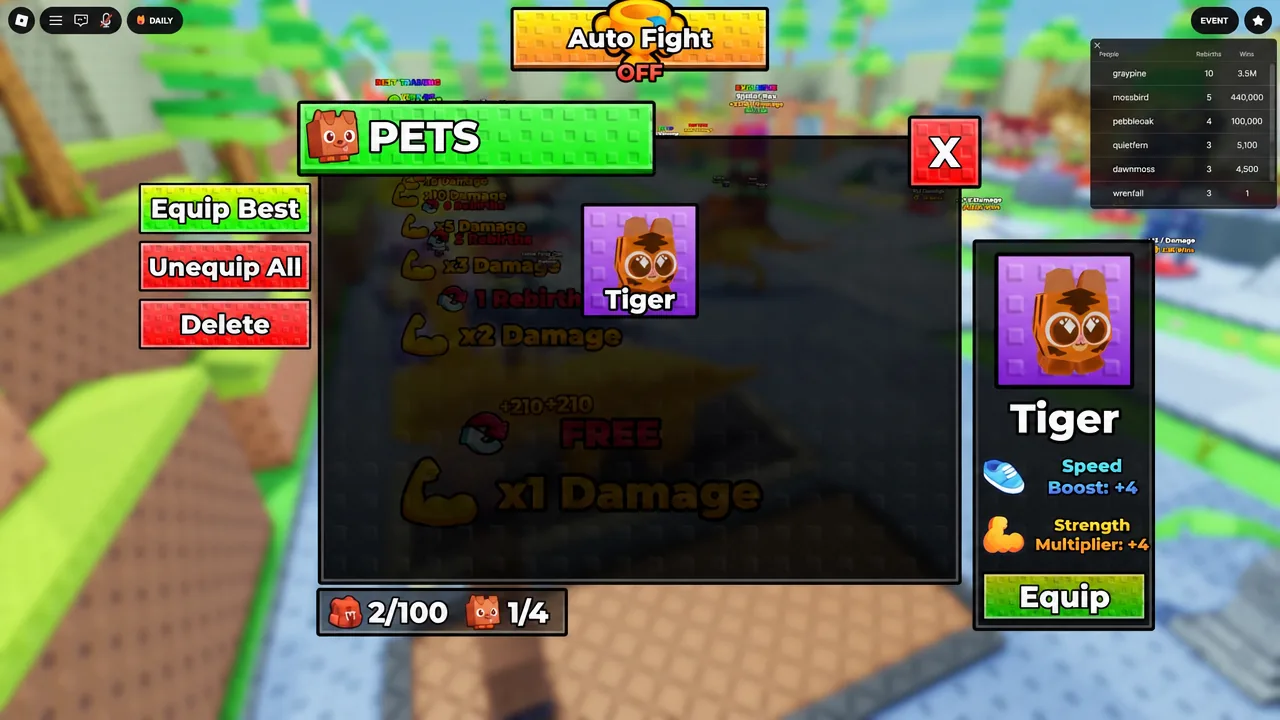
| Pet | Strength multiplier | Speed boost |
|---|---|---|
| Unicorn | +5 | +2 |
| Tiger | +4 | +4 |
| Cotton Candy Cow | +2 | +1 |
| Bunny | +0.5 | — |
| Doggy | +0.1 | — |
| Kitty | +0.1 | — |
Keep hatching until all four slots hold pets in the +2 range or better. Doggy and Kitty at +0.1 are placeholders — worth equipping only while the slots would otherwise be empty. With strong pets equipped, the AFK climb to Level 34 or Level 48 takes a fraction of the time it did on your first run.
Once damage is comfortably into six figures, stages that previously required careful play clear in seconds, and a single farming pass can bank thousands of wins toward the 1K and 2.5K dinosaurs.
How to confirm the rebirth worked
Three things change on screen the moment a rebirth registers. Your damage counter reads zero, your level resets to zero, and the rebirth count on the HUD increments by one. If the count went up but your damage is untouched, nothing was reset and nothing was granted — reopen the menu and check the tier requirements again.
The clearest confirmation comes a minute later. Stand on the training pad and watch the damage number climb. If the multiplier applied, you will pass your pre-rebirth damage faster than it took to earn it the first time, and the higher-tier pad will be available to step on.
Common reasons a rebirth cycle stalls
- Rebirthing with unspent wins. Dinosaurs persist through the reset, so buy before you confirm.
- Training on a lower pad than you have unlocked. One rebirth already grants access to the 2x pad.
- Grinding past your level cap. Levels above 22, 34, or 48 for the respective tiers are not available, so extra time in the arena stops paying out.
- Farming a stage well below the recommended damage. Move up as soon as your damage clears the listed figure — win income scales with stage.
- Running fewer than four pets. Empty slots are lost multipliers on every second of AFK training.
The loop is short and it repeats cleanly. Clear stages, buy the next dinosaur, rebirth at the cap, park on the best training pad with four pets equipped, and come back to a damage number that clears a stage you couldn’t touch an hour earlier. Each cycle gets shorter than the last, which is the whole point of the reset.