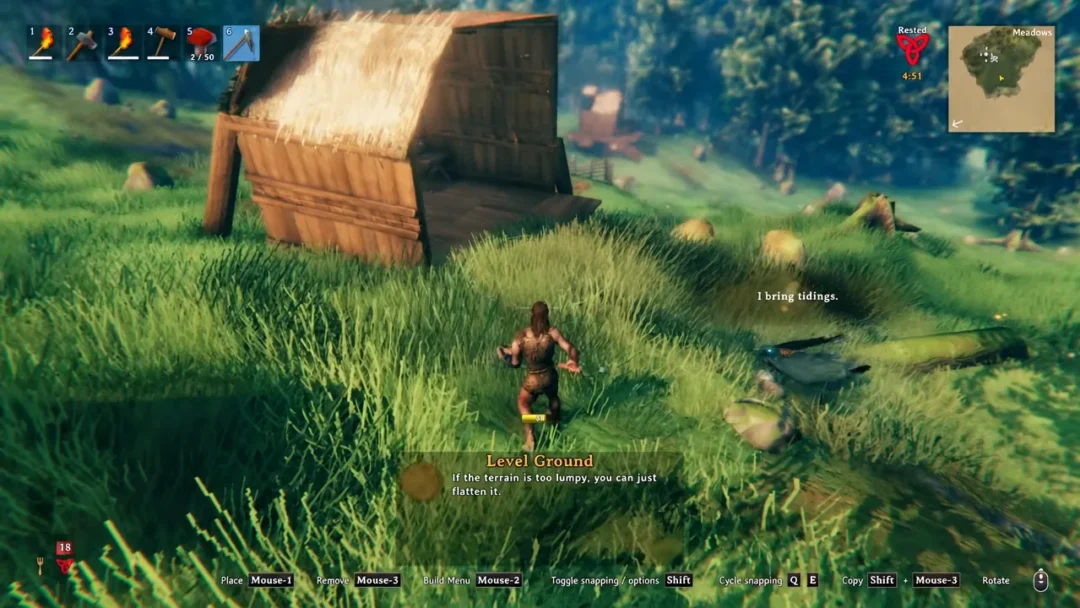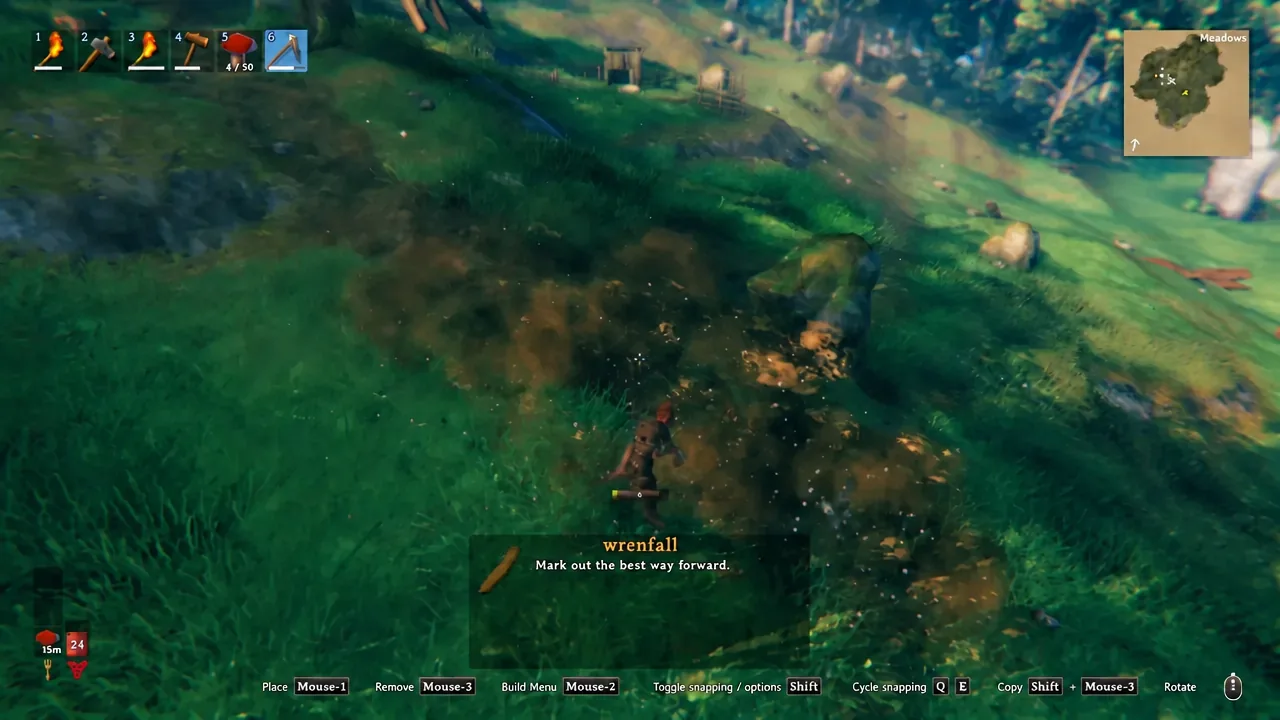
Dirt roads are the cheapest quality-of-life upgrade in Valheim. They strip the grass off the ground, make your settlement readable from a distance, and give a loaded cart something smoother to roll over than knee-high meadow. Everything runs through one tool, and you can have it minutes into a new world.
Quick answer: Craft a Hoe at a Workbench with 5 Wood and 2 Stone, equip it, right-click to open the tool wheel, pick Pathen, then left-click the ground where you want the road to run.
Craft the Hoe at a Workbench (5 Wood, 2 Stone)
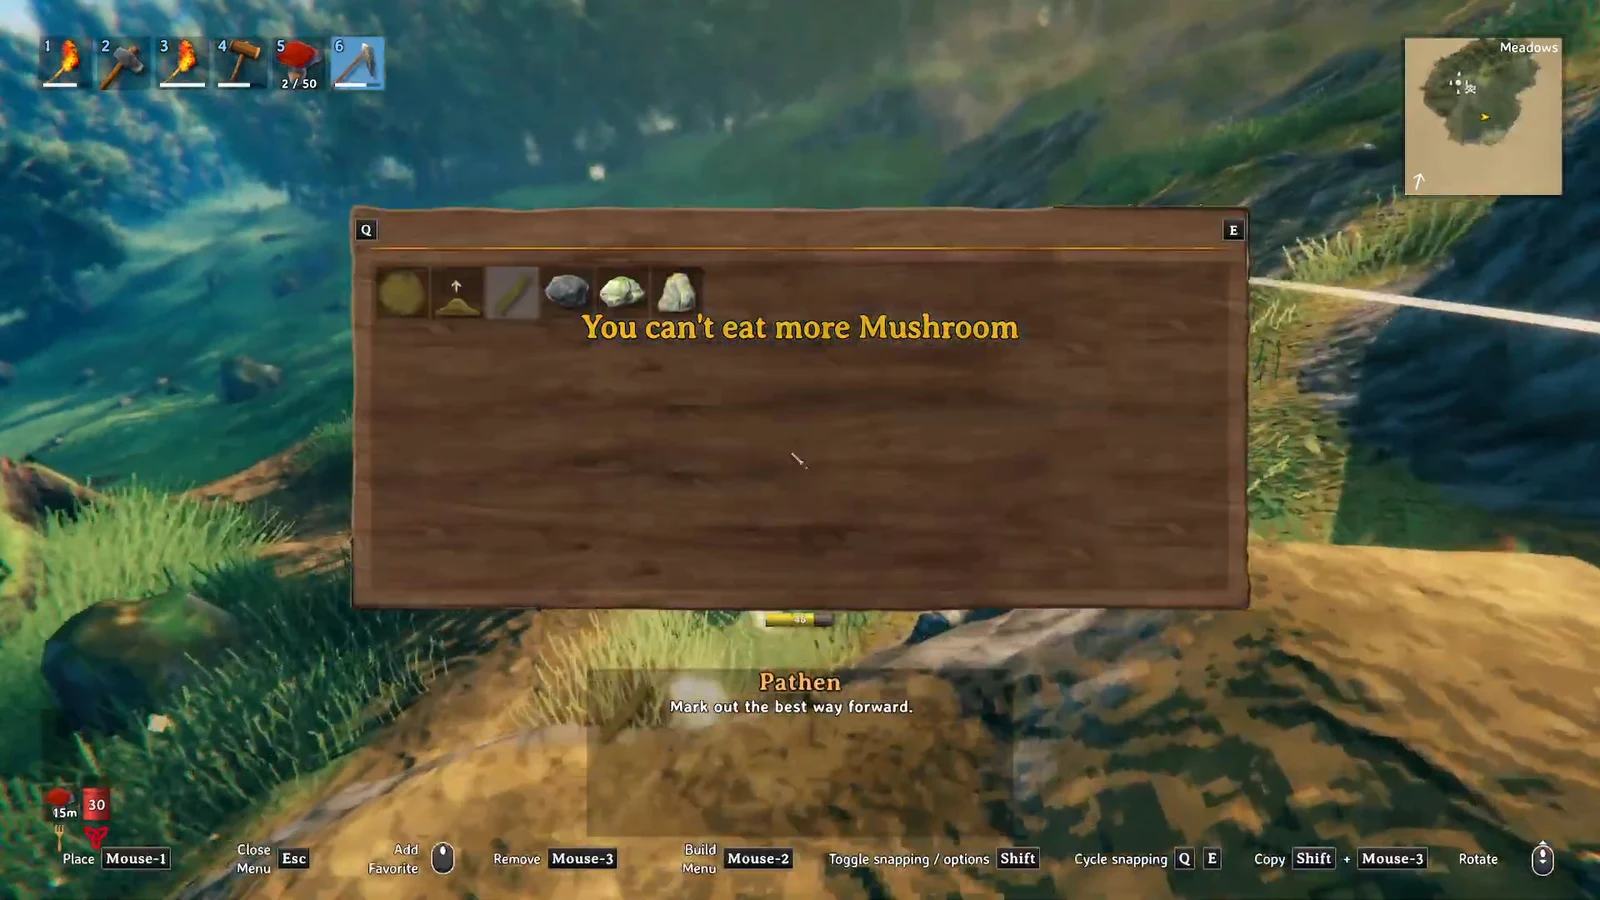
Lay a dirt path with the Pathen option
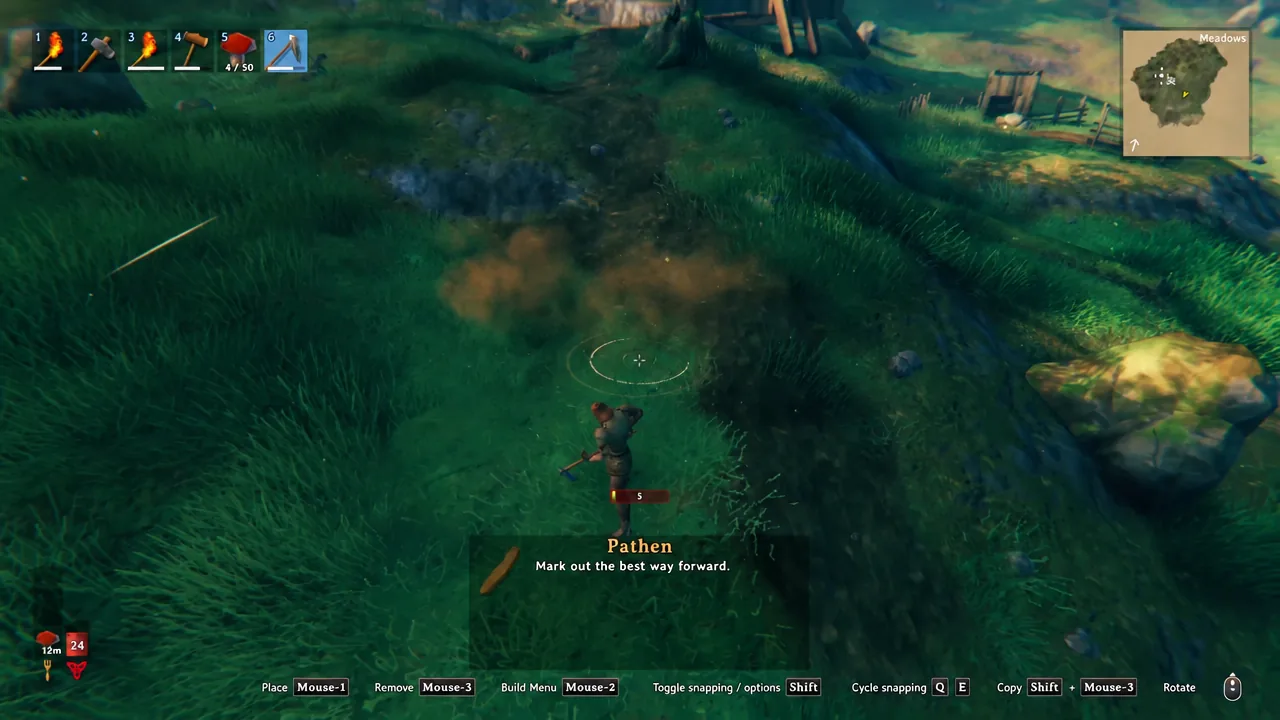
You know it worked the moment the grass texture disappears and a brown dirt strip appears under the circle. If nothing changes, you either ran out of Stamina or you are still on a different mode in the wheel.
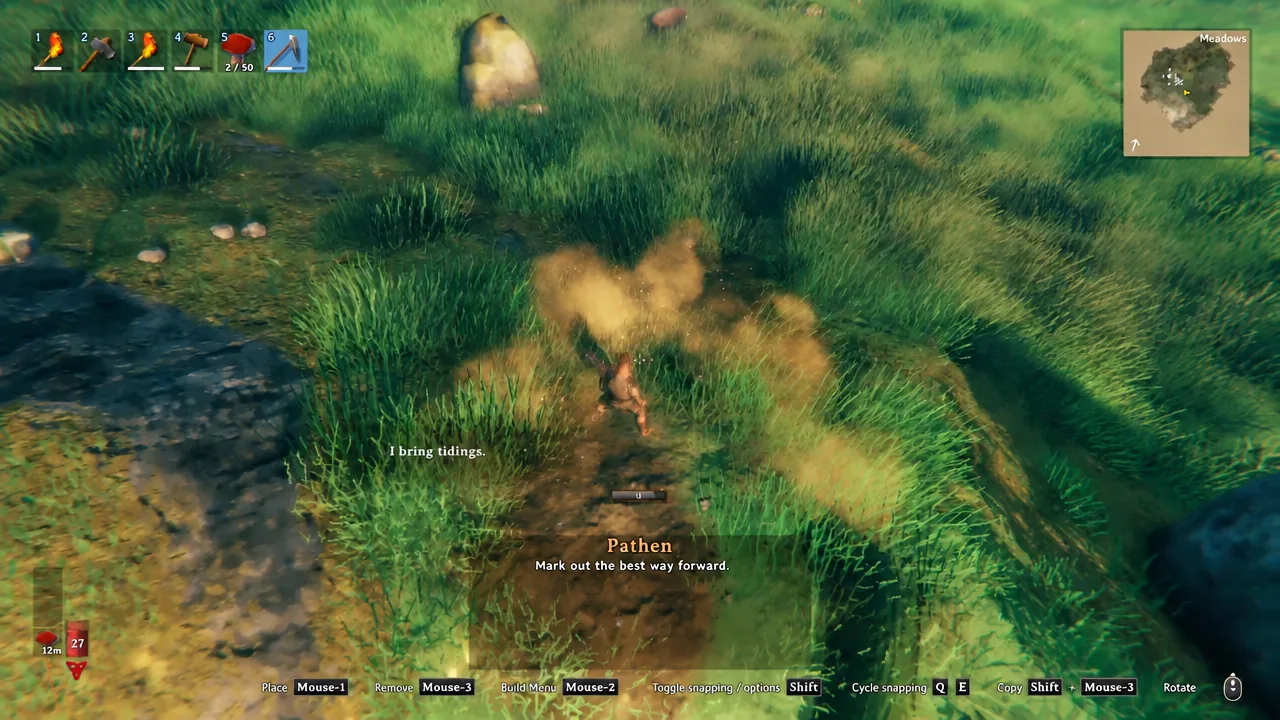
Hoe terrain modes and what each one does
Road building goes wrong most often because the wrong mode is selected. Here is what each option on the wheel is for.
| Mode | Effect and cost |
|---|---|
| Pathen | Turns the ground surface into a dirt path. The default choice for roads. |
| Level ground (Flatten) | Matches the targeted ground to the height you are standing on. Useful for smoothing, but aggressive on slopes. |
| Raise ground | Builds the terrain upward to fill dips, ditches, and small water crossings. Consumes Stone. |
| Paved road | Applies a 4×4 stone surface for 1 Stone per placement. Requires a Stonecutter nearby. |
Roads on hills: why the Hoe carves cliffs, and how to stop it
The single rule that explains every ruined hillside is this: the Hoe reshapes the target area to match the height of the ground under your feet, and nothing else. Stand at the top of a slope and click downhill, and the game dutifully raises that lower ground to meet you, producing a wall. Stand at the bottom and click uphill, and it scoops out a trench.
The fix is to move constantly. Position yourself at the exact height you want the next section of road to sit, click at your feet or immediately in front of you, then step forward and repeat. Small, frequent swings beat big ambitious ones. Standing slightly off to the side of the road line and placing the circle between the high and low points also softens the transition.
For anything genuinely steep, stop trying to go straight up. Switchbacks work in Valheim for the same reason they work on real mountain roads, and a zig-zag route with a gentle grade is far easier to build than a ramp. A pickaxe helps too — digging a shallow ledge upward gives you a workable incline you can then tidy with the Hoe.
Tip: Use Level ground sparingly on slopes. It is a smoothing pass, not a road-laying tool, and one careless click can flatten a chunk of hillside you spent ten minutes shaping.
Cart roads between bases and mining sites
A road meant for a loaded cart needs planning before it needs digging. Walk the route first without the cart, drop map markers at the awkward spots, and lay a few Pathen circles as breadcrumbs on the way back so you can follow your own trail. Clearing trees, stumps, and rocks along the line matters as much as the terrain work, since a cart snags on anything it touches.
Follow the shape of the land rather than fighting it. Detouring around a steep face costs less time than excavating one, and gentle grades keep the cart from sliding back on you. Swamp routes are unusually forgiving because the ground is already close to level; the Black Forest and Mountains are where switchbacks earn their keep.
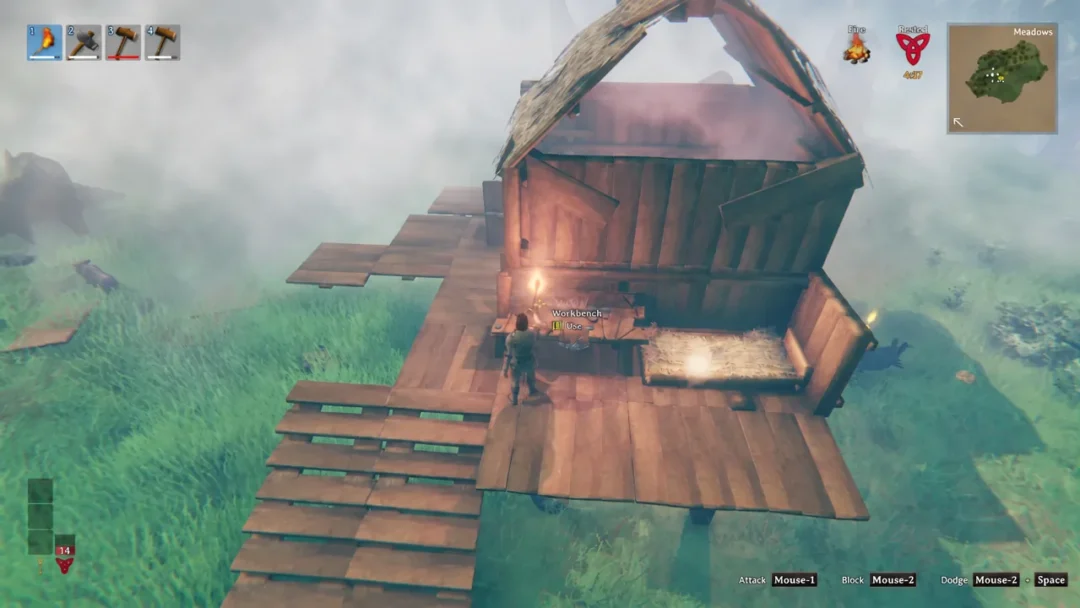
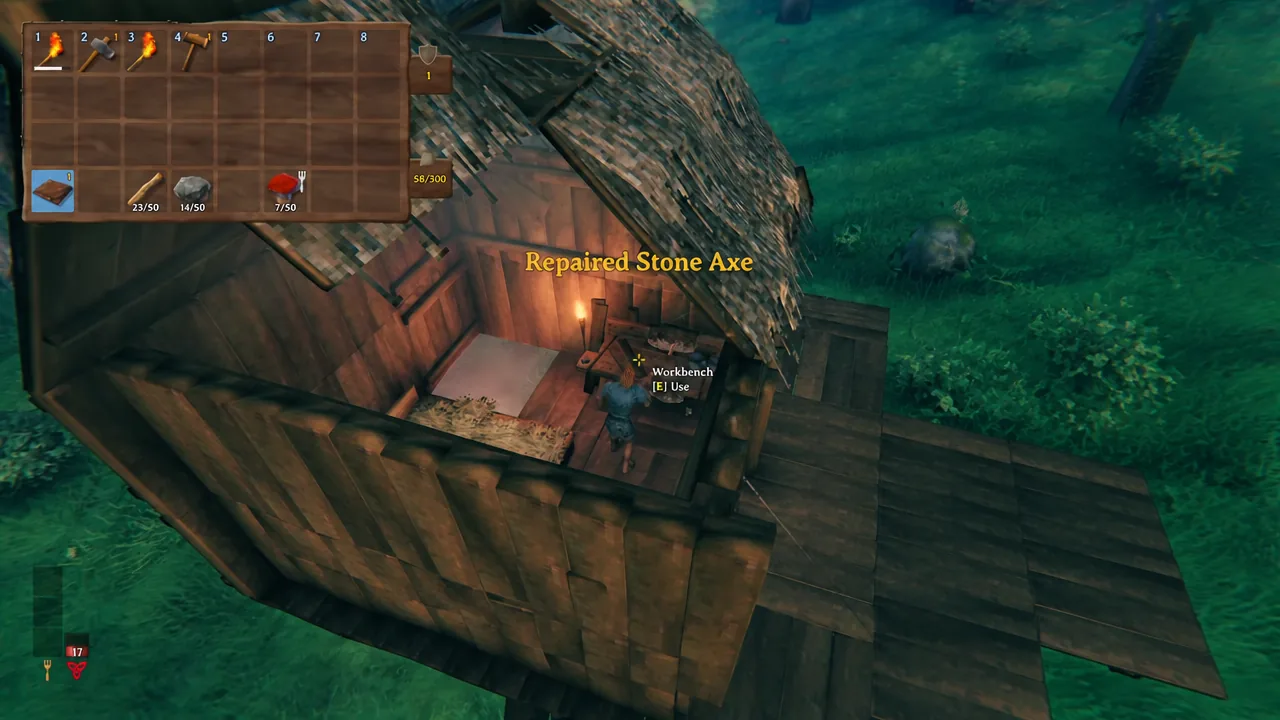
Two practical shortcuts save a lot of walking. Dropping a Workbench inside an abandoned shack along the route gives you a repair station for the Hoe and the cart mid-journey. And when a section of terrain simply will not cooperate — a narrow ledge, a gully, a boggy stretch — build over it instead, using floor tiles with 26-degree roof pieces as ramps, doubled in width and propped up on poles where the ground drops away.
Paved roads: requirements and limits
Once you reach iron and unlock the Stonecutter, the Hoe gains a Paved road option that swaps dirt for a stone surface. Each application covers a 4×4 area and costs 1 Stone plus Stamina, and you must be standing inside the Stonecutter’s build radius — the white dotted circle you see while a build tool is out. Step outside that circle and the option will not place.
Be clear on what you are getting. Paved road is cosmetic. It grants no movement speed bonus and no Stamina discount, it is damaged by rain, and it is the reason many players restrict stonework to the area immediately around a base where the contrast makes the layout easy to read. For long-haul routes through the wilds, plain Pathen is cheaper, faster, and does the same job.
Roads are slow work, and there is no tool that makes a mountainside behave. What makes the difference is discipline about where you stand before each click, and a willingness to let the road bend around obstacles instead of through them. Do that, and a Hoe worth 5 Wood and 2 Stone will carry you from a muddy footpath outside your door to a network that spans half a world.