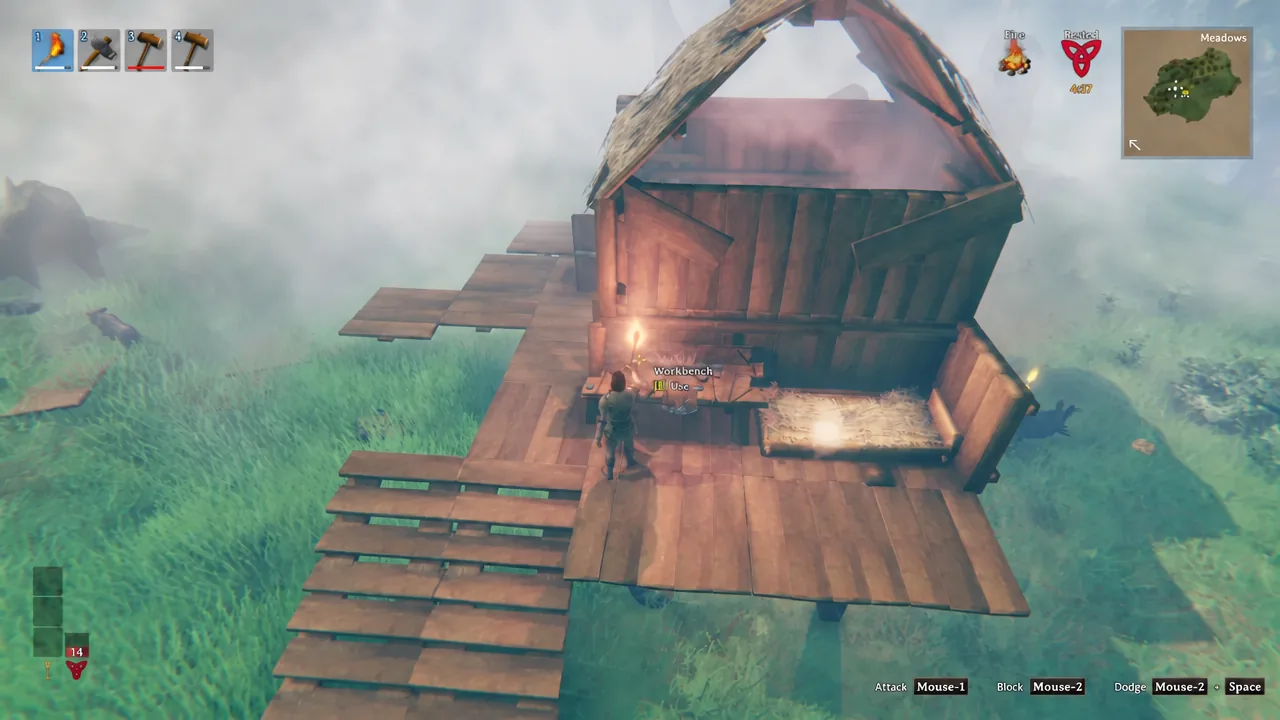
A workbench in Valheim will not open its crafting menu until the game decides it is sheltered. Stand next to an exposed bench and you get the yellow prompt “The crafting station needs a roof” instead of a recipe list, even if you have already stacked walls and flooring around it.
Quick answer: Put actual roof pieces (the slanted thatch parts) directly above the workbench and walls on its sides. Floor tiles placed overhead do not count as a roof. When the shelter registers, interacting with the bench opens the crafting menu.
Why the workbench shows the roof error
The bench checks whether it is protected from the weather, not whether it looks indoors. It fires a set of rays outward in the cardinal and diagonal directions plus one straight up, and enough of them have to hit something solid before the station counts as covered. The upward ray is the one that matters most, which is why a bench sitting on an open deck fails immediately.
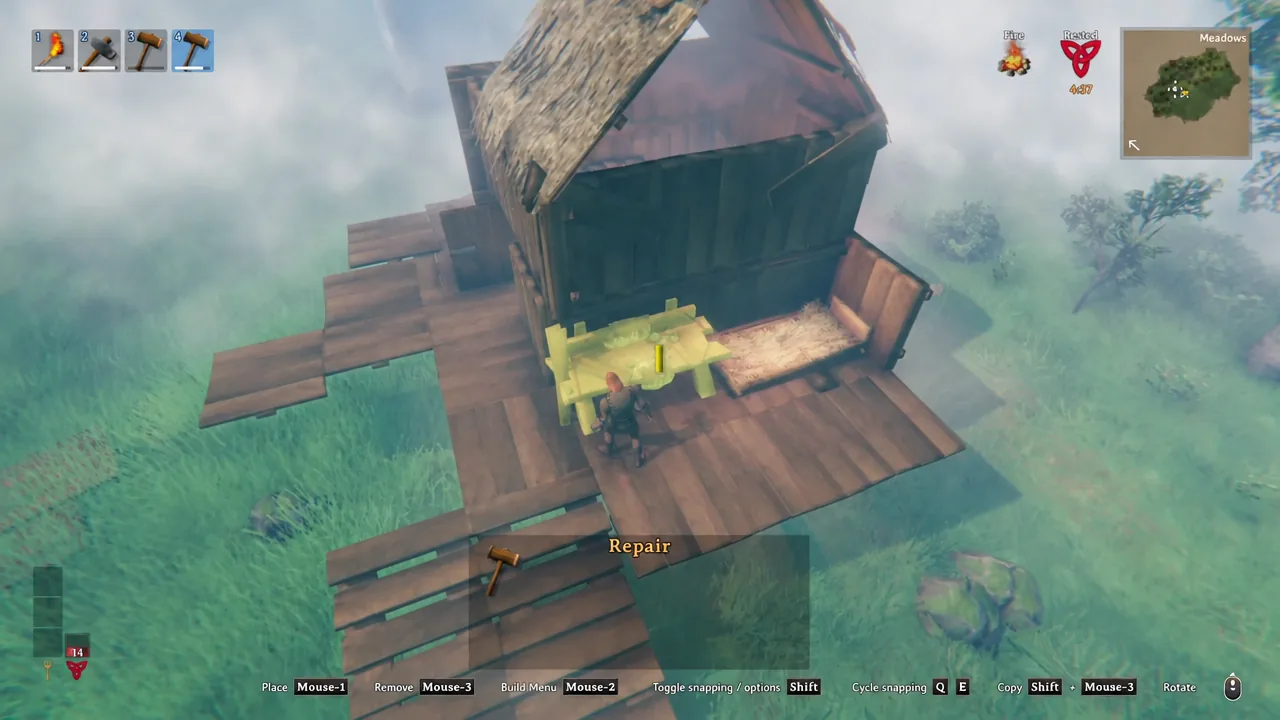
The most common cause of the error is a ceiling built from floor tiles. Wooden floors are not treated as waterproof, so putting them above a bench does not satisfy the roof requirement no matter how many you place. Stone and marble floor pieces do block the check, but they need proper support to hold up, which puts them out of reach early on.
Note: the roof does not have to be a finished, tidy structure. It only has to block enough of the bench’s rays for the game to register the space as sheltered.
What counts as a roof in Valheim
Sorting build pieces into “blocks the check” and “does not” saves a lot of trial and error before you start placing parts.
| Build piece | Counts as roof? |
|---|---|
| Thatch roof pieces (the slanted parts with “roof” in the name) | Yes — the reliable early option |
| Wood floor tiles placed overhead | No — not waterproof, fails the check |
| Stone and marble floor tiles | Yes, but they need heavier support |
| Wood, metal and Dvergr walls | Yes, for the side rays only |
Thatch roofing comes in different angles. The 26-degree pieces give a shallower slope and use less vertical space, while the 45-degree set makes a steeper peak. Either works for the shelter check, so pick whichever fits the height you have.
Build a minimum shelter around the workbench
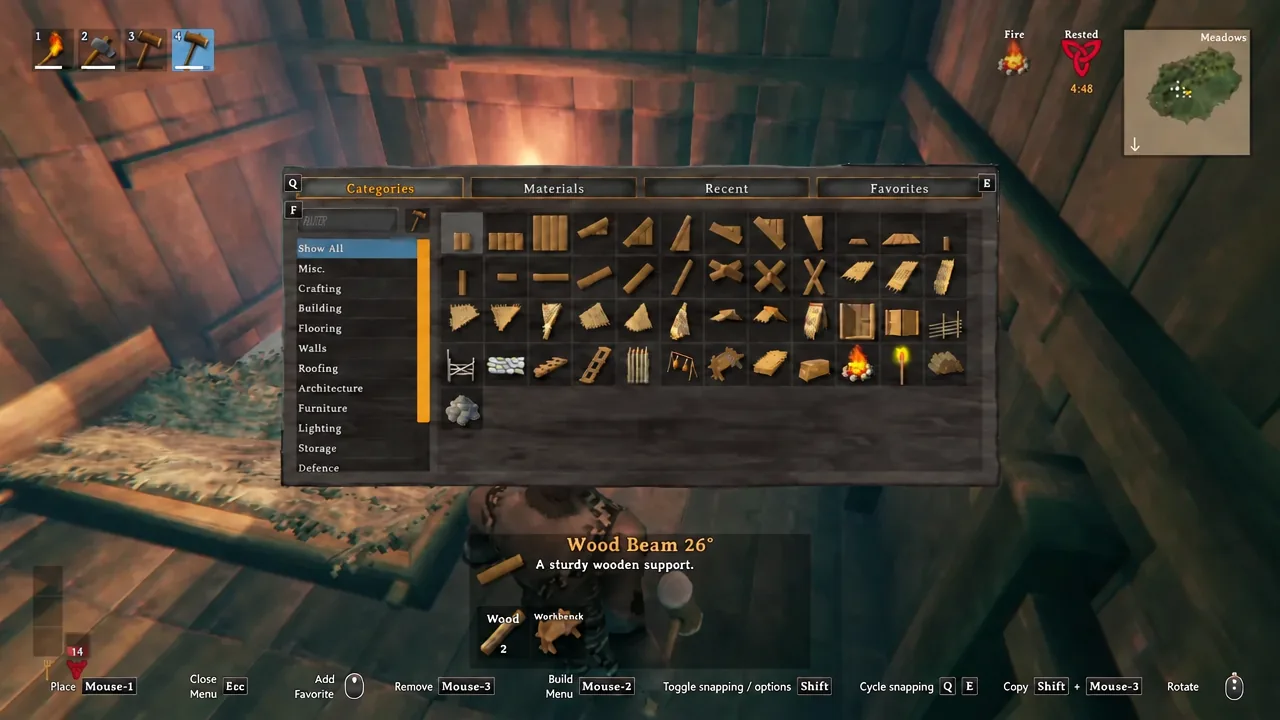
You do not need a house. A small shed built around the bench is enough, and you can put the pieces down using the hammer while the bench is still unusable, since the building menu itself works from an exposed bench.
Confirming the shelter registered
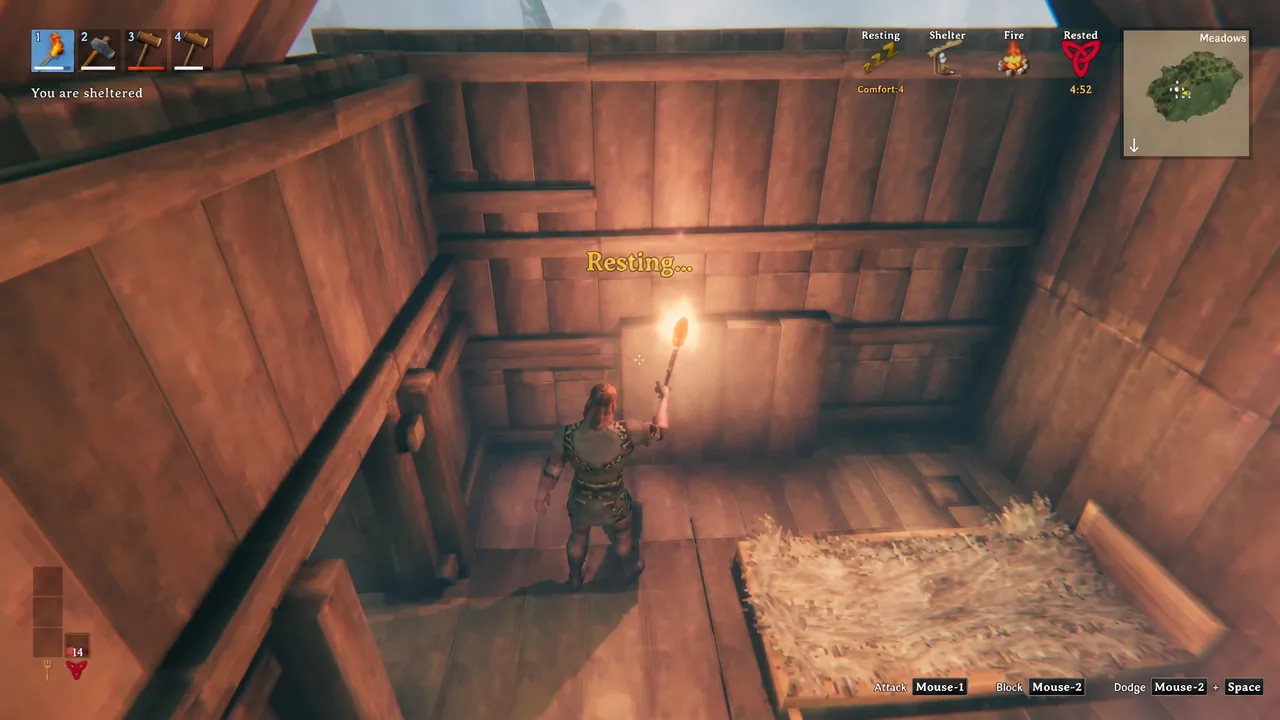
There are two clear signals. The yellow “The crafting station needs a roof” prompt stops appearing and the bench opens its recipe list, and standing under the same roof gives your character the “You are sheltered” status. If you have a bed and a fire nearby, you will also see “Resting…” with a comfort value while sheltered.
If the prompt is still there, work through the short list of causes rather than adding more parts at random.
- The ceiling above the bench is made of wood floor tiles instead of roof pieces.
- Too few sides are blocked, so the ray check falls short even with a roof overhead.
- The bench is clipped into a wall and part of it sits outside the shelter.
- There is a gap in the roof directly above the bench, leaving the upward ray unblocked.
Roofs also protect the rest of your base
The same coverage that unlocks the bench keeps exposed wood from taking weather damage. Rain wears wooden pieces down over time, though it stops at 50 percent health — anything below that comes from attacks. Not every structure is affected either; large stakewalls shrug off rain while a big wooden gate does not, so small roof caps over gates and bridges cut down on repair trips.
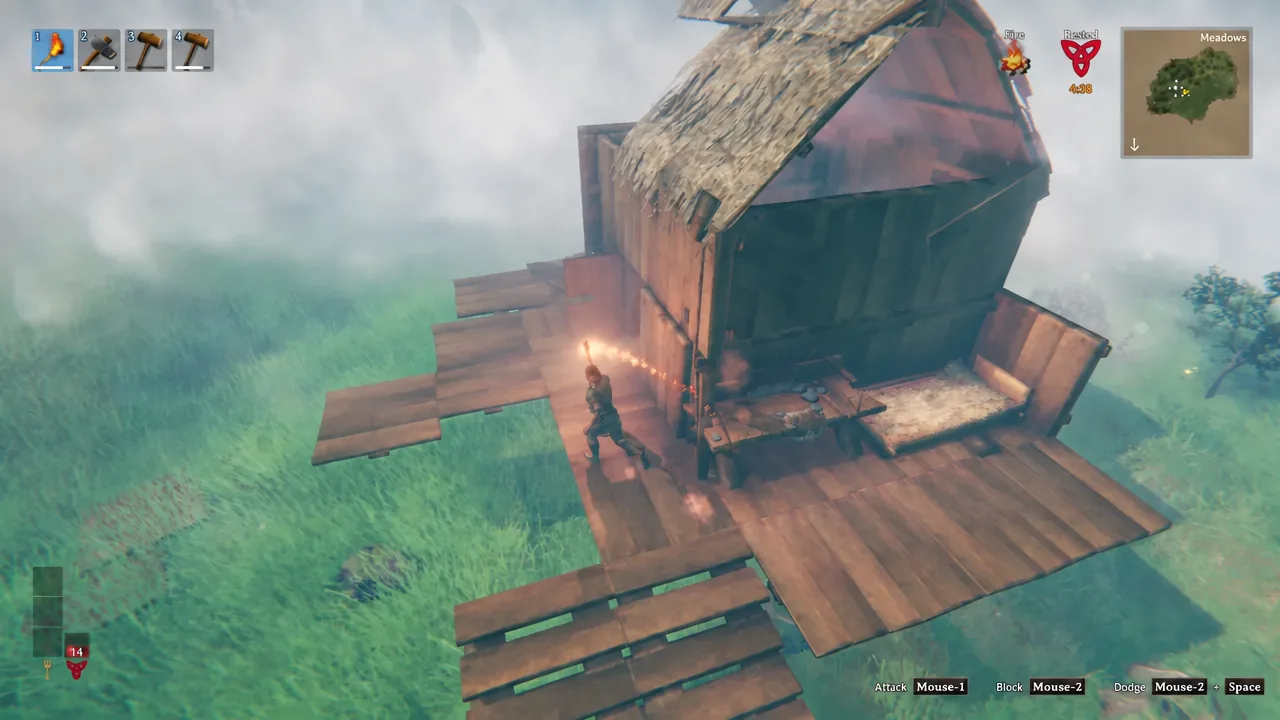
Thatch roofing does the same job for a campfire, keeping it lit through storms so you hold onto the rest bonus. If you enclose a fire, leave a chimney gap in the roof so the smoke escapes — smoke build-up in a sealed room will kill you.
Later biomes unlock sturdier materials, and core wood or iron beams let you build taller and span wider spaces than plain wood allows. For now, a four-wall pocket with a thatch cap is all the workbench asks for, and it takes only a handful of wood to put up.