Gearville is the arid, factory-heavy island in Hot Wheels Infinite Rush, built out of quarry canyons, warehouse yards and long stretches of orange track bolted across the desert. It is also the densest island for pickups, and the one where a sloppy route costs the most time. Everything that counts toward full completion here is stationary, so the island can be cleared in a single free-roam pass if you sweep it in the right order.
Quick answer: Gearville contains 300 Gears, 10 HOT WHEELS™ Logos and 10 Stickers. Collect all 300 Gears to unlock the Well-Oiled Machine achievement or trophy; Gears sit in fixed clusters of five or ten, Logos must be jumped through in mid-air, and Stickers only register when you photograph them in Photo Mode.
Gearville collectible totals
Three collectible types feed the island’s completion percentage, and each one is gathered a different way. The counts below are fixed and do not scale with difficulty or vehicle choice.
| Collectible | Total | How it is collected |
|---|---|---|
| Gears | 300 | Drive through them; they appear in clusters of five or ten |
| HOT WHEELS™ Logo | 10 | Launch off a ramp or hill and pass through the floating logo |
| Stickers | 10 | Frame the decal in Photo Mode and take the shot |
Alongside those, the island map tracks 27 activities, 12 Event Portals, seven Daredevil routes, three Rushers, one Rush Master, two dealerships and one Launch Pad. Those are separate progress lines from the 300 Gears, so clearing every Gear does not close out the island by itself.
Gear clusters: where the 300 Gears sit
Gears are never scattered individually. Every pickup belongs to a run of five or ten laid along a line you are meant to drive, which means the collection is really about 40-odd short routes rather than 300 separate detours. The first ten sit in the harbor shipping container area, and the pattern holds from there.
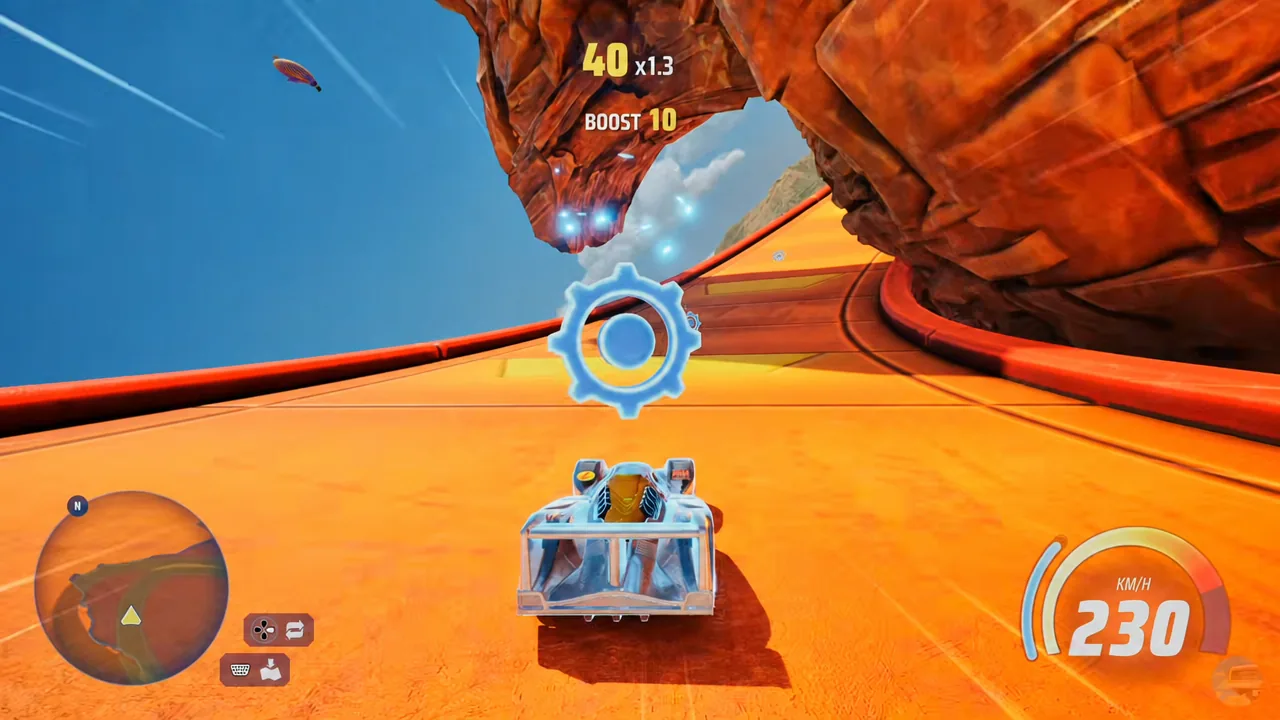
Four placements repeat across the island. Long orange track sections carry the biggest strings, including a ten-Gear run on the extended loop and another ten across the elevated track near the factories. Yellow pipe tunnels hide several five-Gear runs, and you have to commit to the full length of the tube rather than clipping the entrance. Dirt paths along the canyon rim and the alleyways between warehouses hold the rest, with a few sets tucked under industrial pipelines and beneath the giant crawler vehicle.
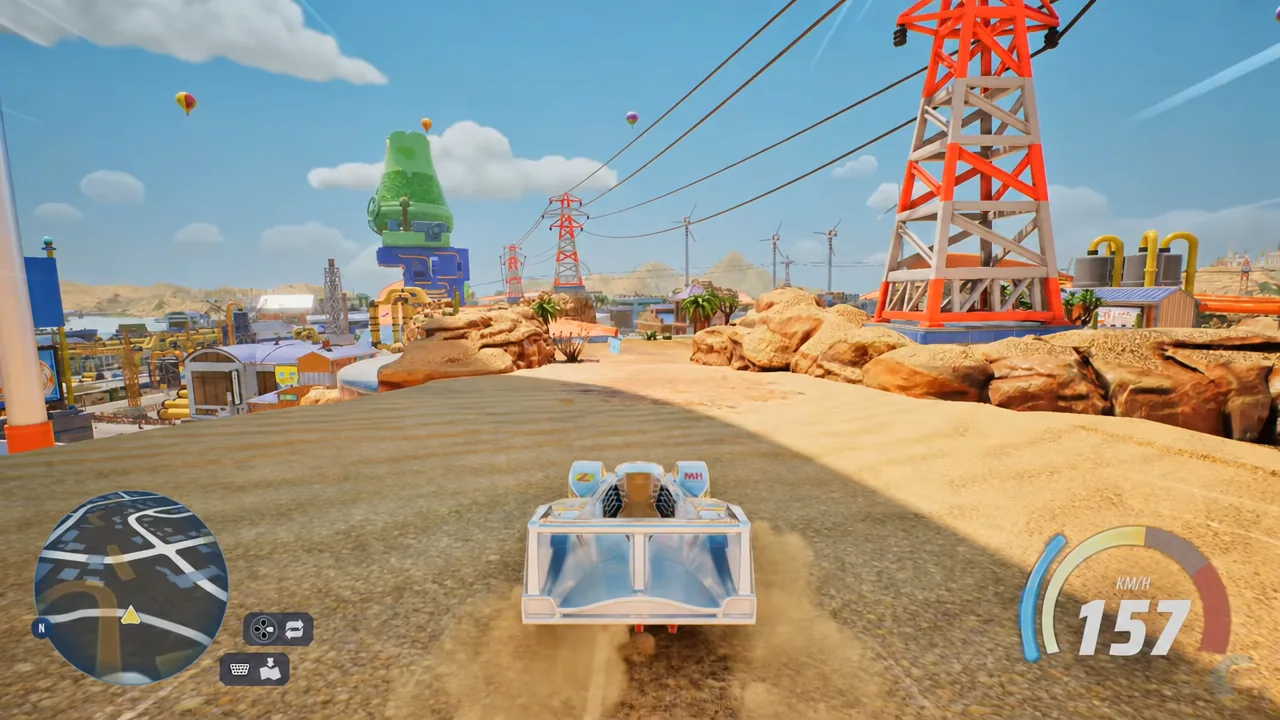
Speed works against you on a handful of sets. The clusters that sit just off the track edge, on roadside dirt or on a hill shoulder, are easy to overshoot at full boost. Ease off before those, take the line at low speed, and re-run the segment rather than trying to correct mid-air.
HOT WHEELS Logos: jump through them, not under them
The ten Logos float above the ground and only count when your car passes through the ring in mid-air. Each one is paired with a launch feature, so you are always approaching it from a set direction. Logo #1 comes off an orange ramp early in the town area, #2 sits under the huge crawler vehicle, #3 is cleared by cresting a dirt hill, and #4 requires driving off a cliff ramp. Logo #5 appears on a track section shared with a ten-Gear run, so one clean pass takes both.
Note: if you clear the jump but pass below or beside the ring, nothing registers and there is no penalty. Turn around, rebuild speed on the same ramp and repeat until the pickup sound plays.
Stickers and Tourist photos require Photo Mode
Stickers are decals stuck to walls and structures, and driving past one does nothing. Park the car so the decal is in front of you, open Photo Mode, and centre the sticker in frame before capturing. Most Gearville Stickers are on warehouse exteriors, with one under the giant vehicle, one inside a tunnel and one that needs you to climb a dirt hill next to a warehouse wall to get the angle.
Tourist activities use the same camera but point at landmarks instead of decals. There are five in Gearville, and the first has you frame Mount Rusher from a marked vantage point. The activity completes as soon as the photo is accepted, so there is no scoring run to redo.
All 27 Gearville stunt activities
Activities are marked on the island map and start from a fixed trigger point. Each is scored, with gold as the top result, and every one can be restarted immediately from the pause options if the run goes wrong.
| Activity | Count | Objective |
|---|---|---|
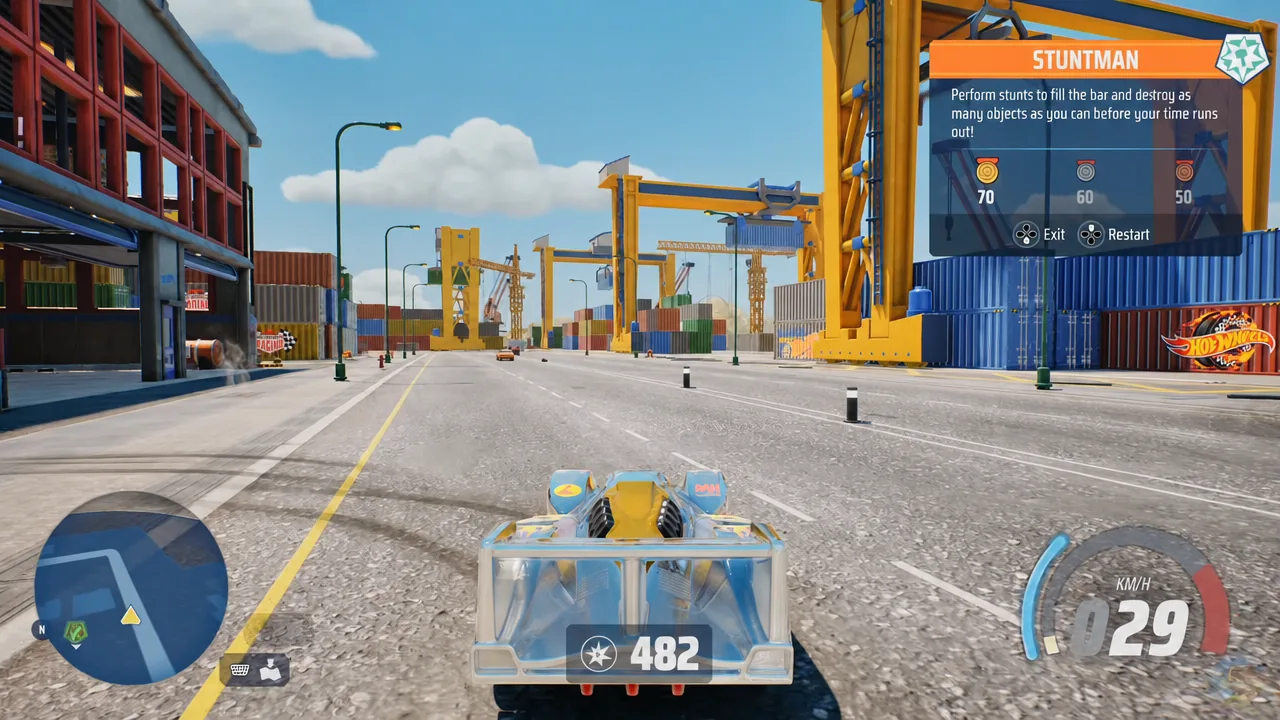
| Stuntman | 5 | Smash barriers, debris and destructible scenery for score |
| Tourist | 5 | Photograph a set landmark from the marked spot |
| Find the Flame Stunt | 5 | Reach the flame before the timer runs out |
| Drift Stunt | 3 | Hold drifts along a dirt road section |
| Boost Stunt | 3 | Chain boost gates through tunnels without missing one |
| Delivery Stunt | 3 | Move a flatbed truck quickly and without damage |
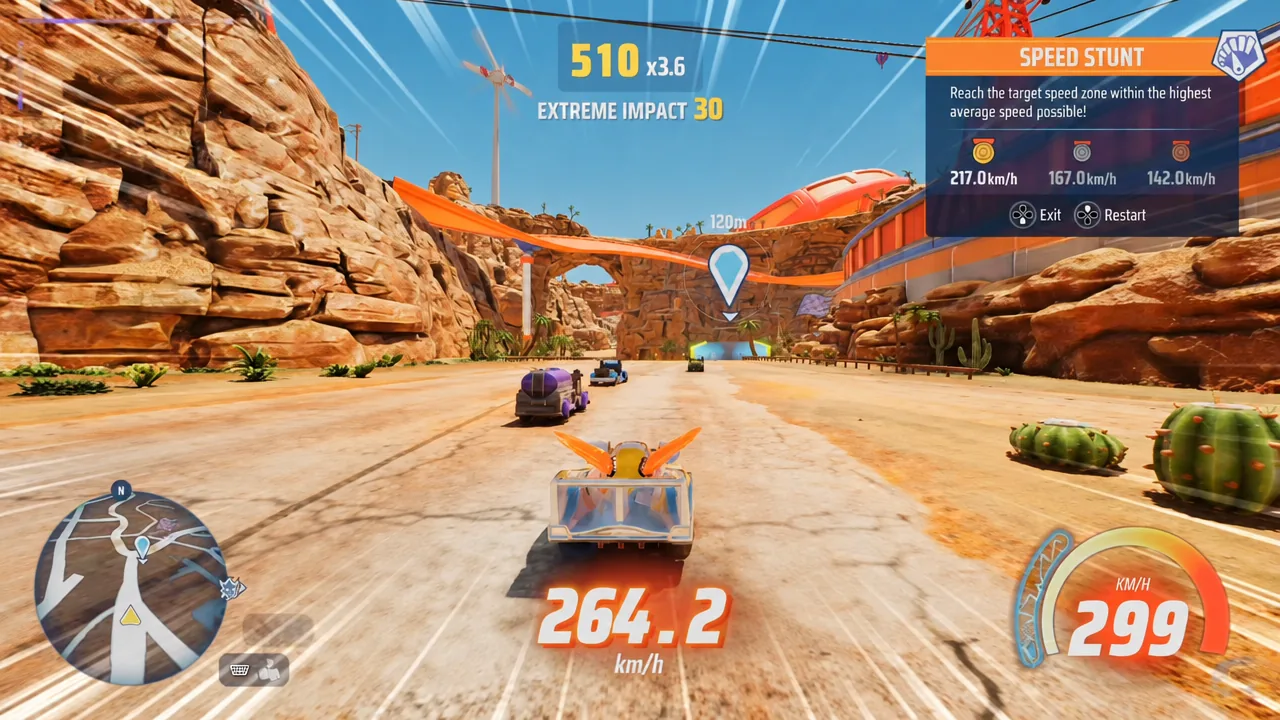
| Speed Stunt | 3 | Hit and hold the target speed on the marked stretch |
Speed Stunts are the most restart-heavy of the set, because a single collision drops you under the target and ends the attempt in practice. Line the car up on a straight approach before you trigger the start gate.
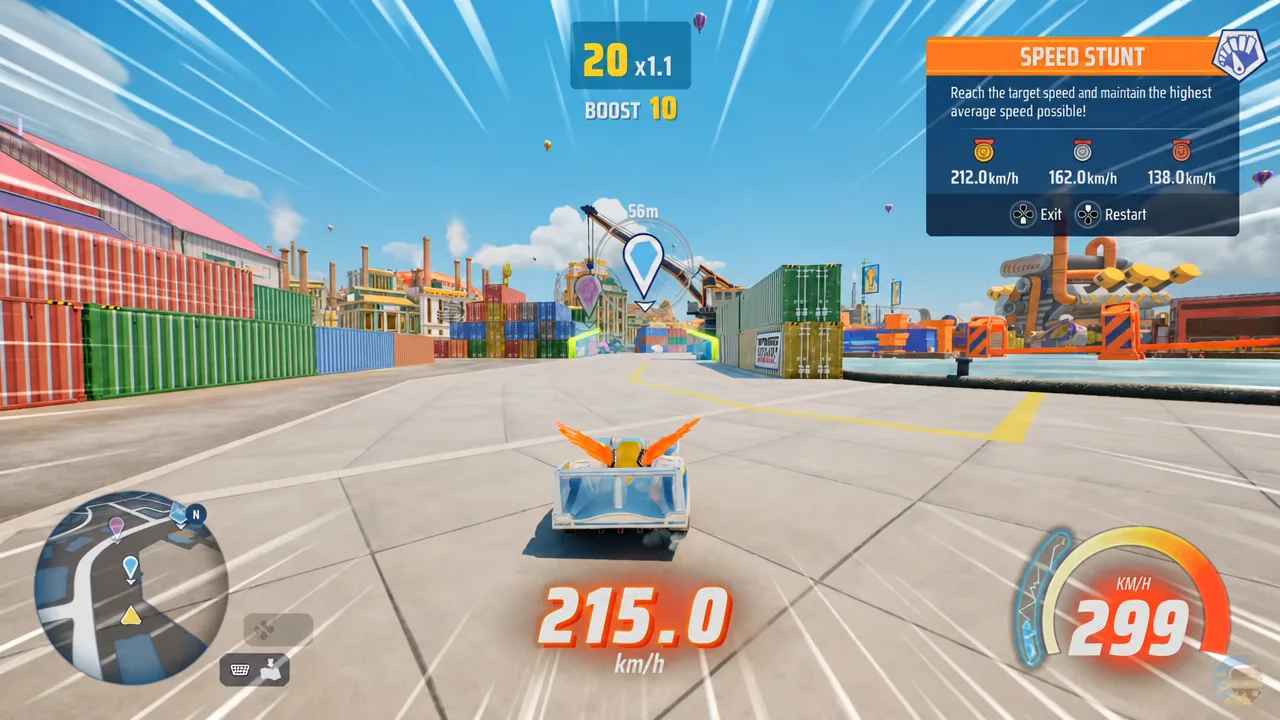
The Exit and Restart options stay available for the whole attempt, so there is no reason to drive a failed run to the end.
Gearville Event Portals
Twelve Event Portals are spread across the island, each opening a menu of numbered races rather than a single event. The full set is Speed Science, Roadwork, Climbing to the Summit, Rocky Trap, Mirage, Roaring Engines, The Cobra’s Path, Losing Direction, Bottleneck Bridges, Dangerous Intersections, Inside the Engine and Ghost Town.
| Event Portal | Events inside |
|---|---|
| Speed Science | 10 |
| Roadwork | 9 |
| Climbing to the Summit | 8 |
| Rocky Trap | 8 |
| Mirage | 5 |
Portals are worth touching as you pass even if you do not intend to race yet. Driving into one registers it on the map, which keeps your collectible sweep and your Career progress on the same route.
Vehicles tied to Gearville
The island’s collection tab tracks cars separately from Gears, and most of them are earned by doing the things already on your route. Daredevil routes are the main one, since each of the seven hands over a specific die-cast when cleared.
| Collection group | Cars | Source |
|---|---|---|
| Gearville Daredevils | 7 | Complete the island’s seven Daredevil routes |
| Gearville Dealership | 16 | Purchased from the island dealership |
| Secret Dealership | 8 | Hidden dealership stock |
| Gearville Rush Squad | 4 | Road Rocket, Flathead Fury, Rig Storm, Drift Rod |
| Archipelago Collectibles | 2 | ’71 El Camino and Prototype H-24 |
| Welcome Gifts | 1 | Twin Mill |
The seven Daredevil cars are Street Creeper, Aristo Rat, Splittin’ Image II, Ballistik, Rig Heat, Speed Dozer and Slide-Burn. The Secret Dealership stocks the 2013 Dodge Viper SRT, Fiat 500D Modificado, Mercedes-Benz 560 SEC AMG, Donut Drifter, Dragon Blaster, 2007 FIAT 500, Hi-Roller II and RRRoadster.
A route that avoids backtracking
Confirming Gearville is finished
The Gear counter on the island map is the check that matters. When it reads 300 of 300 for Gearville, the Well-Oiled Machine achievement or trophy pops on your platform, and that is the confirmation that no cluster was left half-collected. Logos and Stickers have their own 10-of-10 counters on the same screen, so a stalled number tells you exactly which category still has a marker outstanding.
Three things account for nearly every missing pickup. A Gear cluster looks cleared because you took most of it at speed and clipped past the last one or two. A Logo was passed under rather than through. Or a Sticker was driven up to but never captured in Photo Mode. Re-running the exact segment fixes all three, since collected Gears stay collected and there is no penalty for repeating a route.
Gearville rewards a slow first lap more than a fast one. Sweep the harbor, town and track loops before you touch the canyons, keep a habit of stopping for Stickers the moment you spot one on a wall, and the 300th Gear tends to land well before you have exhausted the island’s races.