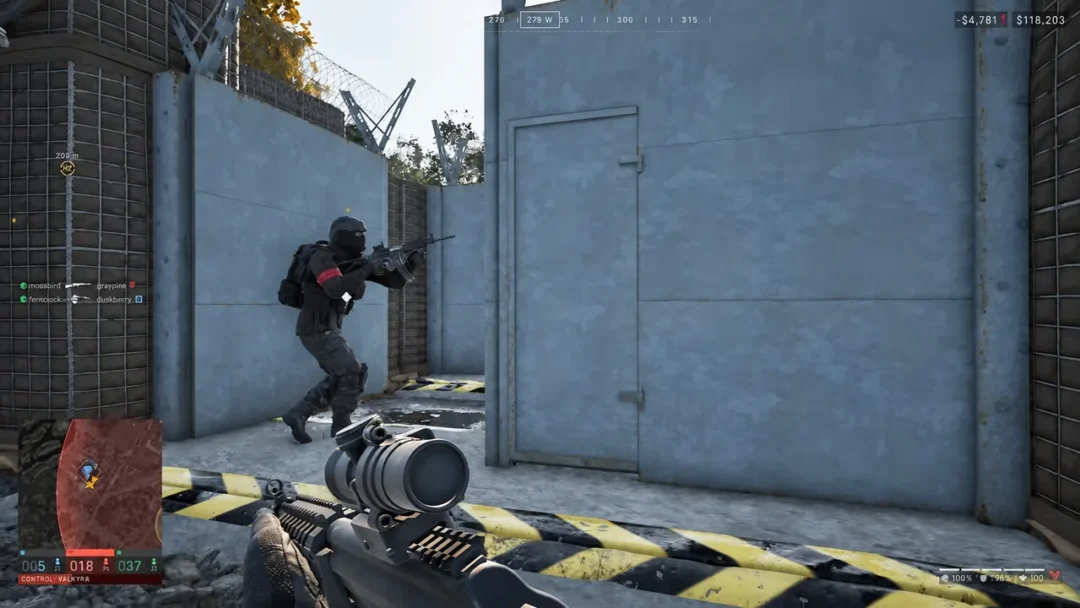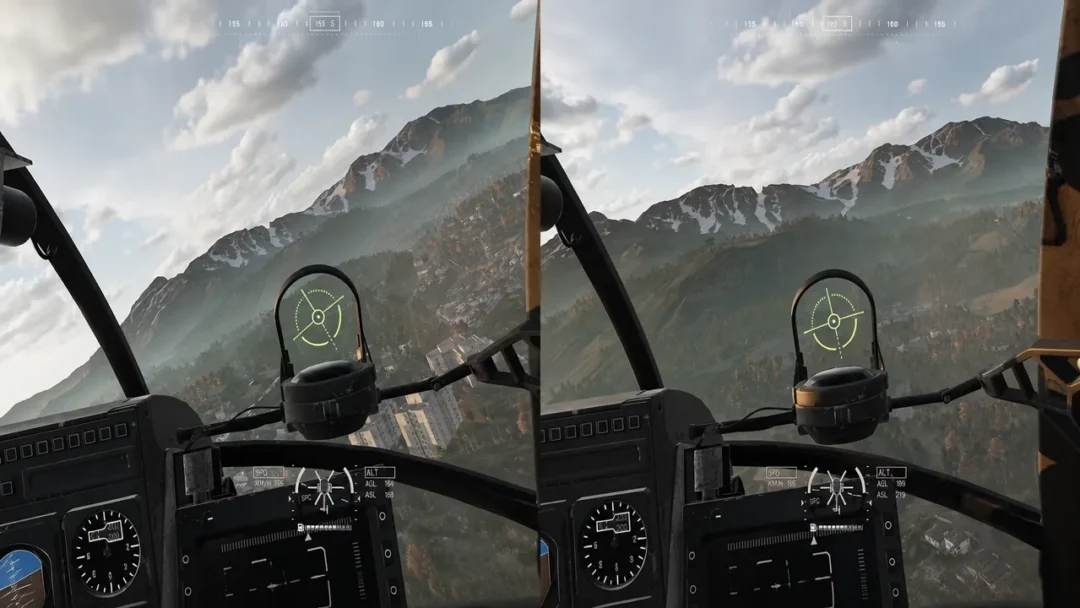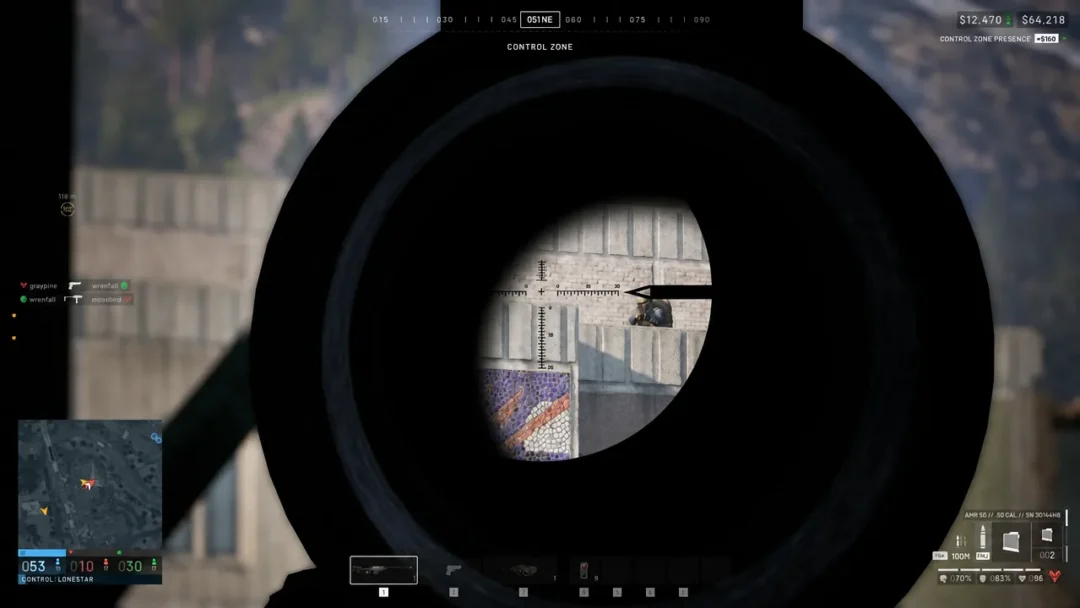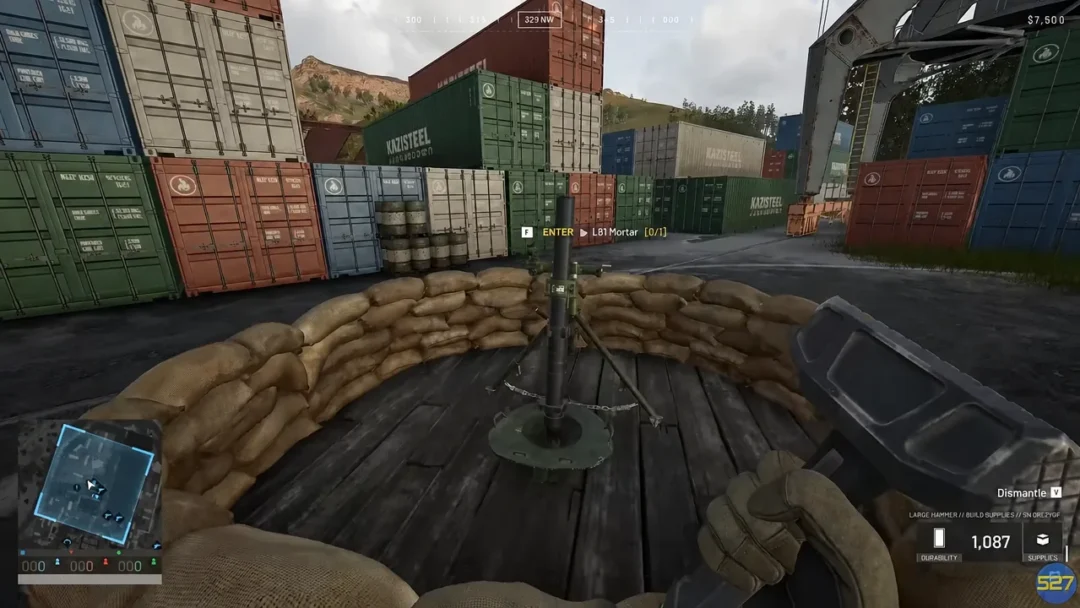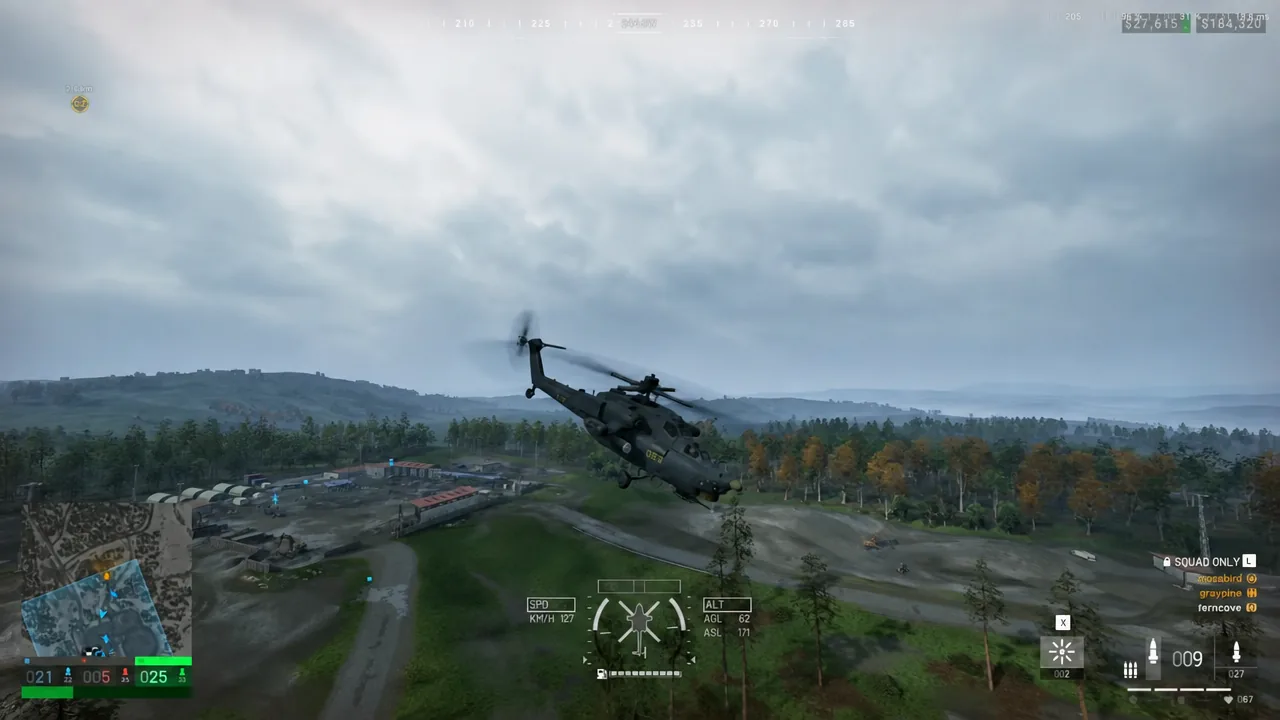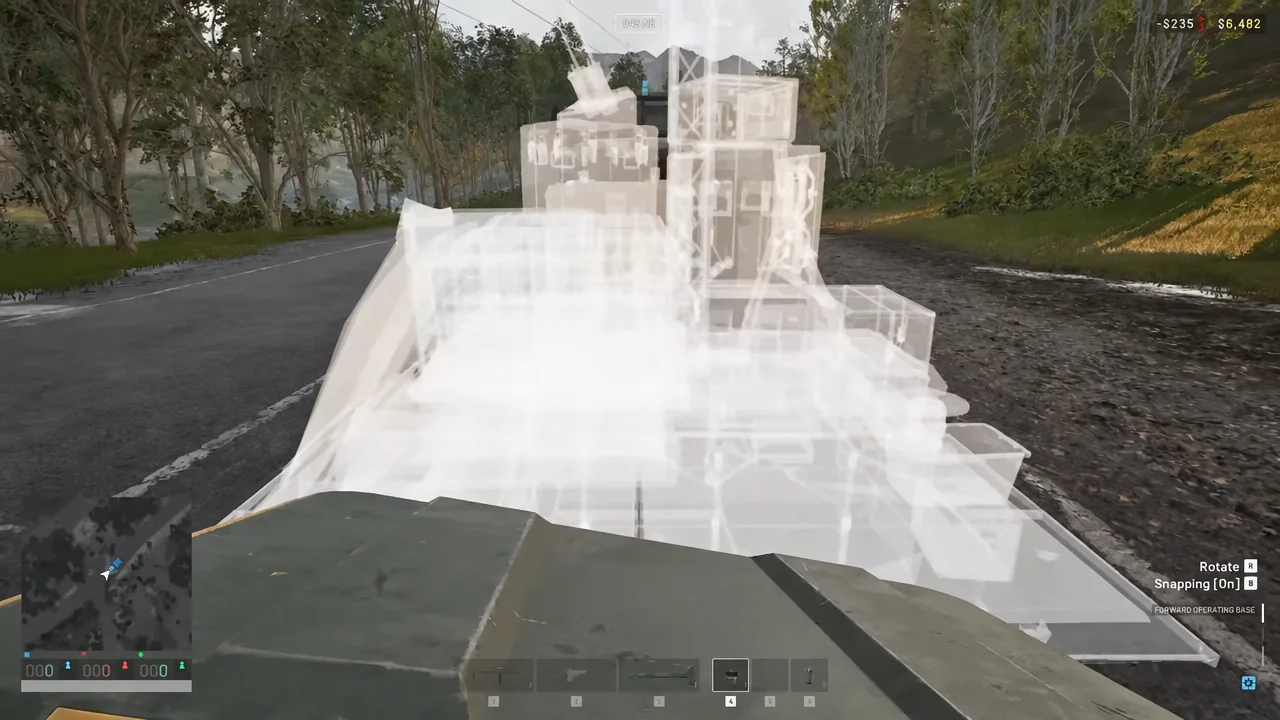
Helicopters own the sky in WARDOGS until somebody puts a missile launcher under it. The cheapest way to do that as a solo player is a micro FOB — one Forward Operating Base, a ring of Hesco, a Recon Tower, and a Talon 9K-SAM bolted to the top. It fits on a roadside, costs a fraction of a full squad base, and gives you elevation plus cover from snipers while you sit in the turret.
Quick answer: Place a Forward Operating Base, wall it in with Hesco blocks stacked four high, snap a Recon Tower inside with the ladder facing the FOB, then place a Talon 9K-SAM on the tower platform and hammer it until the build bar completes.
What you need to buy before you build
Everything gets built inside a FOB, so the kit is the first purchase, not an afterthought. At the Equipment Vendor, pick up a Forward Operating Base, a hammer (a Medium Hammer is enough for a build this size), and Build Supplies. Add a weapon you can defend yourself with, spare magazines, loose ammo, bandages, and armor while you are in the menu — you will not want to drive back.
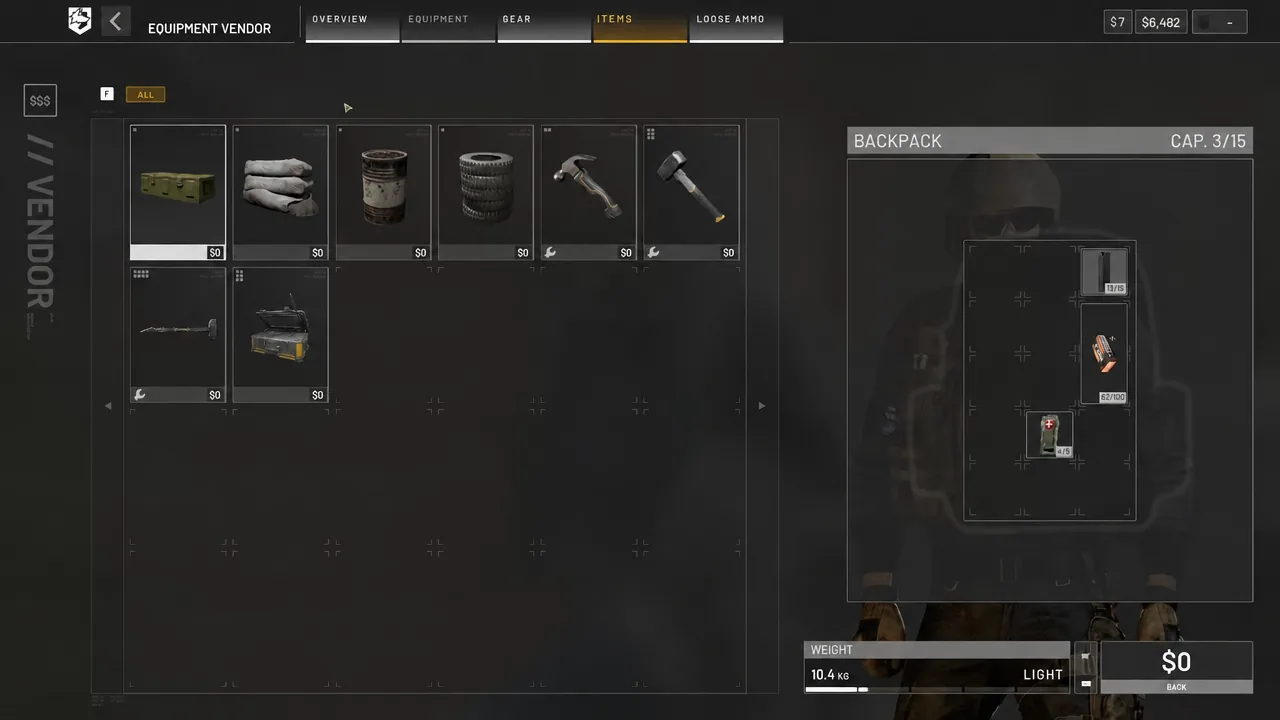
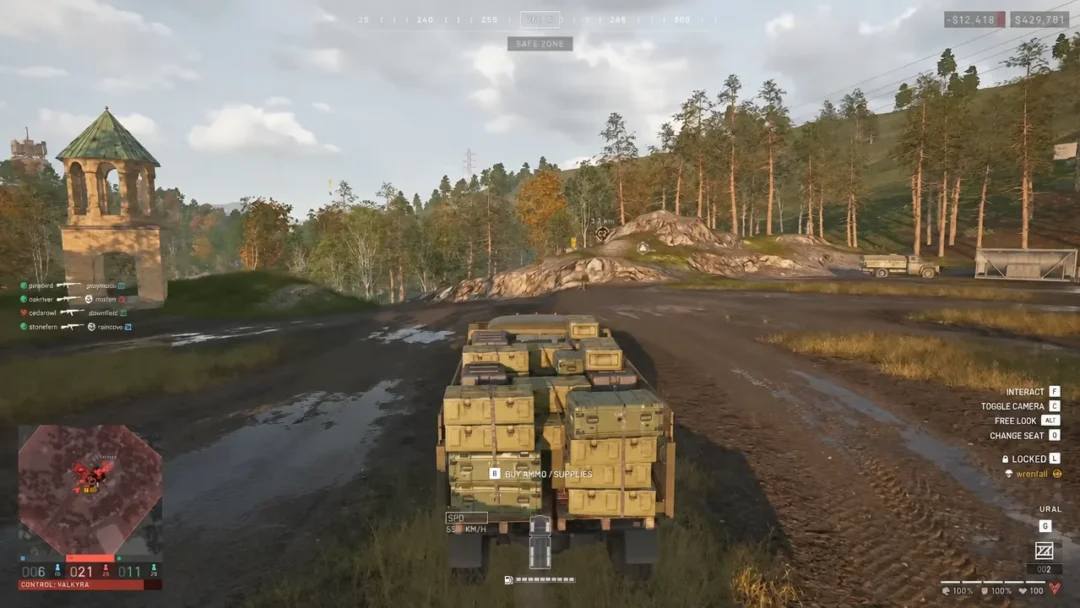
Build Supplies in your backpack alone will not finish a tower. Buy a URAL Truck at the Vehicle Vendor for $5,000, then load the cargo bed with ammo supply pallets at the Garage Vendor and drive the whole lot to your chosen spot. The pallets get emptied straight into the FOB’s inventory once it is down, and that pool is what your hammer draws from.
Supply cost of every piece in the build
| Piece | Supplies | Health | C4 to destroy |
|---|---|---|---|
| Forward Operating Base | 30 | 15,000 | 5 |
| Hesco Block (Small) | 13 | 1,600 | 2 |
| Hesco Block (Large) | 19 | 2,250 | 4 |
| Recon Tower | 81 | 5,000 | 14 |
| Talon 9K-SAM | 801 | 3,000 | — |
| Sandbag Wall | 13 | 735 | 1 |
| Barbed Wire | 7 | 250 | 1 |
The launcher is by far the biggest line item at 801 supplies, so plan the pallet run around it. Small Hesco blocks stack six high and Large blocks stack three, which matters when you decide how to reach the platform.
Build the portable AA tower
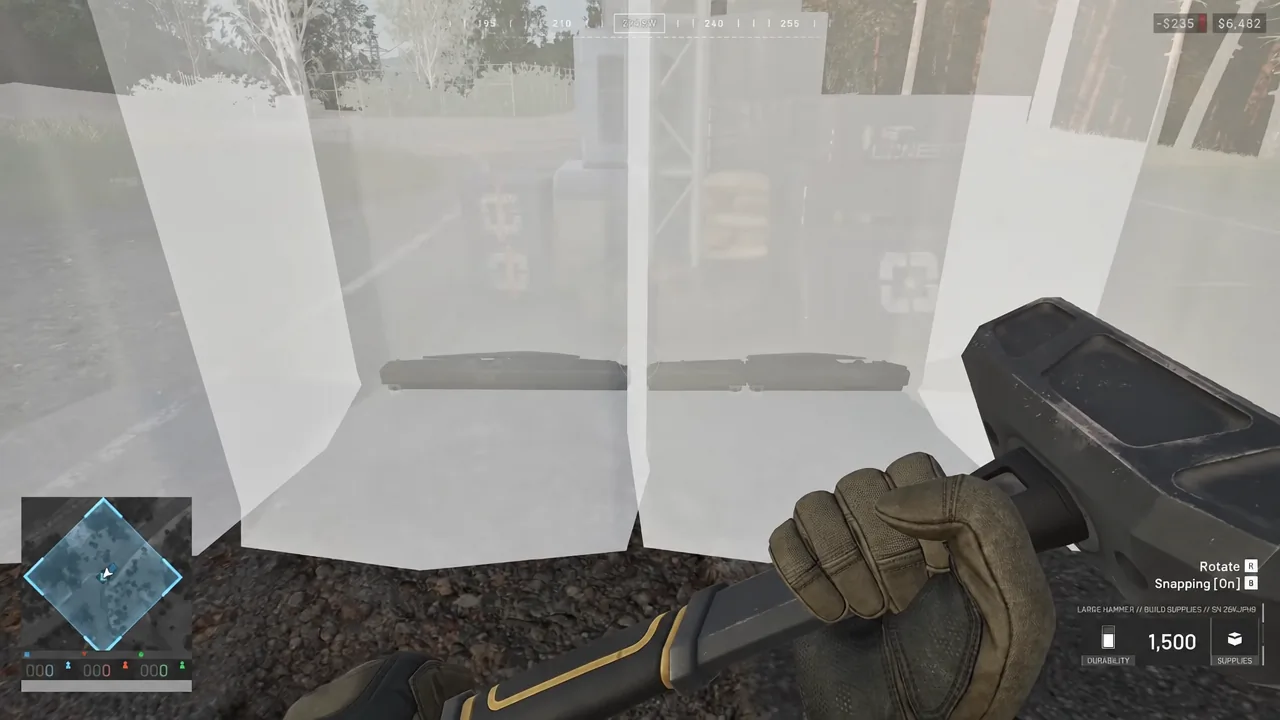
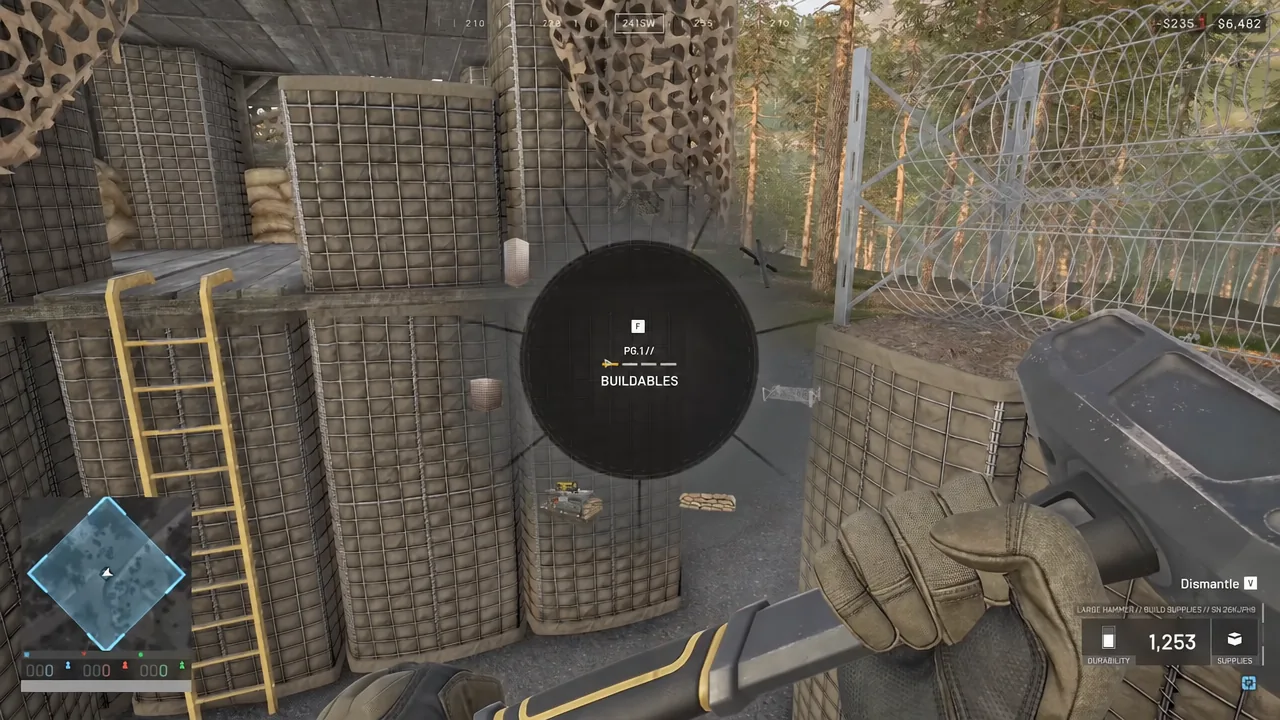
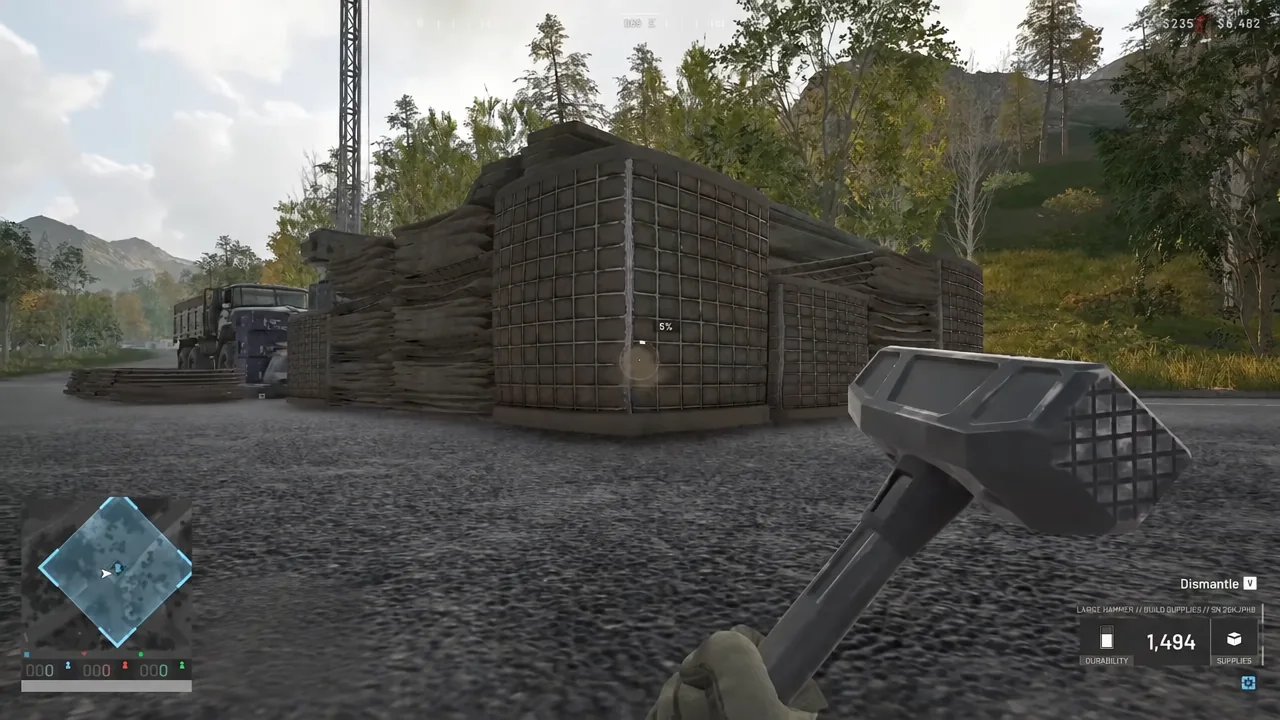
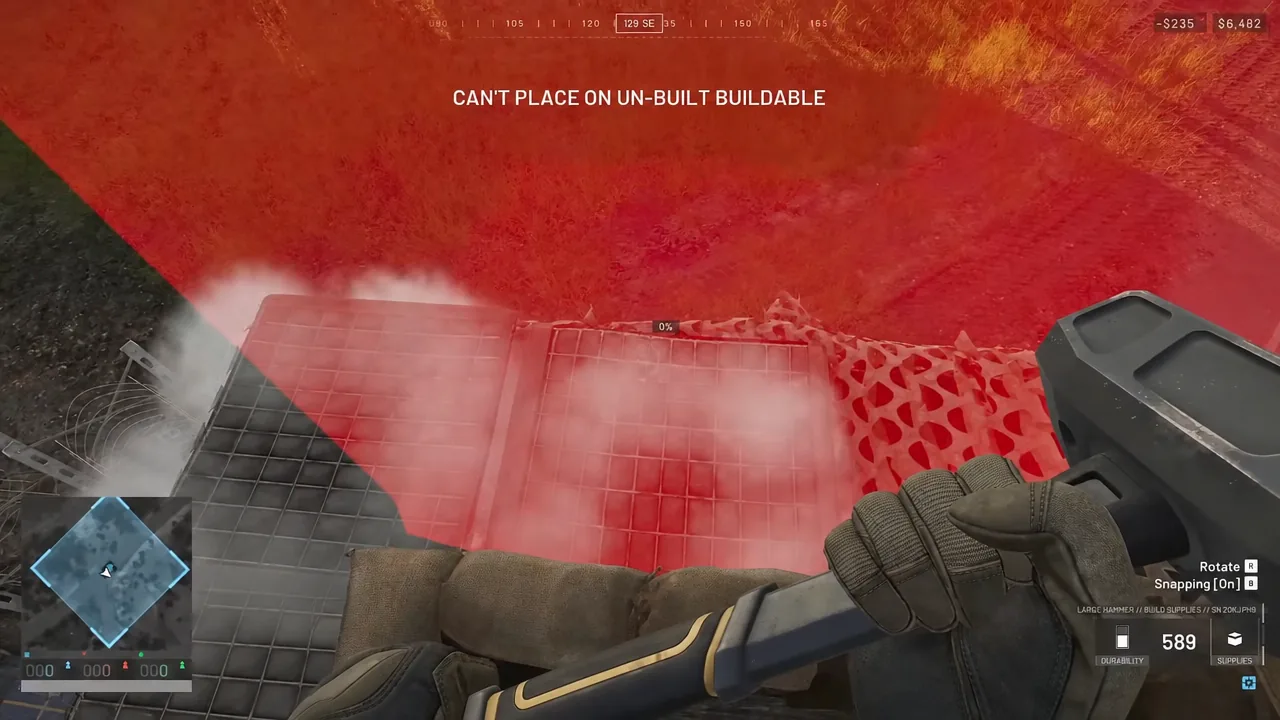
How to confirm the AA tower is working
Sit in the launcher and you switch to the SAM’s targeting scope. Aim at an aircraft, hold the lock until the turret confirms it, then fire. A successful intercept prints a vehicle destroyed reward on screen — helicopter kills in the field have paid out in the region of $8,500 to $14,500 depending on the airframe, and that money comes back to you immediately.
Tip: check the view from the seat before you finish the crow’s nest walls. If the Hesco is too high in front of the barrel you will have cover but no shot, and the only fix is dismantling a block you already paid for.
Why SAM missiles fail to detonate
Missiles have a minimum arming distance. If one clips a window frame, a wall lip, or a Hesco block right in front of the launcher, it strikes before it arms and simply does not explode — you get an impact mark and nothing else. That is the single most common reason a well-placed AA position feels broken.
Keep the firing arc genuinely clear. Cover belongs beside and below the turret, not across the muzzle. Building on high ground helps here too, since it moves the nearest obstruction further away and widens the slice of sky you can reach.
Putting the launcher inside an existing building instead
The same launcher works indoors, and that is often safer than an exposed rooftop, which invites artillery and mortar fire. Pick an upper-floor room with a wide window and a clean view of the sky, build the SAM inside it, then pack sandbags around the base and under the window ledge so the operator is shielded while the barrel still clears the opening.
Fortify the route to that room as well. Barricade doors in the corridors, double up sandbag walls in stairwells, and lay barbed wire along any outer barrier that a player could jump from a statue, ledge, or wall onto. An indoor SAM nest dies to infantry walking in behind you far more often than it dies to aircraft.
Built this way, the whole position is one FOB, a handful of Hesco, a Recon Tower and the launcher — a few hundred supplies plus the truck run, against helicopters worth five figures each. It is portable by design, so when the Control Zone shifts, you write off the Hesco and start again somewhere with a better view of the sky.