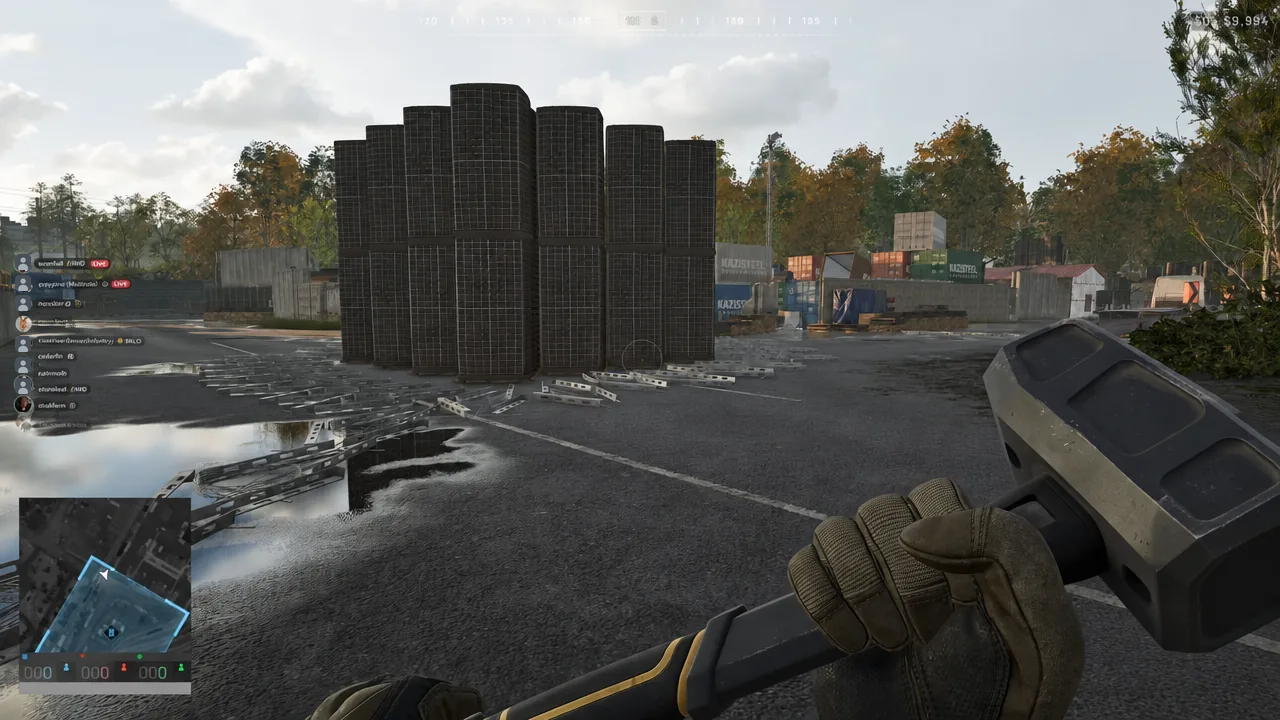
Most bases in WARDOGS are boxes. Four flat HESCO walls, a door, a vehicle parked inside, and no way to shoot anyone who walks up and hugs the outside of a wall. A bastion fixes that. It is a wedge that sticks out from the wall line with two angled faces, and it exists so defenders can shoot along the wall instead of straight out over it.
Quick answer: Build a projecting HESCO wedge at each corner of your FOB, stack it at least two blocks high, cap the top edge with Sandbag Walls to make firing ports, and aim each bastion so its fire covers the ground in front of the next bastion — not the ground directly below itself.
Why a bastion beats a flat HESCO wall
A flat wall has a blind strip at its base. Anyone who reaches it is safe from everyone standing on top of it, which is exactly how a base gets breached with C4 or cooked grenades. The angled bastion was the historical answer to the same problem, worked out by engineers from Francesco di Giorgio Martini through to Sébastien Vauban, and it behaves the same way in a shooter with destructible fortifications.
The shape does two things. The flanks give you a firing line that runs parallel to the wall face, so attackers pressed against the HESCO are exposed from the side. And because the bastion projects forward, it pushes the fight away from your spawn vehicle, ammo and supplies.
Pieces and supply cost for one bastion
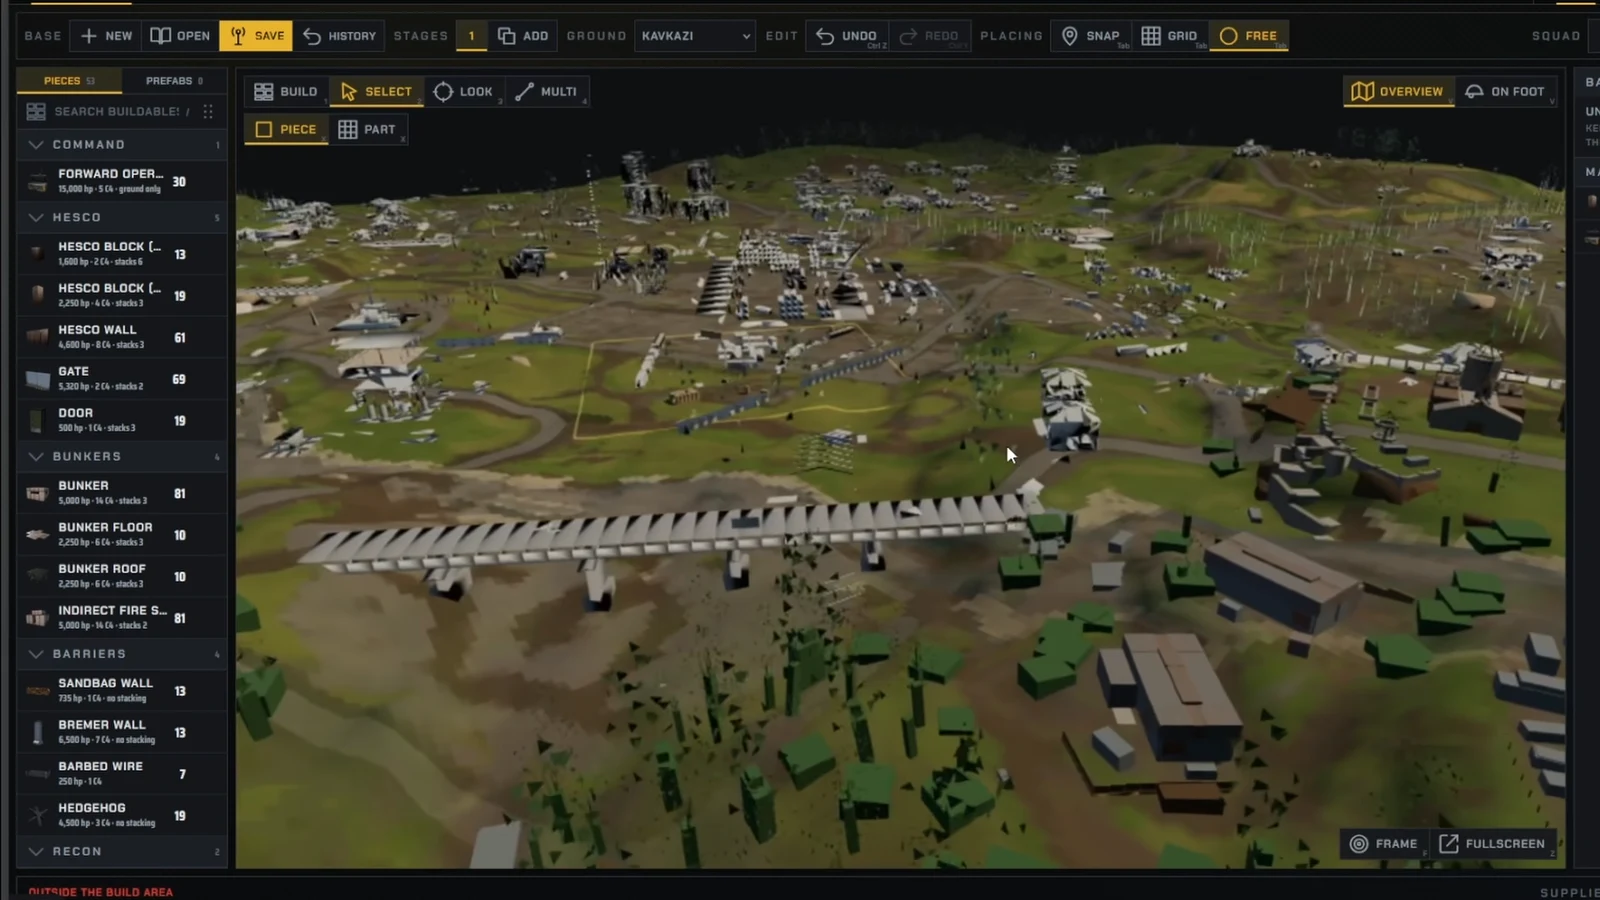
Everything below the Sandbag Wall and Barbed Wire tier has to be built inside a Forward Operating Base, and the FOB itself covers a 60 m build radius. Carry a Large hammer if you can afford it — it unlocks every buildable and works fastest. A Medium hammer covers basic and large pieces; a Small hammer only handles the basics.
| Piece | Supplies | Durability | Stacking |
|---|---|---|---|
| Forward Operating Base | 30 | 15,000 hp · 5 C4 | Ground only |
| Hesco Block (Small) | 13 | 1,600 hp · 2 C4 | Stacks 6 |
| Hesco Block (Large) | 19 | 2,250 hp · 4 C4 | Stacks 3 |
| Hesco Wall | 61 | 4,600 hp · 8 C4 | Stacks 3 |
| Door | 19 | 500 hp · 1 C4 | Stacks 3 |
| Gate | 69 | 5,320 hp · 2 C4 | Stacks 2 |
| Sandbag Wall | 13 | 735 hp · 1 C4 | None |
| Bremer Wall | 13 | 6,500 hp · 7 C4 | None |
| Barbed Wire | 7 | 250 hp · 1 C4 | — |
| Hedgehog | 19 | 4,500 hp · 3 C4 | None |
| Bunker | 81 | 5,000 hp · 14 C4 | Stacks 3 |
| Indirect Fire Shelter | 81 | 5,000 hp · 14 C4 | Stacks 2 |
Note: supply costs move between builds. Treat these as current figures, not permanent ones, and re-check a saved plan after a rebalance.
For scale, a full multi-bastion fort is not a solo project. A published triangular layout with bastions covering ravelins runs to 719 pieces and 11,838 supplies for a single FOB, and roughly 2,010k of standing structure HP. That is a logistics job as much as a building one.
How to build a bastion in WARDOGS
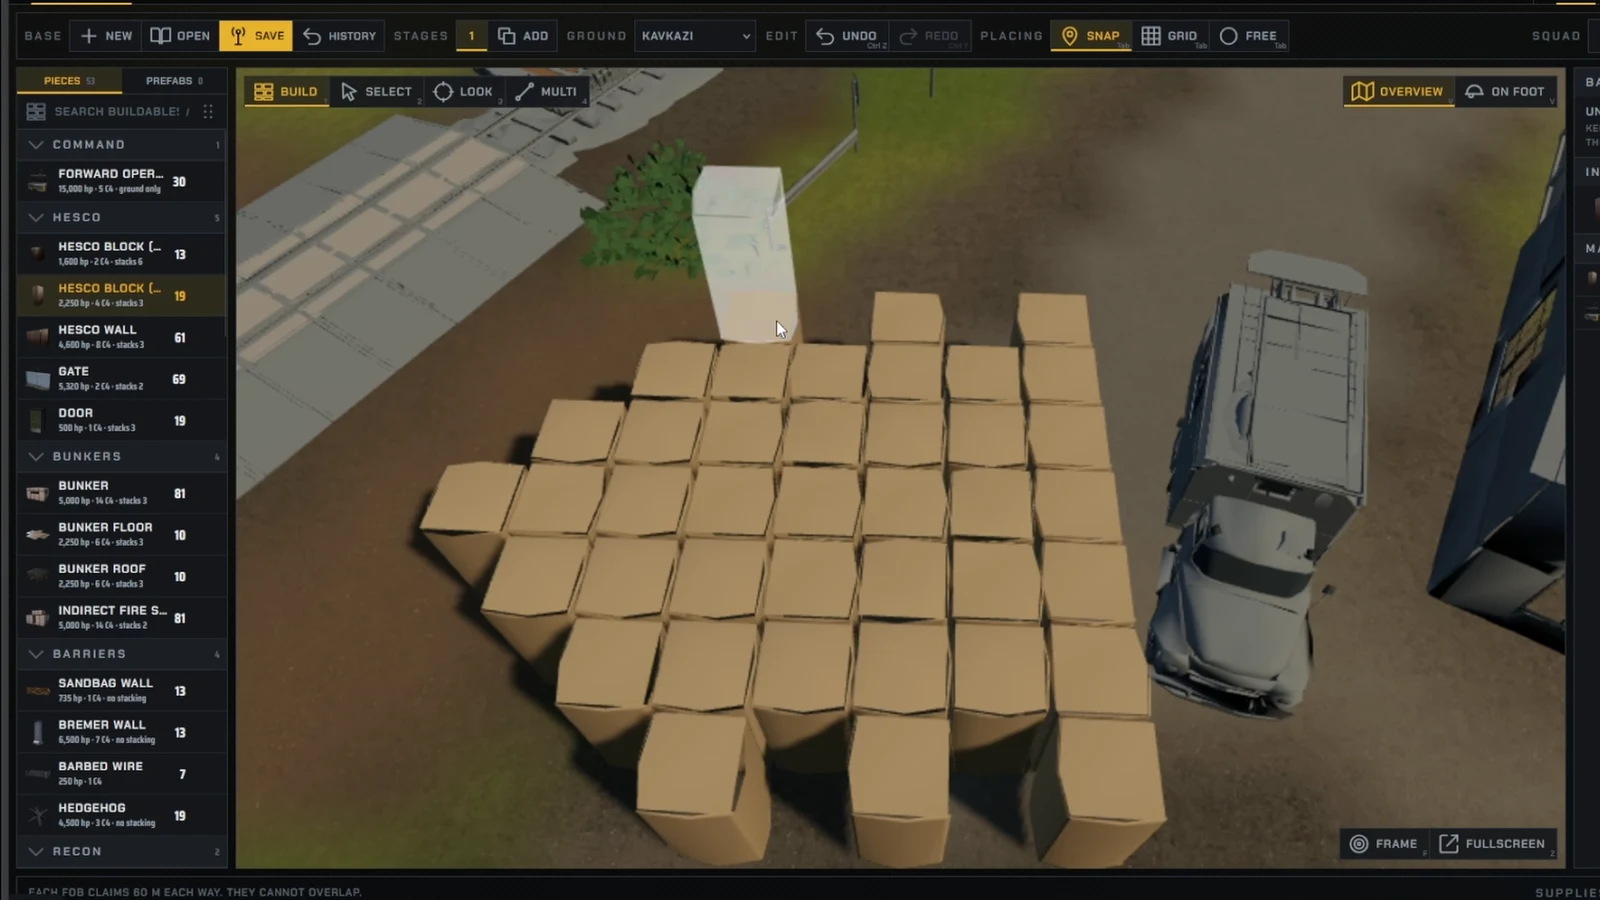
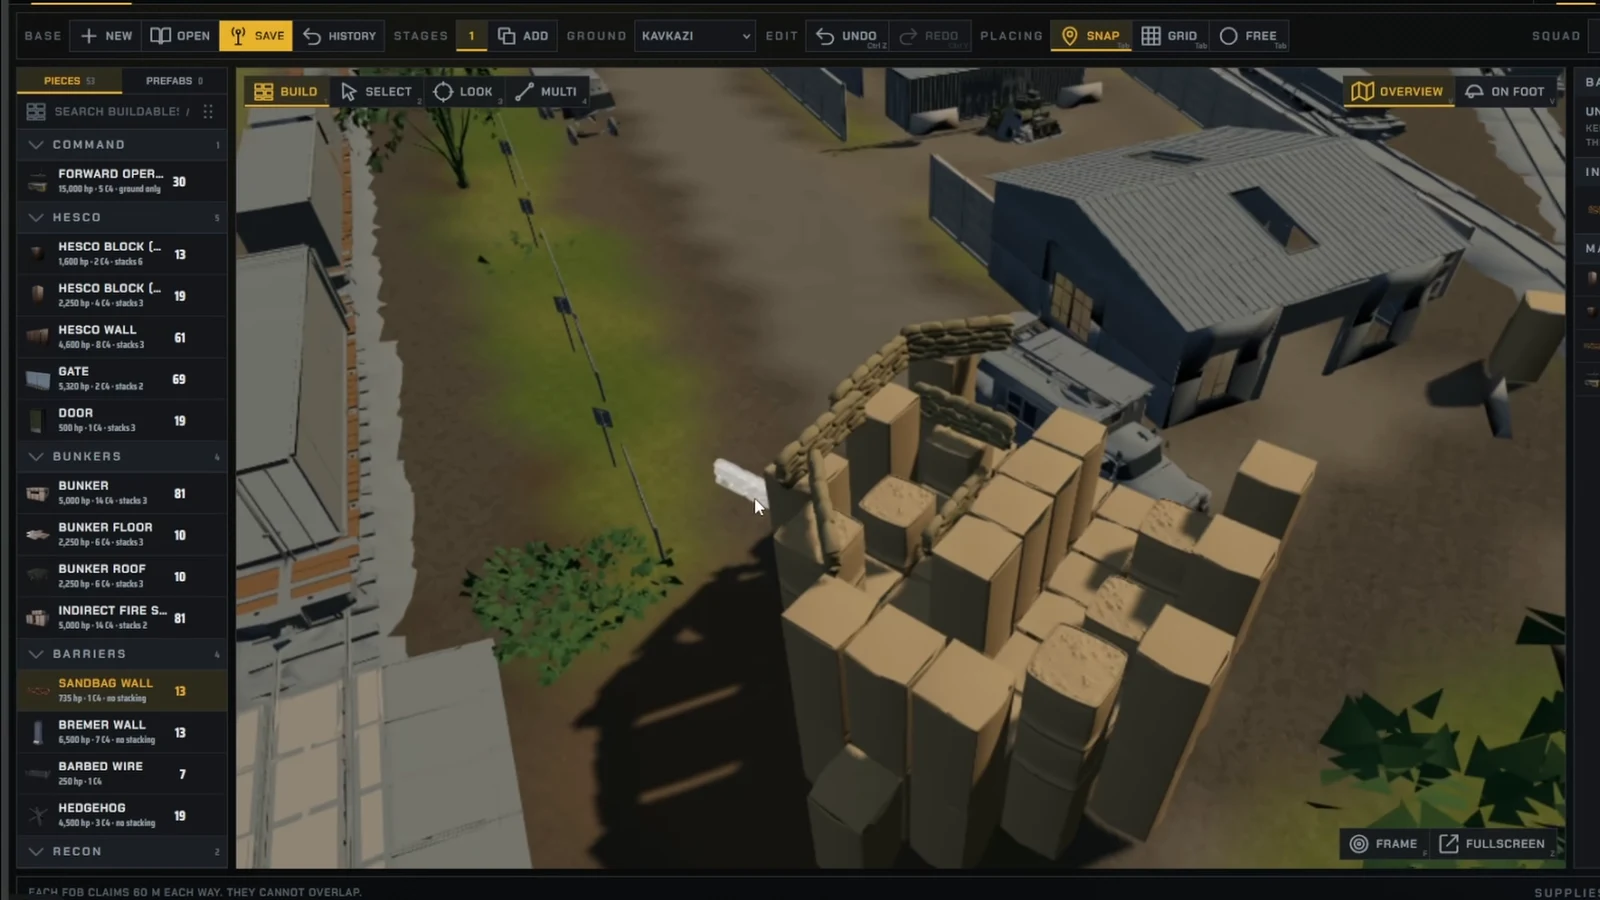
Mutual fire support: Point each bastion at its neighbour
This is the rule people get wrong. A bastion is not there to defend itself. Look at the Citadel of Lille from above and every projecting work covers the approaches to the works either side of it, forming interlocking crossfire across the whole face of the fort.
So when you set your firing positions, do not stand there shooting at the ground straight in front of you. Angle your flanks so the guns on bastion A sweep the open ground in front of bastion B, and vice versa. An attacker closing on any single point is then being shot at from the side by a position they are not facing.
The corollary is that two bastions need to be close enough for that crossfire to reach. If the gap between them is too wide, the ground in the middle stops being covered by anyone and becomes the breach point.
Barbed wire spokes and the outer perimeter
Bastions decide where the enemy dies. Wire decides where they walk. Run straight lines of Barbed Wire outward from the tip of each bastion like spokes, so anyone approaching is pushed sideways into the space between two bastions rather than up against the point.
Then set an outer perimeter of wire roughly 100 to 200 yards out. That distance matters for two reasons. It keeps grenade and C4 range away from your walls, and it channels attackers into the kill zones your crossfire already covers before they are close enough to do damage.
Inside the fort, do the same thing with compartments. An undivided courtyard means one attacker who gets over the wall can shoot everything at once. Perpendicular wire, gates and bunkers break the interior into sections, so a breach in one corner does not cost you the whole base.
Placement errors that stop a bastion from working
If a piece will not go down, check these before assuming it is a bug. The preview turns red and reads OBSTRUCTED when terrain, a vehicle or another structure is in the way — reposition or clear the obstacle rather than hammering at it.
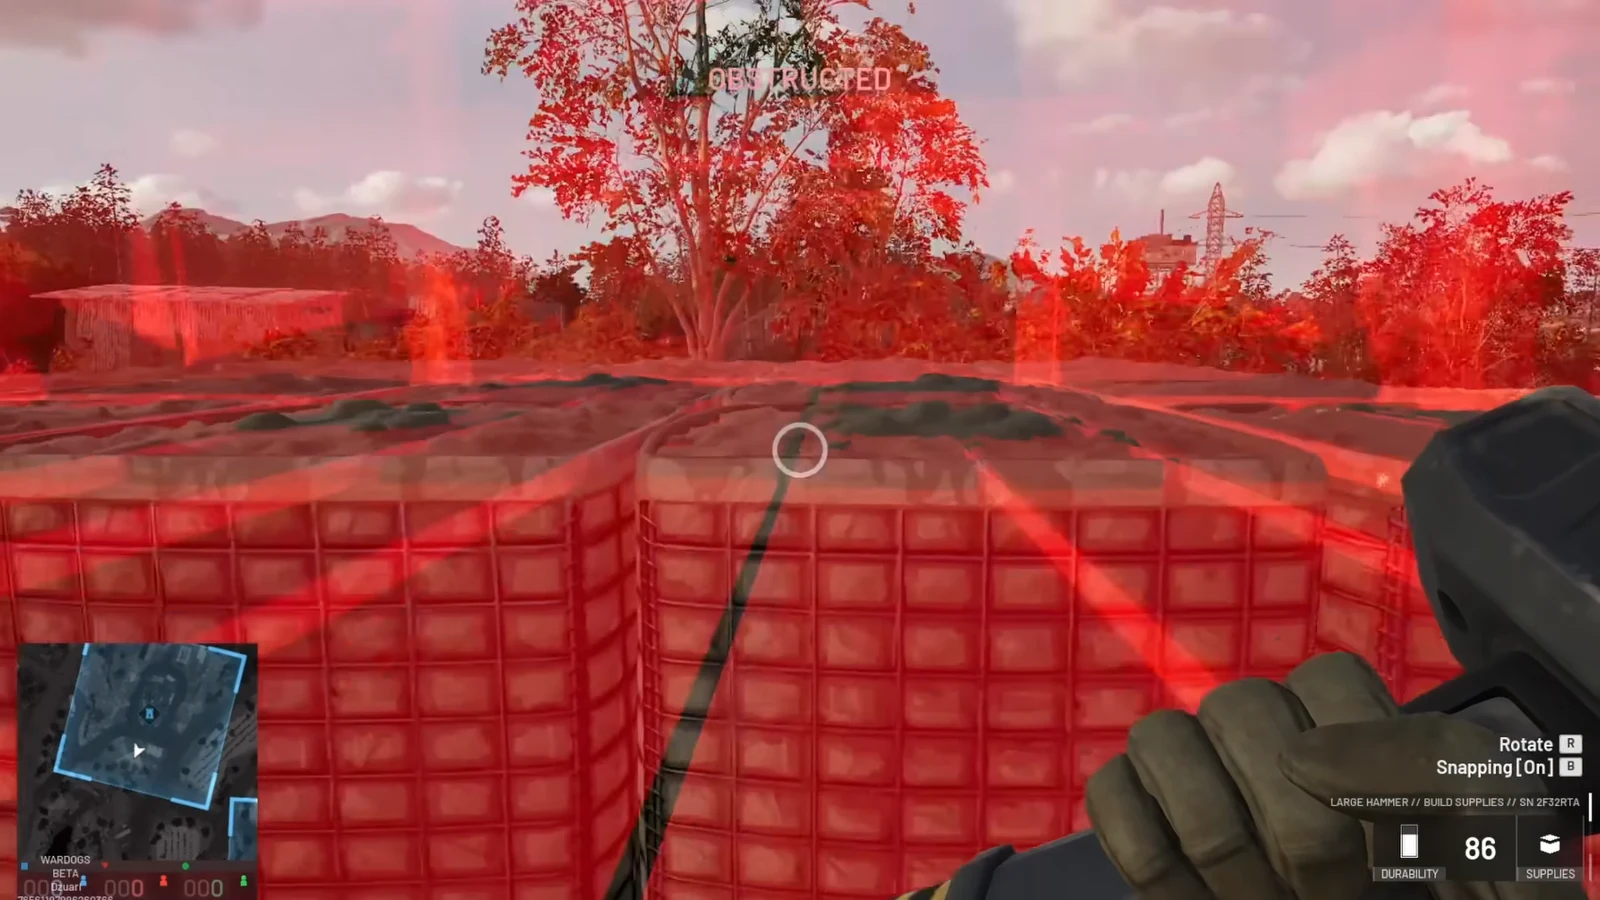
- No FOB in range. HESCO pieces, Doors, Gates, Bunkers, towers and every heavy defence require a FOB, and you must be inside its 60 m build area. Only Recon Tents, Hedgehogs, Barbed Wire and Sandbags place freely.
- Wrong hammer. A Small hammer cannot place large or heavy structures at all, so the option simply will not appear in the build menu.
- Stack limit reached. A large HESCO block will not go on top of a third one, and Sandbag Walls, Bremer Walls and Hedgehogs do not stack at all.
- Empty FOB. Construction stalls when building supplies run out, which is a logistics problem, not a placement one.
The design errors are harder to spot and cost more. A long straight wall with no projecting work on it, an open interior with nothing dividing it, and bastions spaced too far apart to cover each other are the three that consistently get bases taken.
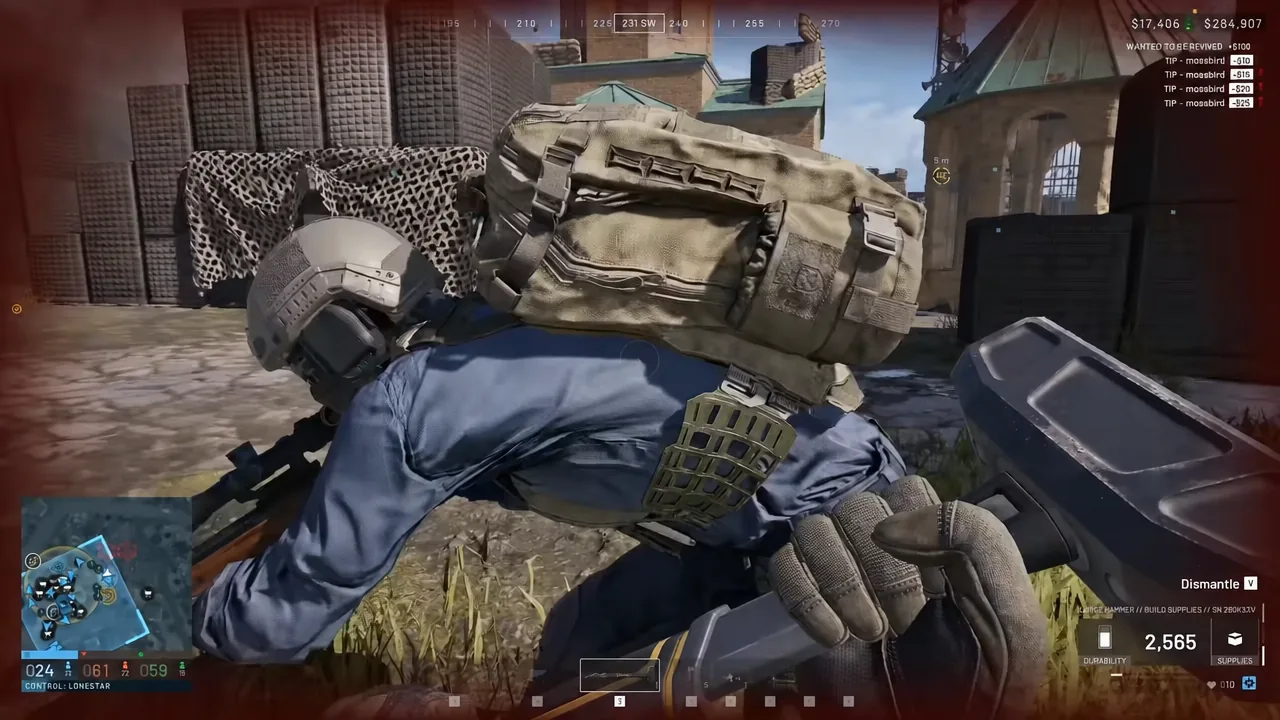
None of this replaces having people on the walls. A completed fort still needs someone repairing fortifications under fire, someone hauling supplies back to the FOB, and someone watching the air. But a bastion built with real flanks, roofed firing positions and wire that funnels attackers into a crossfire turns a base from a box you hide in into a position that costs the other team something to take.