Bounty Pack 5, “Amara and the Vile Shadows,” adds a repeatable mission built around two mini-bosses and one main boss, each holding a distinct loot pool. Clearing all three gives you access to one new pearlescent shotgun and six new legendary items. The pack arrived with the Version 1.10 update and can be played at any point once you meet the mission requirement.
Quick answer: Fight The Reject Prototypes and Hybrid Thresher for the four legendary drops, then beat the main boss Vile Grasp to farm the AeroDramatic pearlescent along with two more legendaries.
Requirements and how to start the mission
You need access to the pack before anything else. It is included in the Bounty Pack Bundle, the Deluxe Edition, and the Super Deluxe Edition. If you own none of those, Bounty Pack 5 costs $5.99 on its own.
The mission gate is story progress, not level. You must finish the main campaign mission “A Lot to Process” in The Fadefields before the content becomes available.
All Amara and the Vile Shadows loot
Here is every drop tied to the three encounters, along with the manufacturer, gear type, and effect.
| Boss | Item | Type | Effect |
|---|---|---|---|
| The Reject Prototypes | Enumeration | Legendary Ripper SMG | Finite Set — reloading refunds 50% of the magazine’s spent ammo. |
| The Reject Prototypes | Triplicate | Legendary Vladof Assault Rifle | Tripled. |
| Hybrid Thresher | Wind Skimmer | Legendary Jakobs Sniper Rifle | Higher Ground — shot cost reduced to 1 while in the air. |
| Hybrid Thresher | Pragmate | Legendary Daedalus Shotgun | Praxis — on hit, gain a stack that raises the next instance of melee damage by 25%, stacking up to 20 times. |
| Vile Grasp | AeroDramatic | Pearlescent Torgue Shotgun | Boom Bam. |
| Vile Grasp | Clarity | Legendary Maliwan Sniper Rifle | Epiphany — while on fire, regain 10% of shield capacity. |
| Vile Grasp | Outburst | Legendary Torgue Repkit | Flare Up — on use, each Torgue Sticky immediately deals damage and provides additional healing. |
The Reject Prototypes (Mini-Boss 1)
This encounter sits inside Nuada Cove. Work through the lab and clear the enemy group until you reach a large drop-off. Instead of jumping down the hole, turn right and climb the scalable walls. In the next room, pull the grate off and follow the path to a chamber with holding cells.
Go through the door on the left, continue into the next open area, then head to the door on the far side to reach the boss prep zone. Drop in to start the fight.
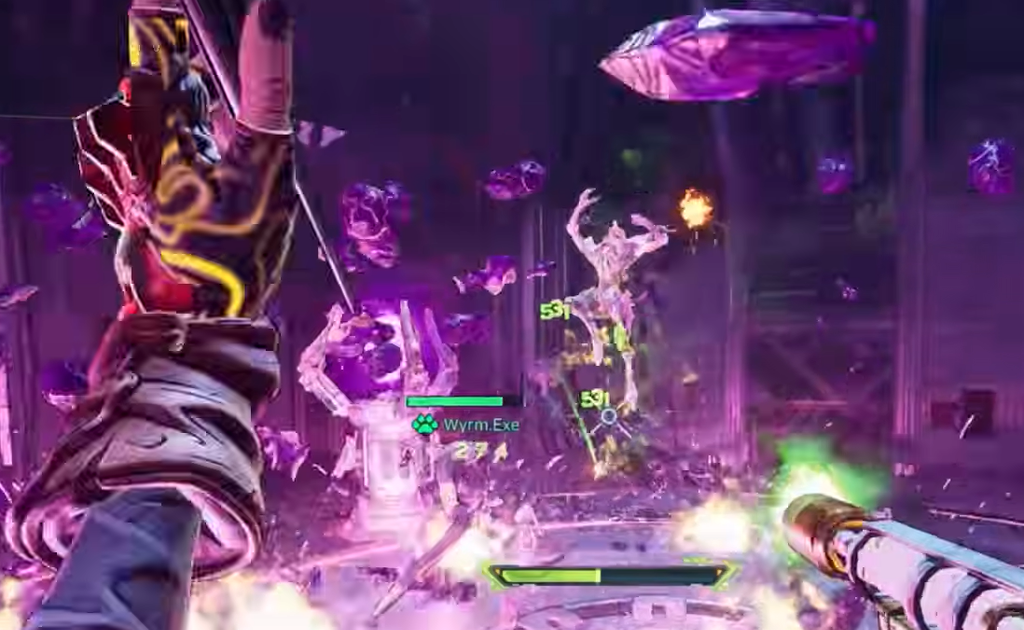
The Reject Prototypes is really four bosses back to back: Test Alpha, Test Beta, Test Gamma, and Test Zero. The first three are Vile enemies with parts you must destroy before their health becomes vulnerable. Test Zero carries a large shield, so bring Shock weapons to strip it quickly. Only after all four fall do the loot drops appear.
Hybrid Thresher (Mini-Boss 2)
Progress through the mission until you reach the western part of the Dark Side of Elpis map. Keep heading west on foot until you find a fiery cave with a locked red chest.
A force field blocks the way forward. Press the lever in front of it, next to a computer console, to drop the barrier. Move through to the boss prep area, then step onto the jump jet when you are ready.
Hybrid Thresher opens the fight in the air, protected by golden crystals you must destroy before you can damage it. Once the crystals are gone, it lands and moves around on the ground, where you can finish it off.
Vile Grasp (Main Boss)
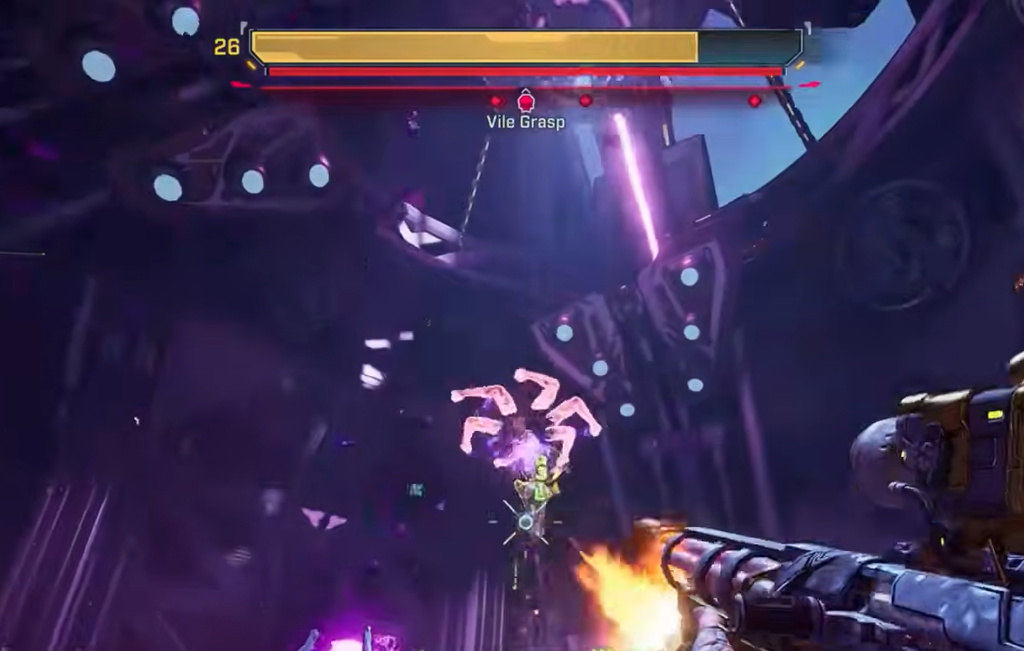
Vile Grasp is the main boss of the pack and the target you farm for the AeroDramatic pearlescent shotgun. The fight runs across two phases.
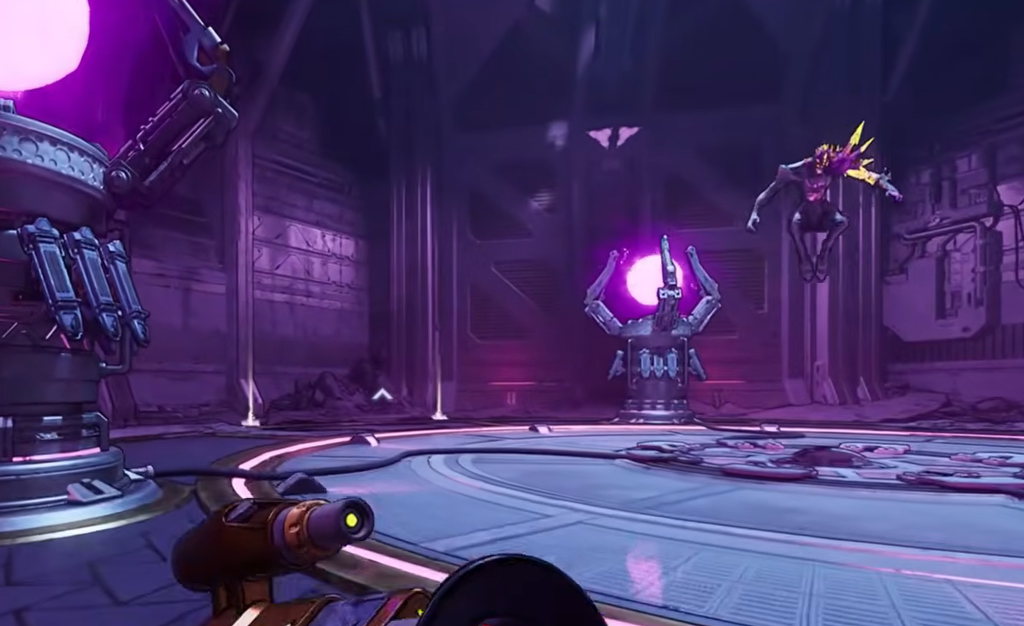
Phase one is straightforward. Deal damage until he becomes immune. At that point he moves to the center of the room and gains a Vile shield, while machines with glowing orbs light up around the arena.
Wait for yellow skulls to drop on the floor, pick them up, and throw them into the orbs. Each machine needs several hits until it explodes. Once every orb detonates, Vile Grasp’s shield breaks and he becomes vulnerable again, letting you finish the fight and collect his drops.
Confirming your drops and re-running the pack
Each boss holds its own dedicated pool, so if you are chasing a specific weapon, target the boss listed for it in the table above rather than replaying the whole run. The mission is repeatable, which makes it easy to reset and farm.
You will know a drop registered when the named item spills from the boss on death and its rarity border matches the entry above, gold for the six legendaries and the distinct pearlescent tint for AeroDramatic. If a mini-boss is not dropping loot, confirm you actually cleared every stage of the encounter first, since The Reject Prototypes only pays out after all four test units are dead.
Completing the mission also unlocks a Vault Hunter Skin usable by all Vault Hunters, a Vehicle, and an ECHO-4 Drone Skin, giving you a reason to see the story through beyond the weapon farm.