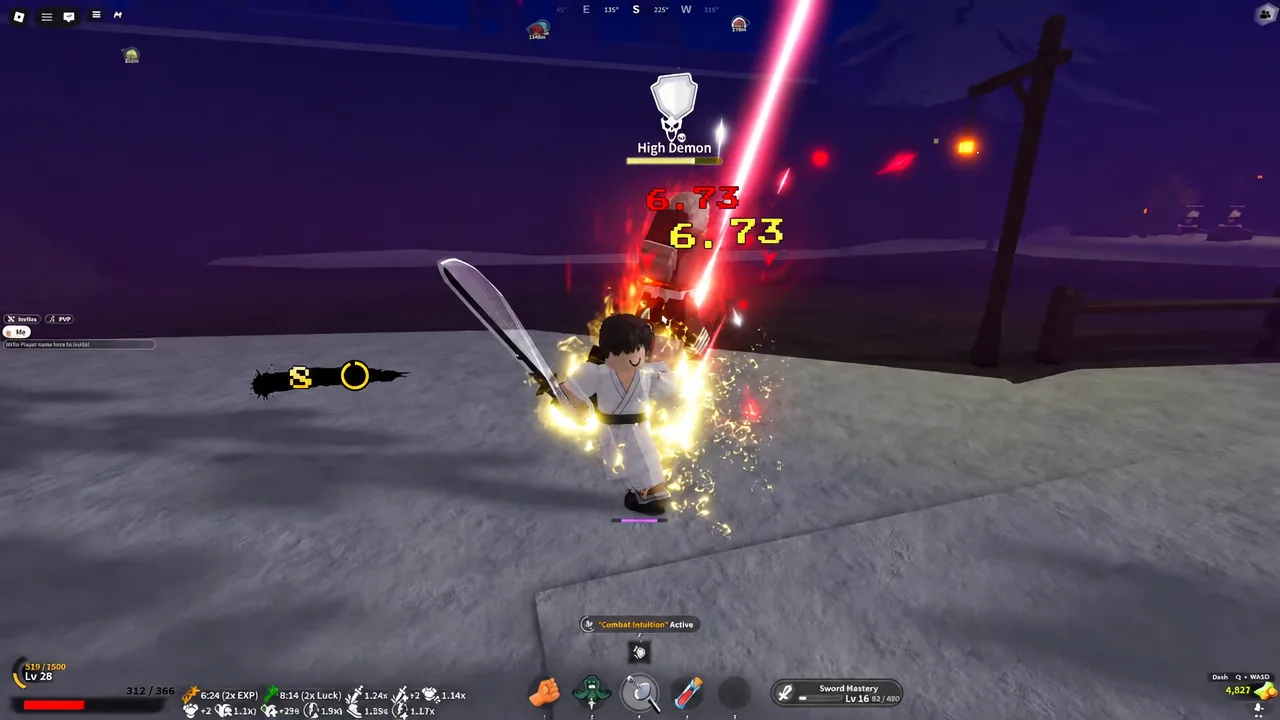
You don’t buy Breathing Styles in Slayers 2 (also known as Slayer 2 or Project Slayers 2) from a menu. You learn each one from an NPC trainer placed somewhere on the map. Eight styles can be learned right now: Serpent, Insect, Flame, Thunder, Stone, Sound, Wind, and Water. Several trainers stand on rooftops, cliff ledges, or at the end of an underwater tunnel, so the route matters as much as the material cost.
Quick answer: Reach Level 25, unlock Wall Climb, and collect the trainer’s materials. Then speak to the trainer, clear the training mini-games, and beat that style’s Trainee to learn the Breathing.
Slayer 2 Breathing trainer locations and costs
Every trainer asks for at least Level 25. On top of that, each one has its own material bill, and two of them can only be reached with Wall Climb.
| Style | Trainer | Location | Cost beyond Level 25 |
|---|---|---|---|
| Serpent | Obari | Mountain between Windy Peak and Bamboo Grove | 20 Demon Horns, 5 Beast Cores |
| Insect | Shinora | Main building roof, Butterfly Estate | None listed |
| Flame | Rengu | House past the red bridge outside Mistfall Village | 10 Demon Horns |
| Thunder | Zentaro | Mountaintop above the bear village route | 10 Demon Horns, Wall Climb |
| Stone | Gyorei | Temple on the lower path past the bear village | 5 Beast Cores, Axe and Mace |
| Sound | Tengai | High cliffs of Iceveil Valley | 10 Demon Horns, Wall Climb |
| Wind | Saneri | Platform on the water, Iceveil Valley | 50 Demon Horns |
| Water | Urokodaki | Underwater room near Bamboo Grove | 30 Demon Horns, 5,000 Wen |
Wind has the steepest horn cost of the eight. Water is the only style that also charges currency. Stone is the odd one out because it needs the Axe and Mace, which drop from the Stone Trainee rather than from a shop. Some trainer prompts have also shown a Level 28 requirement or the Floral Warding Mask, so read the trainer’s dialogue before you commit to a long farming session.
What to unlock and farm before you travel
Unlock Wall Climb, also listed as Climbing, in your Skill Tree first. Thunder and Sound can’t be reached without it, and it makes the Butterfly Estate roof and several cliff routes far easier. Double Jump isn’t mandatory, but it shortens the Thunder and Sound climbs.
- Demon Horns: High Demons in Iceveil Valley drop two per kill. Hoyuzo Subordinates drop one each.
- Closer horn farms: the waterfall cave in Bamboo Grove and the cave beneath the Mother Bear area both hold horn-dropping demons.
- Beast Cores: Beast Born Demons drop them around Mistfall and the Harbor region, and in the villages to the north. Drops aren’t guaranteed.
- Wen: 5,000 is needed only for Water Breathing.
- Axe and Mace: defeat the Stone Trainee near Gyorei’s route before you commit to Stone.
Iceveil Valley’s cold drains your health. Carry a lantern and stop at the campfires along the route, whether you’re farming horns there or heading to Tengai or Saneri.
Routes to each Breathing trainer
The trainers group neatly by starting point. Three of them branch off from the bear village, and the two snow trainers share one trip.
Serpent: Obari near the Windy Peak spawn
Obari is the closest trainer to where new characters spawn.
Insect: Shinora at Butterfly Estate
Flame: Rengu outside Mistfall Village
Thunder, Stone, and Water: Trainers around the bear village
You pass the village with the bears during early progression quests. Use it as a hub, because each of these three routes leaves it in a different direction.
You can drown in the Water tunnel. Make sure your breath is full before you dive, and don’t linger halfway through.
Sound and Wind: Tengai and Saneri in Iceveil Valley
Since the High Demons that drop two horns each roam the same region, you can farm Wind’s 50 Demon Horns on the way to Saneri.
How to get Breathing once you reach the trainer
The training questline follows the same three-part structure for all eight styles. Only the material cost changes.
Confirm the Breathing Style unlocked
Training is complete once you’ve beaten the Trainee. You can confirm it by checking the Skill Tree, where the style’s moves now appear and can be bought with Skill Points. If the moves aren’t there, the questline hasn’t finished.
When a trainer refuses to start or the style doesn’t unlock, the cause is usually one of these:
- Your character has not reached the trainer’s required level.
- You don’t have enough Demon Horns, Beast Cores, or Wen.
- Without Wall Climb unlocked, you can’t use the routes to the cliffside or rooftop trainers.
- For Stone, you haven’t taken the Axe and Mace from the Stone Trainee yet.
- Losing the Trainee duel requires you to play through that last stage again.
Serpent and Stone are the cheapest to unlock early. If you’re working through several styles, a sensible order is to clear the bear village trio first and then cover Sound and Wind in a single Iceveil Valley run, so you aren’t crossing the map repeatedly.