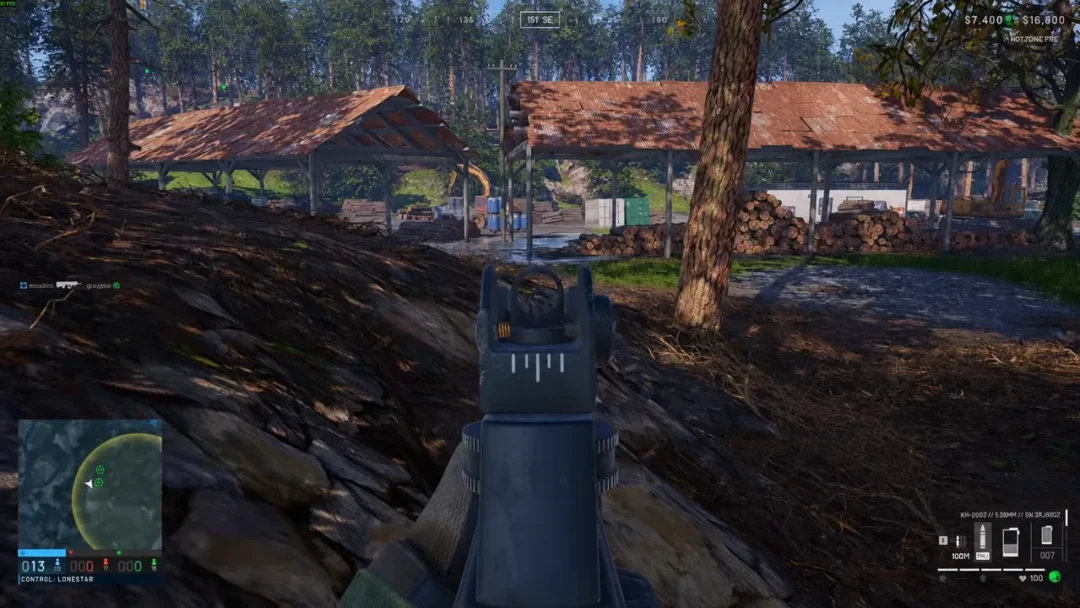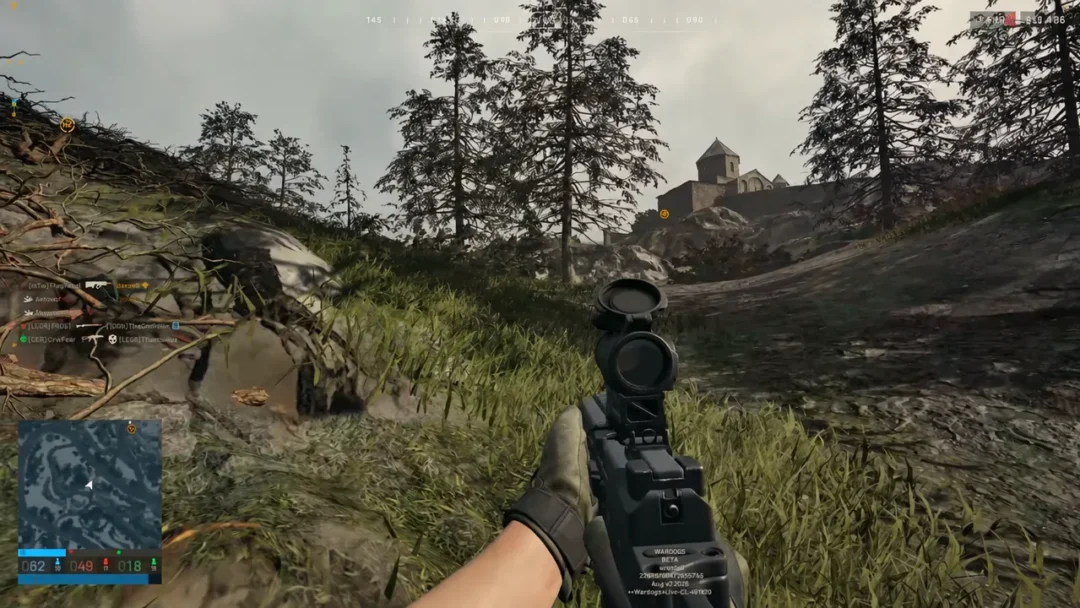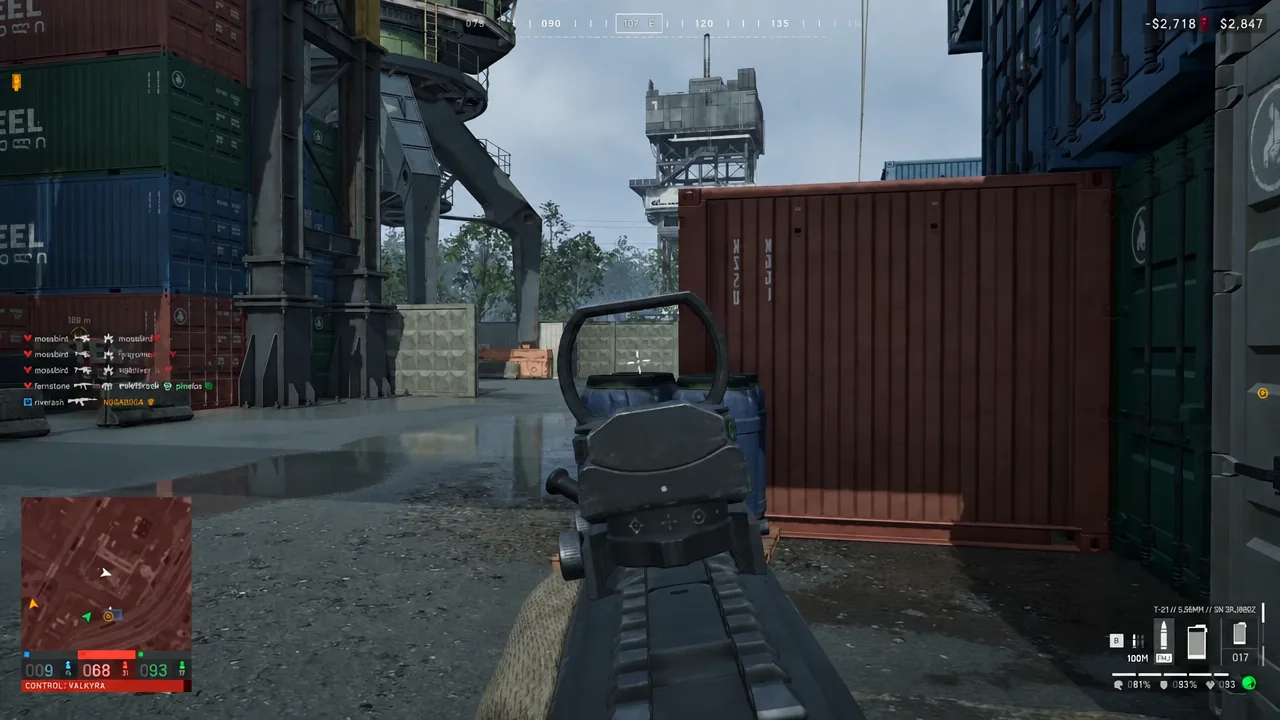
Cash is the resource that punishes new WARDOGS players hardest. You buy a full loadout for every life, you keep whatever you earn between matches, and a single careless death can erase the profit from three good ones. The fix is not better aim. It is understanding exactly which decisions charge your account and which ones pay it back.
Quick answer: Buy a cheap primary, a helmet, and body armor, carry loose ammo instead of spare magazines, skip surplus C4 and bandages, refuse rides from pilots you have never flown with, and bank income from revives, transport, and spotting instead of chasing kills.
How WARDOGS cash is won and lost
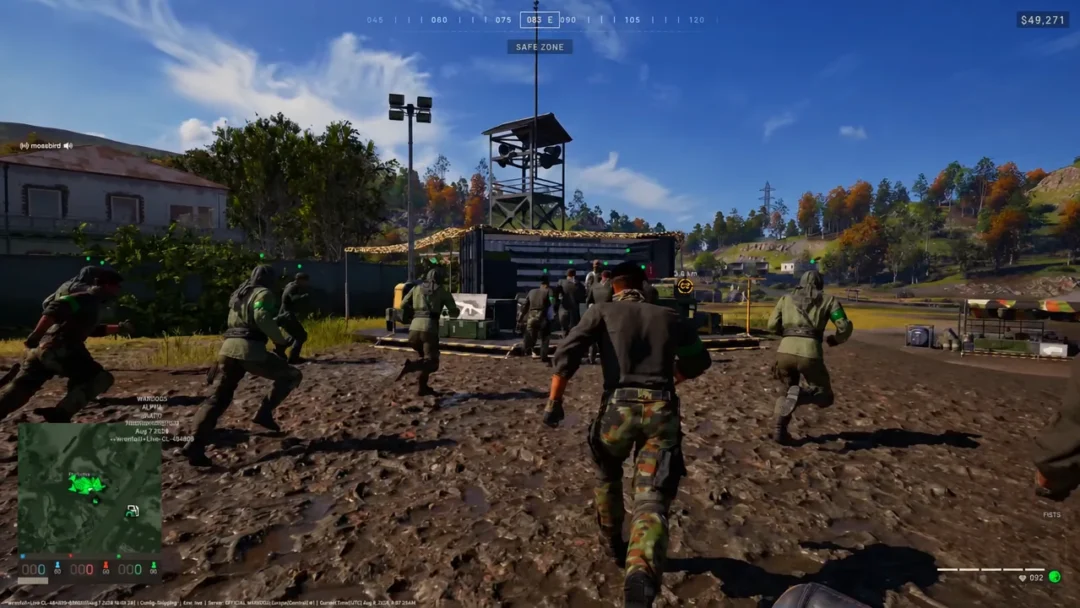
Every player starts with $10,000, and that balance carries from match to match. There is no per-round reset to bail you out. At HQ you purchase the weapon, attachments, ammunition, armor, medical items, equipment, and vehicles you want for that life. When you go down and nobody picks you up, that kit is gone and the next one comes out of the same wallet.
Income runs in the opposite direction. Kills and assists pay, but so do revives, heals, spotting, resupplies, repairs, building, hauling supplies to the front, driving or flying teammates to the objective, and simply standing on the objective while your team contests it. Teammates can also tip you directly. Actions performed inside the Hot Zone, the smaller moving circle inside the Control Zone, pay double.
The scoring layer matters because it decides where the money is. Three factions — Lonestar, Valkyra, and Manticore — fight over one randomized 2×2 km Control Zone on a 16×16 km map. Every 30 seconds, the team with the most players inside earns a point, and the first to 100 wins. Each body in the Hot Zone counts as two toward that headcount, which is why it is both the most profitable and the most lethal square on the map.
Loadout mistakes that drain your balance
The most common early error is buying a kit you cannot afford to lose. A cost-effective weapon with sensible attachments performs fine through your first several matches, and attachments like optics, grips, and muzzle devices do more for your recoil than an expensive receiver does. Save the upgrades until you have banked a cushion.
The second error is overpacking. Every item has weight, and weight determines your movement speed and how fast you bring the gun up to aim. Filling empty backpack slots with extra C4, a brick of bandages, or ammunition you will never fire makes you slower and makes each death more expensive. Carry loose ammo rather than stacks of full magazines, since it takes far less space for the same number of rounds.
Armor is the one place where skipping the purchase costs more than making it. Unarmored players die to hits that a Tier 1 or Tier 2 helmet and vest would have absorbed, and every one of those deaths takes a full loadout with it. Buy protection, then trim weight elsewhere.
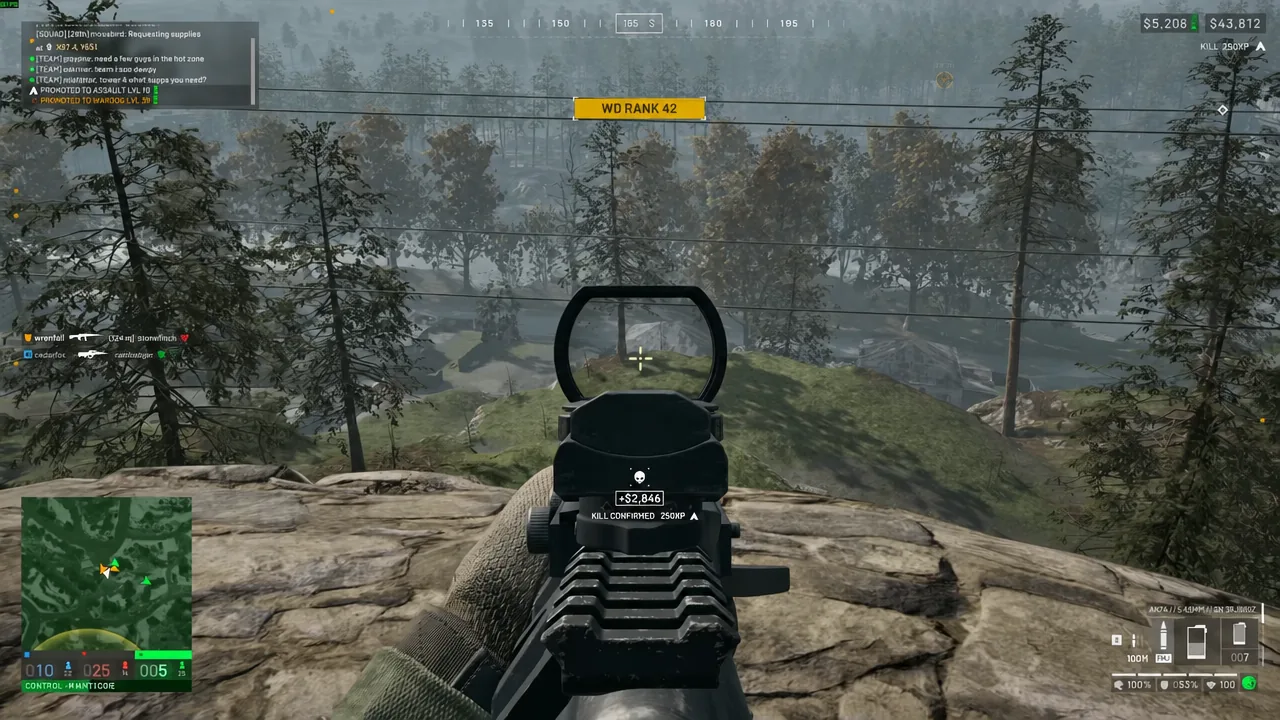
One more setup detail that quietly costs lives: your weapon zero sits at roughly 100m by default. If you are holding a long lane or fighting inside a compound, adjust it to the distance you are actually shooting rather than guessing your holdover.
| Loadout choice | Why it costs you |
|---|---|
| Premium weapon in your first matches | Highest replacement cost on a death you cannot yet avoid |
| No helmet or body armor | Shorter survival, so you rebuy far more often |
| Spare magazines instead of loose ammo | Wastes backpack space and adds weight |
| Excess C4, bandages, surplus ammo | Slower movement and aiming, larger loss on death |
| Default 100m zero at long range | Missed shots that give away your position |
The deaths that cost the most
Helicopters are the fastest way to lose a full kit before you have fired a round. If you do not know the pilot can land, a crash takes your loadout, their loadout, and everyone else in the cabin. Take the ride when you recognize the pilot or they are clearly competent, and use ground transport otherwise. If you want to fly, learn the controls somewhere that does not involve a packed transport.
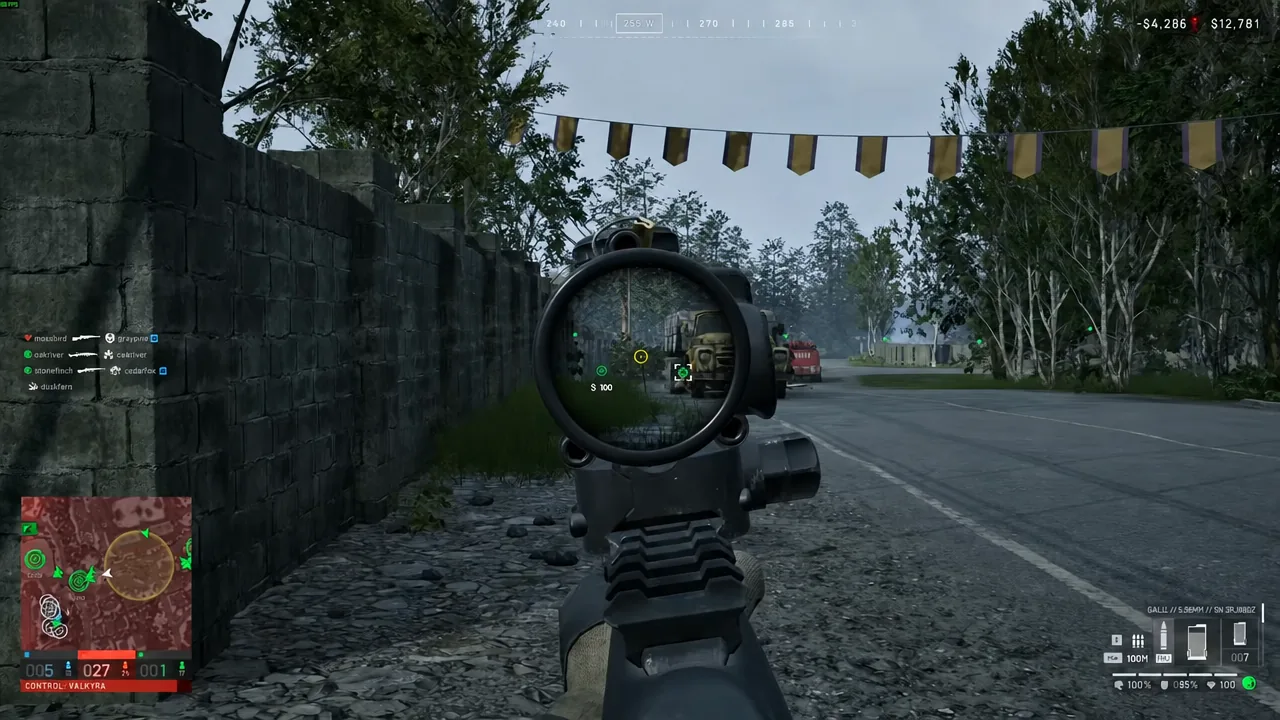
Open roads are the second big one. Think about threats as a full 360 degrees rather than whatever direction the objective marker points, and move between natural cover — hillsides, walls, treelines — instead of crossing ground where three factions all have sightlines. WARDOGS rewards holding an angle and waiting far more than it rewards pushing blind.
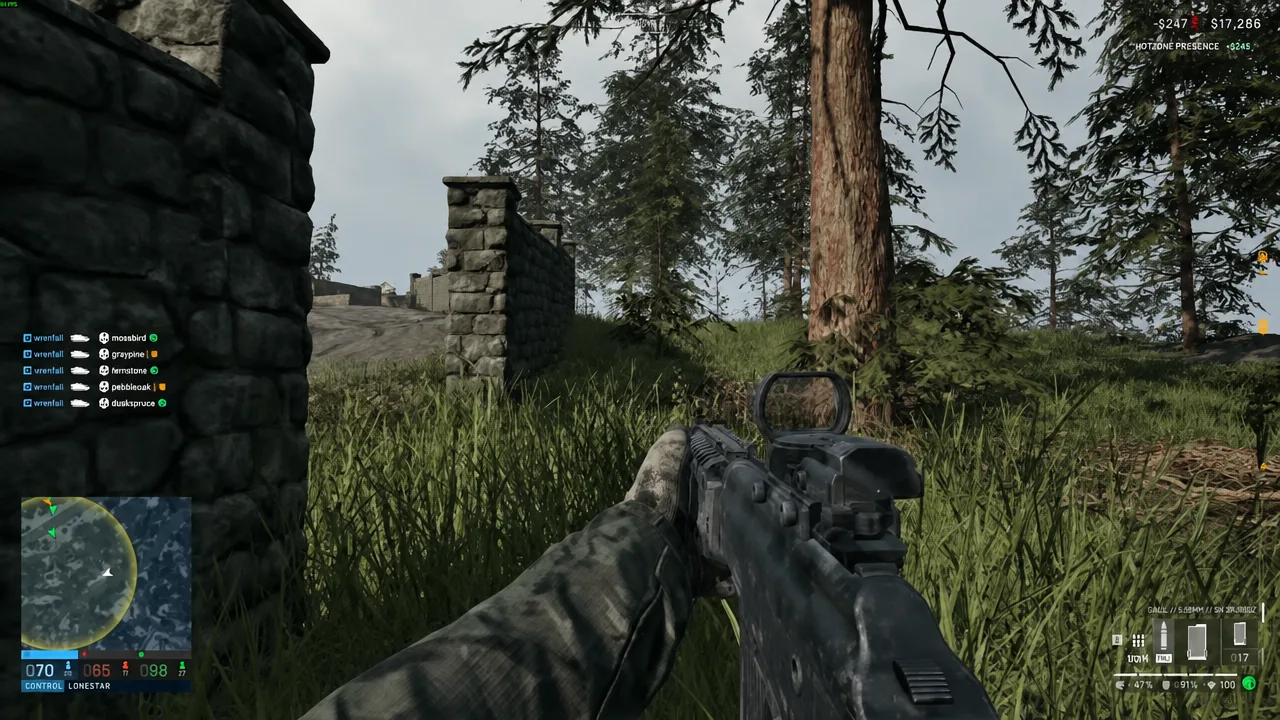
Solo play is the third. HQ sits a long way from the Control Zone, so every death costs travel time as well as money. Staying inside your squad’s bubble means someone is nearby to pick you up, and being revived keeps the loadout you already paid for. That is the single cheapest outcome available to you after a bad fight, so if there is any chance of a pickup, wait for it.
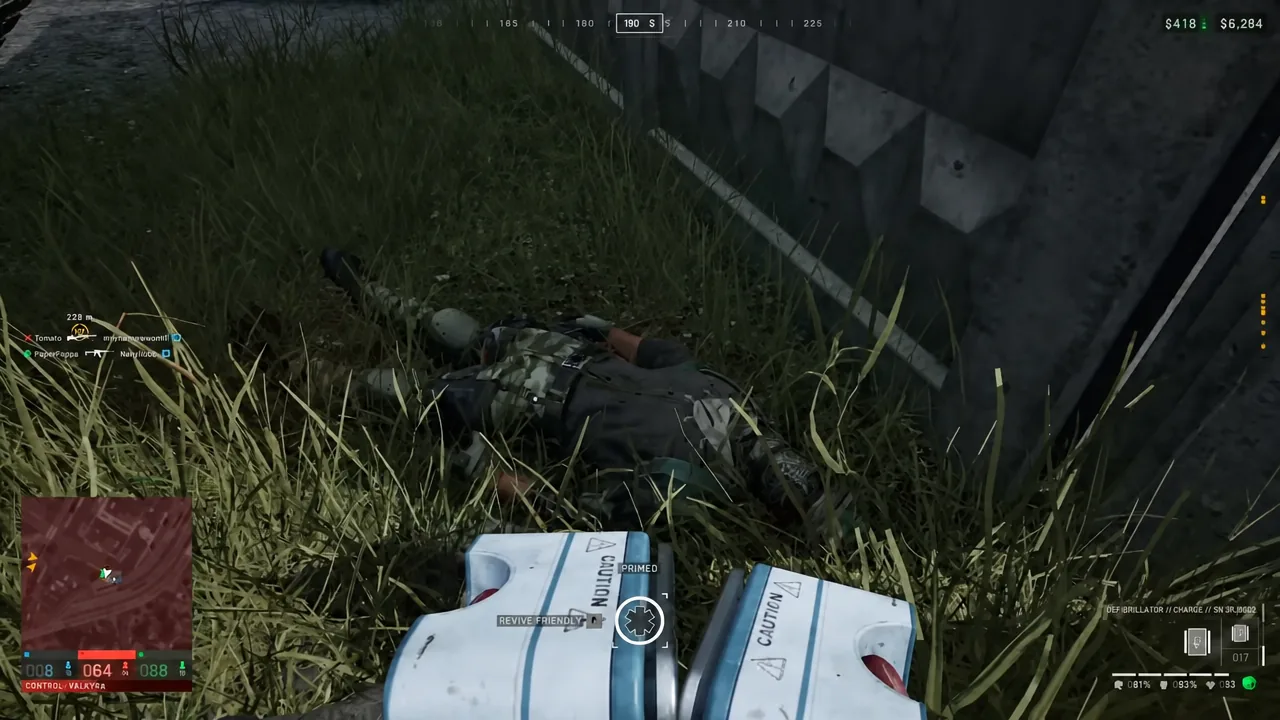
Note: taking gear off a downed squadmate while reviving them is a fast way to get dropped from a group. Loot enemies, not the people keeping you alive.
Income that does not depend on winning gunfights
There are no locked classes in WARDOGS. Your equipment defines your role for that life, and separate progression tracks — Assault, Medic, Recon, Support, Driver, and Pilot — level based on what you actually do. That means you can pick a low-risk job and get paid for it.
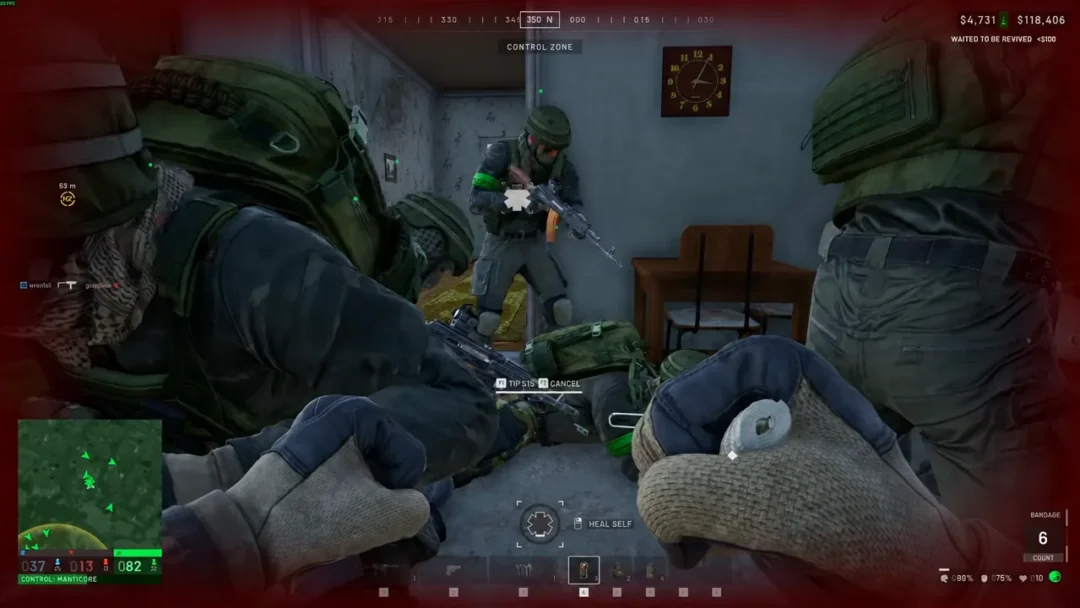
Running medic is the most consistent option. Heals, revives, and smoke to cover a pickup all pay, the kit itself is cheap to replace, and grateful teammates frequently tip on top of the automatic payout. Staying just behind your squad rather than in front of it keeps you alive long enough to bank it.
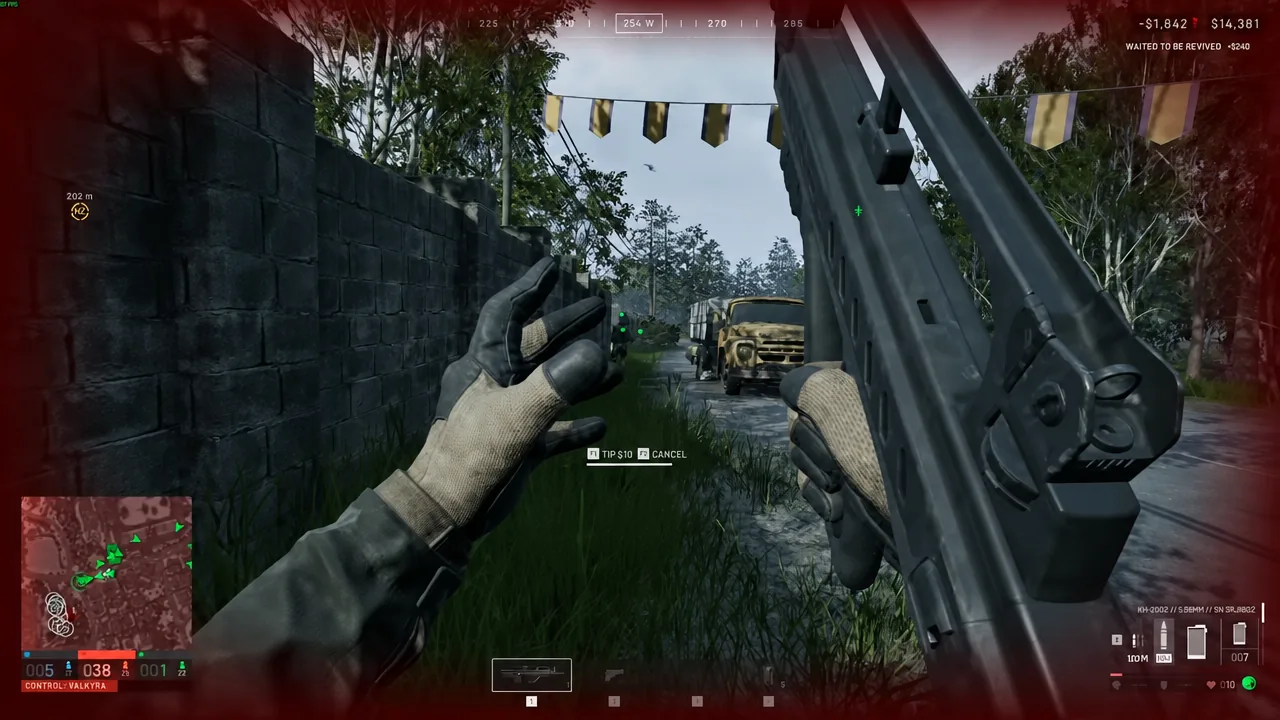
Ground logistics is the other reliable earner. Driving players to the Control Zone, hauling supplies to the frontline, resupplying squads, and repairing friendly vehicles all generate cash with a fraction of the exposure of a Hot Zone push. It is slower per payout, but almost nothing about it risks an expensive kit.
Carrying a spotting tool costs very little and pays repeatedly. Binoculars or a rangefinder let you mark enemies for your team and earn from kills you never landed yourself. Combined with a modest rifle, that turns a defensive position into an income stream.
| Action | Risk level |
|---|---|
| Revives, heals, tips from squadmates | Low if you stay behind the line |
| Ground transport and supply runs | Low |
| Repairs and resupplying teammates | Low |
| Spotting with binoculars or a rangefinder | Low |
| Building and fortifying a FOB | Medium |
| Holding the Control Zone | Medium |
| Any action inside the Hot Zone (double pay) | High |
| Destroying enemy vehicles, including loaded helicopters | High, large payout |
Anchoring the Hot Zone without funding it
The Hot Zone pays double and counts each player twice, but it also attracts tanks, helicopters, artillery, and the nastiest infantry fights in the match. You do not need an expensive kit to benefit from it. A cheap loadout counts as a full player for scoring purposes, so a budget-geared body standing on the double-value ground contributes exactly as much to the tick as a fully kitted one.
That is the practical way to farm it. Go in light, go in with your squad, expect to die more often than usual, and accept that the replacement cost is small. Save heavy gear for defending a prepared position, such as a tower your team already controls or a FOB with fortifications around it.
How to tell whether a match made you money
Check your balance at HQ before each rebuy, not just at the end of the match. If the number is lower than it was at your last purchase, either your kit is too expensive for how long you are surviving or you are not banking enough support income to cover it. Both problems have the same fix — cut the loadout cost first, then add one earning action per life.
Not every match will be profitable, especially early on. What keeps the account growing over a session is the boring stuff: cheap kits, armor on every life, waiting for a revive when one is coming, and picking one useful job per deployment instead of trying to do everything. Kills are a bonus on top of that, never the plan.