Minuscule Great Adventure is the combat assignment event in Honkai: Star Rail Version 4.5, and it does not play like a normal stage. You never control a character in battle. Instead, you fill four dispatch routes with teams, press start, and watch the results roll in. The only thing that decides your score is how well each team matches the buff attached to its route.
Quick answer: At Imagenesis Park, put a trial team on each of the four routes that matches that route’s buff, start the challenge, and win the first three waves. That secures 12 stars and the SS rating, even if your teams get wiped in the fourth wave.
How the SS dispatch rating is scored
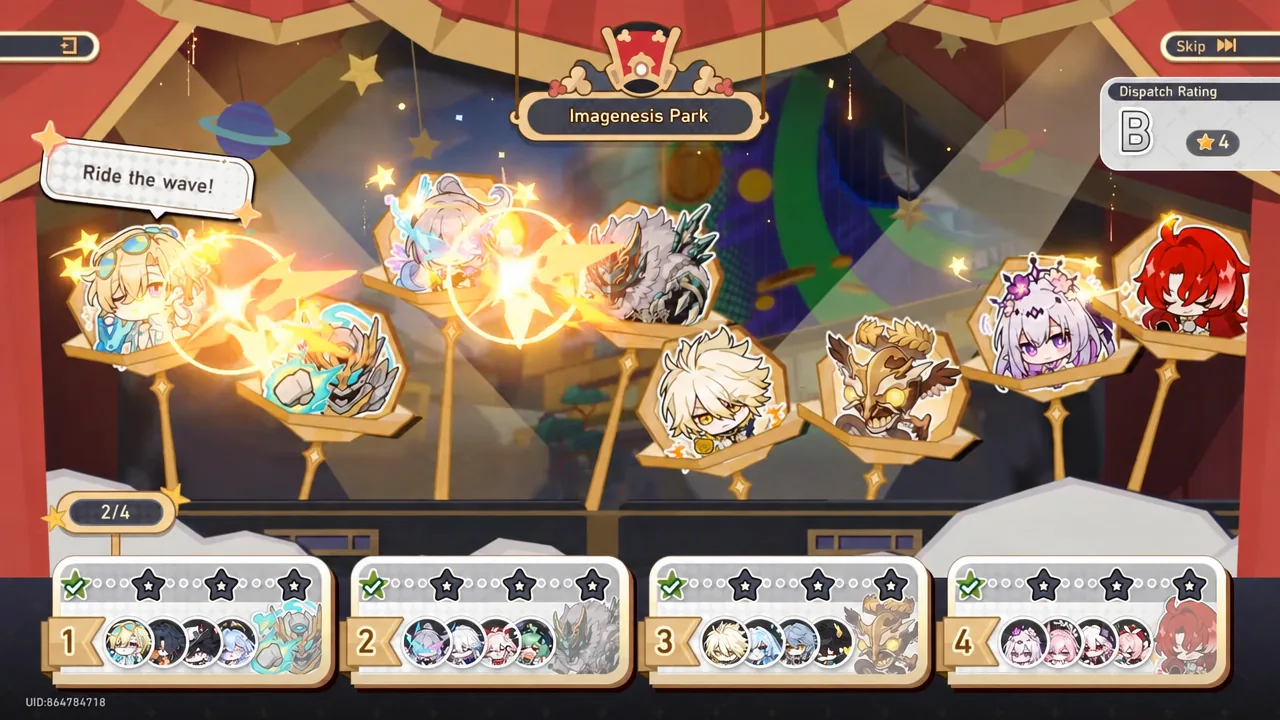
Each stage runs as a series of automated waves. All four of your dispatched teams fight at the same time, and the rating letter shown on the stage screen climbs as those teams post wins. A run that is still mid-dispatch will often sit at a B rating before the later waves resolve, so the letter you see partway through is not your final score.
Twelve stars is the ceiling, and it is the star count that corresponds to SS on the results screen. Those stars come from clearing the first three waves. The fourth wave is a bonus round designed to overwhelm your teams, so losing it does not pull your rating back down once SS is already locked in.
Unlock requirements and event window
There is no story prerequisite. If your account meets the level requirement, the event appears in the Travel Log as soon as it opens.
| Detail | Requirement |
|---|---|
| Event period | September 12, 2026, 12:00 (server time) to September 28, 2026, 03:59 (UTC+8) |
| Account level | Trailblaze Level 21 or higher |
| Trailblaze Missions | None required |
| Stages | Imagenesis Park, Neon Dreamland, Celestial Chess Array, Everwinter Hearth |
| Characters | Trial units are provided for every route |
Only Imagenesis Park is playable on day one. The remaining three stages open on a staggered schedule across the event window, so there is no way to bank all 12 stars in a single sitting.
Imagenesis Park route buffs and trial teams
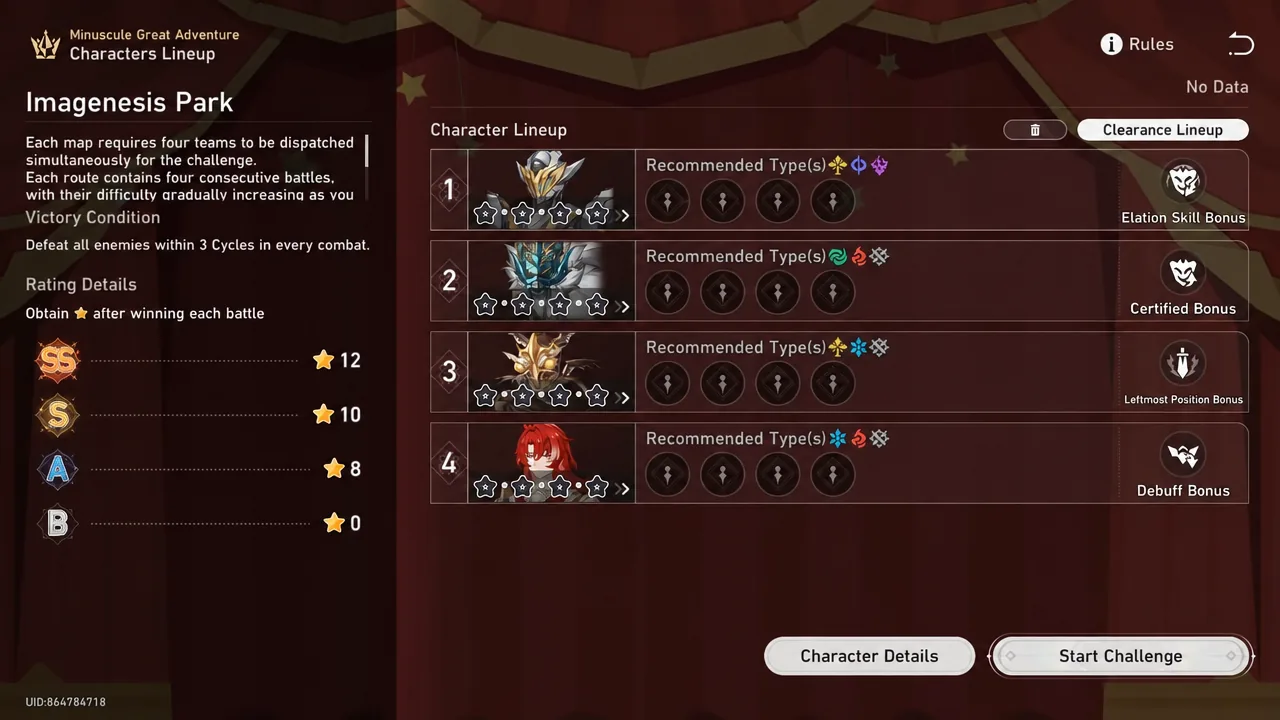
Each of the four routes carries its own exclusive buff, and the stronger the fit between that buff and your damage dealer, the better the assignment result. Every character listed below is offered as a free trial unit, so account collection is not a barrier here.
| Route / buff | Trial team |
|---|---|
| 1 — Elation Skill Bonus | Aventurine • Waveflair, Yao Guang, Sparkle, Lingsha |
| 2 — Certified Bonus | Evanescia, Trailblazer (Lightning), Tribbie, Huohuo |
| 3 — Leftmost Position Bonus | Phainon (leftmost slot), Sunday, Cerydra, Permansor Terrae |
| 4 — Debuff Bonus | Acheron, Mortenax Blade, Cipher, Hyacine |
Routes 1 and 2 both lean on Elation-related effects, which is why Aventurine • Waveflair and Evanescia are the carries there. Route 3’s buff only pays out for the character in the leftmost slot, so Phainon has to sit in position one. Route 4 rewards applying and stacking debuffs, which suits Acheron.
Swaps if you own the characters
If you have your own builds, a few lineups improve. Route 1 can run Aventurine • Waveflair with Ashveil, Mortenax Blade, and Hyacine as a follow-up attack team, which frees the Elation supports for Evanescia on route 2 alongside Yao Guang and Huohuo. Route 4 is the biggest upgrade: a damage over time team of Kafka, Hysilens, Black Swan, and Gallagher fits the Debuff Bonus better than most alternatives, and an Acheron, Welt, Cipher, Gallagher build also works. Route 3 stays the same either way.
Running the Imagenesis Park dispatch
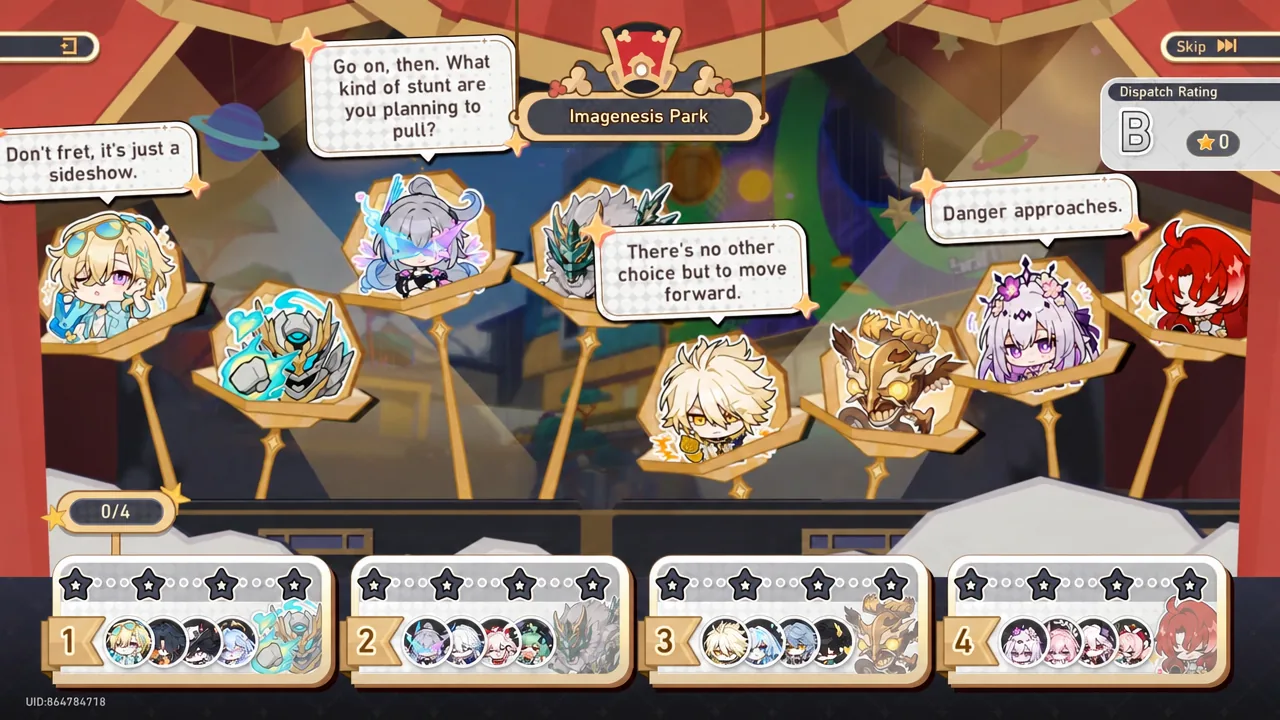
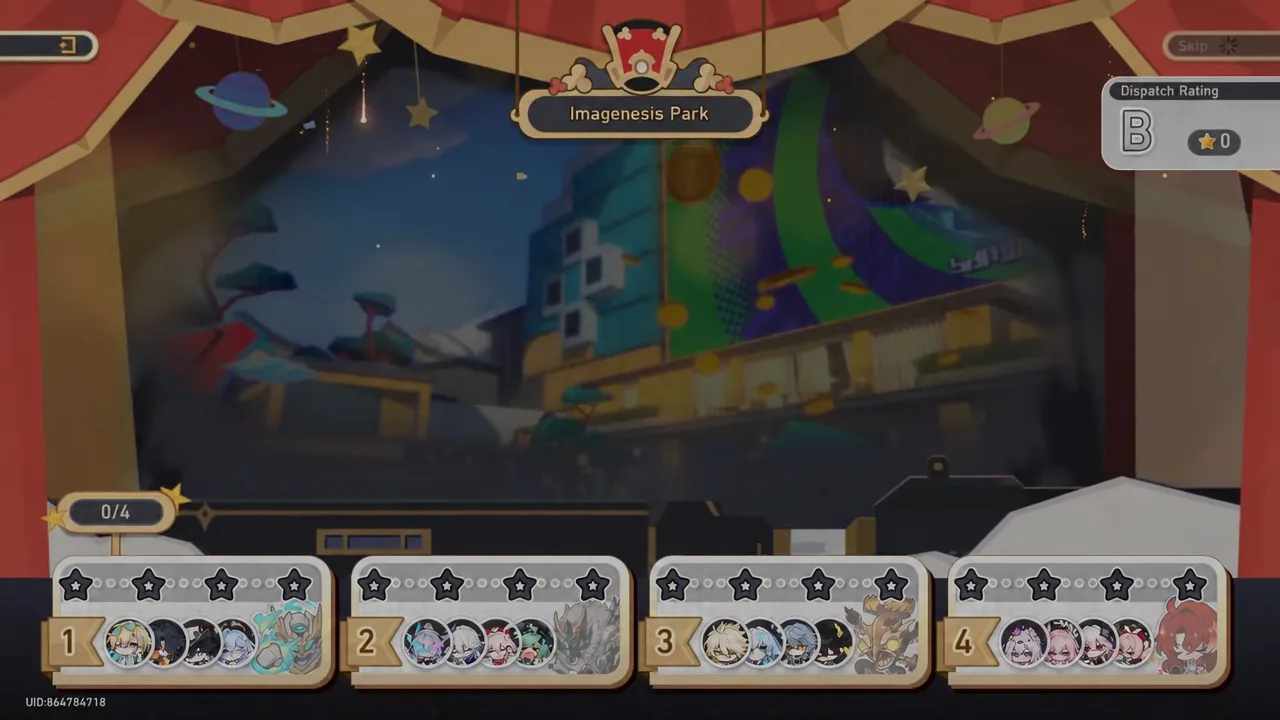
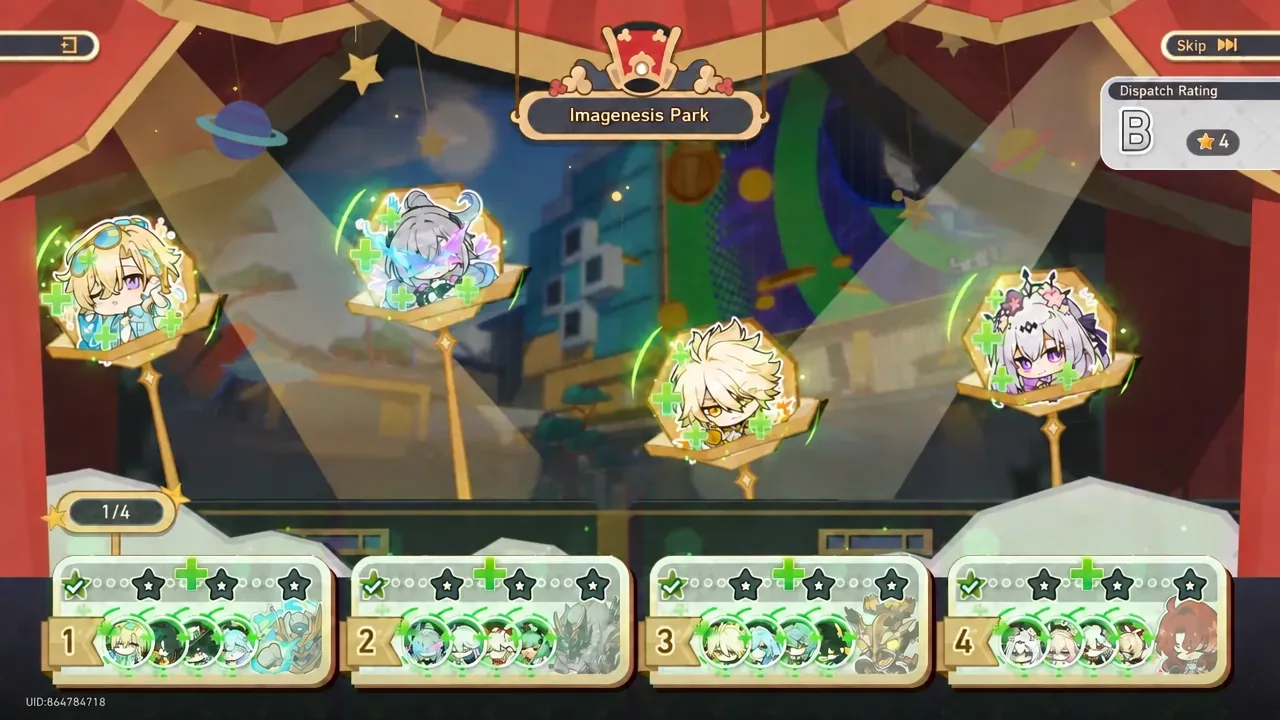
You know it worked when the final score screen reads SS with 12 stars. If it shows fewer stars, the cause is almost always a lineup mismatch on one of the routes, most often Phainon placed outside the leftmost slot on route 3.
Achievements that trigger during the run
Four achievements pop while the waves play out, and they unlock on their own as long as your teams are set up correctly. There is no separate menu to opt into them.
| Achievement | Condition |
|---|---|
| Slacking to Victory | Win a battle without ever taking an action |
| Lethal Prescription | Inflict seven debuffs in a single battle |
| Real Miracle Doctor | Restore a large total of HP in a single battle |
| One Shot, One Kill | Deal an extremely high amount of damage in a single action |
Slacking to Victory lands in the first wave, since the automated format means your characters never act manually. The healing and single-action damage achievements come from the recommended teams doing their normal job, so no special setup is needed.
Imagenesis Park rewards and the full event total
Every stage pays out the same package, and the Tracks of Destiny sits at the end of the full event track rather than on any single stage.
| Reward | Per stage | All four stages |
|---|---|---|
| Stellar Jade | 125 | 500 |
| Relic Remains | 50 | 200 |
| Traveler’s Guide | 3 | 12 |
| Refined Aether | 3 | 12 |
| Lost Gold Fragment | 8 | 32 |
| Credit | 40,000 | 160,000 |
| Tracks of Destiny | — | 1 |
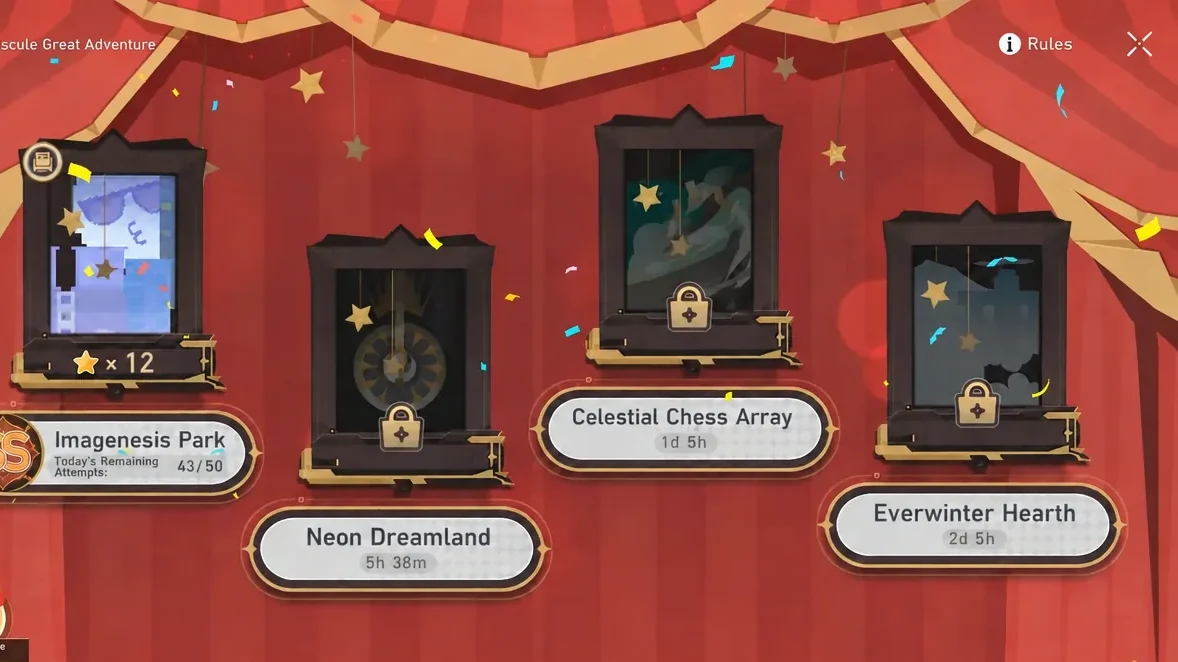
Note: rewards are claimed from the event page after you exit the stage, not from the results screen itself. If the jade has not appeared in your account, back out to the event menu and check the reward tiers.
Imagenesis Park takes only a few minutes once the teams are slotted correctly, and because the trial units are handed to you, a brand new account at Trailblaze Level 21 clears it exactly as fast as a fully built one. Check back as Neon Dreamland, Celestial Chess Array, and Everwinter Hearth open across the event window, since each one brings its own set of route buffs to match.