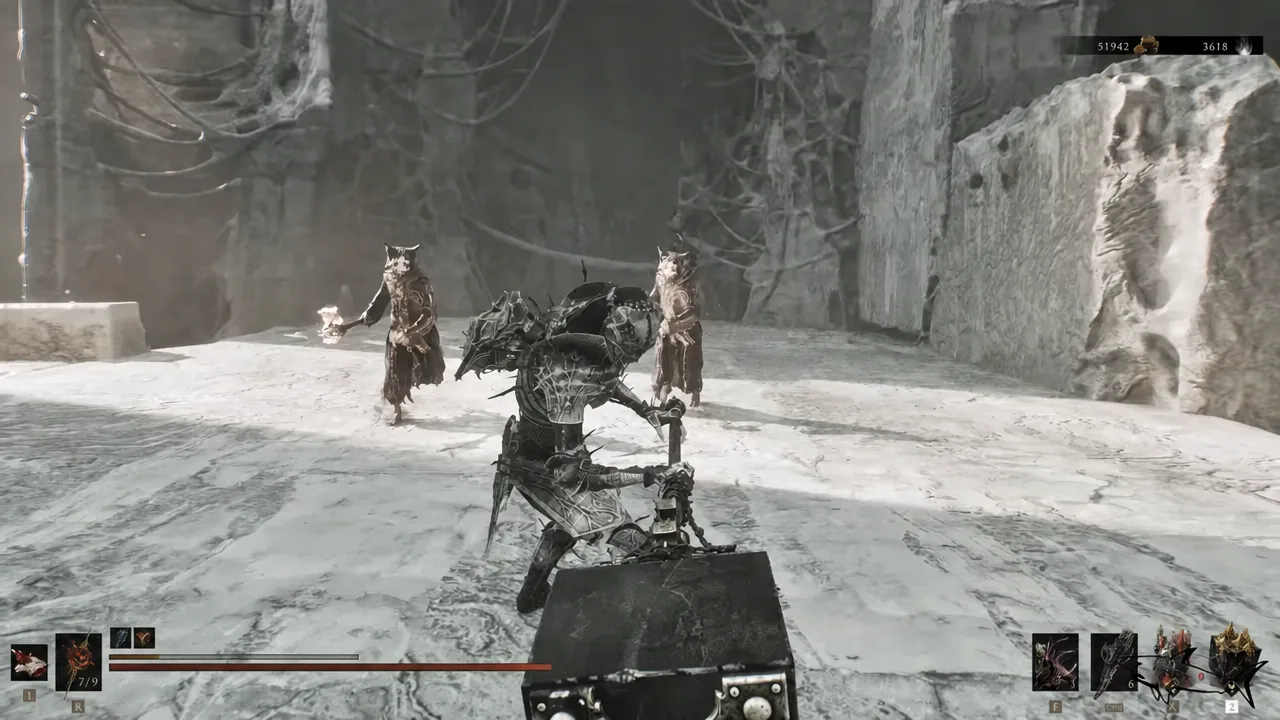
The Colossus Stone is the Ability Tarstone that turns the Obsidian Hammer into a crowd-clearing tool. Slot it, spend Resolve, and the hammer goes into the ground instead of into a single enemy, sending shockwaves out through everything standing nearby. It only works on one weapon, so there is no reason to hunt it down unless the hammer is your primary.
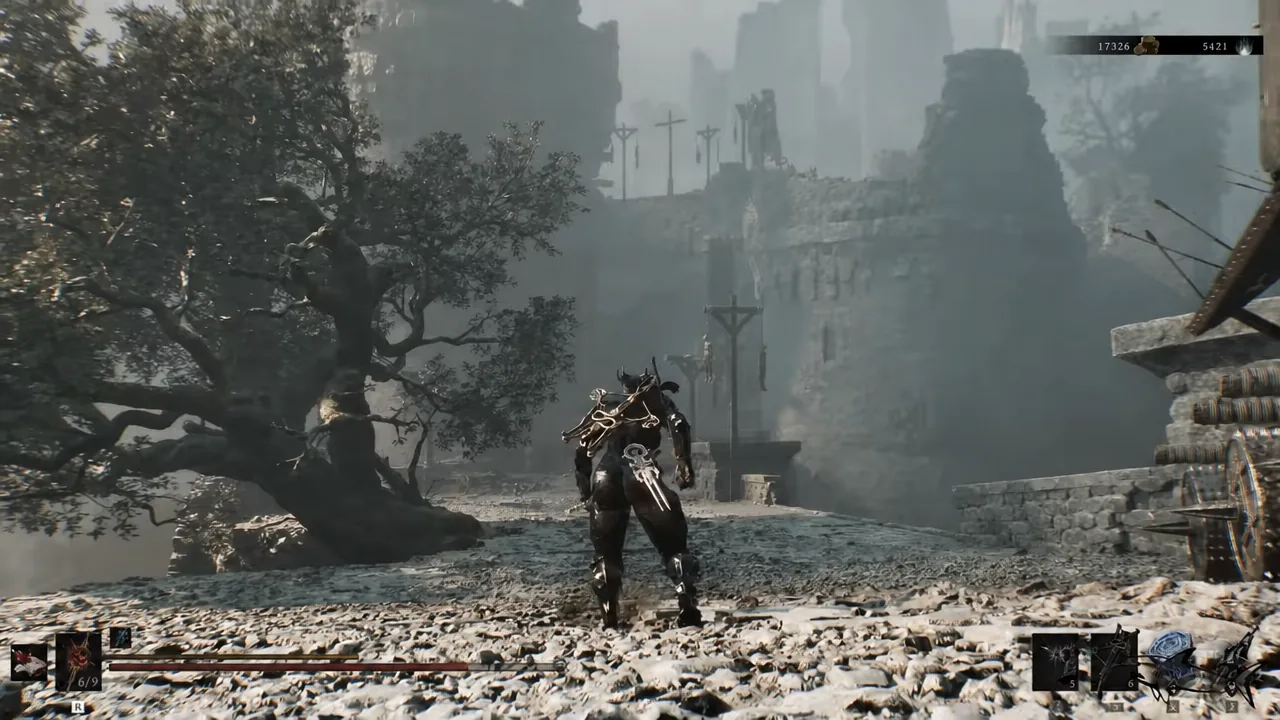
Quick answer: The Colossus Stone sits in a stone chest in the Silent Steps, at the far north of the area. Fast travel to the Outskirts of Mammon beacon, run the Road to Absolution to Castigator’s Keep, then follow the snowy cliff path north past the specters and drop to the guarded ledge below.
What the Colossus Stone does on the Obsidian Hammer
The base ability consumes 80 Resolve to drive your weapon into the ground, sending shockwaves rippling through nearby foes. The slam knocks enemies into the air, and the shockwaves travel outward in stages, which is what makes it useful against packed groups rather than single targets. Compatibility is locked to the Obsidian Hammer — the stone will not slot into any other primary weapon.
Upgrades do not change the Resolve cost. They add splash damage first, then widen the blast, then raise the splash damage again.
| Tier | Effect |
|---|---|
| Base ability | Consume 80 Resolve to thrust your weapon into the ground and send shockwaves through nearby foes |
| First upgrade | Each shockwave deals 30 splash damage |
| Second upgrade | Each shockwave covers a wider area |
| Third upgrade | Each shockwave deals 80 splash damage |
Note: the Tarstone menu numbers these tiers starting from the base ability, so the “30 splash damage” line may appear as Level 1 or Level 2 depending on how your build labels it. The order of the effects is the same either way.
Colossus Stone location: the route from Outskirts of Mammon
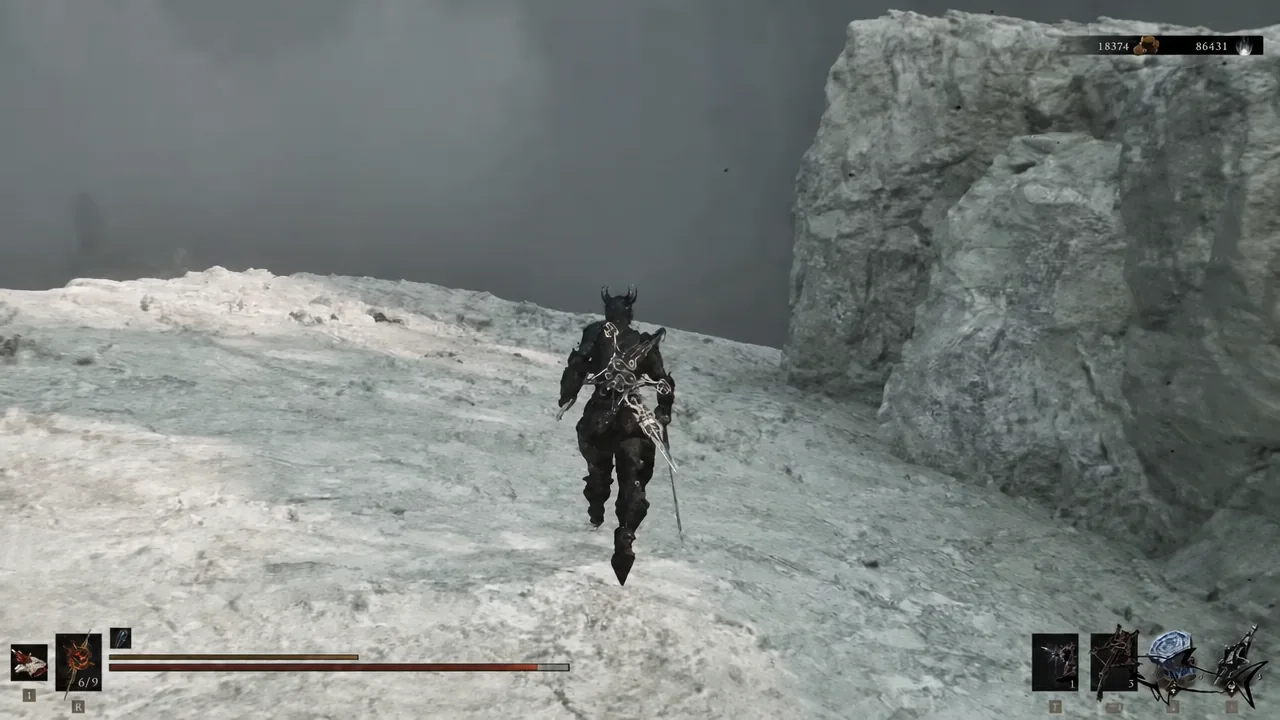
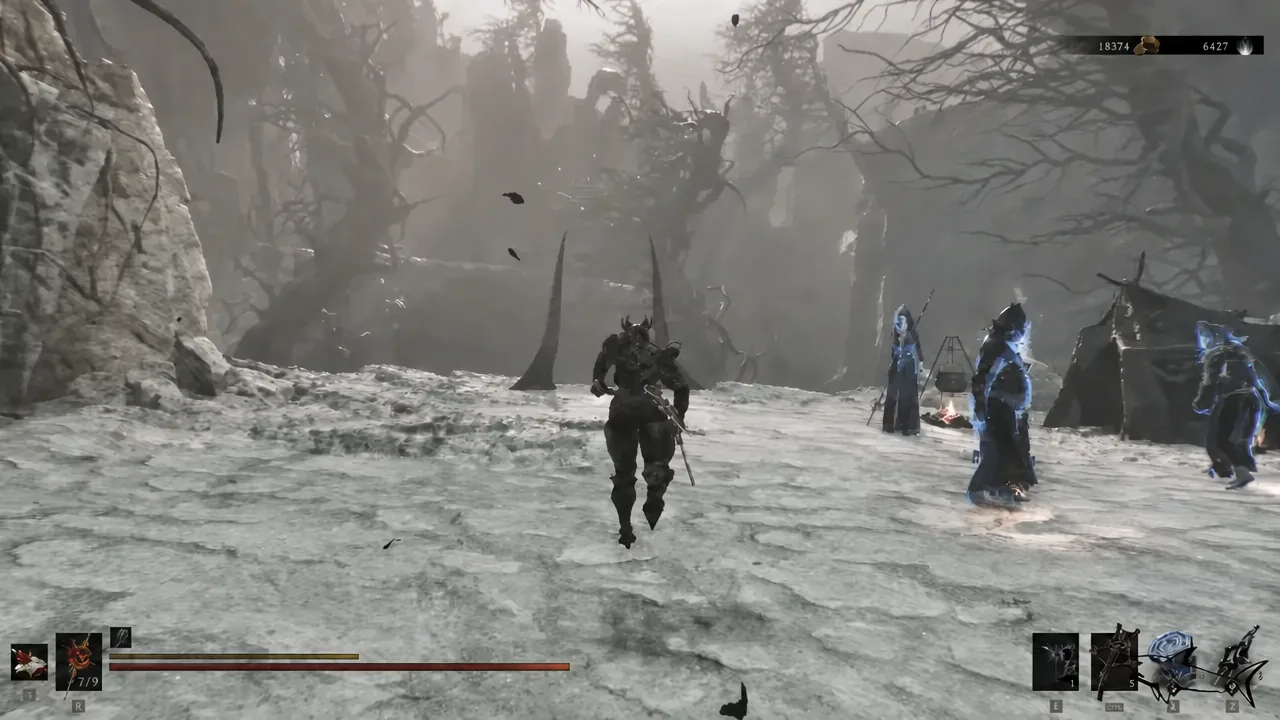
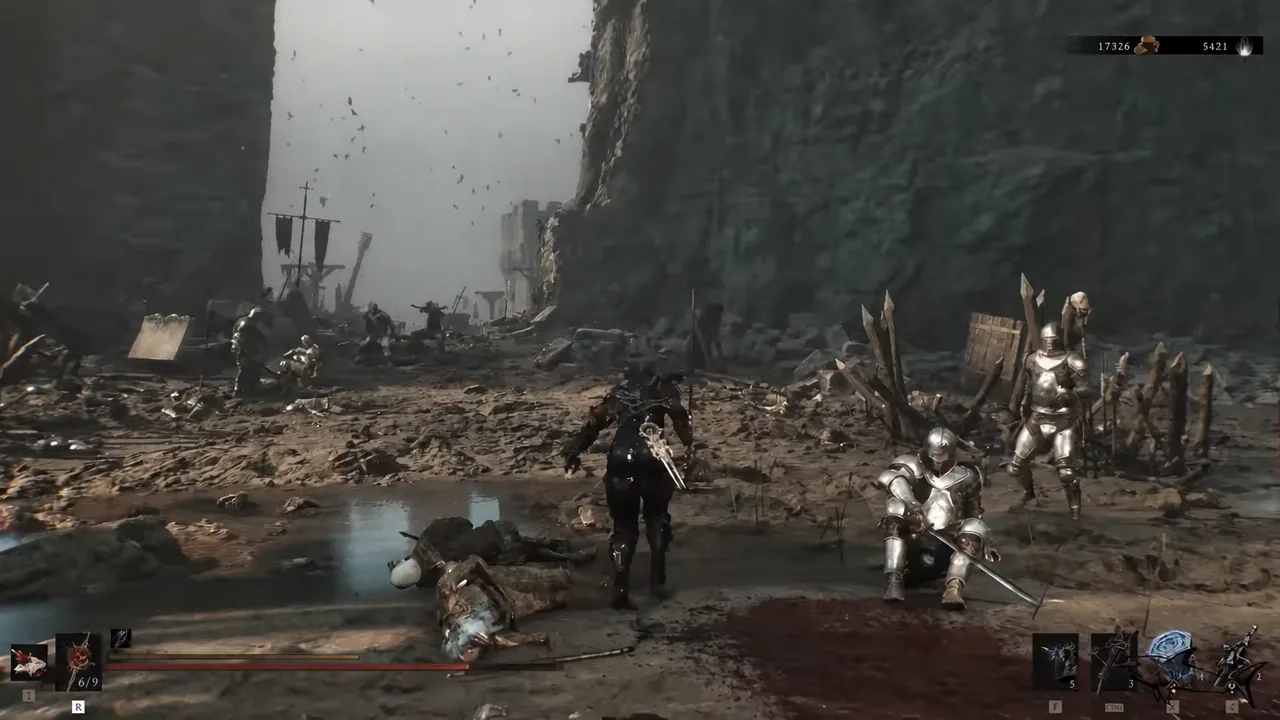
Reaching the chest from the Sisters’ Gate side
If you have already unlocked the Sisters’ Gate beacon, there is a shorter approach that skips the long cliff run. Head out through the stone archway into the red-foliage area, run past the enemy there, and jump off the cliff edge onto the rocky platform below.
From that platform, use the traversal point to launch across the chasm, then work across the stone ledges to a second traversal launch point. That one throws you onto an isolated platform with an altar, and the stone chest sits right there. It is two jumps and almost no combat, which makes it the better option if the beacon is available.
Equipping the Colossus Stone and checking it worked
Open the Tarstones menu and slot the Colossus Stone into one of your two Ability slots. You can carry ten Tarstones total — four on the shell, and two each for Combat, Infusion, and Ability — so the Colossus Stone is competing with one other ability, not with your whole loadout.
To confirm it is live, build Resolve with a few melee hits and trigger the weapon art. The hammer should plant into the ground and release shockwaves outward, and your Resolve bar should drop by 80. If the stone shows as incompatible when you try to equip it, the Obsidian Hammer is not your equipped primary — that is the only requirement the ability enforces.
How to upgrade the Colossus Stone at the Tarforge
Upgrades are gated behind a quest item. Franz needs the Etching Needle before the Tarforge in Marrow Keep will offer Tarstone upgrades at all, so pick it up before you start grinding levels.
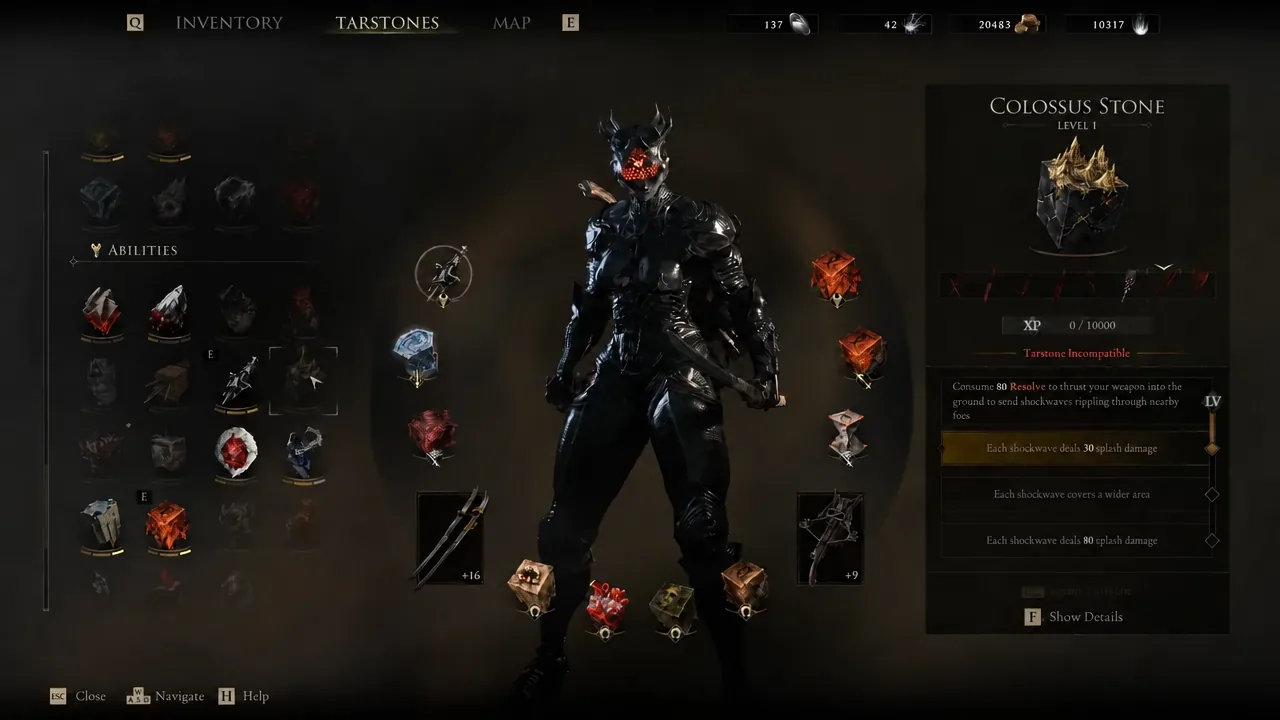
Two upgrades in particular are worth the Coin. The wider blast radius is what makes the slam reliable against loose groups instead of only the enemies standing on top of you, and the jump from 30 to 80 splash damage is what turns it from a knockdown tool into something that actually kills. Until then, treat it as crowd control and lean on the hammer’s normal moveset for damage.