Strength is the only stat that matters in Lift a Cube, the incremental simulator from Freaky Strong!, and push-ups are the only way to earn it. Everything else in the game exists to make those push-ups happen faster or pay out more per rep. Get that relationship straight and the grind stops feeling random.
Quick answer: Press 1 on the training pad near spawn to start automatic push-ups, spend cube Cash on a green “Buy better arms” pad to lower your push-up time, then roll an arm material at the chest and equip it to multiply the Strength each rep gives you.
How push-up training builds Strength in Lift a Cube
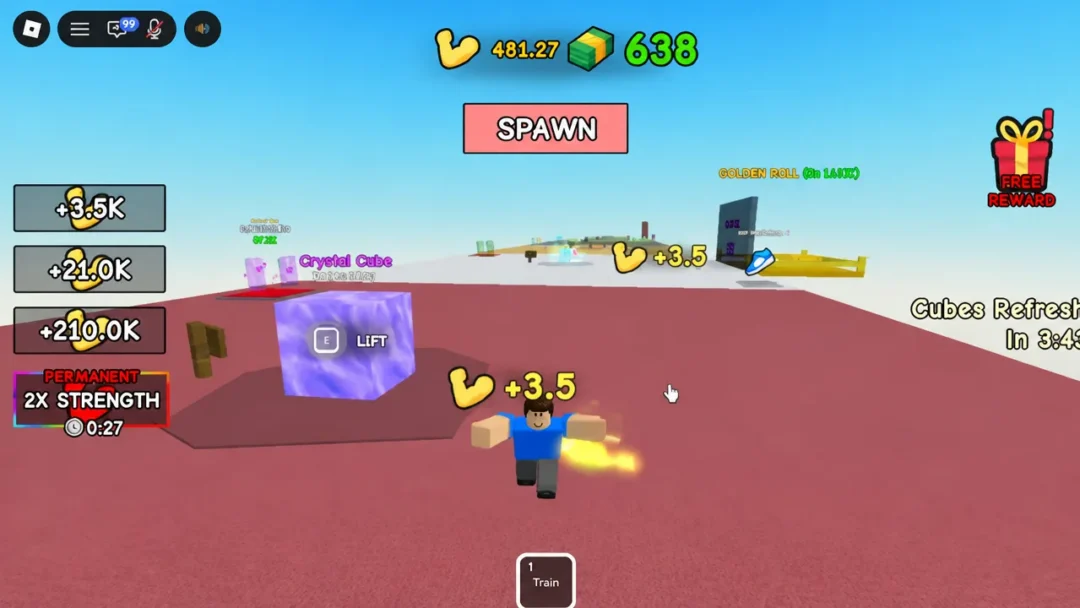
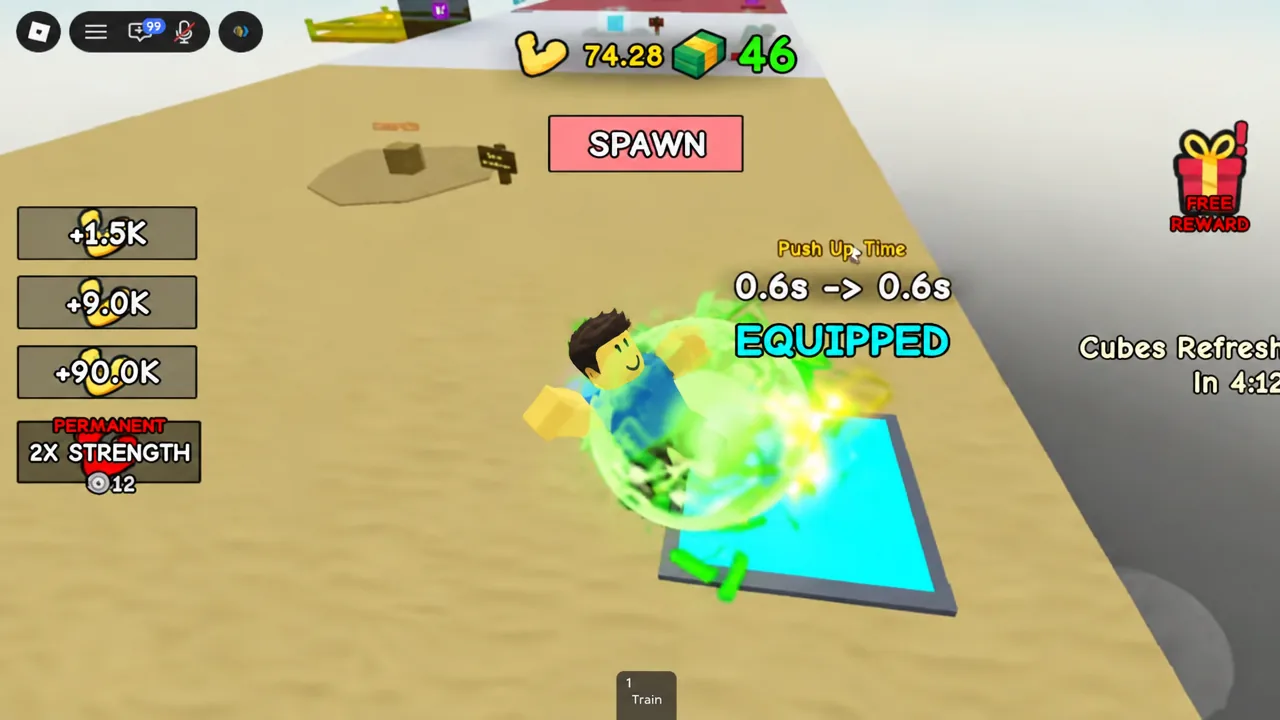
Walk onto the training pad near spawn and press the Train input, mapped to number key 1 by default. Your avatar starts doing push-ups on its own and keeps going, so there is nothing to spam and no autoclicker required. The base gain is one Strength per push-up; a run with materials equipped showed +1.5 floating over the avatar on every rep.
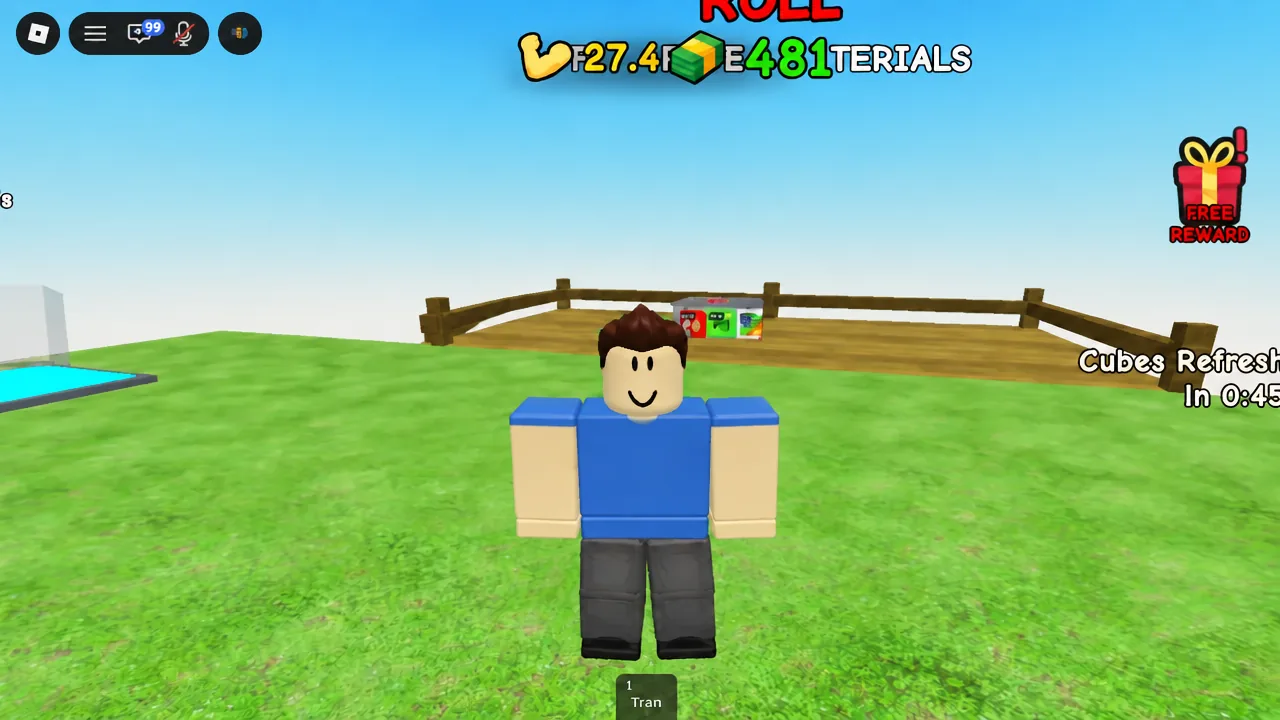
Two numbers sit on screen while you train. One is your Strength counter, the other is the per-rep gain in the floating text. Watch both, because they tell you which of the two upgrade layers is currently worth your Cash.
Every so often a bubble with a multiplier pops up nearby. Clicking it grants a one-off training boost for a single push-up, so it is worth grabbing when you are standing at the pad anyway.
Arms vs. arm materials: What each upgrade changes
These two upgrades get confused constantly, and buying the wrong one stalls your run. Arms change the clock. Materials change the payout.
| Upgrade | What it changes | Where you get it |
|---|---|---|
| Better arms | Lowers push-up time, so more reps per minute | Green “Buy better arms” pads, bought with Cash |
| Arm material | Applies a Strength multiplier to each rep | Arm Materials Chest rolls, bought with Cash |
They stack rather than replace each other. A material multiplier sits on top of whatever arms you already own, which is why the fastest Strength curve comes from alternating between the two instead of dumping everything into one.
Buy better arms to cut your push-up time
E on PC. The purchase applies immediately and stays with you permanently.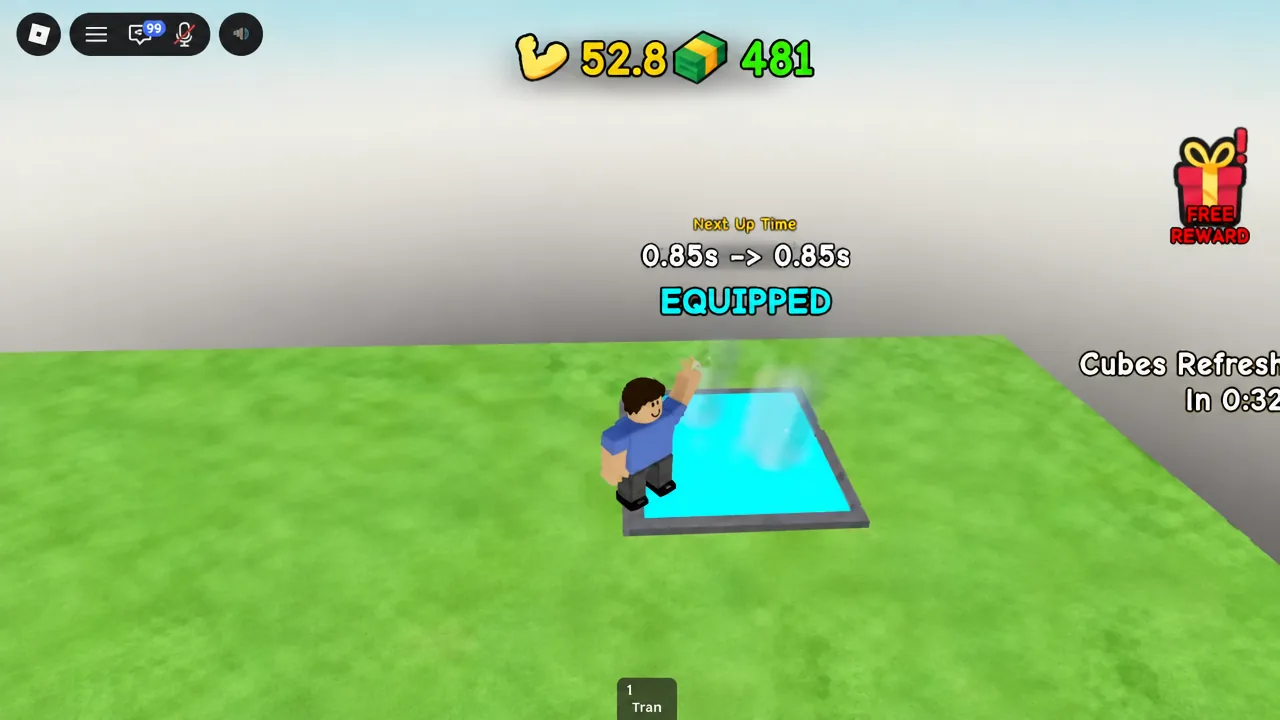
| Purchase | Cost | Push-up time after |
|---|---|---|
| First arm pad near spawn | $30 | Starter arms |
| Push Up Time 0.85s to 0.72s | $225 | 0.72s |
| Push Up Time 0.72s to 0.6s | $650 | 0.6s |
Going from 0.85s to 0.6s per rep is roughly a 40 percent increase in reps over the same stretch of time. That compounds with every material multiplier you add later, which is why the cheap early arms are worth buying the moment you can afford them.
Roll arm materials at the chest for a Strength multiplier
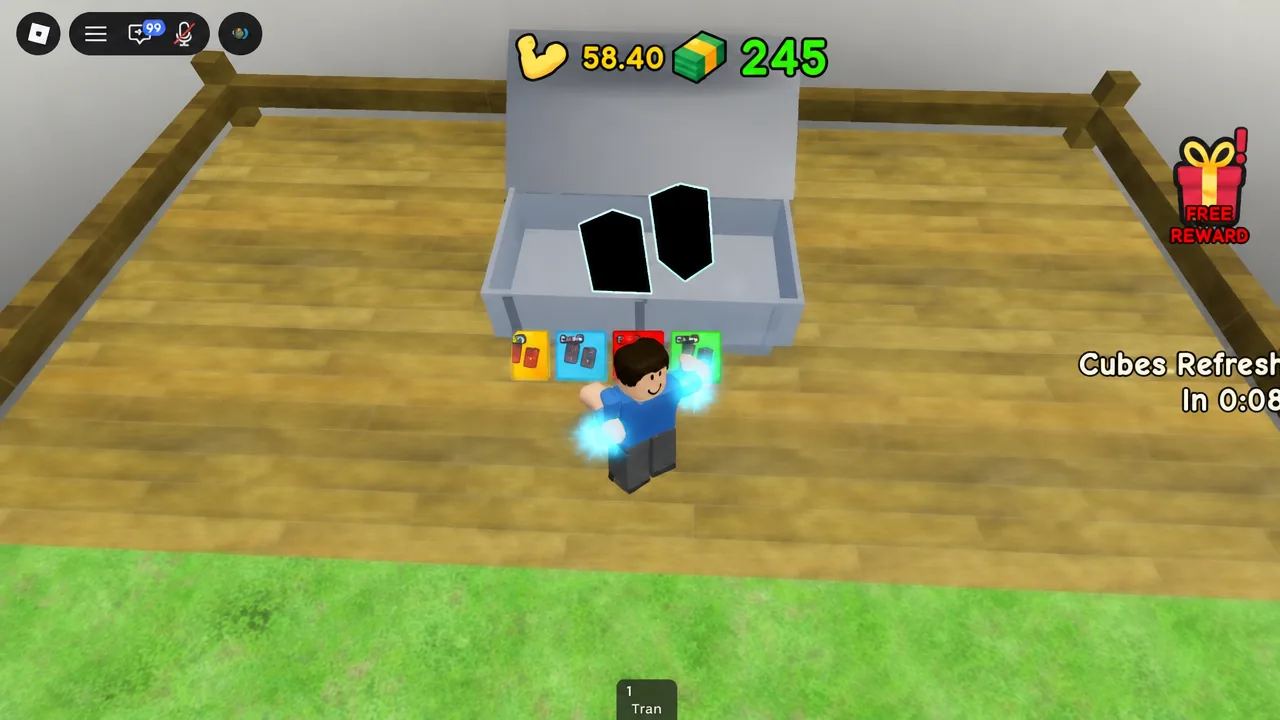
Tip: roll after you have bought the guaranteed arm upgrade you can afford, not before. Arms are a fixed, known improvement; rolls are not.
Lift cubes to fund the next upgrade
Cash only comes from completed lifts. Walk toward a cube until the LIFT prompt appears, then tap the left mouse button rapidly to push the icon along the bar until it reaches the right edge. Stop clicking and the bar stops moving.
Payouts scale with weight. A 5kg Stone Cube paid out $35 per lift, while an 11.1kg Cooper Cube paid $69. Repeating a cube you can already lift is the standard way to bankroll an upgrade.
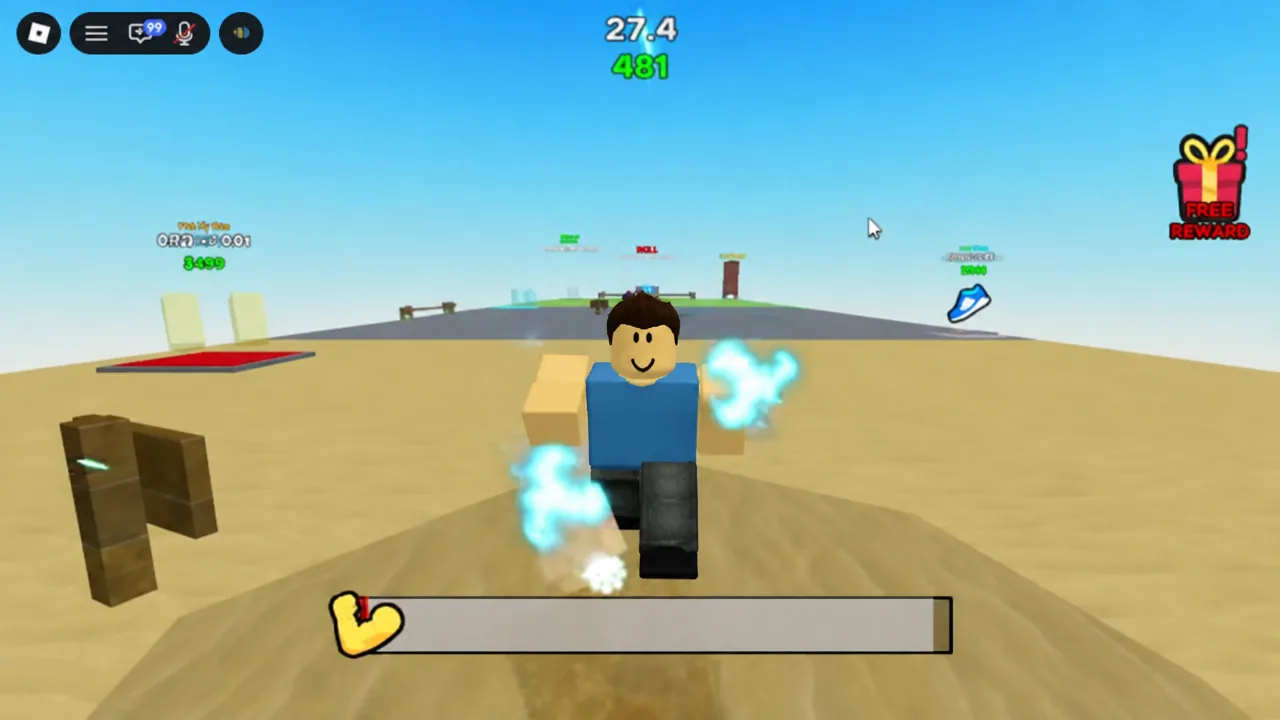
Each cube prints its own weight and a Recommended Strength figure. Those readouts shift when the map refreshes — an on-screen timer counts down and the game announces “Cubes have been refreshed!” — so the numbers below are examples of what shows up rather than fixed values. Always trust the label on the cube in front of you.
| Cube | Weights seen | Recommended Strength |
|---|---|---|
| Wood Cube | 2.1kg | 6 |
| Stone Cube | 5kg to 6.6kg | 60 to 61 |
| Cooper Cube | 11.1kg to 21kg | 59 to 206 |
| Ice Cube | 66.2kg | 582 |
Because training is hands-free, the efficient pattern is to start push-ups, leave them running for a few minutes, then come back, clear a few lifts, buy an upgrade or roll, and start training again. Overtraining is not wasted, either. There is no Rebirth system here, so banking extra Strength can let you skip a tier of cubes entirely and jump to a better payout.
Confirm the lift and the upgrade worked
A completed lift gives you two visible cues at once. The cube goes up over your avatar’s head, and a Cash amount pops up and lands in your balance.
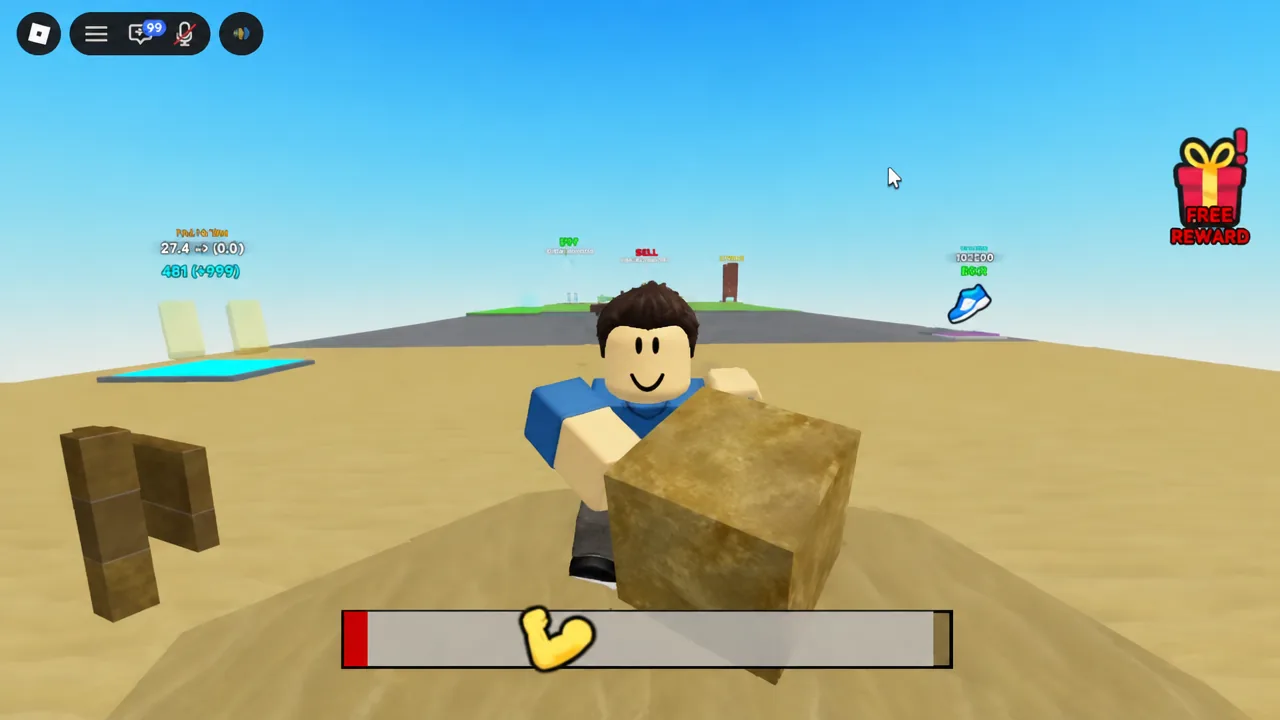
For an arm purchase, the push-up timer at the training pad should show the lower value straight after you buy. For a material, the per-rep Strength number in the floating text should climb once the new material is equipped.
Why the lift or the training is not working
- No LIFT prompt appears: you are standing outside the cube’s interaction range. Walk closer until it shows up.
- The bar stops partway: the minigame needs continuous rapid clicking. Keep tapping until the icon hits the right edge.
- The cube wobbles but never leaves the ground: your Strength is below what that cube wants. Train more and retry the same cube.
- Push-ups never start: you are not on the training pad, or the Train input has not been pressed. Step onto the pad and hit
1.
Instant Strength I and the Robux shop
There is a paid shortcut. “Instant Strength I” is listed for 19 Robux, with larger Robux packages sold separately. It is a convenience purchase rather than a requirement — the heaviest cube in the game is reachable without spending anything, though the last one carries a Strength requirement of 1.3 billion, which means near-complete upgrade coverage and strong materials.
The loop that gets you across the map is short and repeatable. Train until a cube becomes liftable, lift it enough times to afford the next arm or roll, equip the better of the two, then move outward to the heavier cube waiting down the route. Use the on-screen SPAWN button to snap back to the starting platform instead of walking the whole map in reverse.