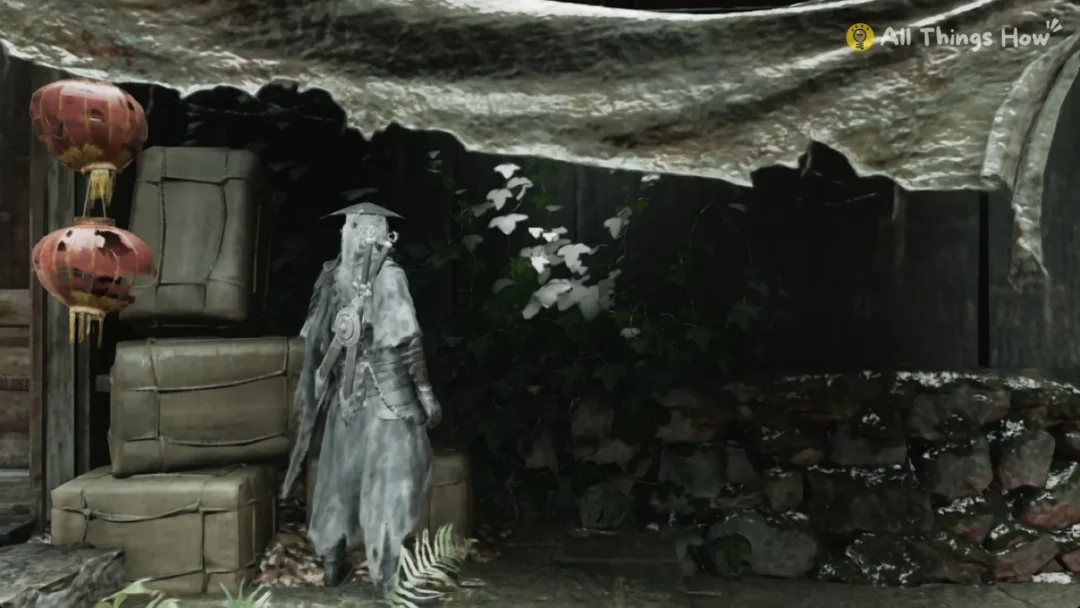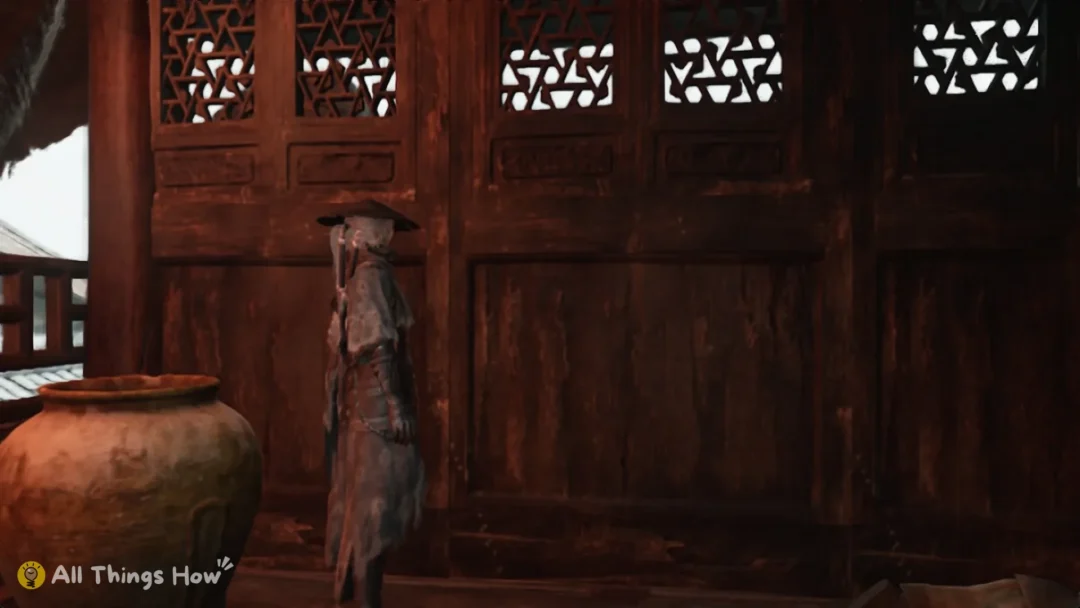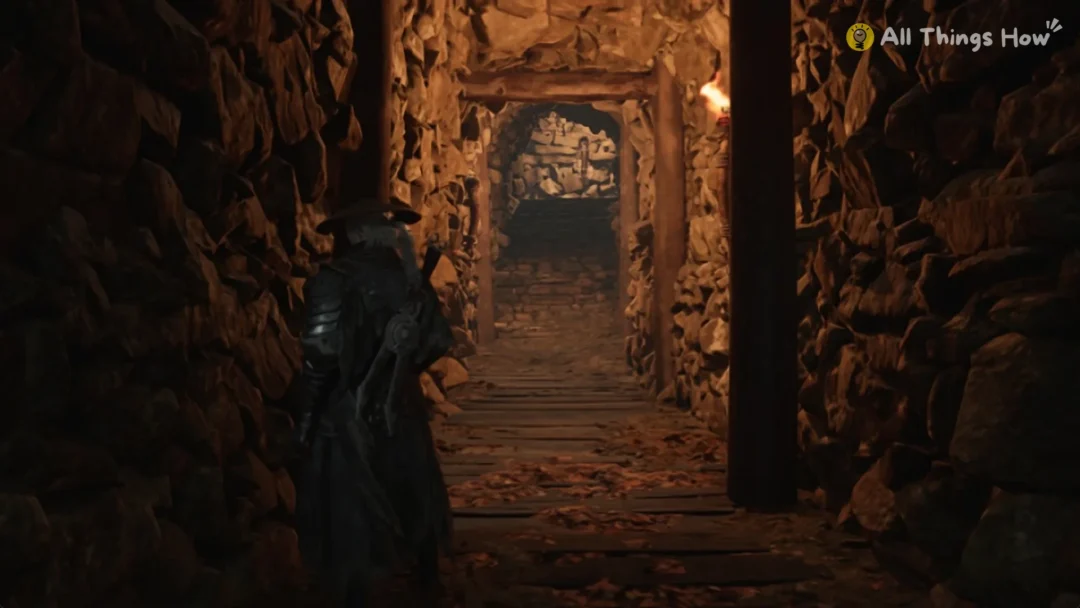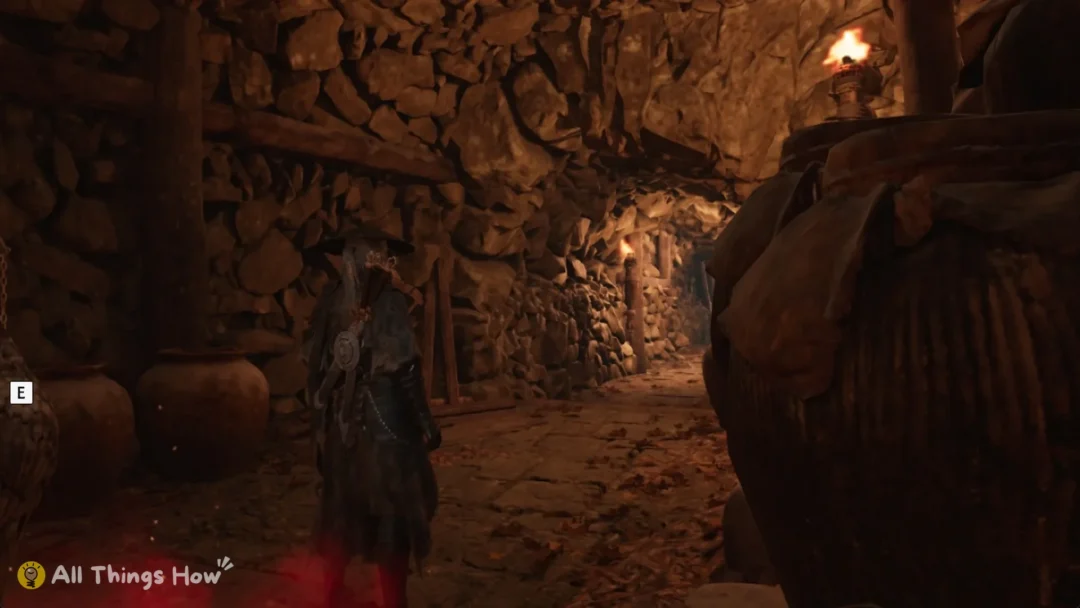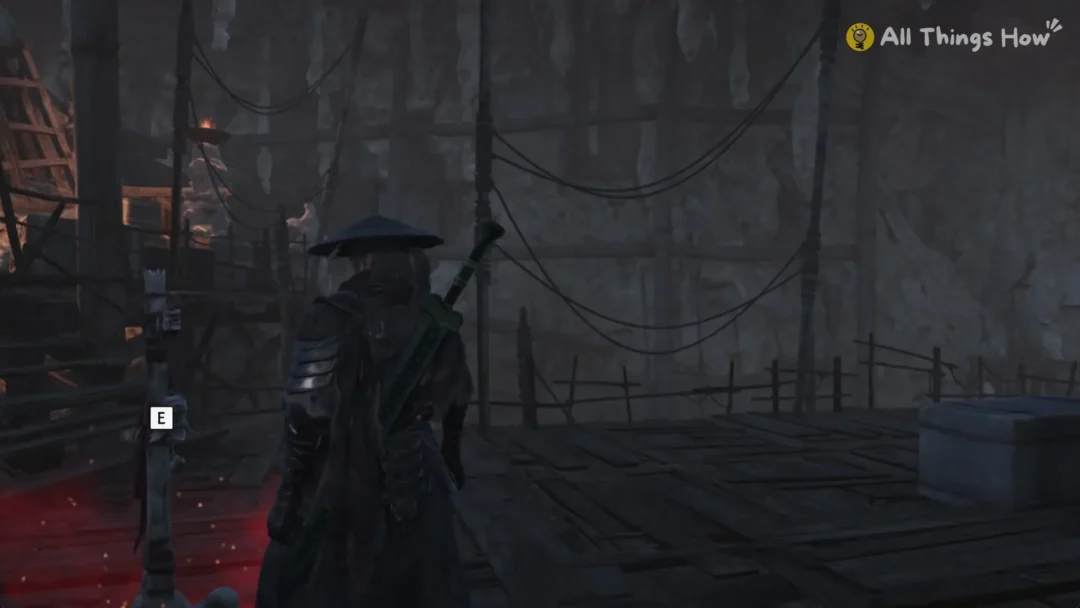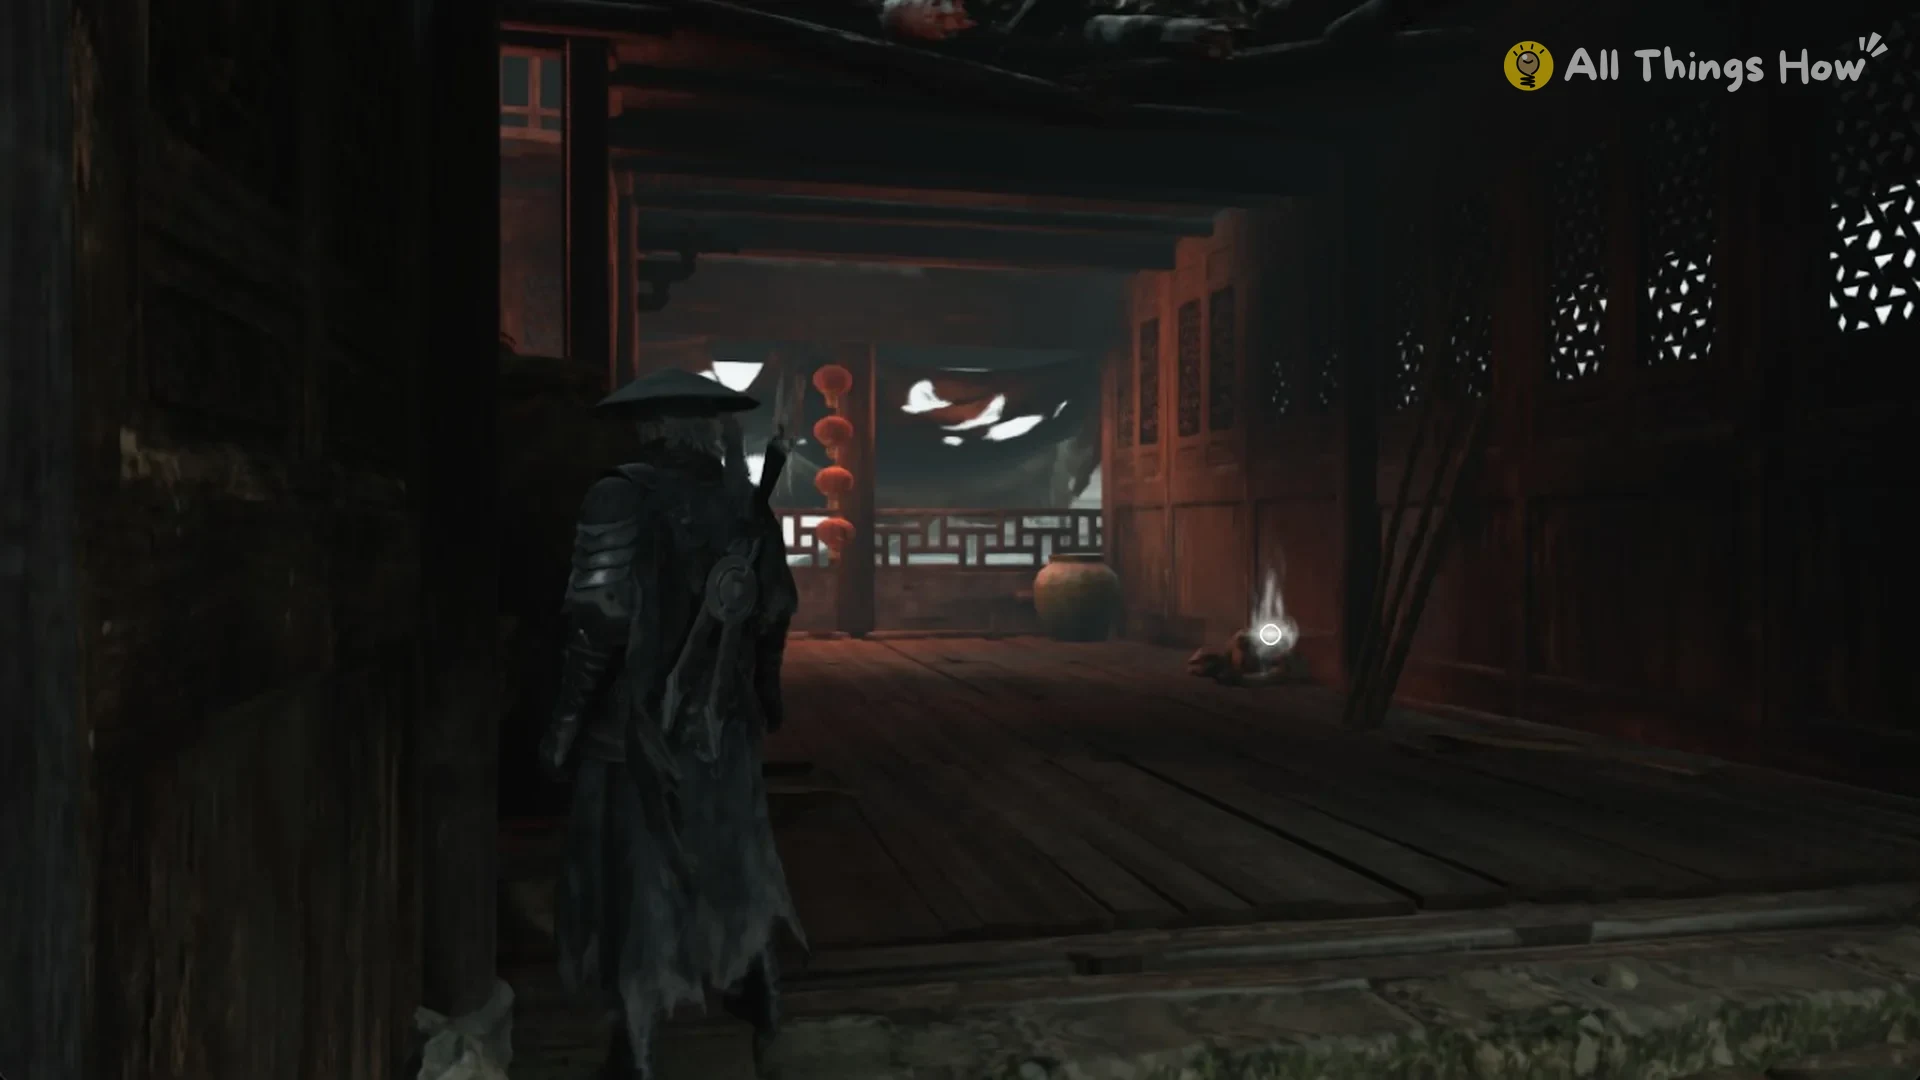
Quick answer: Talisman of Despair is found in Mountain of Imprisonment, near the Iron Butcher’s Camp bell, as a reward or pickup in the world. Your next attack builds up to 25% extra damage over 4 seconds.
Where to find Talisman of Despair
- Region: Mountain of Imprisonment
- Nearest bell: Iron Butcher’s Camp
- How you get it: reward or pickup in the world
- Item type: Offensive accessory
Bells work as fast travel and respawn points, so rest at the Iron Butcher’s Camp bell before you go looking. If you die, the game sends you back nearby instead of somewhere far off. For the exact spot, open the Mountain of Imprisonment interactive map and click the Talisman of Despair pin to see its details.
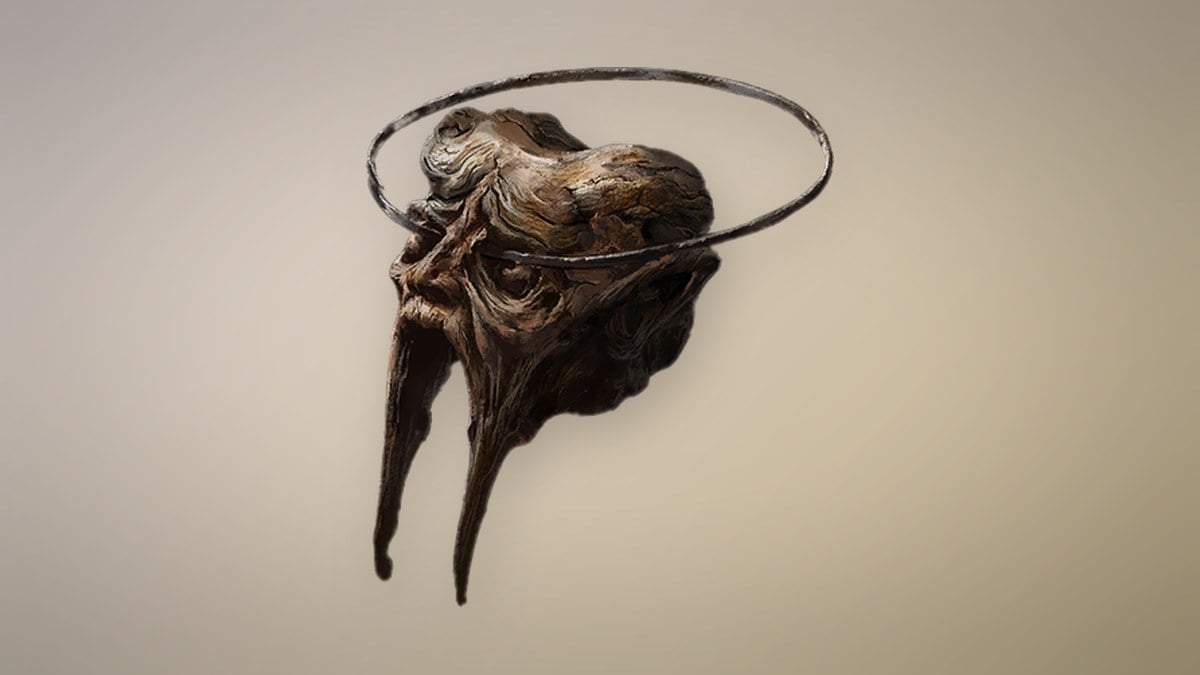
Talisman of Despair item card and effect
The item card lists the type as “Offensive” and gives this effect line:
“The next attack gains up to 25% damage over 4 seconds. Hitting an enemy resets the effect.”
The description on the card reads:
“No one knows when this peach pit, entrusted with hopes of a safe return home, came to bear a grotesque, ghostly face. Perhaps it has witnessed too much despair… those who succumbed to forbidden arts, those who placed their hopes in them, and those forced to practice them.”
How to polish Talisman of Despair
Polishing happens at Jewel. Unless the polish line says otherwise, polishing only raises the numbers. For Talisman of Despair, the cap climbs from 25% to 35% while the 4-second window and the reset on hit stay the same.
| Polish | Effect | Cost |
|---|---|---|
| Polish 1 | “The next attack gains up to 35% damage over 4 seconds. Hitting an enemy resets the effect.” | 28,800 Remnant Dust + Tainted Crystal Shard |
Along with the 28,800 Remnant Dust, you need a Tainted Crystal Shard. Quick Hand Zhang sells one for 7,440 Remnant Dust, and you can also find a Tainted Crystal Shard in the world.
What Talisman of Despair is good for
The bonus charges while you aren’t hitting anything. It builds to 25% extra damage over 4 seconds, or 35% after polishing, and landing a hit wipes it back to zero. That makes it better for spaced-out, deliberate hits than for fast strings, where each blow resets the build-up before it can grow. If you’re working out how to string your attacks, the Sha-Chi combos lay out your combo options.
You have three accessory slots open from the start, so it can share space with two other pieces. The full accessories list has every accessory with its effect and location, and you can compare it with other ways to increase damage before you pick your loadout.