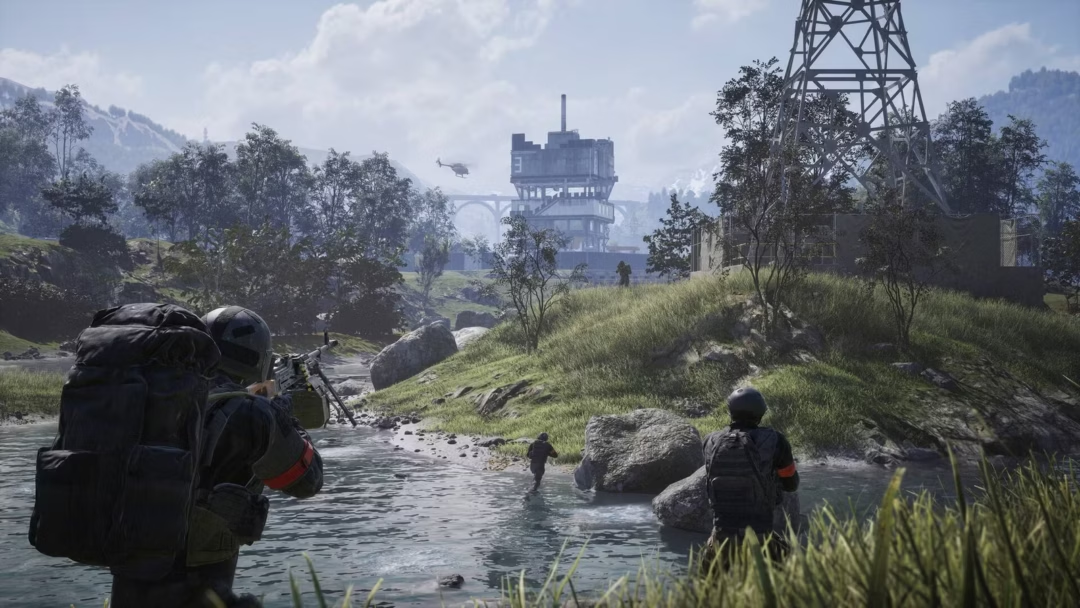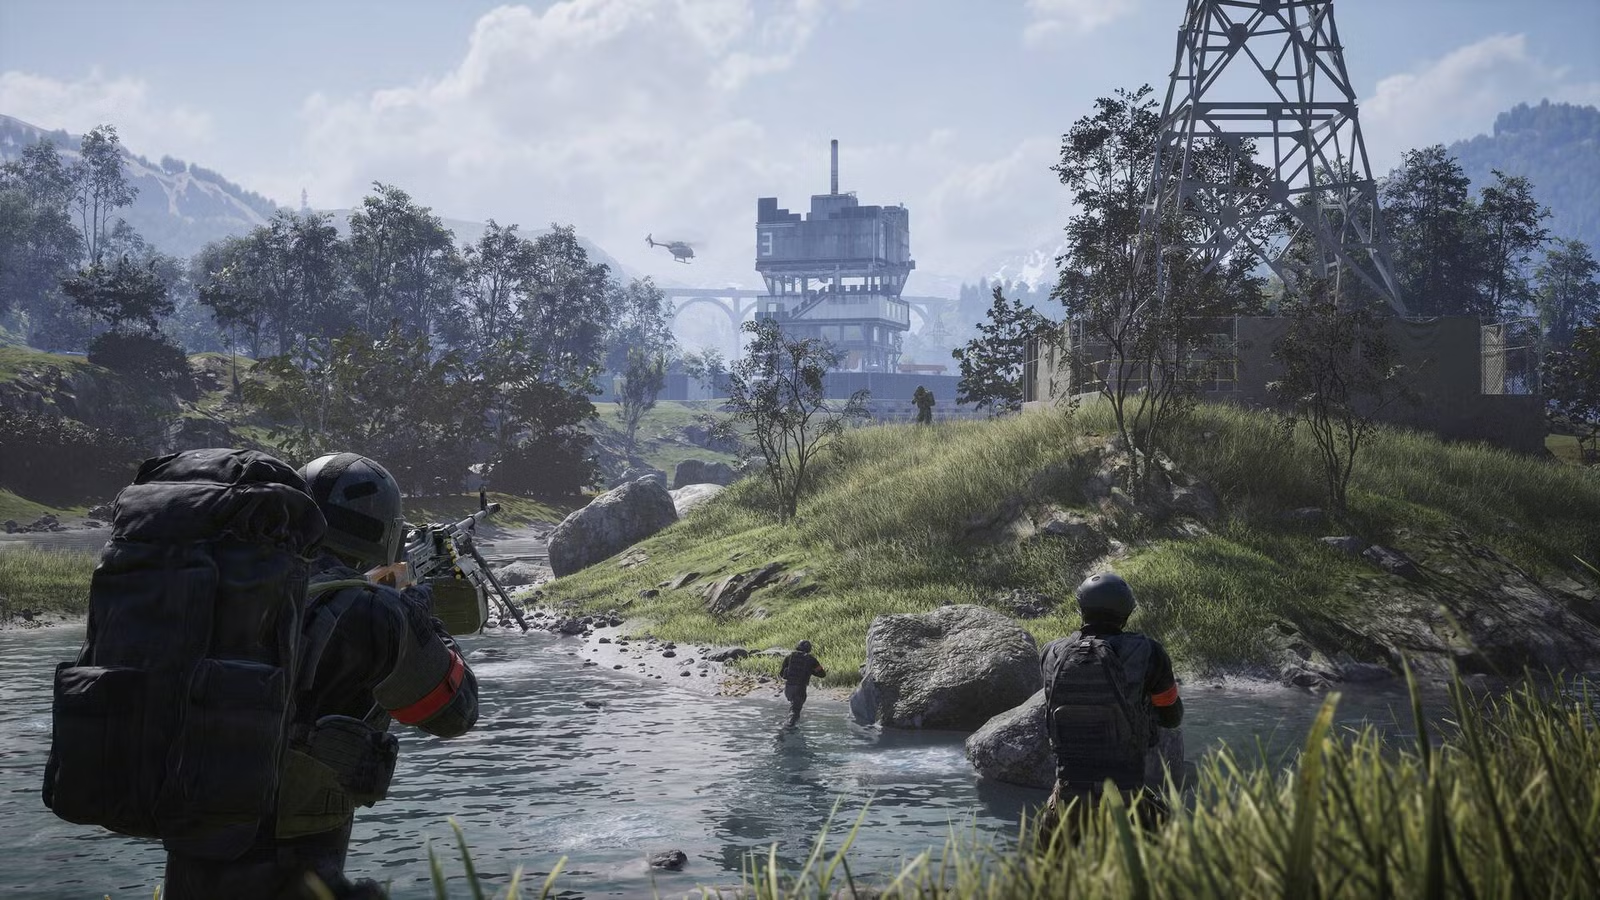
Zestafona is the North American battleground in WARDOGS, a King of the Hill fight strung along a winding river bend that measures 16.38 km across. Almost none of that ground ever matters. The war lands on a town wrapped in industrial sprawl, where dense woodland, rows of warehouses and brick warehouses, offices, residential blocks and apartments, a scatter of towers, two large factories, farmland parcels, shops, train sheds, water towers, a bridge, a bus depot, scrap import and a large shipping export yard all crowd into a small stretch. That mix decides fights: long sightlines open across the yards and farmland, then collapse into brutal close quarters the moment you step inside a warehouse or a stack of residential blocks.
Quick answer: The objective rotates between Default, Water Treatment, and Houses. Win by holding the Control Zone with more players inside it than either rival faction when the tick bar fills, banking drill tower code digits, and stacking the roaming Hot Zone where each player counts as two. The first faction to 100 match points takes the match.
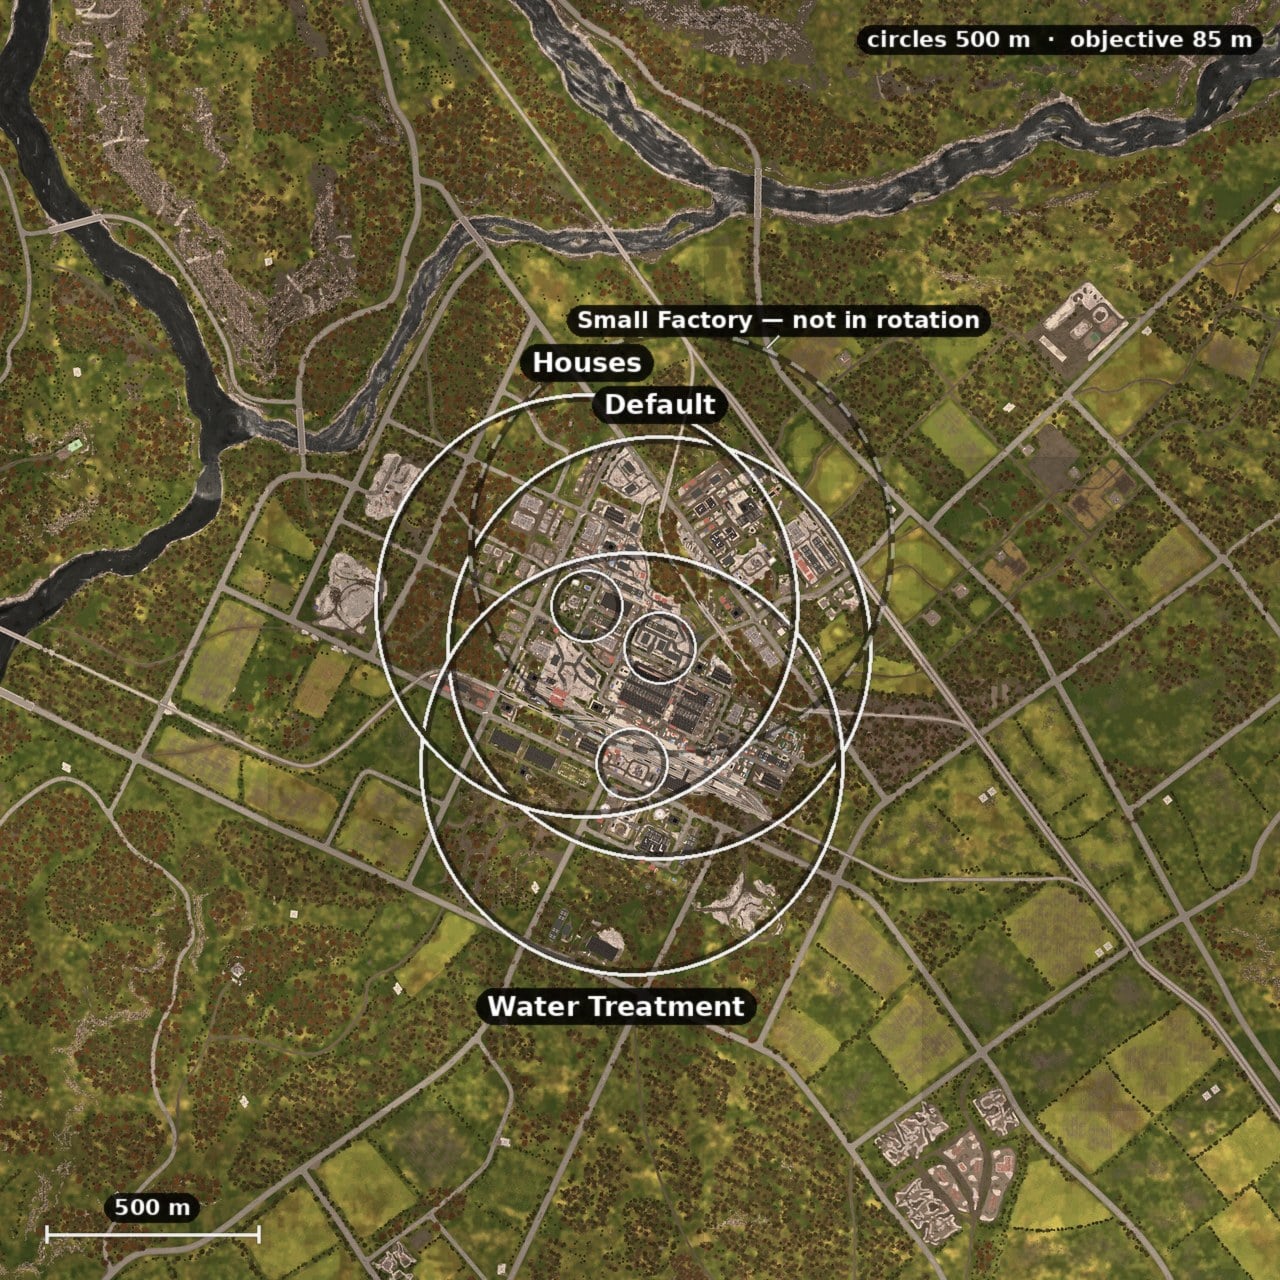
The play area rotation on Zestafona
Four play areas are defined on the map, but only three ever host the objective. Each one is a 500 m circle, and the actual capture point inside it is an 85 m Control Zone. The rotation picks Default, Water Treatment, and Houses at equal frequency. Small Factory is drawn on the map but held out of the rotation, so the objective never lands there. The two furthest play areas sit 531 m apart, so a rotation can drag the fight most of the way across the built-up core.
| Play area | Where it sits | In rotation |
|---|---|---|
| Default | East of the middle | Yes |
| Water Treatment | North of the middle | Yes |
| Houses | South-west of the middle | Yes |
| Small Factory | South-east of the middle | No |
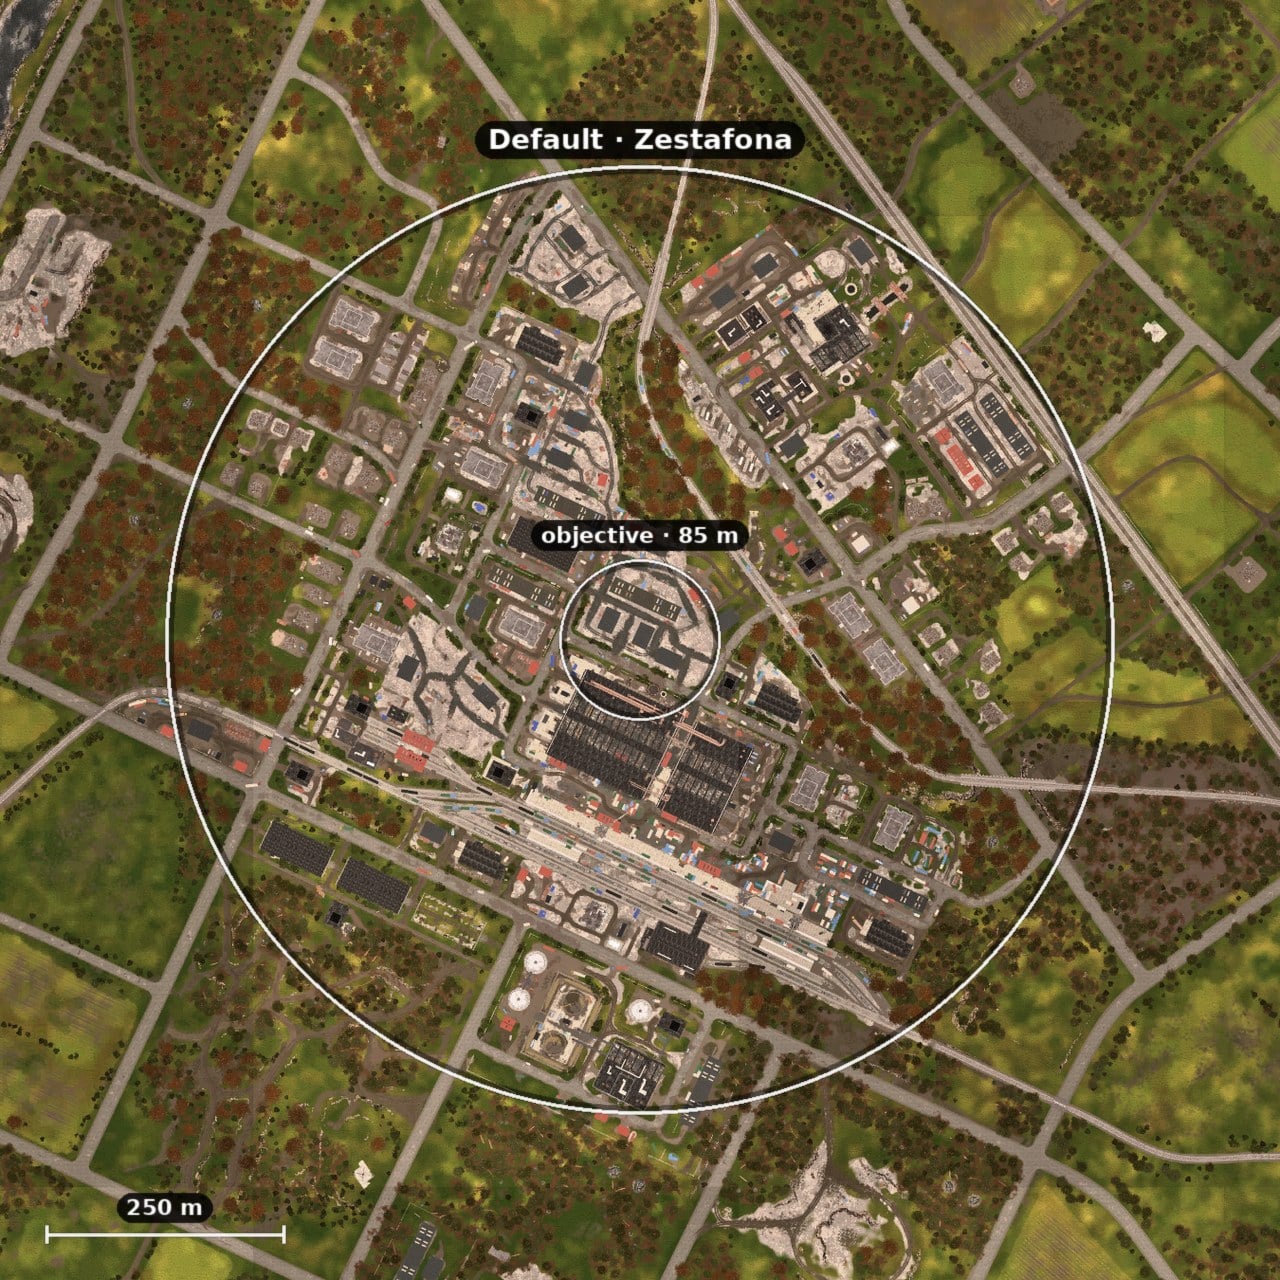
Default (east of the middle)
Default sits east of the map’s centre and is the densest of the three live areas, with the most named ground inside its circle. It is heavy on warehousing, backed by brick warehouses, several banks of offices and residential blocks, a run of towers, a pair of large factories, patches of woodland, shops, train sheds and water towers, plus apartments, a bridge, a bus depot, a strip of farmland, a scrap import yard and a large shipping export yard. Fights here swing between the open lanes around the yards and the tight interiors of the warehouse rows, and the towers give recon players commanding lines over the rest of the circle.
Water Treatment (north of the middle)
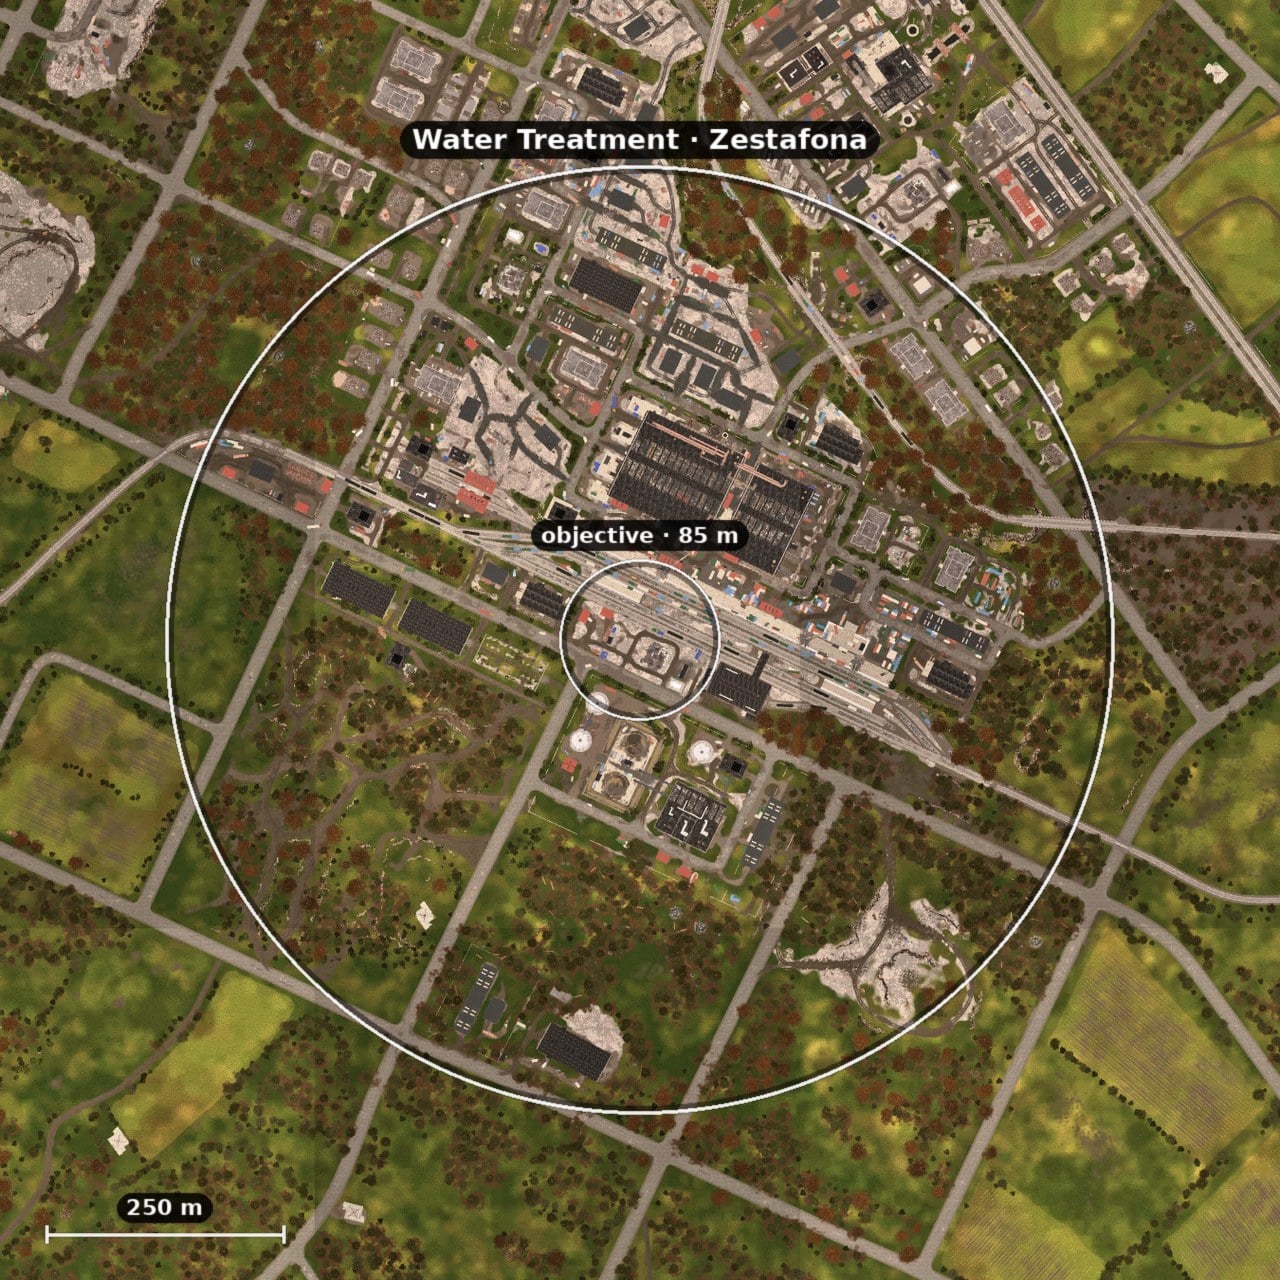
Water Treatment lies north of centre and is the most open of the rotation, with the fewest named pieces of ground packed into its circle. Warehouses dominate again, broken up by thick woodland, a pair of large factories, offices, residential blocks, towers, train sheds and water towers, with a bridge, a scrap import yard, both a large and a long shipping export yard, shops and a run of train tracks threading through. The tracks and the water towers create clear lines that reward marksmen, so expect the Hot Zone to pull knots of players toward whichever corner has cover.
Houses (south-west of the middle)
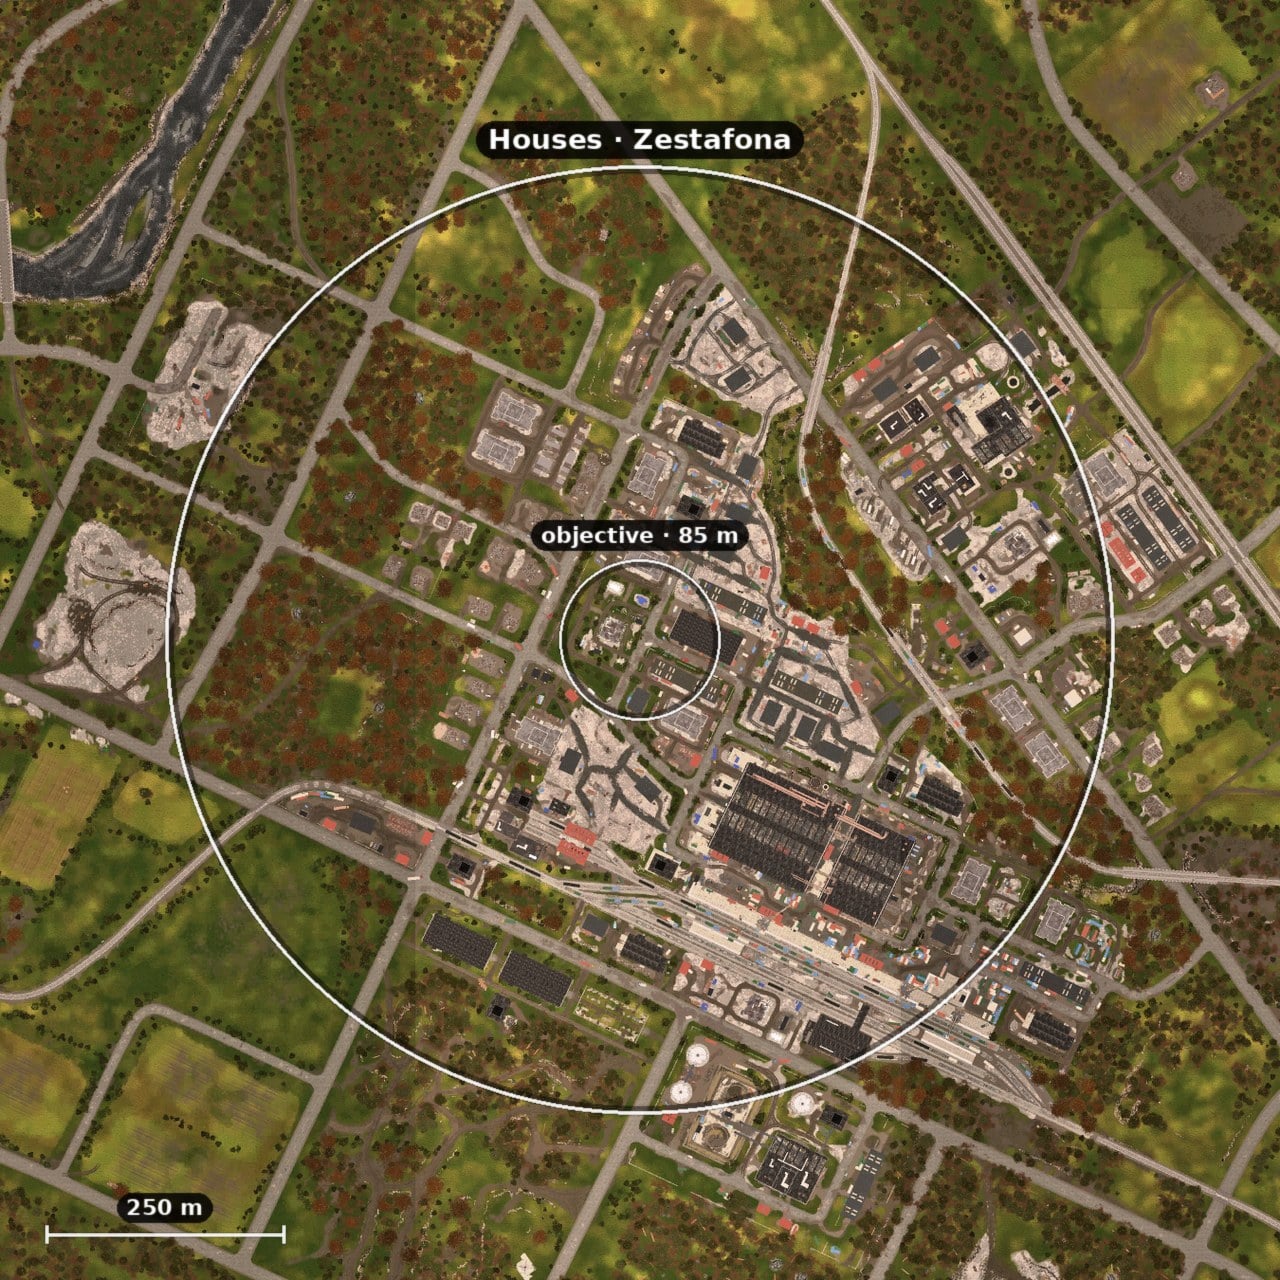
Houses sits south-west of the centre and leans hardest into cover, with heavy warehousing and the thickest woodland of any live area folded around a run of towers. Around them you get brick warehouses, a couple of large factories, residential blocks, shops and train sheds, plus apartments, a bridge, a bus depot, a scrap import yard, offices, a long shipping export yard, train tracks and a lone warehouse. All that tree cover and the tight residential streets make this the close-quarters pick, where pushing the objective head-on into a defended block gets punished fast.
Small Factory (south-east, not in the rotation)
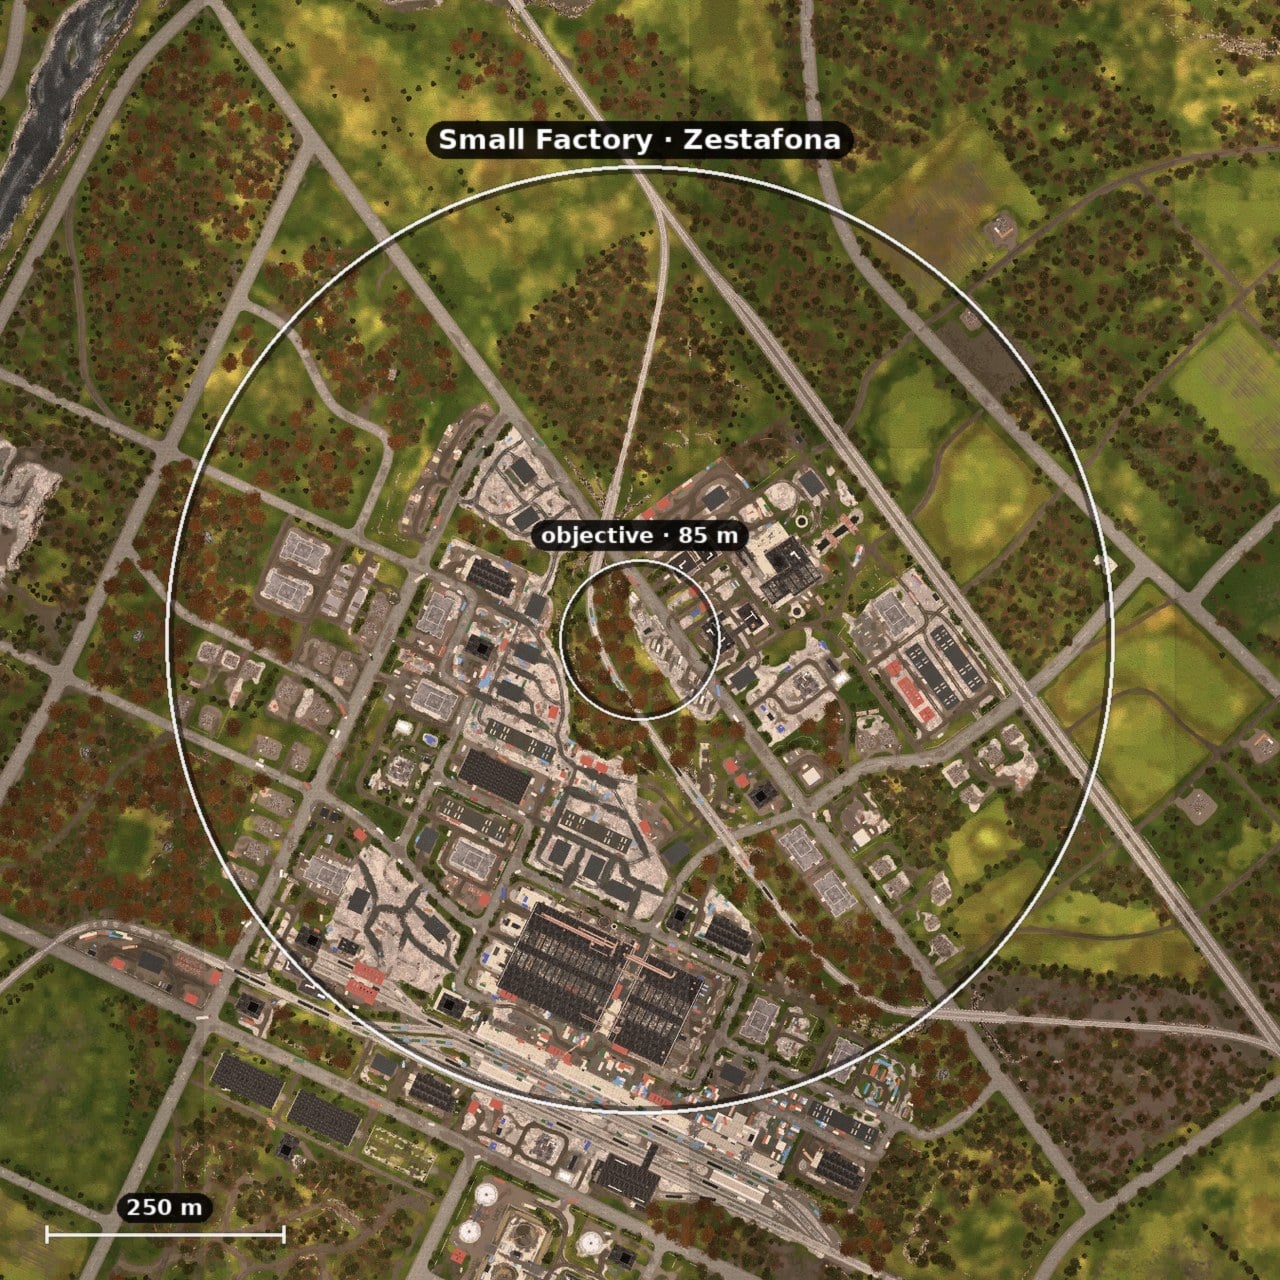
Small Factory is drawn on the map south-east of the middle but the objective never lands here, so you can treat it as scenery rather than a place you will fight for. For the record, its circle holds warehouses, brick warehouses, woodland, offices and residential blocks in even measure, a pair of large factories and farmland parcels, shops and towers, plus apartments, a bridge, a bus depot, a scrap import yard, a long shipping export yard, a train shed and a warehouse.
The Control Zone and Hot Zone
The whole match hinges on the Control Zone, the 85 m circle at the centre of whichever play area is live. Every player standing inside it adds one to their faction’s count, and the team with the highest count holds the zone. When the tick bar fills, the controlling faction is awarded a match point, and the first faction to reach 100 wins. Three factions of 33 players each, Lonestar, Valkyra and Manticore, contest it at once, and you choose your side every time you play.
The Hot Zone is a smaller sub-zone that roams inside the Control Zone. Anyone standing in it counts as two toward the faction count and earns bonus cash for every teamplay action. That doubling is enough to flip a contested tick on its own, so watch where it lands and move your bodies into it rather than trading kills on the edge of the circle. It pulls fights to one corner at a time, which is exactly where you want your squad set up early.
Drill towers and code digits
Drill towers are capture points scattered across Zestafona, and taking one can swing a match. Once you are inside a tower you can capture it, and each capture reveals part of a longer key code. Collect every digit of that code and activate the tower to potentially turn the outcome of the match in your faction’s favour. The towers also spawn randomised helpful equipment on their roofs, so looting the top is worth it, though climbing up exposes you to enemy sightlines across the yards.
Working the approach
The straight line into the Control Zone is rarely the safe one on this map. When enemy recon are laying traps or holding the towers and the long lanes across the yards, take an alternative route in through the woodland or the warehouse interiors instead. Every trip to the zone is a risk you and your driver decide together, so agree a covered drop-off point before you buy transport rather than piling out under a sightline.
Two things to keep in mind once you are moving. Local chat carries to friendly and enemy players alike, so a loud plan near a contested block is intel you are handing to the other faction. And the mini map tells you whether you are standing in the Control Zone, the Hot Zone or No Man’s Land, so check it constantly on Zestafona’s tight streets, where the border between a scoring position and a wasted one is only a few metres of warehouse wall.