WARDOGS does not ask you to pick a class. It watches what you carry and what you do, then drops the XP into one of six tracks: Assault, Medic, Recon, Support, Driver, and Pilot. Each track caps at level 100, each one gates its own weapons and vehicles, and your overall WARDOG level is simply all six added together. Season 1 progression is slower than the beta, so knowing which actions pay what matters more than raw playtime.
Quick answer: Work inside the Control Zone, where team-positive actions pay double. Park the spawn vehicle in the zone for 500 Driver XP, spot with binoculars for Recon, and stay to the end-of-match bonus.
How role XP and WARDOG level work in Season 1
Every role progresses on its own bar. You can run Medic gear one match, swap to a truck the next, and both bars move. Your WARDOG level is the sum, so an account sitting at Assault 5, Medic 5, Recon 3, Support 9, Driver 5, and Pilot 10 is WARDOG level 37.
Hitting a level requirement does not hand you the item. It makes the item purchasable, and you then pay a one-time unlock fee in cash before it appears in your loadout menu. After that you still pay the per-life equipment price every time you take it out. That two-stage cost is why cash and XP farming end up being the same activity in practice.
Reaching role level 20 in Season 1 takes 250,000 role XP, and the stretch from 15 to 20 alone is 140,000 of it. BULKHEAD expects median players to sit around level 20 after 20 to 25 hours. Servers matter too, since XP scales with the number of players in the match — a full lobby pays better than an empty one.
Progression is seasonal. Levels and cash reset when the season ends, with leftover cash converting into Gold.
XP values for common WARDOGS actions
These are the payouts worth memorising, because they decide whether an action is worth the detour.
| Action | Role | XP |
|---|---|---|
| Weapon kill | Weapon’s role | 250 |
| Headshot kill | Weapon’s role | 275 |
| Aerial kill | Pilot | 250 |
| Bandage a teammate | Medic | 80 |
| Standard revive | Medic | 200 |
| Defibrillator revive | Medic | 250 |
| Ground passenger delivery | Driver | 250 |
| Air passenger delivery | Pilot | 25 |
| Spawn vehicle driven into Control Zone | Driver | 500 |
| Supply pallet placed at a FOB | Support | 360 |
The gap between ground and air delivery is the single biggest surprise in the list. Flying a squad into the fight pays a token 25 Pilot XP per body, while the same trip by truck pays ten times that to Driver. Pilots earn far more from kills and supply runs than from taxi work.
Which role gets the kill XP
Your gun decides the track, not your intent. Hovering over any item in the menu shows which role it feeds, and mixing tagged items in one loadout is how you push two bars at once.
| Weapon or tool | Role XP |
|---|---|
| Assault rifles, pistols, M67 frag grenade | Assault |
| SMGs, bandages, defibrillators | Medic |
| Sniper rifles, marksman rifles, compound bow, spotting tools | Recon |
| Shotguns, LMGs, launchers, C4, AT mines, claymores, IEDs | Support |
| Driver-tagged vehicle weapons (L55A1, 35mm Oerlikon, M249 mount, MG3A1) | Driver |
| Helicopter weapons (2A42, B-13 rocket pods, M134D Minigun) | Pilot |
| SPH-2 / L52 artillery cannon | Support |
The artillery entry is the odd one out. It is a ground vehicle, but its cannon pays Support, so an artillery crew is levelling the builder track rather than Driver.
The Control Zone multiplier and the end-of-match bonus
Anything that helps your team inside the hot zone pays double. That applies to revives, builds, repairs, and kills alike, which is why a mediocre fight inside the zone beats a clean one outside it. With a Tier 3 hammer you can build a Drill Rig, which drags the hot zone toward its position when activated — it burns fuel supplies and makes your FOB a magnet for attackers, but it lets you keep farming doubled rewards from a fortified position.
Playing a match to the finish also pays a large end-of-game bonus on top of everything you banked. Leaving early to re-queue for another opening hot drop trades that bonus away, so it only makes sense when your role’s income has genuinely dried up.
There is no cooldown on switching teams. The losing side needs more transport, more healing, and more supply runs, so it generates more XP for support-style roles than the winning side does.
Fastest XP farm for each role
Assault
Assault is the path of least resistance: rifle and pistol kills, grenade kills, and objective actions inside the Control Zone. Headshots pay 275 instead of 250, so the aim-high habit is worth roughly a 10 percent bonus over a long session. The starting Bushmaster M17S costs nothing to field, fires 5.56x45mm at 700 rounds per minute, and does 28 damage per shot or 65.8 to the head. It is semi and burst only and cannot take attachments, so treat it as a stepping stone to the AK74 rather than a build.
A downed enemy is bait, not a chore. Leave them and either the reviver walks into your sights or you take the second kill when they commit.
Medic
Medic pays for company. SMG kills feed the track, but repeated bandaging and reviving pays more per minute, and the free Emergency Resuscitator gives you one revive per life with no cash outlay. The real multiplier is delayed: after you revive someone, their later kills and assists keep sending Medic XP your way. Attach yourself to whoever fights hardest and keep picking them up.
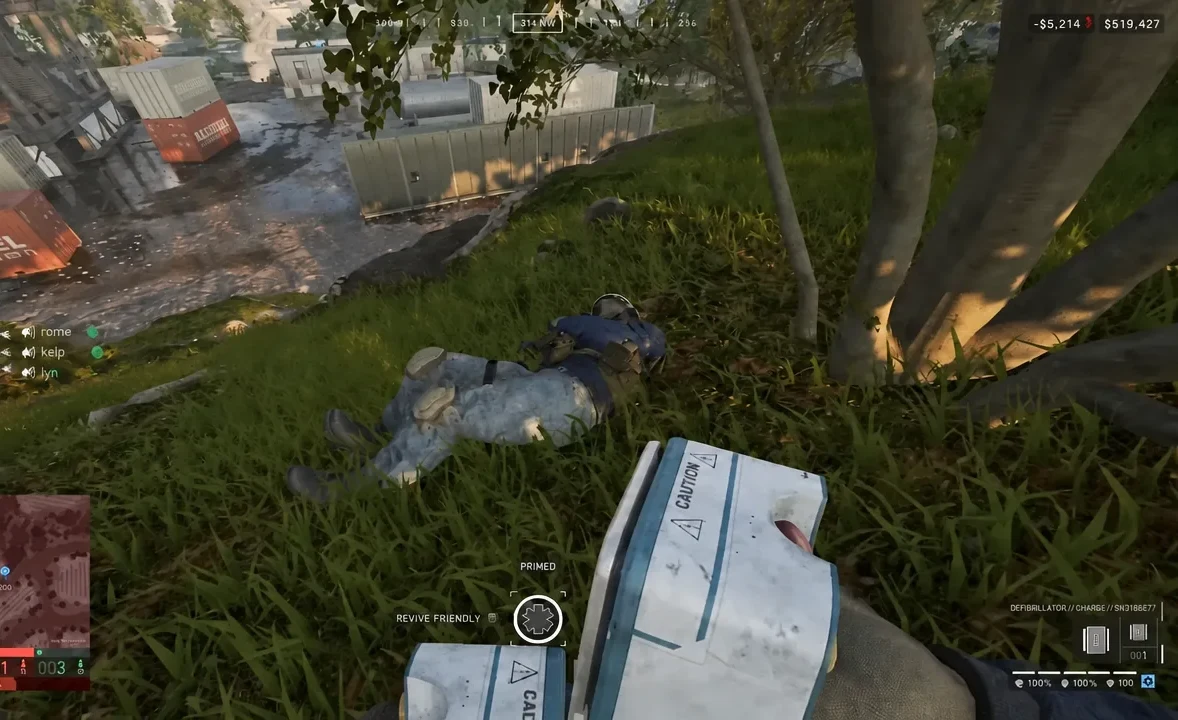
The Individual First Aid Kit costs $800 per life, weighs 0.16kg, and heals a target back to full health. It unlocks at Medic level 9 for a one-time fee of $25,000.
Recon
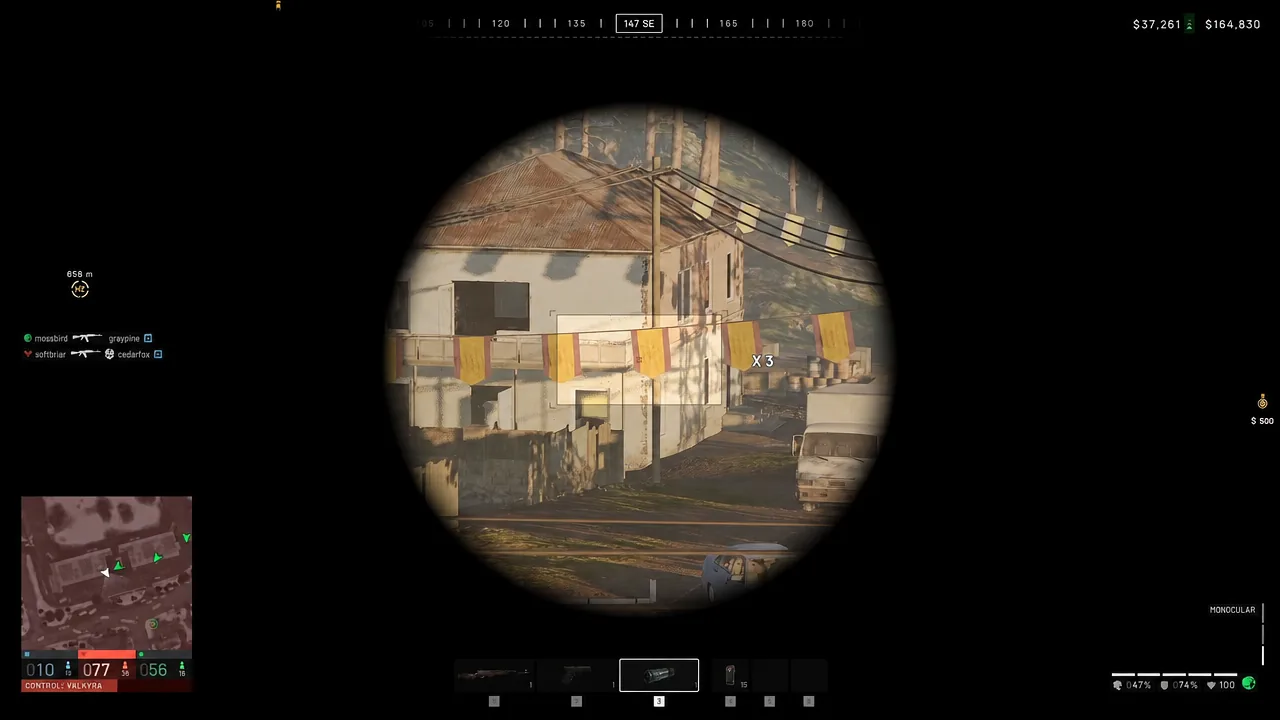
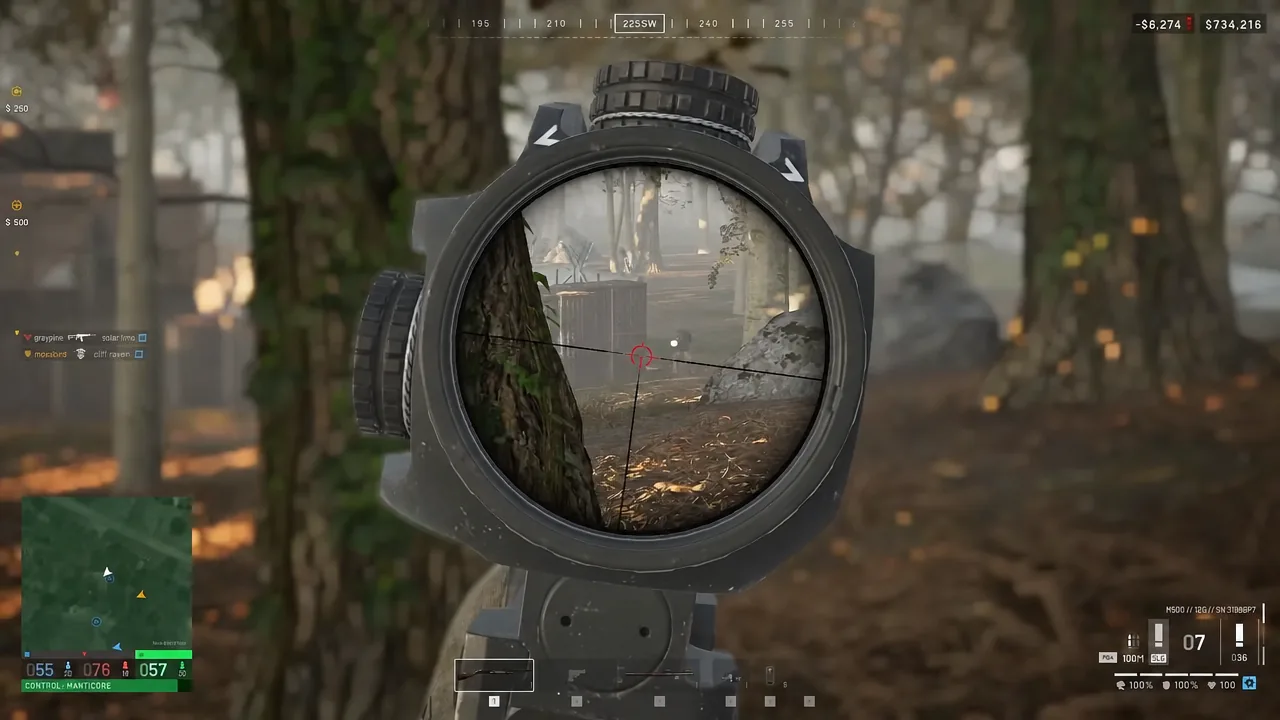
Spotting beats sniping for the first several levels, and it is not close. Binoculars, the Monocular, the Range Finder, and the Infrared Range Finder are the only tools that mark targets — a scope alone will not do it. Marking pays a small amount immediately, then a much larger amount when that target dies, regardless of who killed them.
Helicopters and vehicles are worth marking too, and the information genuinely helps your team push or hold a point. Once the SKS arrives, mixing marks with medium-range kills carries the track a long way.
Support
Support has the most XP triggers of any role, and almost none of them require a kill. Hammering unfinished structures, hitting the yellow critical-build marker, dropping supply pallets and crates at a FOB, repairing vehicles, refuelling with a Fuel Can, and firing mortars or anti-air emplacements all pay. Teammates buying from a crate you delivered pays you as well.
The Forward Operating Base itself costs $7,500 and weighs 6.5kg. It is required for larger structures, stores items and resources for other players, and defines the radius you can build in. A cheap loop is to place a FOB near HQ, buy a Ural, and shuttle pallets into it at 360 Support XP each — 720 XP per two-pallet run. It does little for your faction, so building somewhere useful is the better habit.
Shotguns, LMGs, and launchers cover the combat half of the track. Barbed wire is a small but reliable earner at either end of its life, paying $10 to place and $75 to destroy.
Driver
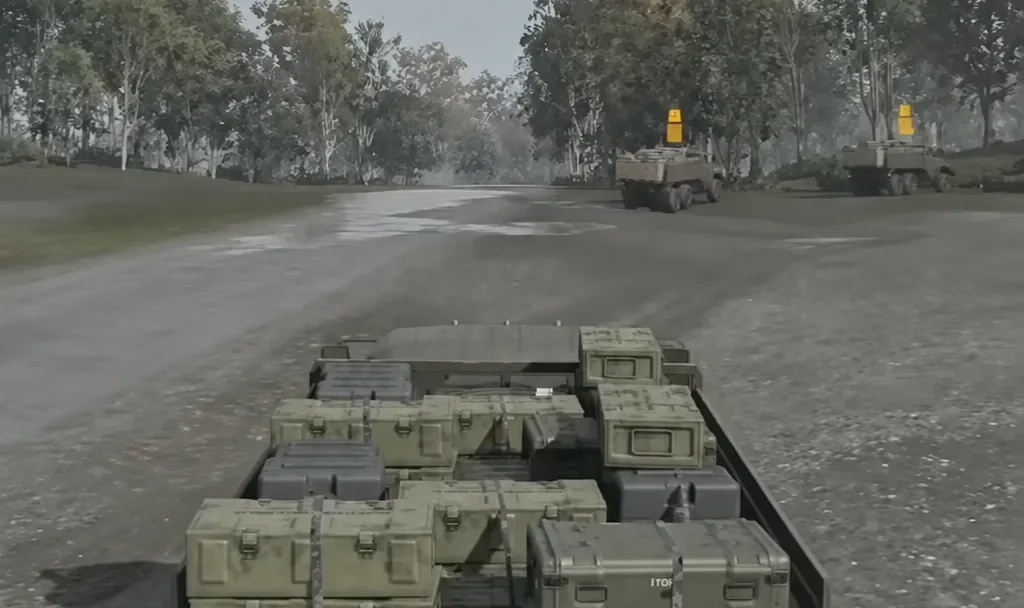
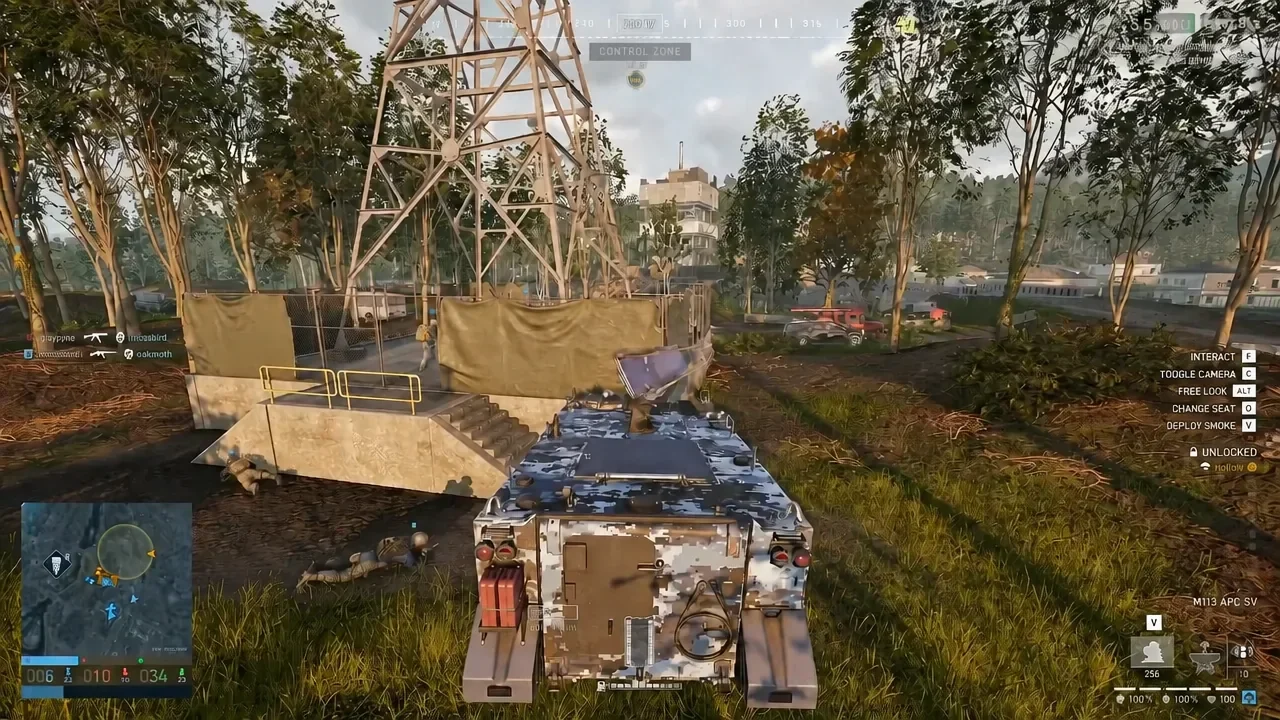
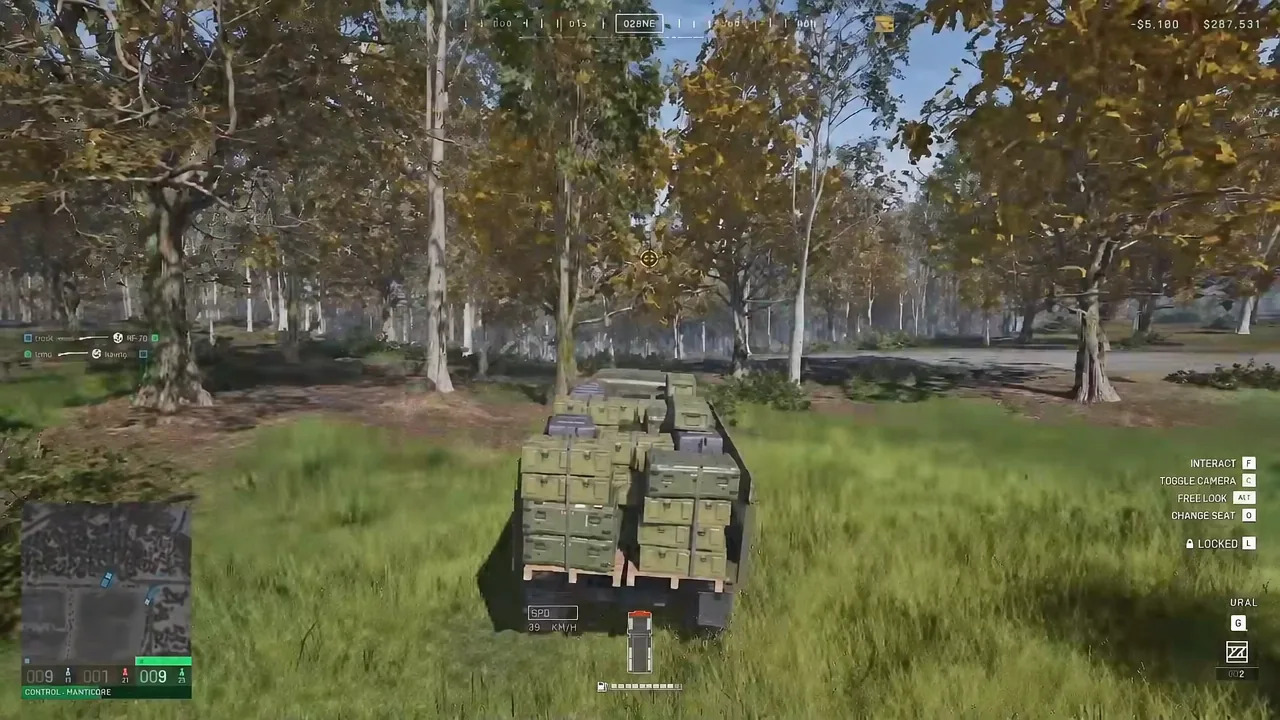
Driving pays for arriving somewhere useful, not for mileage. Delivering a squadmate to an objective is 250 Driver XP and 500 if the drop is in the Control Zone, and there are bonuses for carrying multiple passengers and for everyone surviving the trip. Taking the faction’s M113 APC spawn vehicle into the zone and leaving it there keeps paying every time a teammate spawns on it, which matters because APC respawns run on a 10-minute cooldown.
Load the truck before you leave. Supplies dropped at the far end pay Support on top of the Driver XP for the run, so one trip levels two tracks.
Pilot
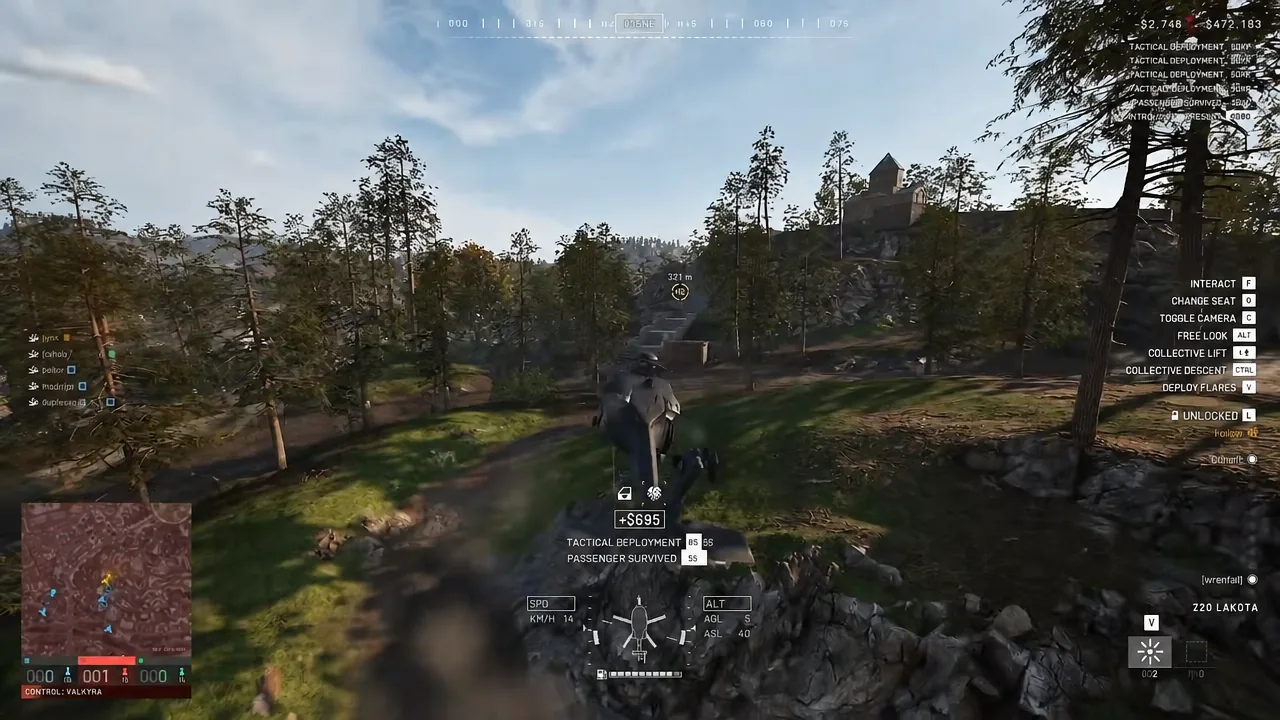
Early on, ferrying troops is the only thing you can do, and at 25 XP a head it is slow. Aerial kills at 250 each and supply drops onto FOB rooftops are the real income once you have an armed airframe. Landing is the hard part, and passengers with parachutes can bail rather than wait for you to set down.
The Z20 Lakota is the workhorse. It costs $7,400 per deployment, seats 13, tops out at 445km/h, carries 120 litres of fuel and burns 4.4 litres per kilometre. It unlocks at Pilot level 10 for a one-time $35,000 fee and is only ever bought from the vehicle vendor in your faction’s safe zone — it never spawns in the world mid-match.
Level 35 unlocks and the milestones on the way
Level 35 is the headline target on four of the six tracks, and it is where the heavy equipment lives.
| Role | Level 35 unlock |
|---|---|
| Driver | L2A6 Heavy Tank |
| Recon | AMR 50 |
| Assault | FAL |
| Pilot | HAVOC |
Getting there means clearing the 15 to 20 wall first, so pick one track and stop spreading kills across tagged weapons that feed other roles. Everything below is what you pass on the way.
| Role | Level | Unlock |
|---|---|---|
| Assault | 3 / 10 / 20 | AK74 / Galil / M4 |
| Medic | 3 / 11 / 14 / 24 | Field Resuscitator / Defibrillator / Adrenaline Pen / Medical Bag |
| Recon | 5 / 8 / 10 / 19 / 25 | SKS / Range Finder / Mosin Nagant / SV98 / MK22 |
| Support | 1 / 5 / 8 / 15 / 20 / 28 | Drill / RPG-7 / Large Hammer / M249 / MAAWS / Heavy Drill |
| Driver | 3 / 6 / 8 / 16 / 30 | URAL / Kodiak Assault / Dune Buggy / Large Supply Crate / Humvee with Minigun |
| Pilot | 4 / 20 / 25 | AH-6M Miniguns / AH-6R Rockets / Z20 Lakota Miniguns |
The Large Hammer’s one-time unlock cost rose to $75,000 in Season 1, so bank cash before you hit Support 8 or the level sits idle.
WARDOG level career unlocks and armor costs
The combined WARDOG level runs a separate career ladder of account-wide gear: armor, helmets, backpacks, ammunition types, and sidearms. This is the argument for touching every role rather than one, since six cheap early levels raise the account total faster than one expensive track does. The notable rungs are the Field Backpack at 12, the Deagle at 85, the Artillery Tank at 90, and the Arsenal Backpack with two slings at 150.
| Armor | Price | Durability | WARDOG level / unlock fee |
|---|---|---|---|
| Level 1 Armor | $400 | 200 | 3 / $10,000 |
| Level 2 Armor | $1,000 | 220 | 30 / $50,000 |
| Level 3 Armor | $2,000 | 250 | 60 / $100,000 |
| Level 4 Armor | $4,000 | 300 | 100 / $200,000 |
Tiers 1 through 3 all cover the same upper, middle, and lower torso, and only the damage reduction improves. Level 4 Armor is the structural change, adding pelvis and upper-arm coverage on top of the torso plates.
You will know a track has paid off when the item stops showing a level requirement in the loadout menu and shows its one-time unlock price instead. Pay that once, and from then on it only costs the per-life equipment fee. If an unlock still looks greyed out after a strong match, check the role tag on the gear you were running — kills scored with a borrowed weapon went to somebody else’s bar, not the one you were trying to push.