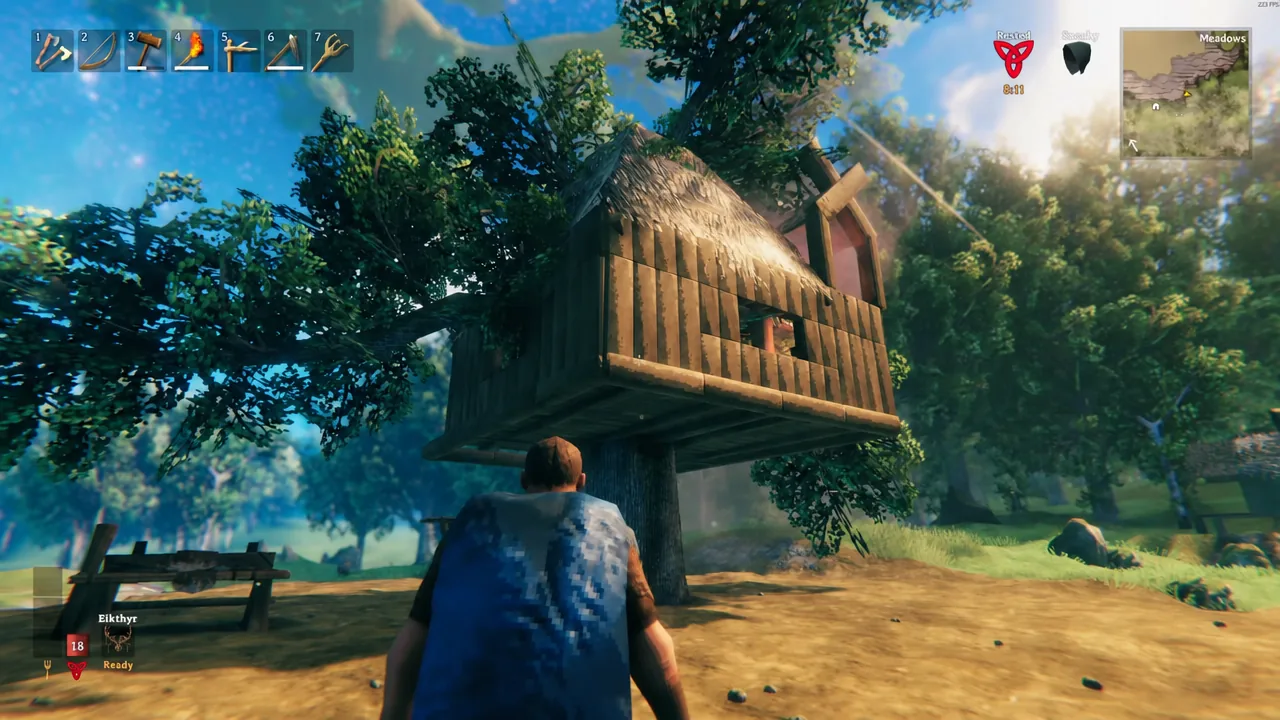
A 4×5 oak-anchored frame with an indoor campfire, working chimney, loft bed, and overhead chest storage.
A 4×5 oak-anchored frame with an indoor campfire, working chimney, loft bed, and overhead chest storage.
by Reyaan Verma
A treehouse in Valheim is not just a decorative flex. A thick Oak trunk counts as ground for structural integrity purposes, so a platform anchored into it needs no pillars running down to the dirt, and the raised floor keeps most early Meadows threats away from your bed and chests. The build below is small, cheap, and finishes with a functioning indoor fire.
Quick answer: Frame a 4×5 platform of Wood Beam 2m around a large Oak in the Meadows, floor it, then place a Campfire on three Decorative Boulders set with a Hoe and vent it through a thatch chimney.
What you need before the first beam goes up
Everything here is craftable from a basic Workbench. The only gated requirement is the Hoe, which must be upgraded at a Workbench before it can place Decorative Boulders, and those boulders cost Stone.
A large Oak tree in the Meadows, or one grown yourself from an acorn with a cultivator.
A Hammer, a Hoe upgraded at a Workbench, and an axe for clearing space.
Plenty of Wood, plus Stone for the boulders under the fire.
A Workbench placed near the trunk so the whole build stays inside its radius.
Piece
Used for
Wood Beam 2m
The 4×5 platform frame
Wood Pole 2m
Temporary supports, chimney uprights
Wood Floor 2×2
Main floor, ladder landing, loft
Wood Wall / Wall Half
Perimeter walls at 1.5 units high
Wood Wall 1×1
Window framing
Wood Floor 1×1
Window sills and overhead shelves
Thatch Roof 67° and corners
Main roof and peak
Wood Roof Cross 45°, Thatch Roof Ridge 45°
Chimney cap over the fire
Holding Shift while placing a piece turns snapping off, which is how you get sills, shelves and the loft ladder exactly where you want them.
Pick a thick Oak with a clear trunk and flatten the dirt around its base with the Hoe’s Level Ground function. Lumpy terrain makes the temporary support poles sit at inconsistent heights, which throws off the whole frame.
Scouting the trunk at ground level before the first beam goes in. Image: Iron Gate Studio
Stack two Wood Pole 2m pieces against the trunk to set your floor height, then snap a Wood Beam 2m across the top of them. Pick a dark patch on the bark as a visual marker so the first beam lines up cleanly.
Run beams five units deep on both sides of the trunk, dropping fresh temporary poles underneath whenever a beam refuses to snap. Close the back of the rectangle to lock the frame into a loop.
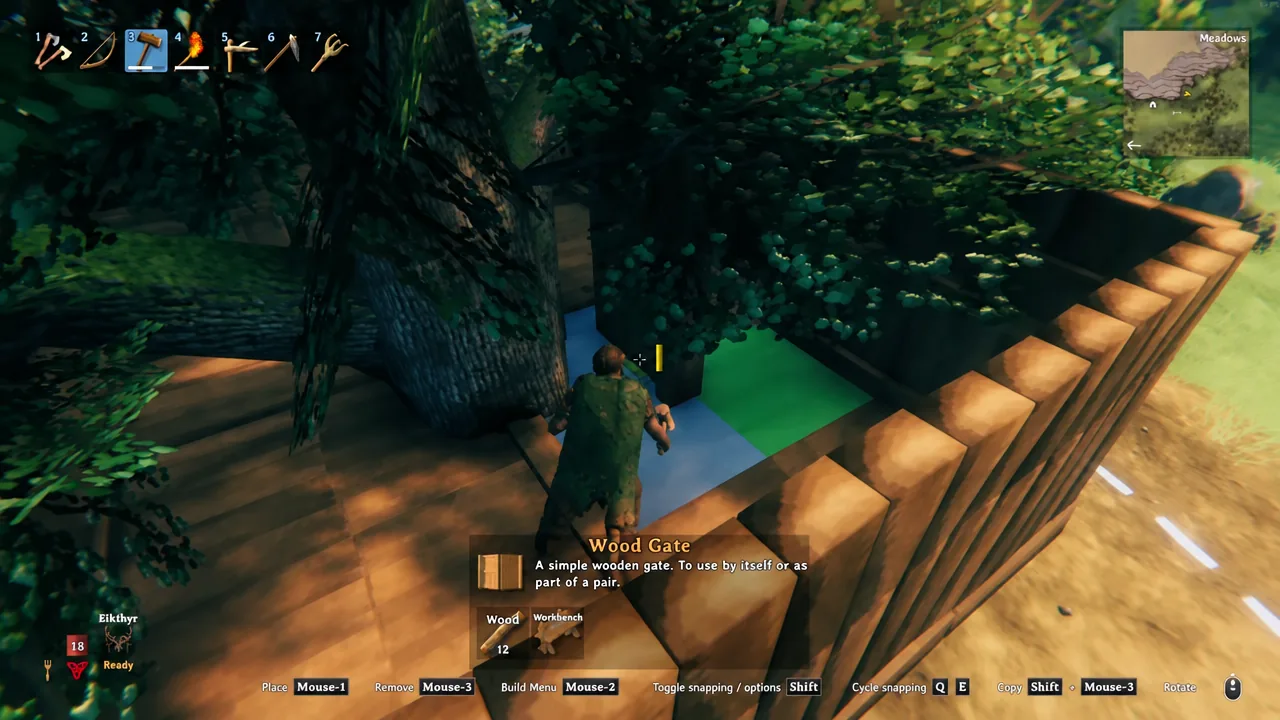
Wood Beam 2m is the only frame piece you need for the full 4×5 rectangle. Image: Iron Gate Studio
Remove every temporary ground pole. The frame should stay up on its own because the Oak is now carrying it. Fill the rectangle with Wood Floor 2×2 tiles, then knock two tiles out at the back for the entrance.
Run Wood Ladders from the ground up to the hole you left in the floor, with a Wood Floor 2×2 acting as a landing platform at the top. Test the climb before you wall anything in.
Ring the platform with Wood Walls, then cap each one with a Wood Wall Half. The resulting 1.5 unit wall height is what makes room for the overhead shelves later, so do not skip the half pieces.
Raise four Wood Pole 2m uprights around the hearth to form a shaft, then cap it with a Wood Roof Cross 45° and a Thatch Roof Ridge 45°. The ridge keeps rain off the flames while still letting smoke out the sides.
Stack a couple of temporary ladders on the outside to reach the apex and seal it with Thatch Roof Outer Corner 67° pieces. Close any remaining gaps beside the chimney with extra 67° panels, then tear the ladders down.
Fit out the interior: shelves, loft bed and crafting stations
Hold Shift and set Wood Floor 1×1 tiles inside the window frames as sills. Snapping will fight you here, which is exactly why free placement is the right tool.
Add another row of Wood Floor 1×1 tiles above the windows to act as shelves, then line them with Chests. This is the payoff for the taller 1.5 unit walls and it keeps the floor clear.
Chests sit on Wood Floor 1×1 shelves above the window line. Image: Iron Gate Studio
Lay a partial loft out of Wood Floor 2×2 tiles near the chimney, add a Wood Ladder up to it using Shift to line the base up, and put the Bed in the loft so it sits close to the fire.
Use the space under the loft for a Workbench, and add a forge setup alongside it once you have the materials. More Wood Floor 2×2 tiles will extend the loft if you later want a second sleeping spot.
How to confirm the treehouse counts as a home
Light the fire and stand inside. If the roof and walls are doing their job you will see the Shelter and Fire status icons appear, and a Comfort value will show on your rested buff. Comfort climbs as you add furniture, so a bare platform reads low and a decorated one reads considerably higher.
Interact with the Bed next. A bed that has both Shelter and Fire will let you claim it and display Spawn point set, then show “Resting…” when you sleep. If it refuses, the bed is not registering shelter or the fire is out of range, so pull the loft closer to the chimney.
From there the frame takes expansion well. The same trick that got the platform up will carry a balcony, a cart ramp, banners, portals, or a fermenter tucked under the canopy, and none of it needs Iron for support as long as the Oak is holding the weight.