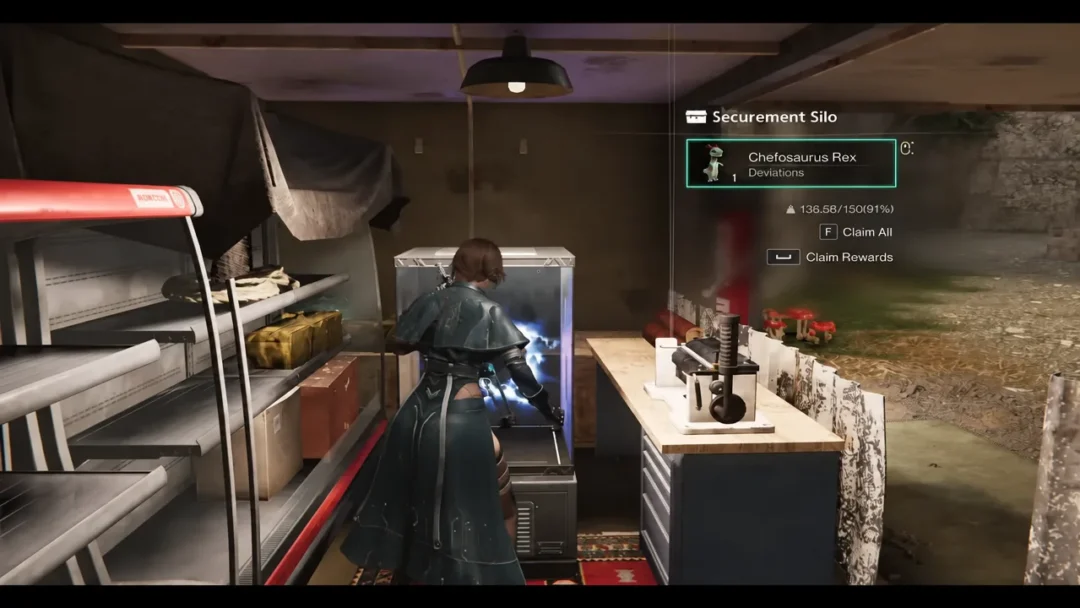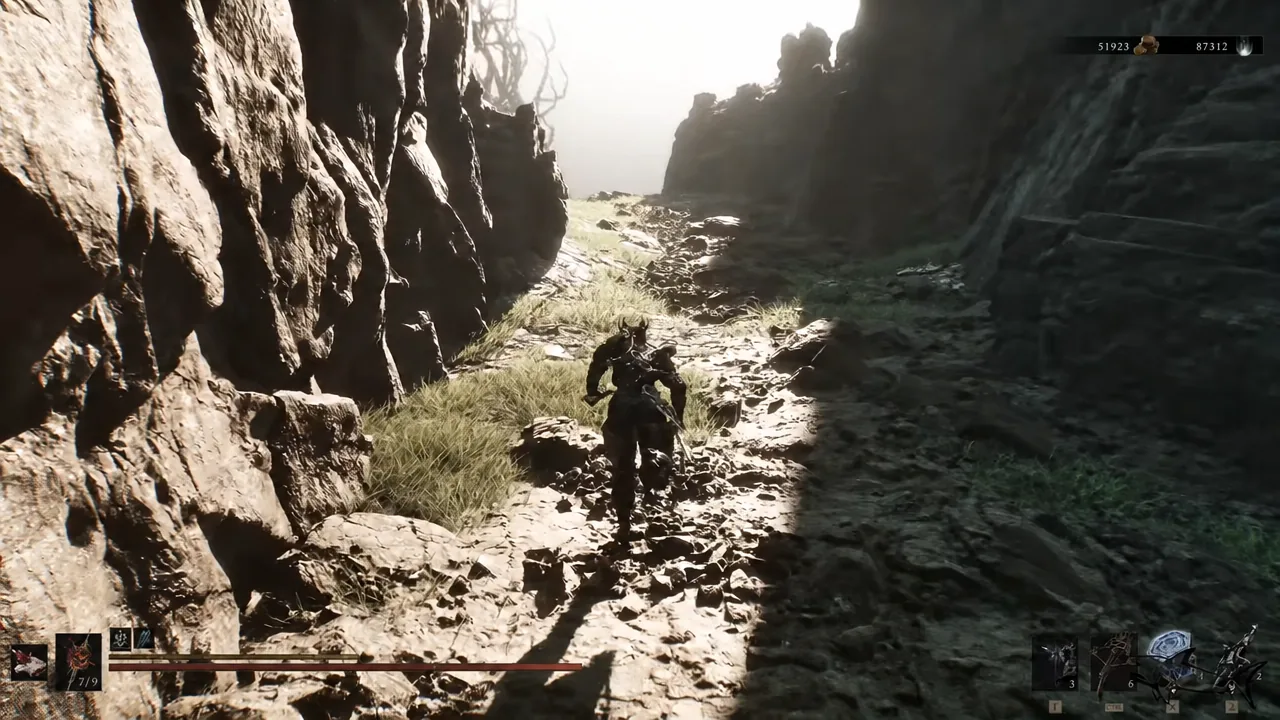
The Unstable Stone is one of the easiest Tarstones in Mortal Shell 2 to walk straight past. It sits inside a chest sealed behind an illusory wall on the scaffolding below Castigator’s Keep, with no marker, no glow, and no enemy guarding it. Hit the right patch of rock and the stonework vanishes; ignore it and the Tarstone stays hidden for the rest of your run.
Quick answer: Drop down west of the Castigator’s Keep beacon to the wooden scaffolding below, then strike the rock wall near the stone pillars to reveal a chest holding the Unstable Stone.
What the Unstable Stone does
Unstable Stone is a Combat Tarstone that slots into a sidearm. Once you land enough hits on a single enemy, that enemy detonates, dealing splash damage to anything standing close by. The blast is centered on the target you were shooting, so it rewards you for holding your aim rather than spreading fire around a group.
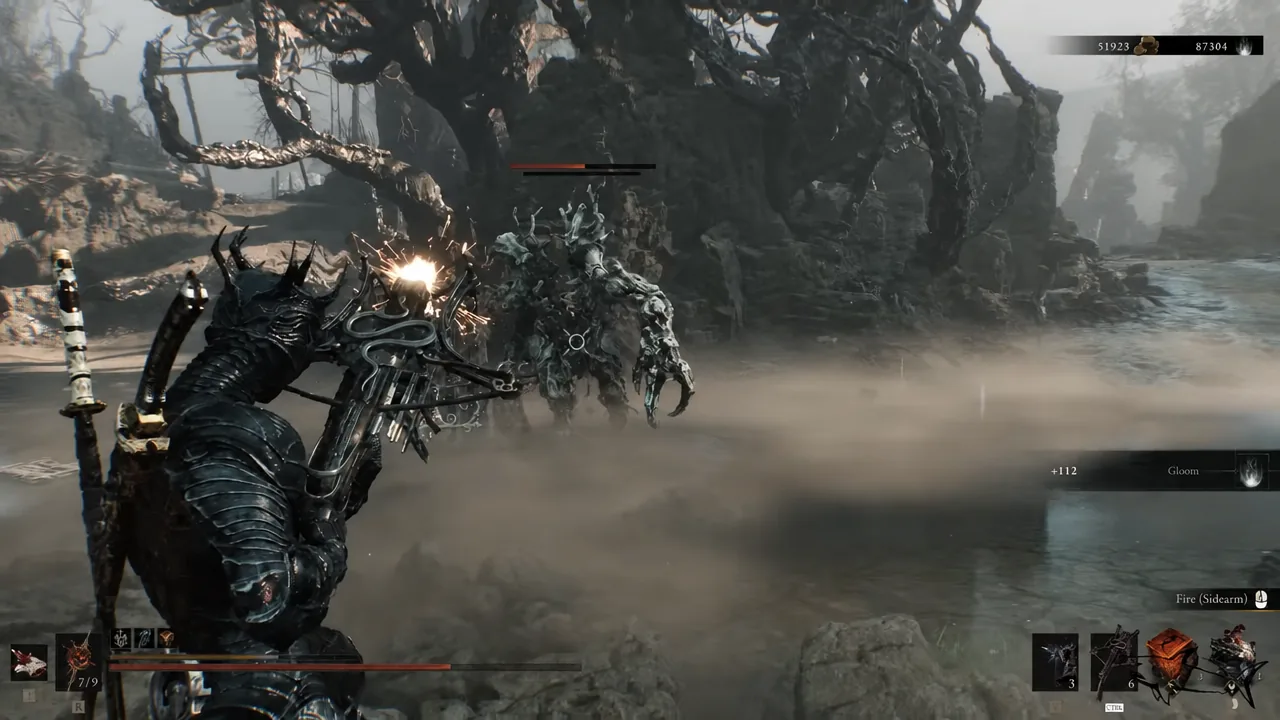
The counter only tracks hits on the same enemy. Switching targets mid-fight means you never reach the threshold, regardless of how many shots you fire overall. That makes it a natural fit for fast or multi-hit sidearms, where stacking four or five hits into one body takes a couple of seconds.
Compatible sidearms
- Caged Hystrix
- Forgotten Crossbow
- Triarch Repeater
No other weapon accepts this Tarstone, so grabbing it is only worth the detour if one of those three is part of your build.
Unstable Stone level values
| Level | Hits to trigger | Splash damage |
|---|---|---|
| 1 | 5 | 30 |
| 2 | 5 | 40 |
| 3 | 4 | 40 |
Upgrades raise a flat splash figure rather than a percentage of your weapon damage, so the ranks buff the explosion itself and leave your normal shots untouched. The final rank is the one worth chasing, since dropping the requirement to four hits fires the blast noticeably earlier in a fight.
Older builds of the game listed different numbers for this Tarstone. Check the in-game description on your version before spending upgrade materials.
Unstable Stone location: Route from Outskirts of Mammon
If you have not lit the Castigator’s Keep beacon yet, start from Outskirts of Mammon. If you already have it, skip ahead to Step 3.
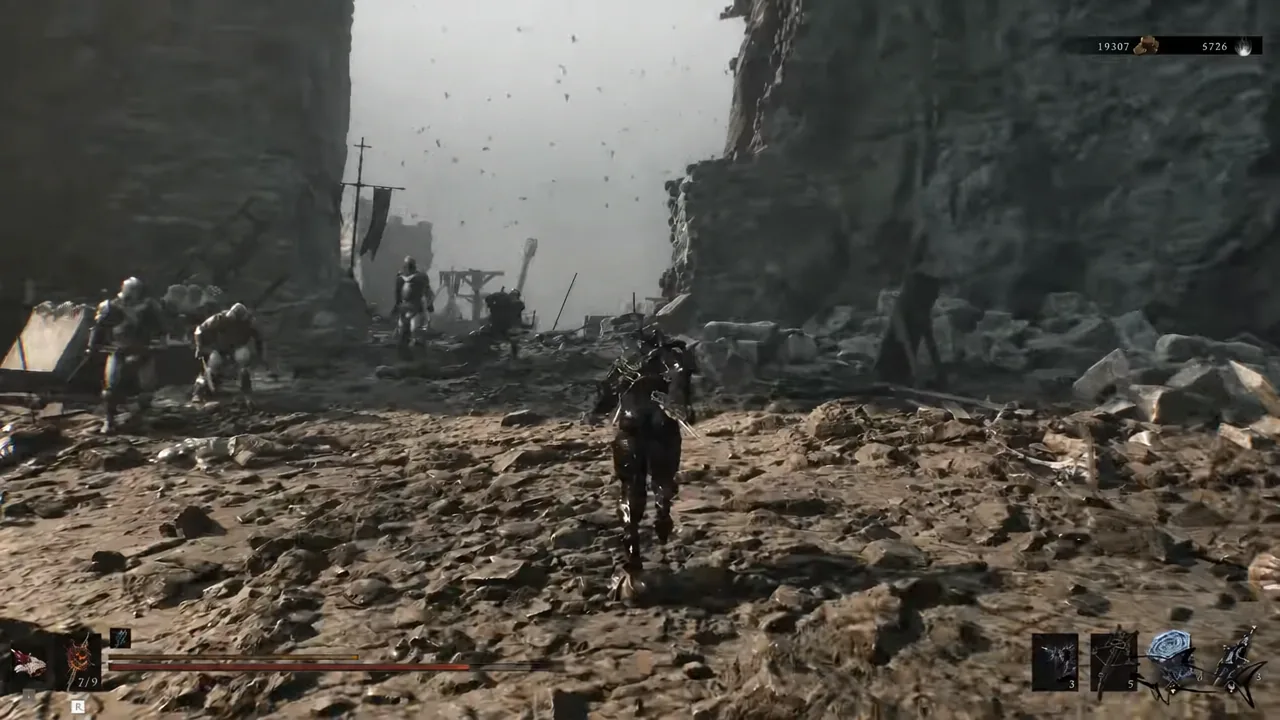
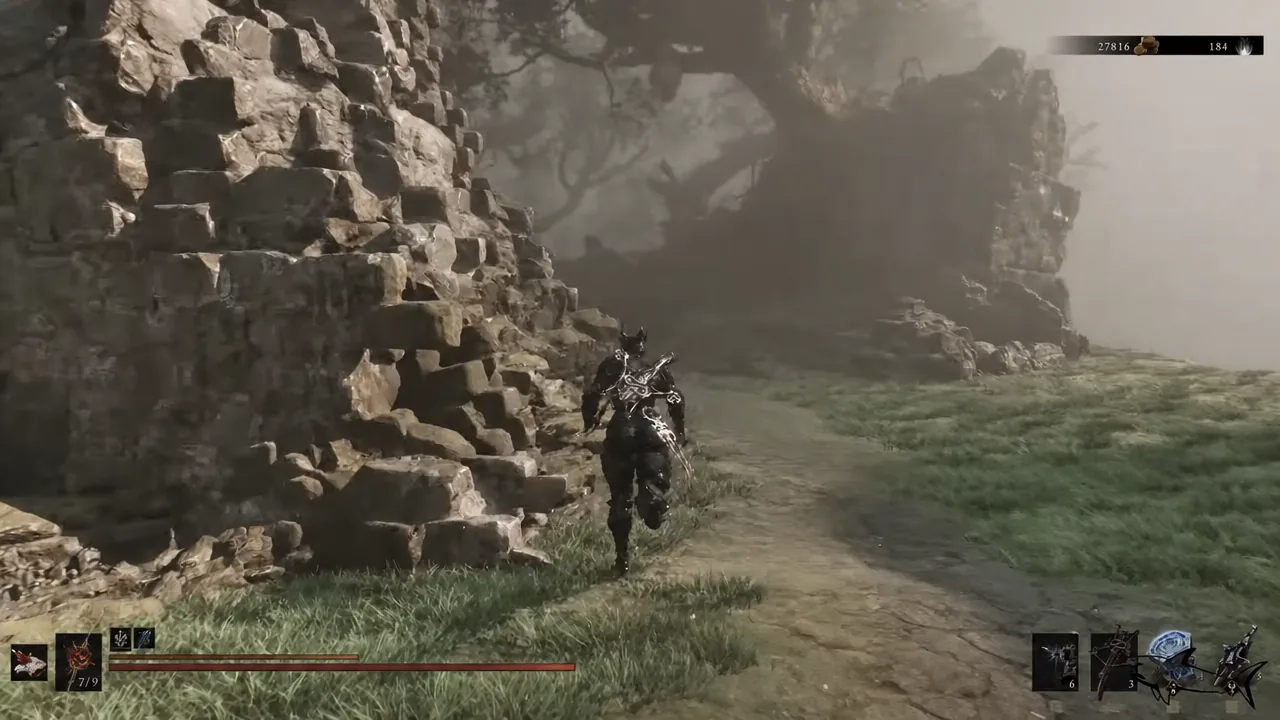
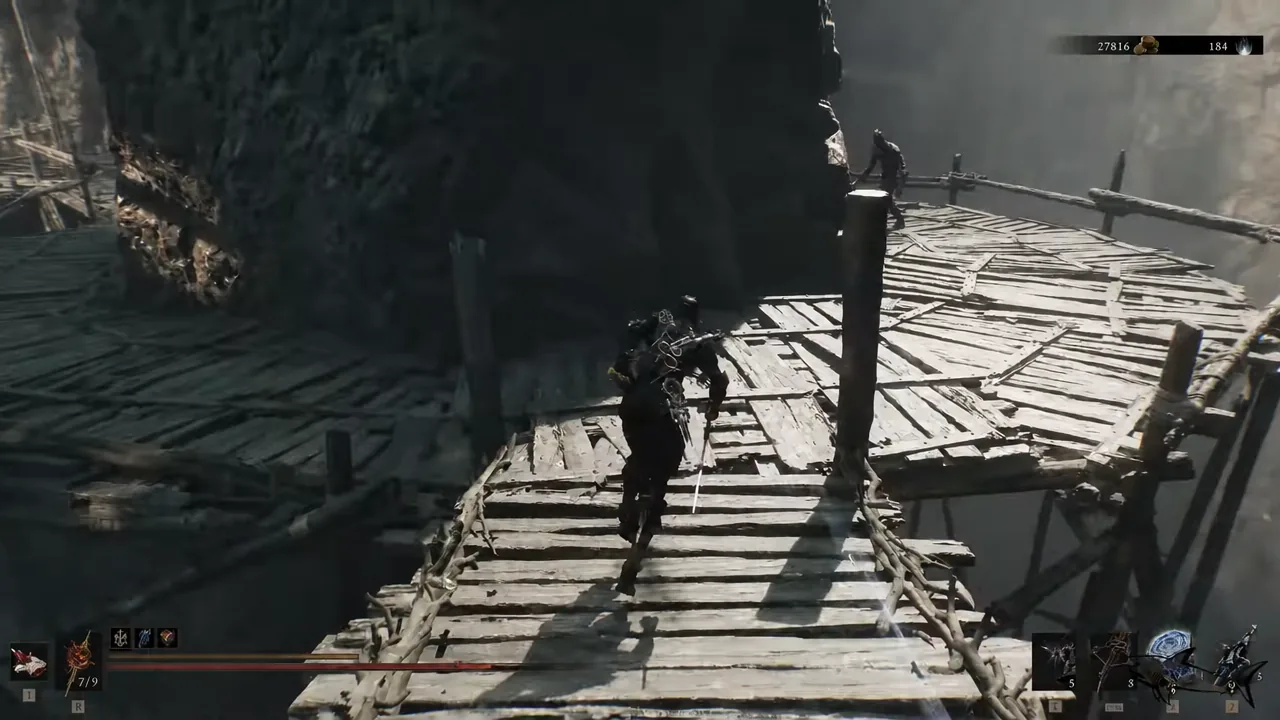
If nothing breaks on the first swing, try the wall beside the next pillar along the north side. The fake section blends into the surrounding cliff and there is no visual tell before you connect.
Confirming you picked it up
Open the Tarstones menu and look under Combat. The Unstable Stone appears at Level 1 with an XP bar sitting at 0 / 10000 and the description line about hitting the same enemy five times to trigger an explosion. Its compatibility entry lists only the three sidearms.
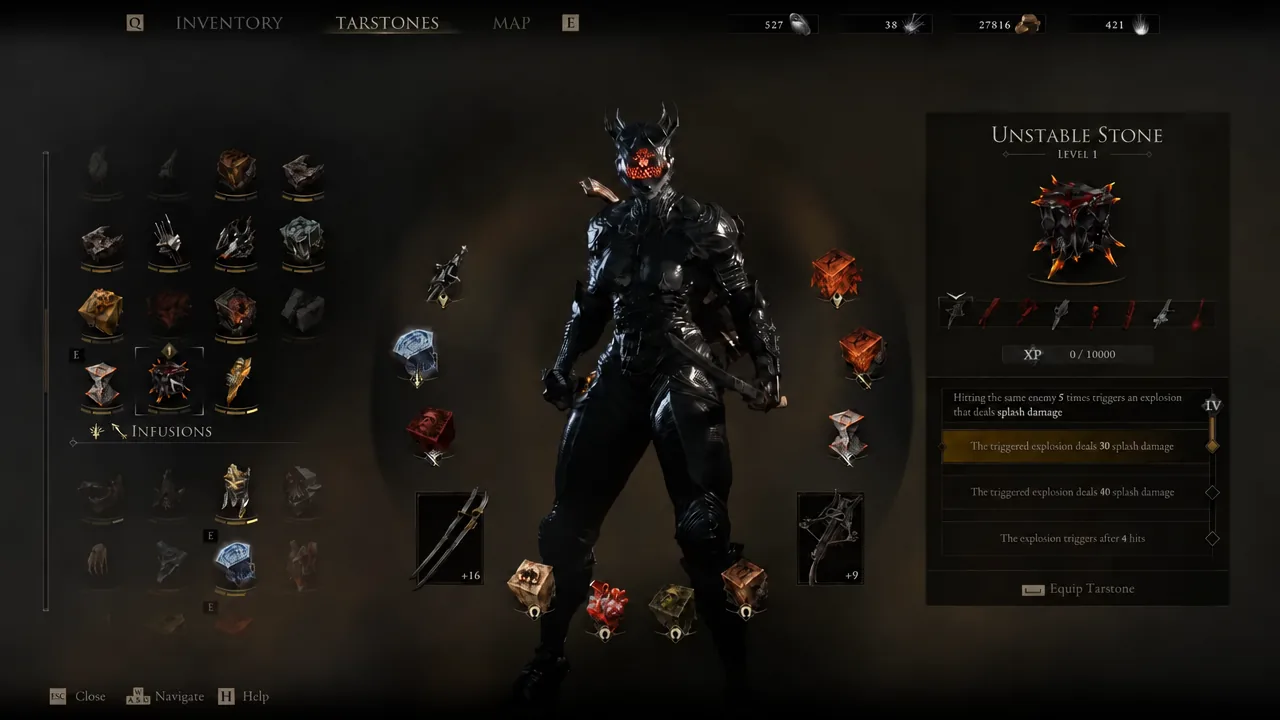
Equip it, then fire five shots into one enemy. A small explosion goes off on the fifth hit and damages anything standing next to that target. If no blast appears, you are almost certainly splitting shots between enemies rather than staying locked on one.
Upgrading the Unstable Stone
Tarstone upgrades run through Franz at the Tarforge in Marrow Keep, and they only unlock once you hand him the Etching Needle. That quest item sits in a bone chest just before the Magdalena, the Lady of the Woods boss fight — when you spot Ruk past the bridge, drop through the opening and turn right before the tunnel to find the small side area holding it.
After that, the Tarstone has to earn its own experience. Keep it equipped while you kill enemies until the XP bar fills, then return to Franz and pay the coin cost for the next level. Each rank needs its own full bar, so the jump to four-hit triggers takes a stretch of normal play rather than a single visit.
One last thing worth keeping straight: Volatile Fragment is a separate Combat Tarstone that makes enemies burst when ranged attacks kill them. It is not an alternate version of this one, and the two behave differently in a fight.