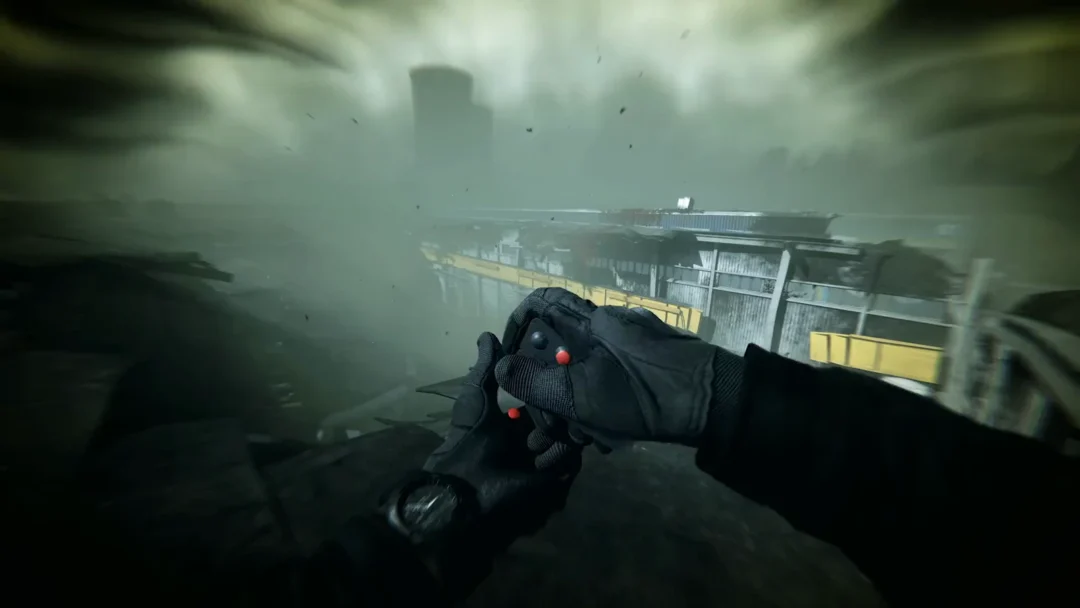
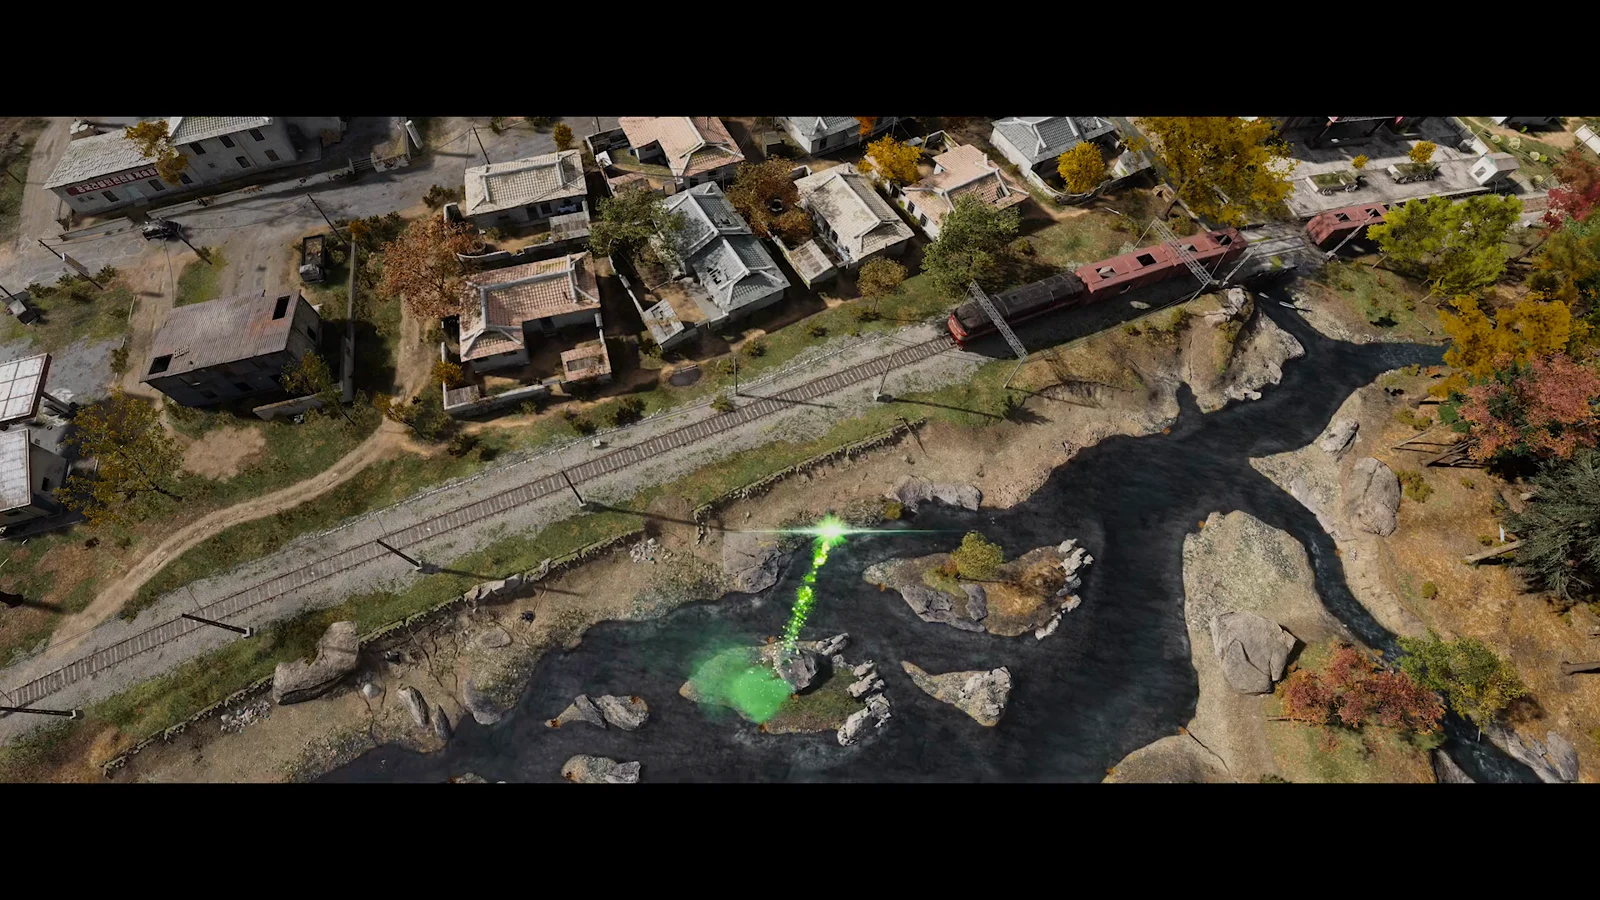
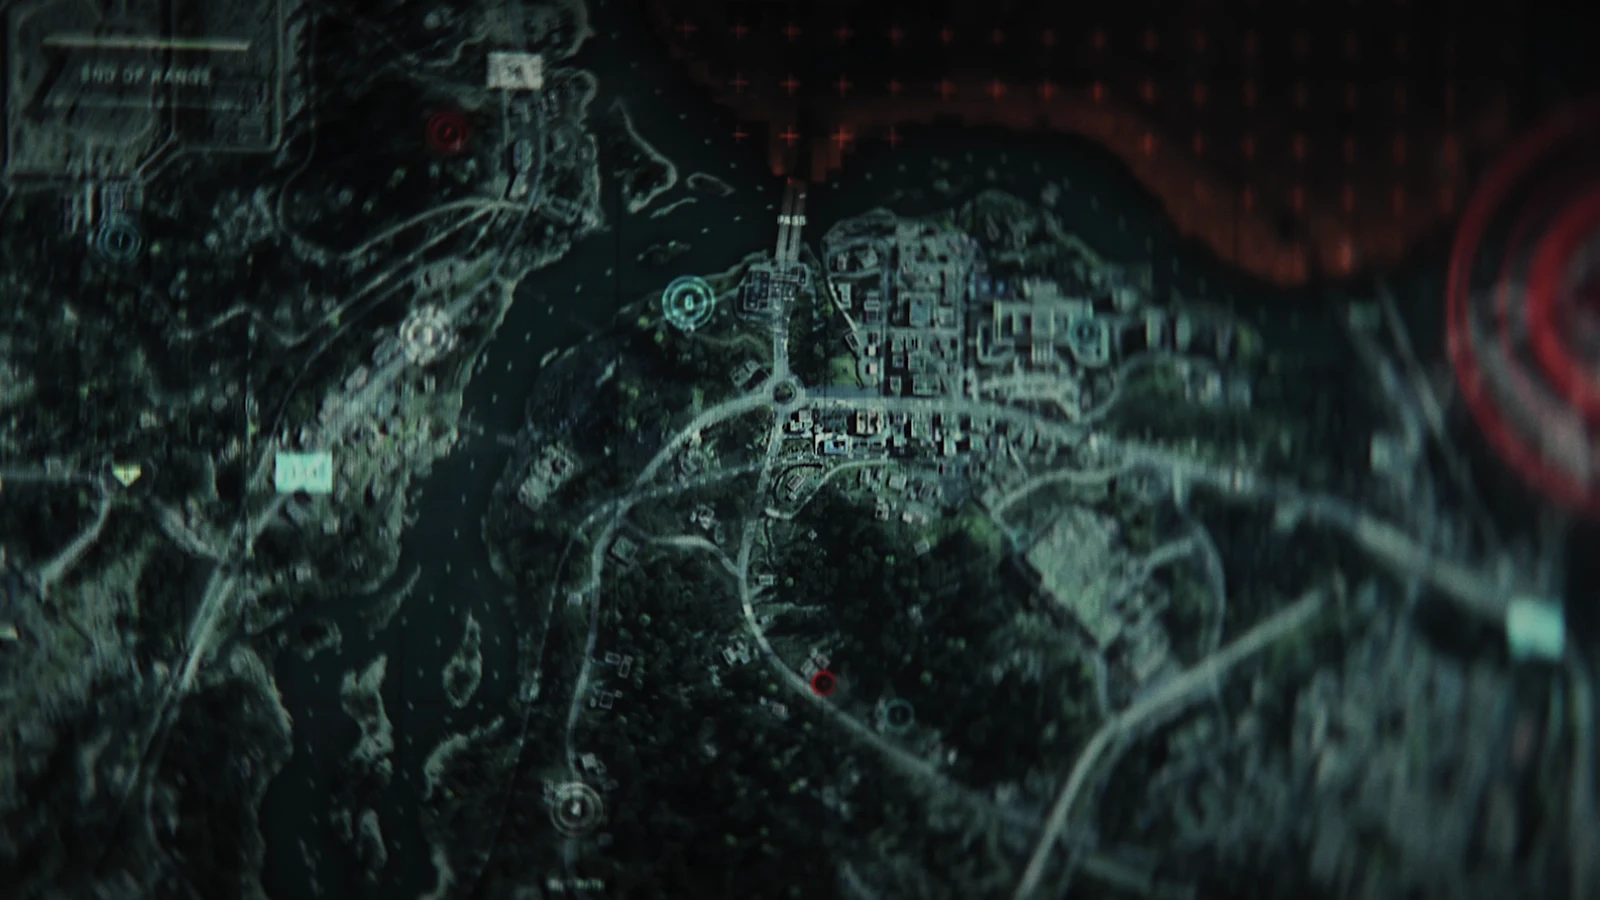
Castigator’s Keep is the hub of the Ruins of Mammon, and it hides more than its ruined walls suggest. Four dungeons branch off a single beacon, a sidearm sits underneath the bridge you walked in on, and one caged NPC will hand you a pile of Gloom if you show up wearing the right shell.
Quick answer: Cleanse the Castigator’s Keep Beacon, clear Viletongue’s Domain, Blackwell Cavern, the Alchemist’s Workshop, and the Hall of Murmurs, grab Map of Mammon [3] from the statue shrine, then switch to the Lazlo shell and pay Egon two 10,000 Gloom tributes to get 40,000 Gloom back.
How to reach Castigator’s Keep
Castigator’s Keep sits directly after the Outskirts of Mammon. Follow the Road to Absolution west through the ruins, cross the long bridge between the white bone pillars, and pass through the Bone Gate at the end of it. Armored and shielded enemies patrol the walkway on the far side, so clear the bridge before you start exploring.
The Keep is a junction, not a dead end. It links to the Lonesome Spire on one side and the Vestige of Infinity on the other, which makes the beacon here one of the more useful fast travel points in Mammon.

All four dungeons in Castigator’s Keep
Four separate dungeons feed off this one area, and each one holds a distinct reward. Clearing all four is what “100%” means here.
| Dungeon | Entrance | Main reward |
|---|---|---|
| Viletongue’s Domain | Inside the Castigator’s Keep Beacon | Viletongue Hedron, Glimpse, Ova x3 |
| Blackwell Cavern | Below the bridge you use to enter the area | Triarch Repeater sidearm |
| Alchemist’s Workshop | The stretch that connects the Keep to the Lonesome Spire | Clockwork Shardstone, Shepherd Totem, Dorsalite |
| Hall of Murmurs | Inside the Keep, near Ruk and his map fragment | Chest loot at the end of the tunnel |
Cleanse the beacon and clear Viletongue’s Domain
Viletongue Batushka boss tips
Batushka has high poise, so light attack combos will not stagger it and only leave you exposed. Keep your distance from the long, lashing tongue swings, use Harden or a well-timed Perfect Guard to break its pressure, and hit it during recovery frames before backing off again. Trading blows is the fastest way to lose this fight.
Blackwell Cavern and the Triarch Repeater sidearm
Blackwell Cavern runs underneath the bridge that brought you into the area. Take the elevator down and follow the tunnels in; the location banner confirms you’re in the right dungeon.

The cavern is packed with white-glowing phantom figures that swarm in the dark. Thin them out before you go for the pickup, because the Triarch Repeater sits in a broken crate deep in the tunnels and grabbing it mid-fight is how most runs end. Once the room is clear, loot the crate to add the sidearm to your kit.

Ride the elevator back up when you’re done. The route out returns you to the Keep’s walkways, and enemies will have respawned along the way.
Map of Mammon [3] location
Near the beacon there’s a lever that opens a gate down into the lower ruins. Pull it, fight through the enemies below, and head for the large stone statue ringed by kneeling figures. Interact with the shrine at the statue’s base to receive Map of Mammon [3], which fills in this chunk of the region on your map screen.

Note: a second map fragment is claimed from Ruk, who is found inside the Keep close to the Hall of Murmurs entrance.
Alchemist’s Workshop: illusion wall, reagent, and the Clockwork Shardstone
The Alchemist’s Workshop is reached from the side of the area that runs toward the Lonesome Spire, past bone gates and suspended bridges. Mutated enemies fill the lab itself, and a Dorsalite sits among the alchemical sketches and diagrams once the room is clear.
Two things gate progress here. One is a hidden side room behind an illusion wall, which you reveal by striking it. The other is the gap in the floor that has no visible bridge. Drink the alchemical reagent sitting on the bench and the bridge stabilizes, letting you cross through the red mist beyond. Skipping the drink means the crossing simply is not there.
Push on to the siphoning chamber, where four Glimpses and a Synaptic Vessel are waiting. Pull the lever, kill the creature penned behind the bars to take the Shepherd Totem, then open the chest for the Clockwork Shardstone.
Hall of Murmurs elevator route
Back inside the Keep, open the nearby gate and ride the elevator down to reach the Hall of Murmurs. A worm-like enemy guards the chamber at the bottom; kill it and open the chest it was protecting. There’s also an outer gate lift operated by a switch on a wooden pillar, which permanently connects the upper and lower halves of the area and saves a long run on repeat visits.

Egon’s Gloom trade with the Lazlo shell
Egon is caged in the ruined tower above the Keep’s courtyard, and he’s a relative of Lazlo. He asks for Gloom tributes, but the exchange only opens up when you speak to him in the correct body.
Full pickup checklist for Castigator’s Keep
| Item | Where to get it |
|---|---|
| Synaptic Vessel | Up the stone stairs immediately left of the Keep entrance |
| Synaptic Vessel | On the courtyard floor in the middle of the Keep |
| Unstable Stone | Among the giant rocks ringed by wooden platforms |
| Triarch Repeater | Broken crate deep in Blackwell Cavern |
| Map of Mammon [3] | Statue shrine in the lower ruins, behind the lever-operated gate |
| Sage’s Gate Lever + Viletongue Hedron | Dropped by Viletongue Batushka |
| Dorsalite | Alchemist’s Workshop lab, near the sketches |
| Shepherd Totem | Behind the bars in the siphoning chamber |
| Clockwork Shardstone | Chest in the siphoning chamber past the reagent bridge |
Synaptic Vessels are worth spending at the beacon rather than hoarding, since they improve Mether’s Pulse efficiency.
Common reasons a step doesn’t trigger
- The gate in Viletongue’s Domain stays shut until you place the Sage’s Gate Lever, which only drops from Viletongue Batushka.
- Viletongue Batushka never spawns unless you drink the Strange Concoction on the table in that room.
- The Alchemist’s Workshop gap cannot be crossed without drinking the alchemical reagent on the bench first.
- Egon will not take a tribute unless you are wearing the Lazlo shell.
- The lower ruins with the statue shrine stay sealed until you pull the lever near the beacon.
With the beacon cleansed, all four dungeons emptied, and Egon paid off, Castigator’s Keep is finished as a stop and useful as a base. From here the battlements lead across a rope bridge into the Vestige of Infinity, while the opposite route climbs toward the Lonesome Spire — both of which are far easier to tackle now that you can fast travel back to a cleared beacon.