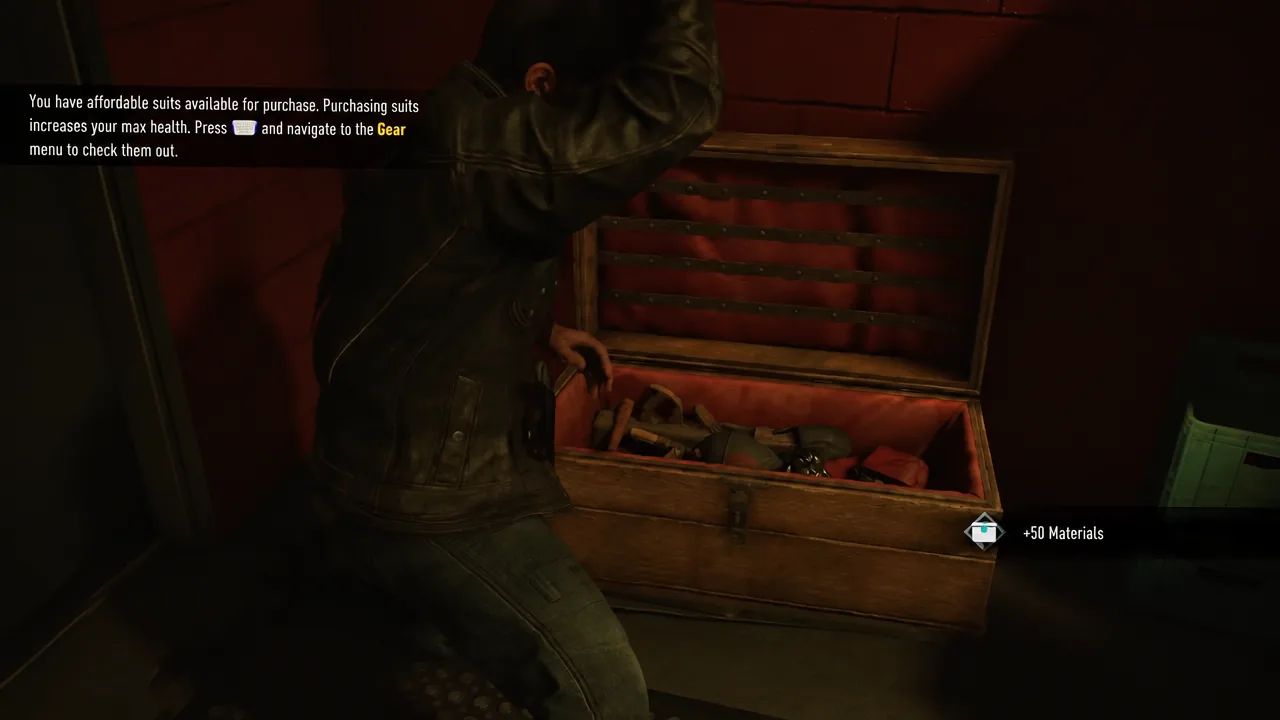
Material Crates are the currency behind Logan’s wardrobe in Marvel’s Wolverine. Each one you crack open hands over 50 materials, and materials are the only way to craft the game’s alternate suits and matching claws. Suits are not just cosmetic either, since crafting them raises Logan’s maximum health.
Quick answer: There are 68 Material Crates spread across 20 missions. None are missable, and you can mop up anything you skipped through chapter select after the credits.
What Material Crates give you
Opening a crate adds materials to a single shared pool that you spend in the Gear menu. Suits themselves unlock automatically as the story moves along, but they stay locked behind a material cost until you pay it, and every suit you craft bumps your health bar up another notch. Collecting all 68 also unlocks the Crate Collector trophy, and crafting enough suits to max out health unlocks Adamantium Armory.
How to spot crates without hunting for them
Crates announce themselves. Each one sits inside a large blue sphere that is visible from a distance, Logan picks up their clicking sound with his senses, and he will often call one out in dialogue when you walk past. Two things make them even harder to miss.
- Equip the Crate Finder Adaptation to mark crates through walls and from much further away. Whisky Finder does the same for bottles.
- Turn on Settings > Visuals > Collectibles and Interact Shader to outline every collectible in a color of your choosing.
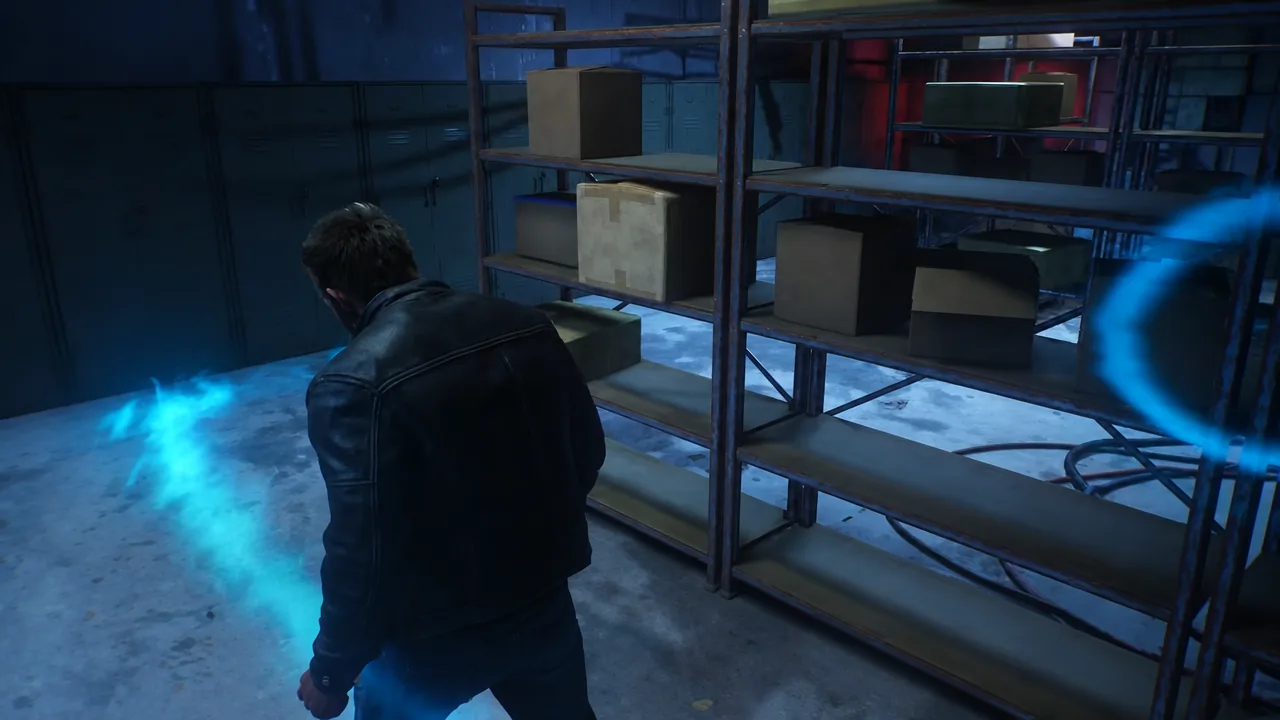
Material Crate count for every mission
Ten missions contain no crates at all, including the three Telambang openers, For Our Future, Jetlag, Death’s Match, Red Right Hand, Don’t Go Gentle, No Coming Back, and Brave New World. Here is where the other 68 live.
| Mission | Region | Crates |
|---|---|---|
| Homecoming | Canada | 2 |
| The One That Got Away | Canada | 4 |
| Raise Some Hell | Canada | 4 |
| Strays | Canada | 1 |
| Something Much Stronger | Canada | 4 |
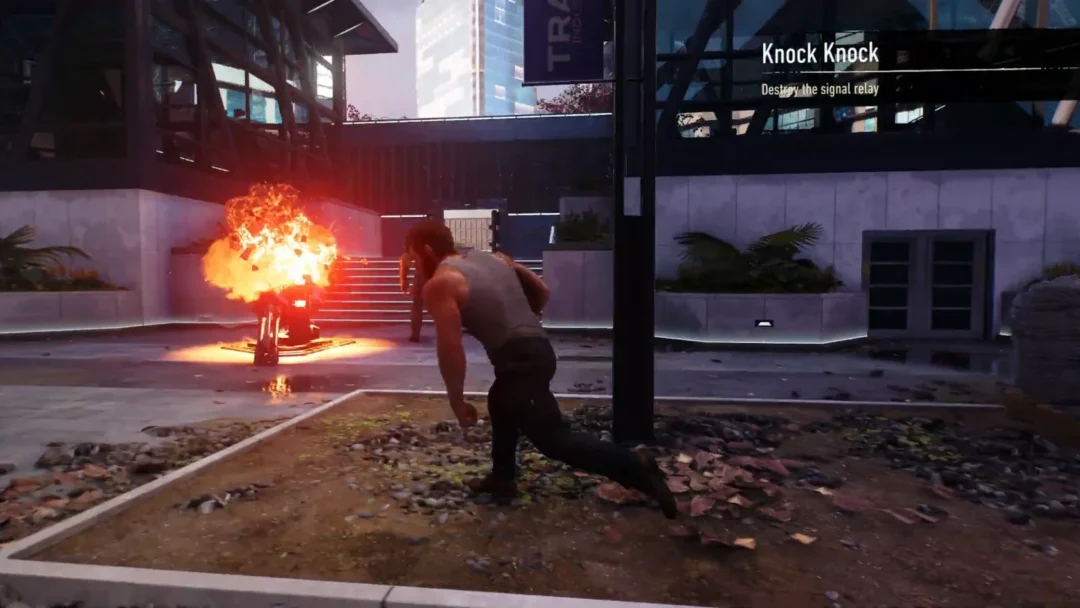
| Knock Knock | Madripoor | 2 |
| Mutant Detected | Madripoor | 4 |
| One Last Mission | Madripoor | 3 |
| Get Angry | Japan | 5 |
| Bad Blood | Japan | 4 |
| In the Shadows | Japan | 7 |
| Death Comes to Death | Japan | 3 |
| We Were Wrong | Japan | 5 |
| Hell Followed With Him | Japan | 4 |
| Sinister Tidings | Japan | 1 |
| Way Down Low | Madripoor (return) | 4 |
| Roll the Dice | Madripoor (return) | 1 |
| Field Test | Madripoor (return) | 2 |
| I’m Still Here | Madripoor (return) | 5 |
| This Was the Dream | Madripoor (return) | 3 |
Canada crate locations (15 crates)
Homecoming
Both crates here are handed to you by the story during the “Bring the supply crates to Walter” objective. The first sits in the storage room in the lab, just behind Walter. Hand it over and he sends you upstairs to Victor’s room, where you follow the scent to the second.
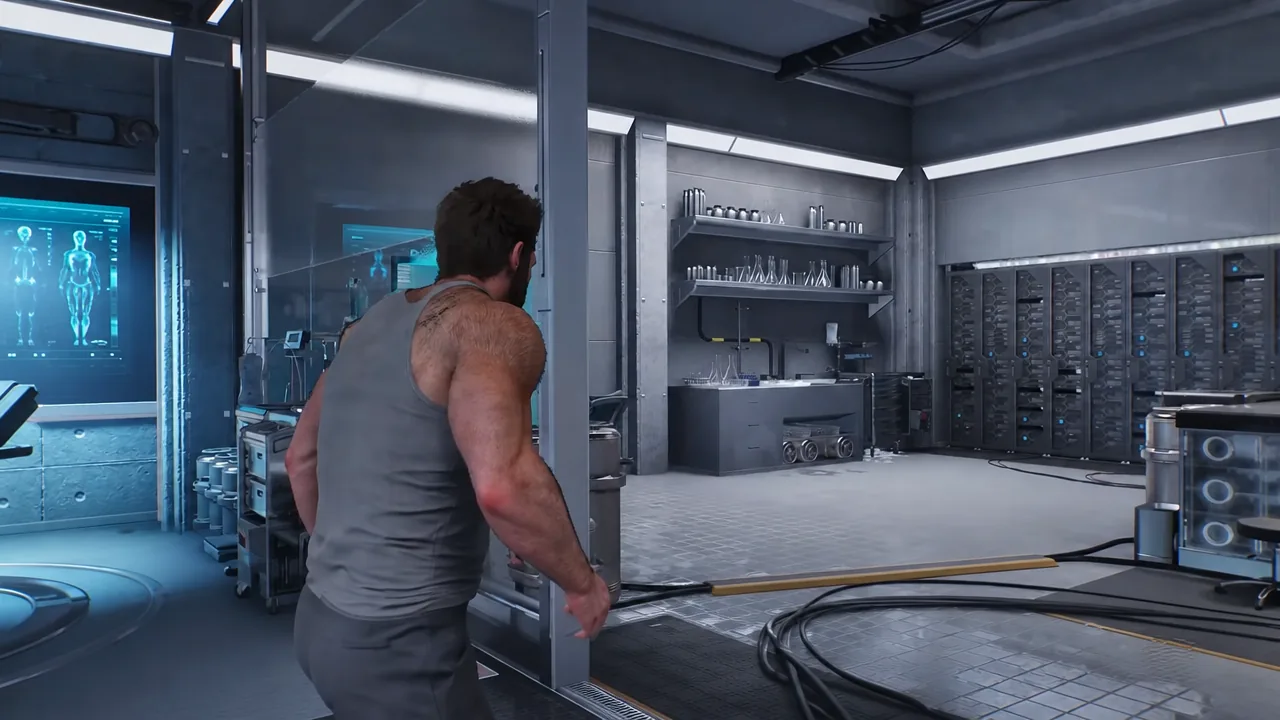
The One That Got Away
- After the zipline ride and the two Reavers, turn back toward the fence you flew over. The crate is tucked between the stacks of wood by the gate.
- Keep going to the building with a lone Reaver below, smash the glass and drop to ground level. The crate is in the short tunnel beside a small boat.
- At the river with the Nightmare Door, follow the water to the right. You can see it pulsing in the distance, next to a painting on an easel.
- At the docks, before you open the second container, ride the hook beside the blue container up to the crane platform.
Raise Some Hell
- In the early section with three snipers, drop down and look left.
- Same area, stay on ground level and follow the stream up to its dead end.
- In the construction yard full of Reavers, check the back left corner from where you entered, beside the huts.
- After the refinery and the Nightmare Door, look in the back of the truck just ahead of you.
Strays
One crate only. While following Leech’s scent, leave the lab and head down the hallway into the armoury at the end. It is sitting right next to the door.
Something Much Stronger
- Early on, when you reach a stream, look right for a climbable tree and jump up the wall next to it.
- After freeing the trapped wolf, stick to the main path and look left just before you run up the fallen tree.
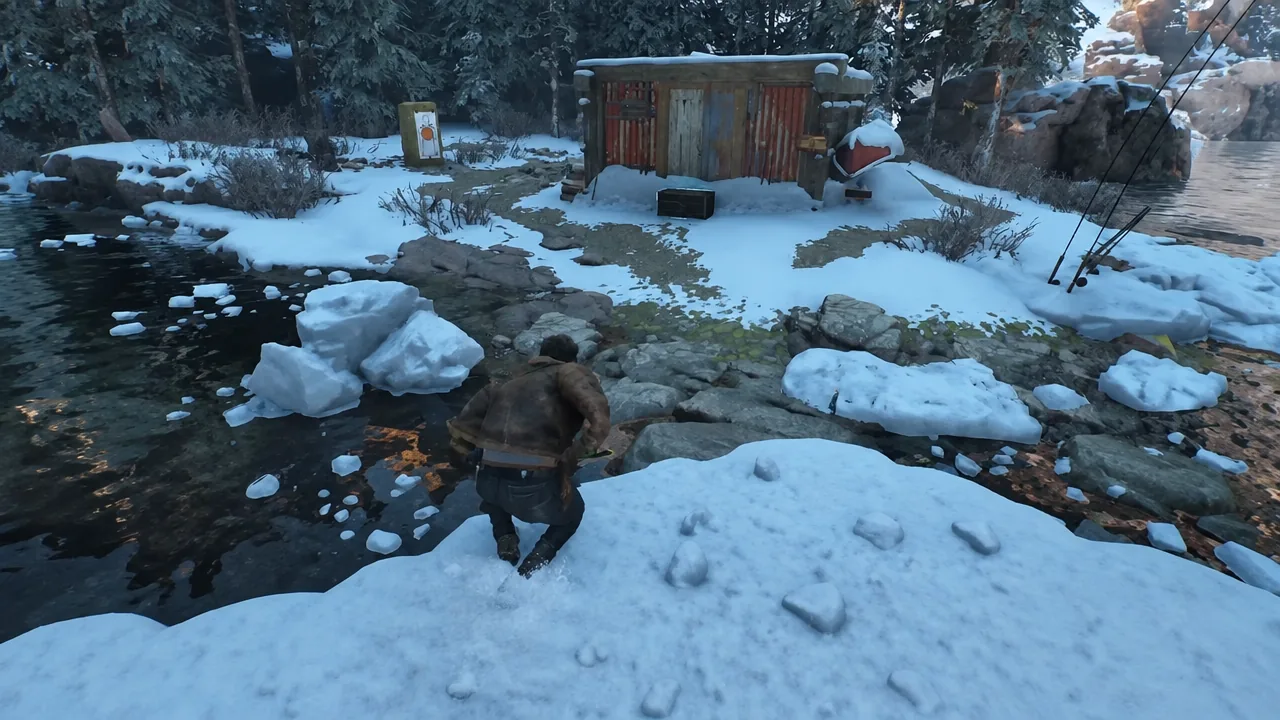
- Shortly after, the path splits. Take the right branch to find a crate in front of a fishing hut.
- Climb the cliff to the cabin. Before heading inside, turn right.
Madripoor crate locations, first visit (9 crates)
Knock Knock
- After the armored vehicle goes through the wall, enter the power station. The crate is straight ahead behind the counter.
- Clear the server room fight, climb to the next level, and cut open the vent grate in front of you.
Mutant Detected
- At the very start, behind the reception desk under the Trask Industries sign.
- After the Trask cutscene, Mystique opens a door for you. Go through and look immediately right.
- Past Bay 7, take the first left to reach a locked door. The keypad code is 0291, and the crate is inside.
- After the propulsion tunnel sequence, walk forward past the fire and look left.
One Last Mission
- At the start, face the bar and go through the doorway to the right.
- After leaving the Princess Bar, follow the street until stairs lead up. Take the stairs going down on the left instead, by the Noodle Bar.
- After the rooftop chase and the fight with The Hand, head left toward the water and walk to the end of the pier.
Japan crate locations (29 crates)
Japan holds the bulk of the collection, and In the Shadows alone accounts for seven. This is the stretch where slowing down pays off most.
Get Angry
- While checking the three arcades for Jean, one of the sound sources is a crate in the alleyway beside the shop.
- Ride the elevator down in the bar, then look right as you step out.
- After smashing the first three incense burners, leave the room and check the short corridor on the right, hidden behind other boxes.
- In the cave, swing across the row of poles, climb to the top, then turn around. The crate is at the far end, and The Hand ambushes you here.
- After the elevator ride with Jean, check the storage room on the right, behind the metal shelves.
Bad Blood
- Use the rope lift, then the zipline. The crate is on the next rooftop behind breakable boxes.
- Outside Shiro’s building, it sits at the top of the scaffolding you have to climb.
- Climbing through the next building, drop down to the right rather than following Jean to the blue lift.
- When Jean levitates the platform toward the penthouse, turn around, drop back to the construction site and look right. It is behind a fence.
In the Shadows
- Enter the arcade and take the stairs all the way down instead of going through the main doors.
- Climb a pipe to the rooftops and look opposite the Shinjuku Korode sign.
- At the third rooftop mutant detector, face the power box and cross to the roof on your left.
- Back on the rooftops, find the large Devil Dinosaur statue. The crate is on the building right beside it.
- After the food delivery truck drops you at the construction site, go left instead of fighting The Hand. It is at ground level near the digger truck.
- Underground, once Jean disguises you among the Chosen, follow the short tunnel to its end and look left of the shrine banner.
- Heading back to Shiro’s, stop before the zipline and check the corner of the roof on the building below it.
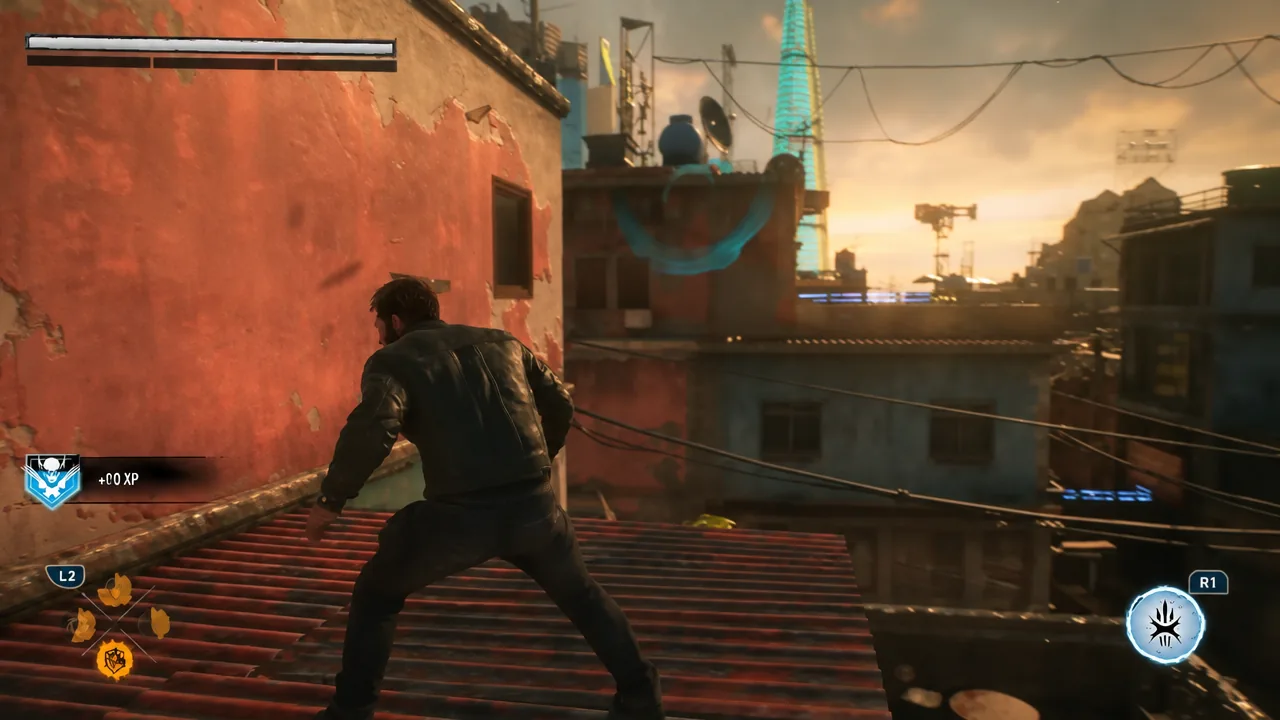
Death Comes to Death
- The moment the mission starts after the conversation with Shiro, look to the roof on your left.
- After checking the security footage, look right, underneath a large pipe.
- Leave the steam room and check to the right of the elevator.
We Were Wrong
- While following the drag marks, look behind the Alchemax truck.
- Inside the restaurant, it is on the ledge above the main stage, guarded at first by The Hand.
- After helping the injured woman, you reach an overturned car. Go left into the alley.
- Survive the ambush and step over the broken wall into the construction site. The crate is behind a truck on your left.
- At the bottom of the stairs as you head down to the basement.
Hell Followed With Him
- At the end of the forest, face the cliff wall and look for a ledge on the right.
- As you start exploring the stronghold, check behind the building immediately to your left.
- To the right of the memorial, at the top of the stairs.
- Straight ahead on your left as you enter the Shrine.
Sinister Tidings
A single crate, and an easy one to walk past. After Logan speaks to Essex in the bathroom mirror, head into the secret room inside Shiro’s closet and grab it there.
Madripoor crate locations, return visit (15 crates)
The final run of missions holds the last 15 crates. Way Down Low’s four are all stashed inside the Dormants’ trucks that you open at the Reaver checkpoints. The first comes after you clear the opening checkpoint, the second is in the truck at the second checkpoint, which you reach by carrying straight on at the point where you are told to meet Jean at the clocktower, and another sits in the truck on the left-most street leading toward the clocktower.
Roll the Dice has one, Field Test has two, I’m Still Here has five, and This Was the Dream has three. Run these chapters with Crate Finder equipped and the collectible shader turned on, and watch the per-chapter counter as you go.
The last three missions, No Coming Back and Brave New World included, have no collectibles at all, so there is nothing to sweep once the finale starts.
How to check what you still need
Open the pause menu and check the collectible tracker, which breaks progress down chapter by chapter so you know exactly which mission is short. The same tracker appears in Chapter Select. Your overall total is visible through the trophy progress counter, and Crate Collector pops the moment the 68th crate opens.
Nothing is permanently lost. Chapter Select unlocks after you find the second Nightmare Door and is reached from the title screen by choosing Nightmare Cabin and interacting with the bed. Everything you pick up on a replay carries over to your save, so a full 68-crate collection is still on the table long after the credits roll.