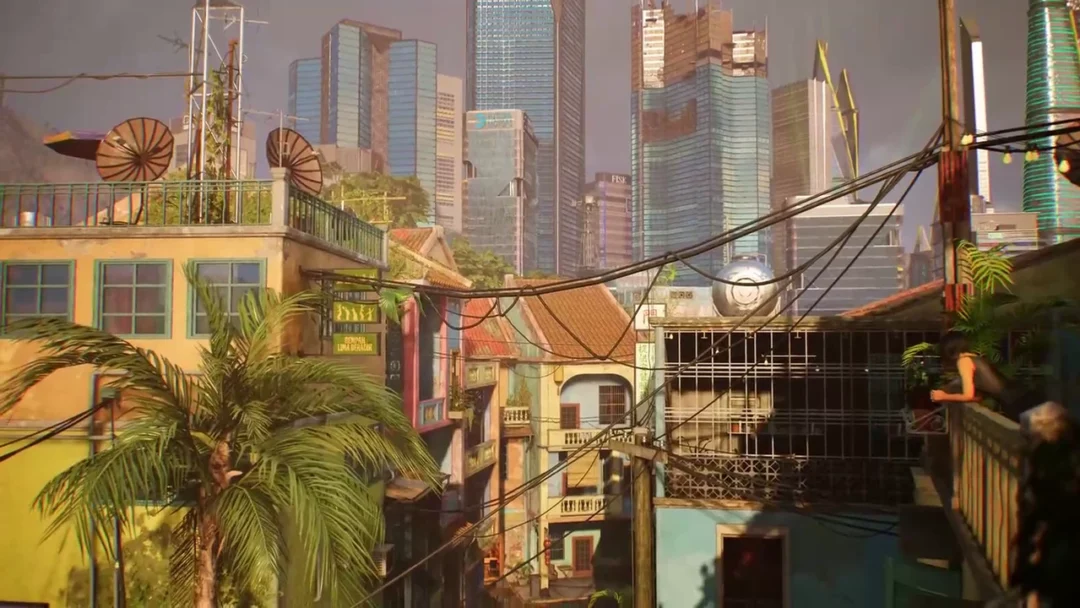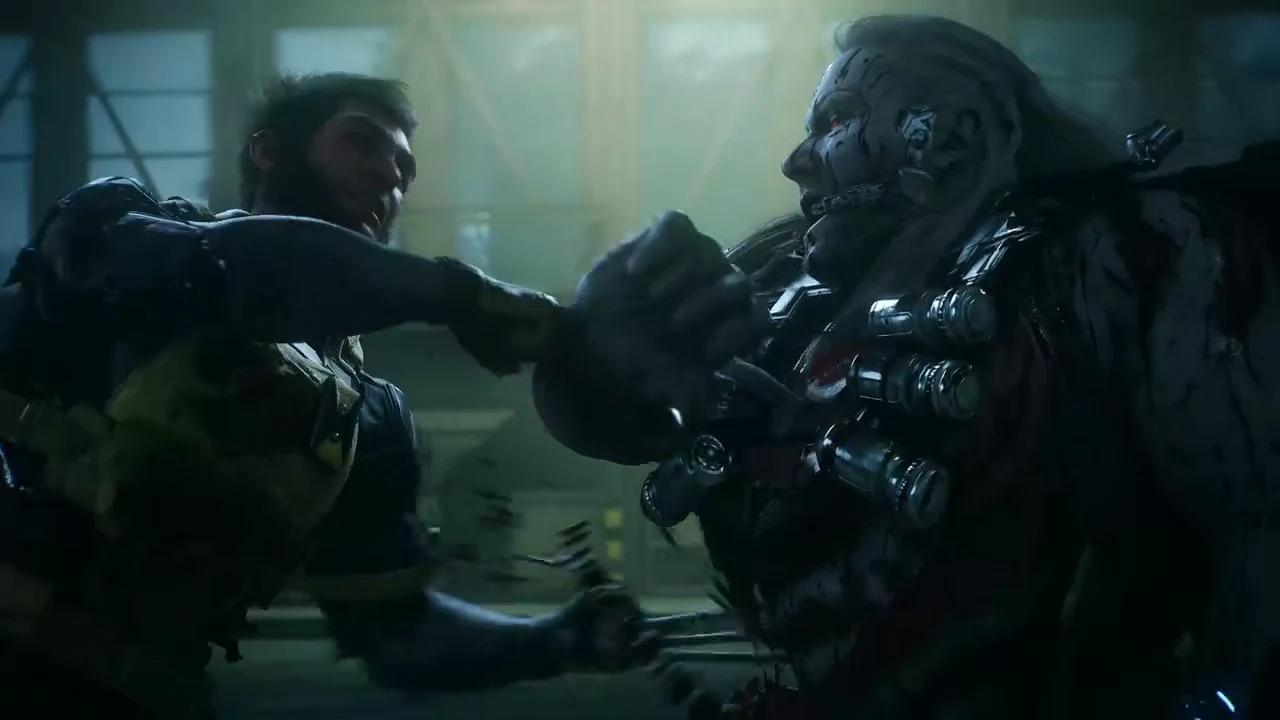
Omega Red is the kind of boss who talks while he strangles you. He shows up in the encounter labeled Last Meal, with a single objective on screen — defeat Omega Red — and a set of carbonadium coils that can reach across the arena faster than Logan can close the gap. The fight runs in two phases split by a long, scripted humiliation, and the second half is the one that actually decides things.
Quick answer: Omega Red is a two-phase boss. Dodge his tentacle sweeps, punish the gaps between strikes with claw combos, and use Healing Strike (Triangle) on staggered enemies to pull health back.
Omega Red fight structure and the tools you need
The encounter is built as two separate arenas with a cutscene bridge between them. Nothing you do in phase one carries over as a shortcut — the story resets the fight outdoors regardless of how cleanly you play the warehouse.
| Phase | Setting | Main threat |
|---|---|---|
| 1 | Dark industrial warehouse | Carbonadium tentacle strikes |
| Cutscene | Same warehouse | Scripted life drain |
| 2 | Rainy crash site, burning wreckage | Red-glowing whip sweeps |
Two prompts matter more than anything else here, and the game surfaces both mid-fight:
- Hold L2 and press Square, Triangle, or Circle to fire off Special Techniques.
- Use Healing Strike (Triangle) on staggered enemies to restore health.
- Watch for red glow on the coils — that telegraph precedes a sweeping whip attack.
Phase 1: The warehouse opening
The first half plays out in a cramped, badly lit industrial space. Omega Red opens the conversation by telling Logan he has been waiting patiently for the rematch, then backs it up with long-range coil strikes that cover most of the floor. The rhythm is simple once you see it — he extends, he recovers, and that recovery window is where claw combos land.
He is slower here than he will be later, and Logan says as much. Do not read that as an opening to trade hits indefinitely. Omega Red drains health on contact, so every coil that connects is worth more to him than the damage number suggests.
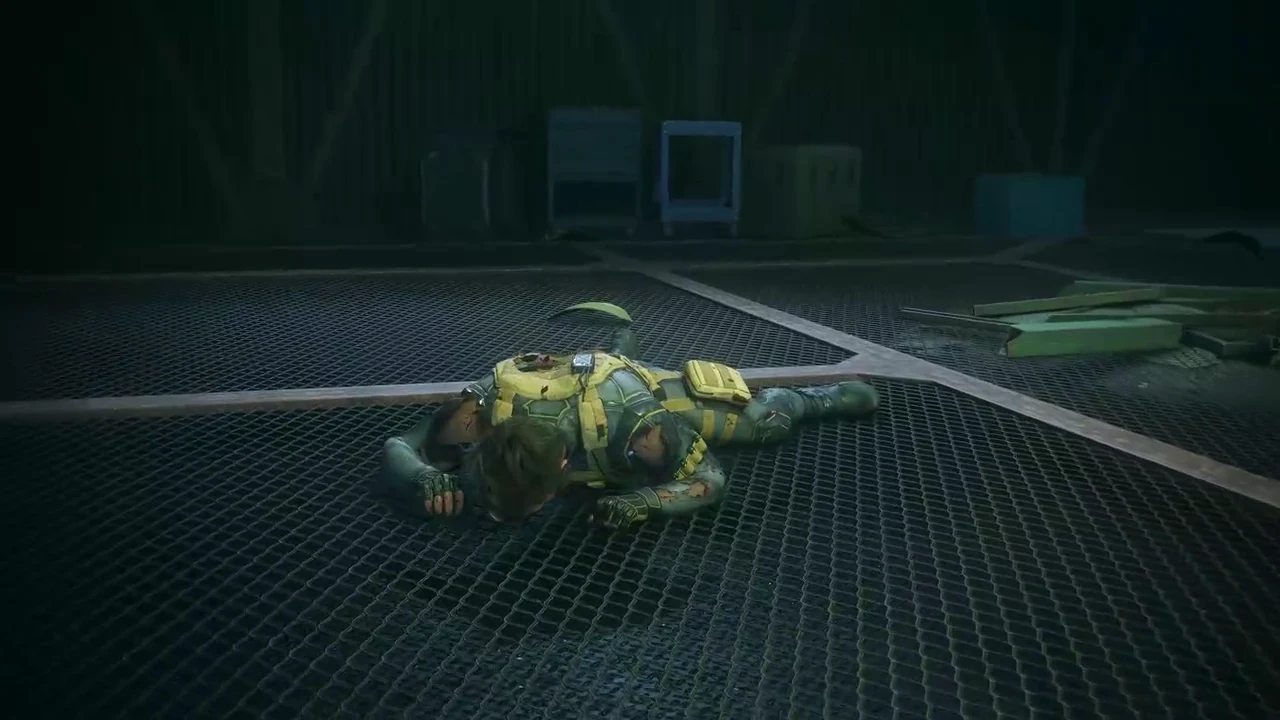
Keep moving between attacks rather than holding ground. The arena is dark, and the coils read as part of the scenery until they are already swinging.
The life drain cutscene is scripted — you cannot win phase 1
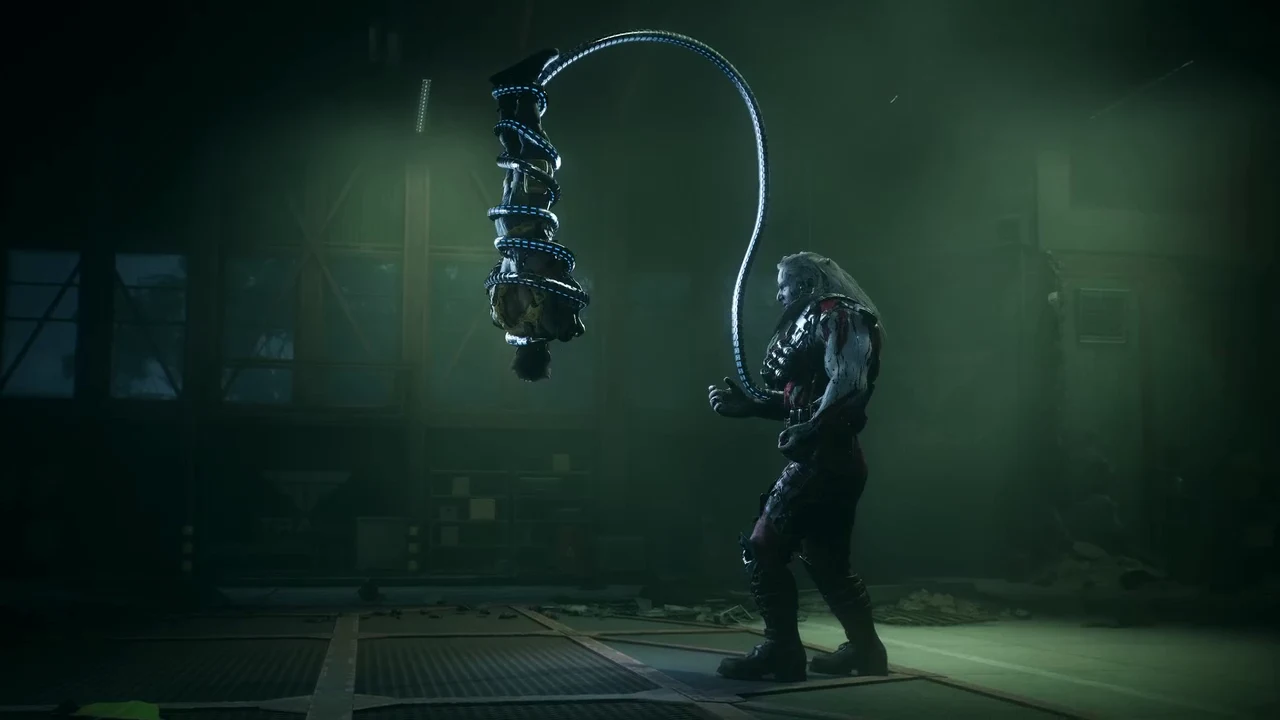
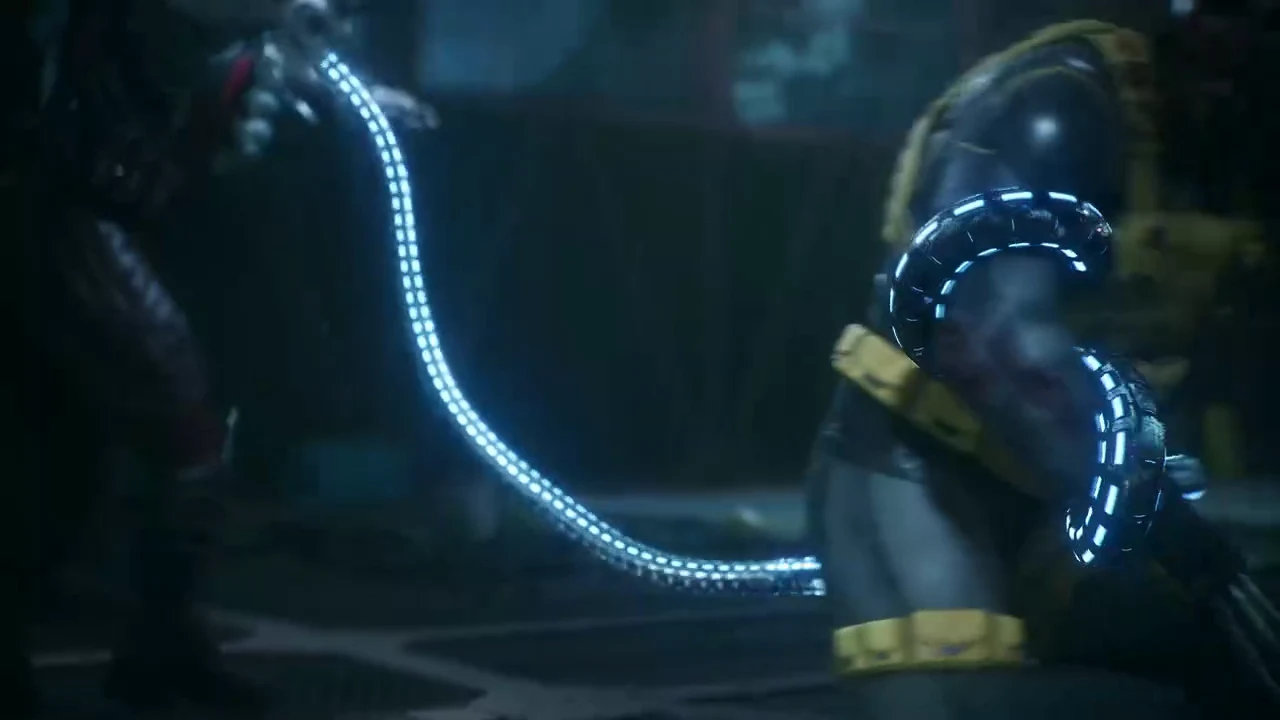
Drop Omega Red’s health far enough in the warehouse and the game takes over. Logan buries his claws in the villain’s chest, and the wound closes almost immediately. The coils wrap around Wolverine’s neck and lift him off the ground before he can pull free.
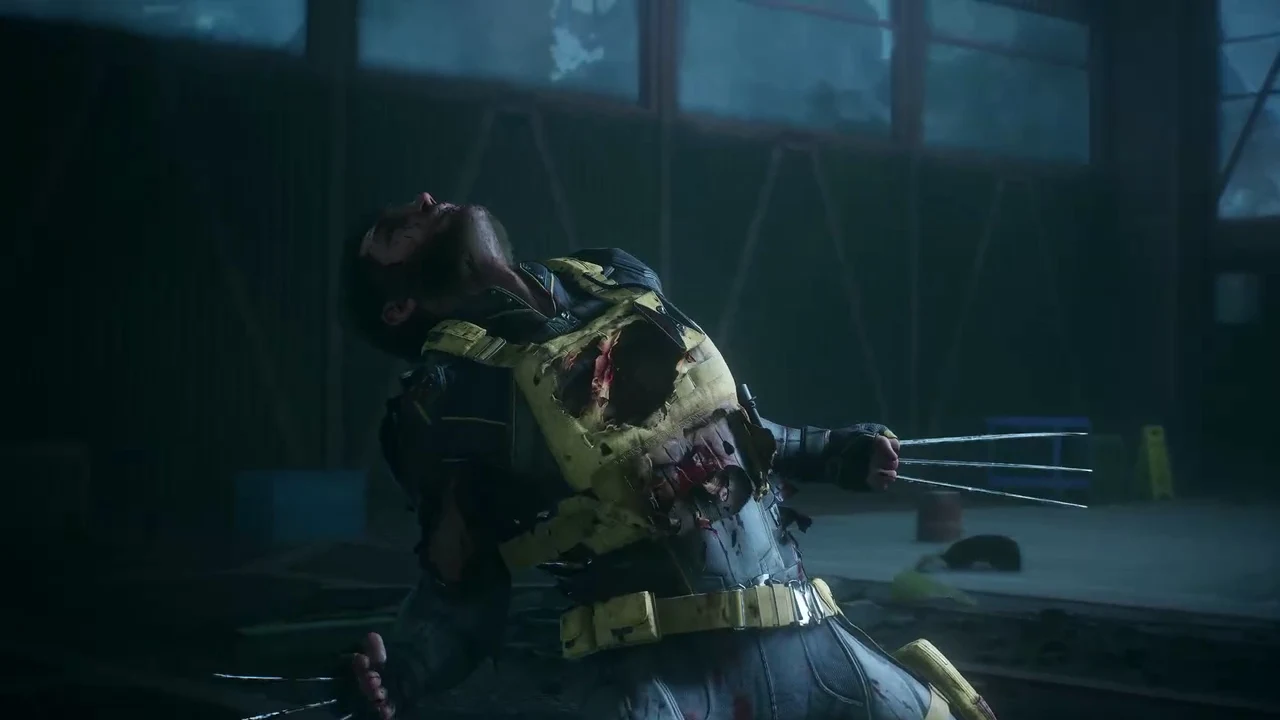
What follows is the fight’s set piece. Omega Red explains where the name comes from — omega meaning “the end,” because he is the last thing his victims see — while his coils pull the life out of Logan. Wolverine screams through it. A second voice cuts in with three words, “This is not the end,” and the moment breaks.
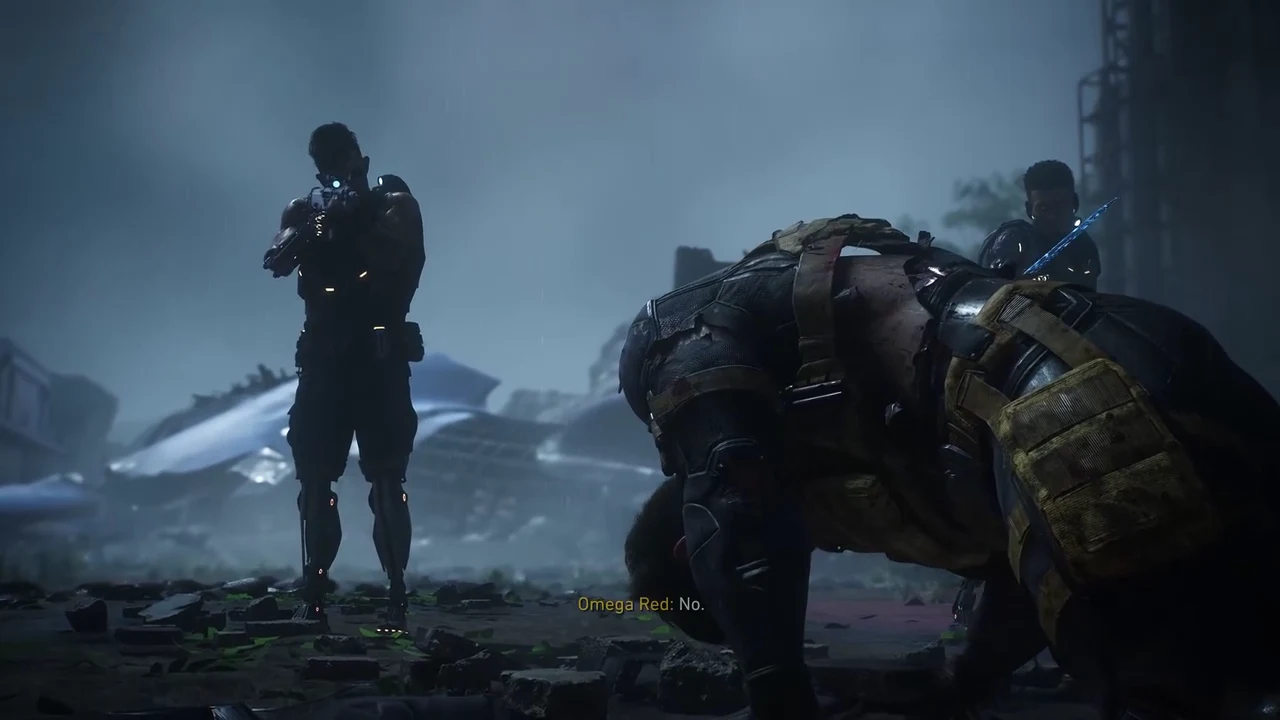
Omega Red then throws Wolverine through a wall and out into the mud beside a crashed plane. Reaver soldiers close in immediately — “That’s him,” “Surround him” — and Omega Red waves them off. He wants this one himself.
Phase 2: The rematch in the rain
The real fight starts here. Rain, fire, and plane wreckage frame the arena, and Omega Red is noticeably faster than he was inside. His signature move in this phase is a wide whip sweep, and the tentacles glow red just before it lands — that glow is your cue to get out of the arc rather than to block through it.
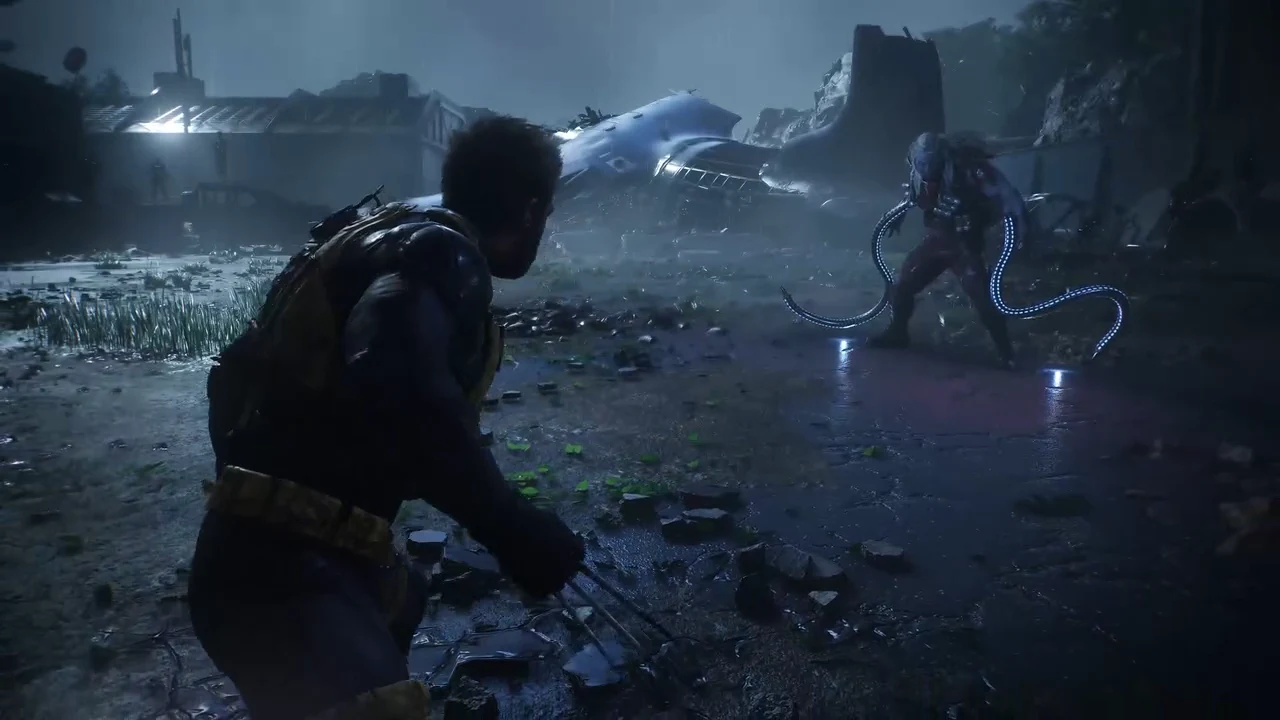
The Reavers stay on the edges and shout encouragement — “Come on, Omega” — while Omega Red snaps back at them not to interfere. That is convenient, because it keeps the arena a clean one-on-one. The exchange is also where the motive lands. Logan assumes Trask paid for this; Omega Red tells him it was never about money, and that the fight exists so Logan can see what he forced him to become.
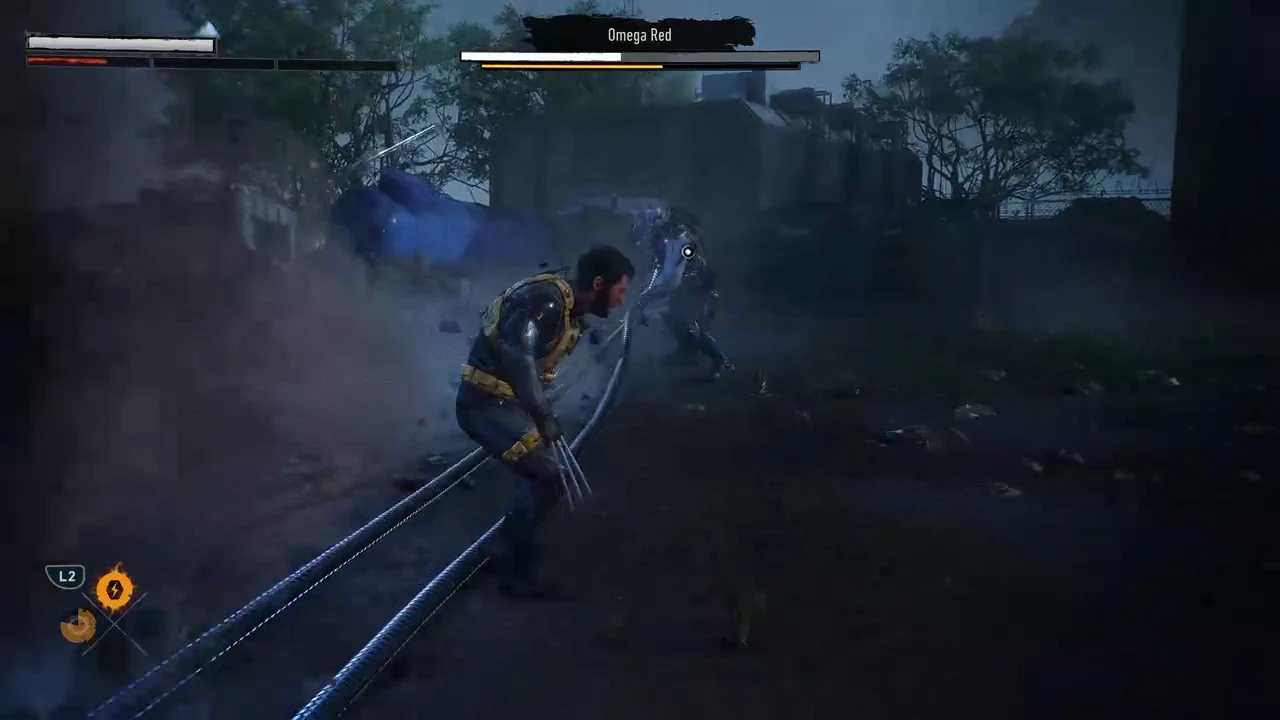
Special Techniques are worth spending freely in this stretch. Hold L2 and commit to a face-button technique whenever Omega Red is recovering from a sweep, then fall back on Healing Strike against staggered enemies to claw back the health his coils keep taking.
How to confirm Omega Red is beaten
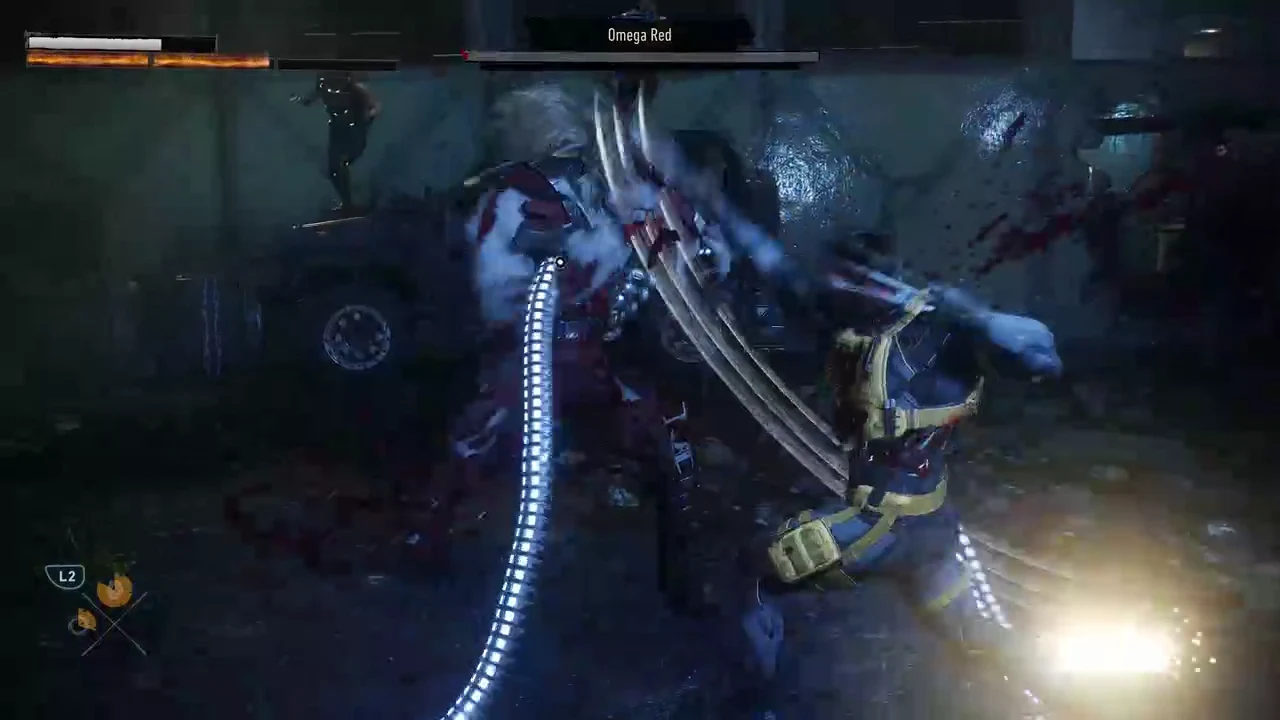
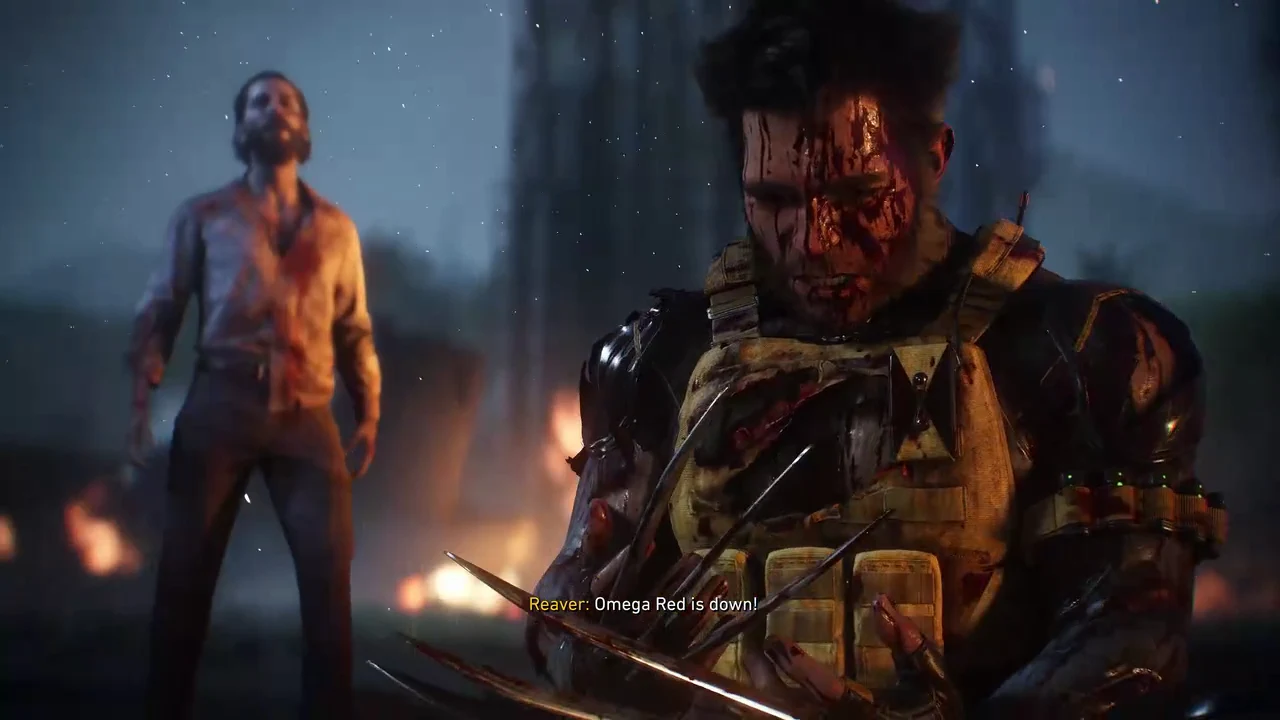
Emptying the boss health bar triggers the finisher automatically. Wolverine catches one of the tentacles mid-swing, hauls Omega Red in by it, and stabs him repeatedly until he drops unconscious. Logan’s taunt during the sequence — asking where his team is now — is the audio cue that the fight is over.
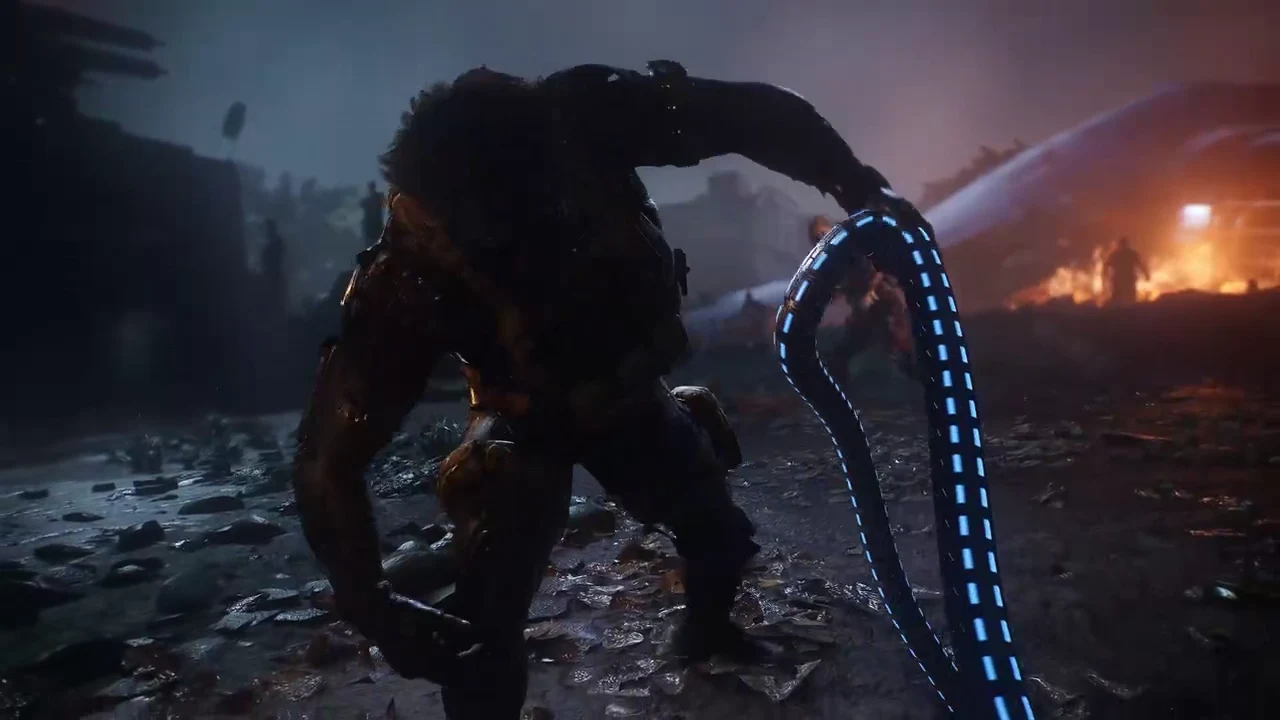
The clearest confirmation comes from the enemy chatter. One of the surrounding Reavers calls out “Omega Red is down,” the boss bar disappears, and control shifts to the post-fight scene.
After the fight: Essex, the sample, and the VTOL escape
Nathaniel Essex — the voice that interrupted the life drain — walks into the aftermath and asks Logan for a favor in the politest possible terms. He wants a sample from the fallen mutant, and he wants it for the vault. Wolverine does it reluctantly, drawing blood from Omega Red’s neck with a syringe vial.
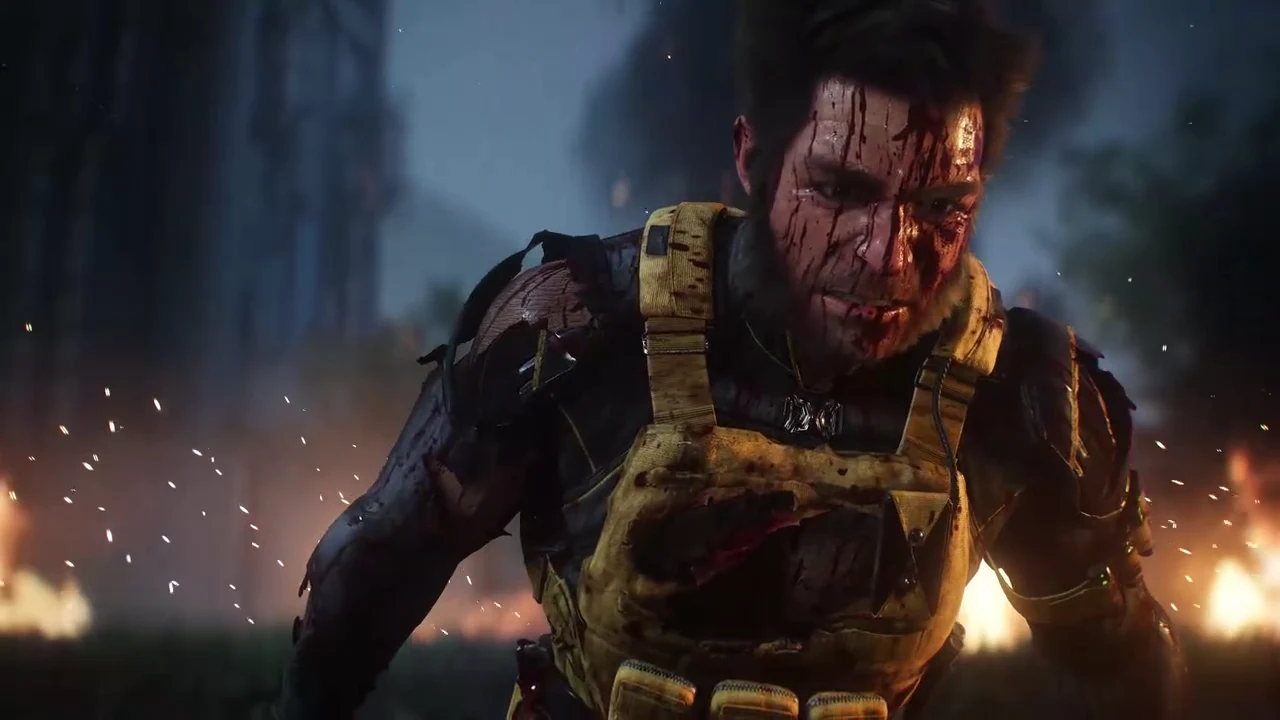
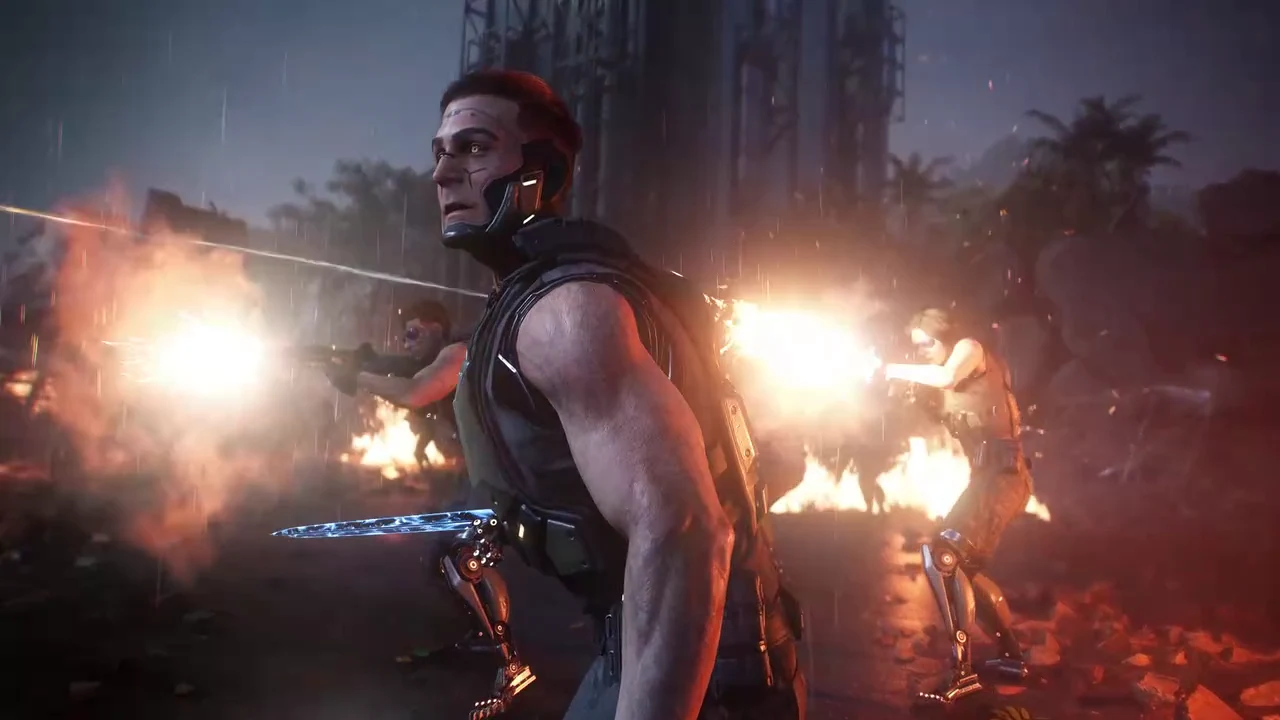
The remaining Reavers regroup while that happens, and the extraction arrives before they can close in. A VTOL piloted by Mystique drops over the crash site and opens fire on the soldiers below.

Sabretooth is waiting on board and hauls both Essex and Logan inside. Essex thanks him, Logan answers with a flat “all right,” and the aircraft lifts away from the wreckage — which closes out the encounter and moves the story on.
Treat the warehouse as a warm-up and the crash site as the fight that counts. Learn the red-glow tell, keep Healing Strike in reserve rather than burning it early, and Omega Red’s second wind stops being the problem it looks like at first.