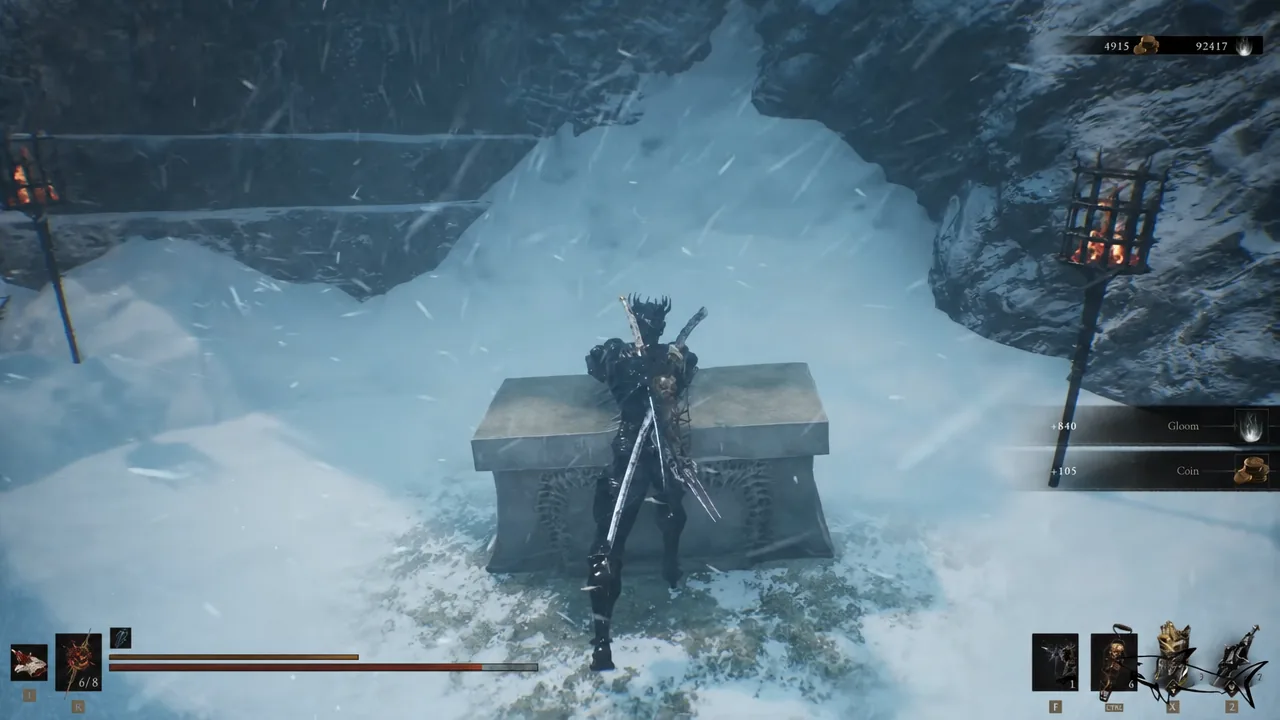
The Seedbearer’s Scripture is the one item in Mortal Shell 2 built to counter Cosmic Disease, the status effect the final boss inflicts. Nothing in the game points you toward it. You have to find three glands buried in separate dungeons, flip the world to night, and hand them over at a tower most players walk past once and never revisit.
Quick answer: Collect the Thawed, Depleted, and Faded Glands from three different dungeons, activate Night Mode at Marrow Keep, then offer all three to the giant bird corpse inside the Forgotten Tower.
What you need before the offering
Four things have to line up. Miss any one of them and the interaction at the tower simply will not appear.
- All three glands in your inventory — Thawed, Depleted, and Faded.
- The Gloombound Flame, found in the gravestones near the Great Arbiter of Flesh.
- Night Mode switched on, since the offering is locked during the day.
- Access to the Forgotten Tower through a Bone Gate teleporter in Sester’s Refuge or The Silent Steps.
All 3 gland locations in Mortal Shell 2
Each gland sits in one of the game’s southern boss dungeons, and none of them are behind a locked door or a puzzle. They are just placed slightly off the main route, in spots most players run past on the way to the boss.
| Gland | Dungeon | Exact spot |
|---|---|---|
| Thawed Gland | Conquered Temple | Candle-lit altar in the indoor hall |
| Depleted Gland | Withered Shoals | Cave one level below Rok’s ledge |
| Faded Gland | Faded Citadel | Stone dish below the Citadel Annex Beacon |
Thawed Gland location: Conquered Temple
Enter the snowy dungeon through the Corrupted Gate next to the Sester’s Gate Beacon and push forward through the canyon until you reach the second indoor area, which sits on a ledge beside a snowy bridge. A wandering skeleton and a crossbow-headed enemy patrol the entrance.
Inside is a chamber full of oversized stone hands and a huge stone head. Take the path to the left past the first enemies, and the Thawed Gland is waiting on the candle-lit altar in front of the head. A Wraith shares the room, so clear it or sprint straight for the pickup.
Depleted Gland location: Withered Shoals
From the Nameless Pass Beacon, follow the foggy ravine toward the Hexapod’s arena. Climb the rocky path until you reach the giant ledge where Rok, the enormous crow, is perched over the drop.
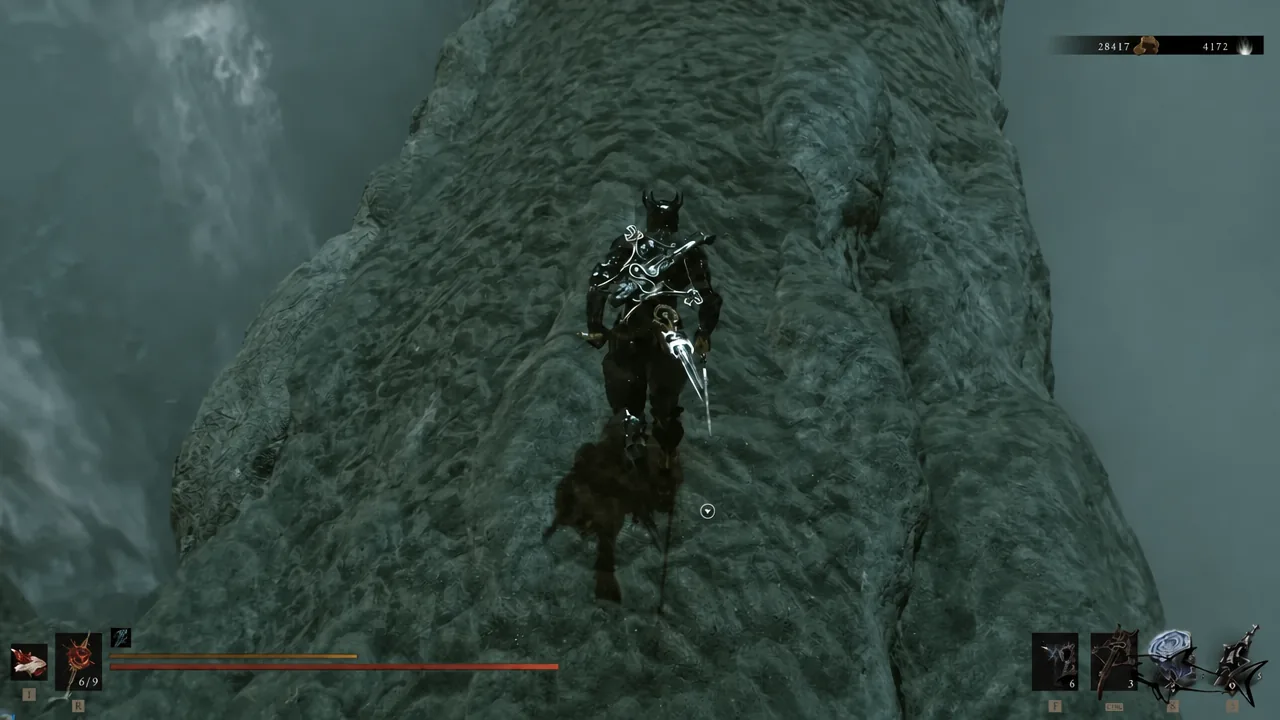
Drop down exactly one level instead of falling all the way into the boss arena, then turn around and walk back into the dark cave behind you. The Depleted Gland is sitting in the open on a pile of bones, cradled by a giant skeletal hand.
Faded Gland location: Faded Citadel
This one is in the final dungeon, shortly before the fight with Solnir, the Gloom Seeker. Spawn at the Citadel Annex Beacon, turn around, and look over the narrow stone ledge. You can jump off it, which is easy to miss.
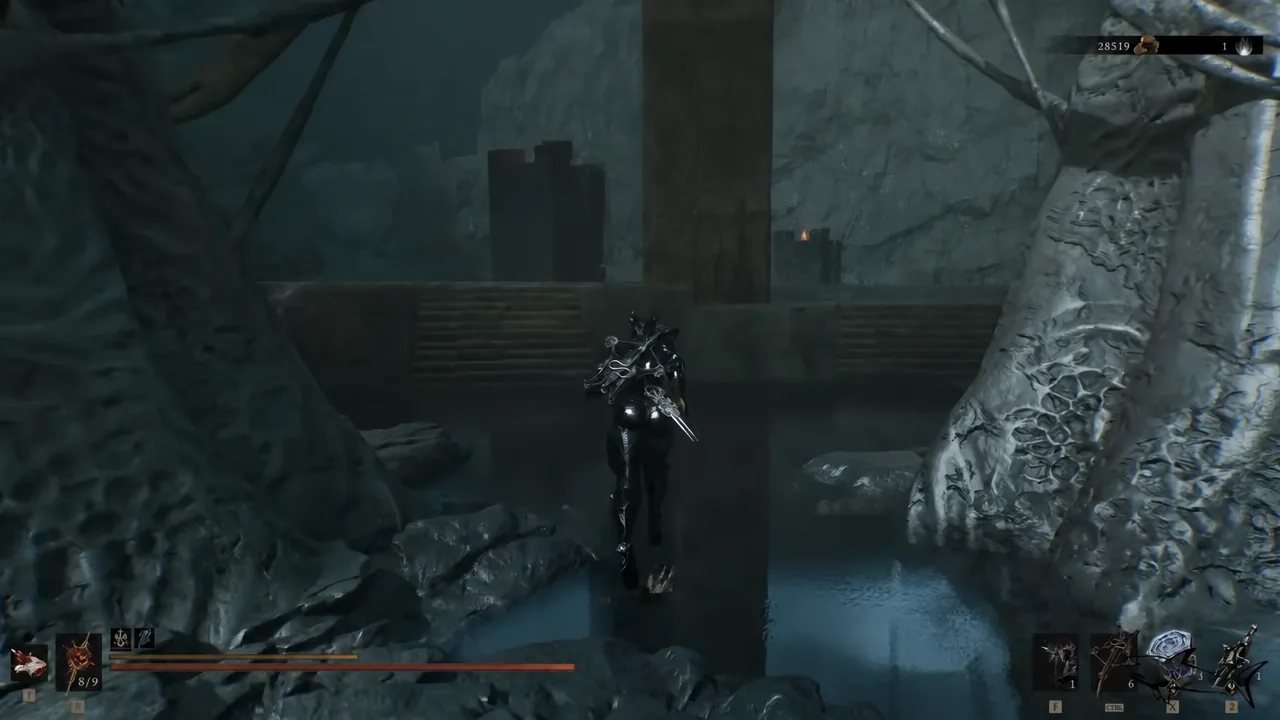
Harden in midair on the way down to cancel fall damage, and check where you are landing first — the wrong angle is a death.
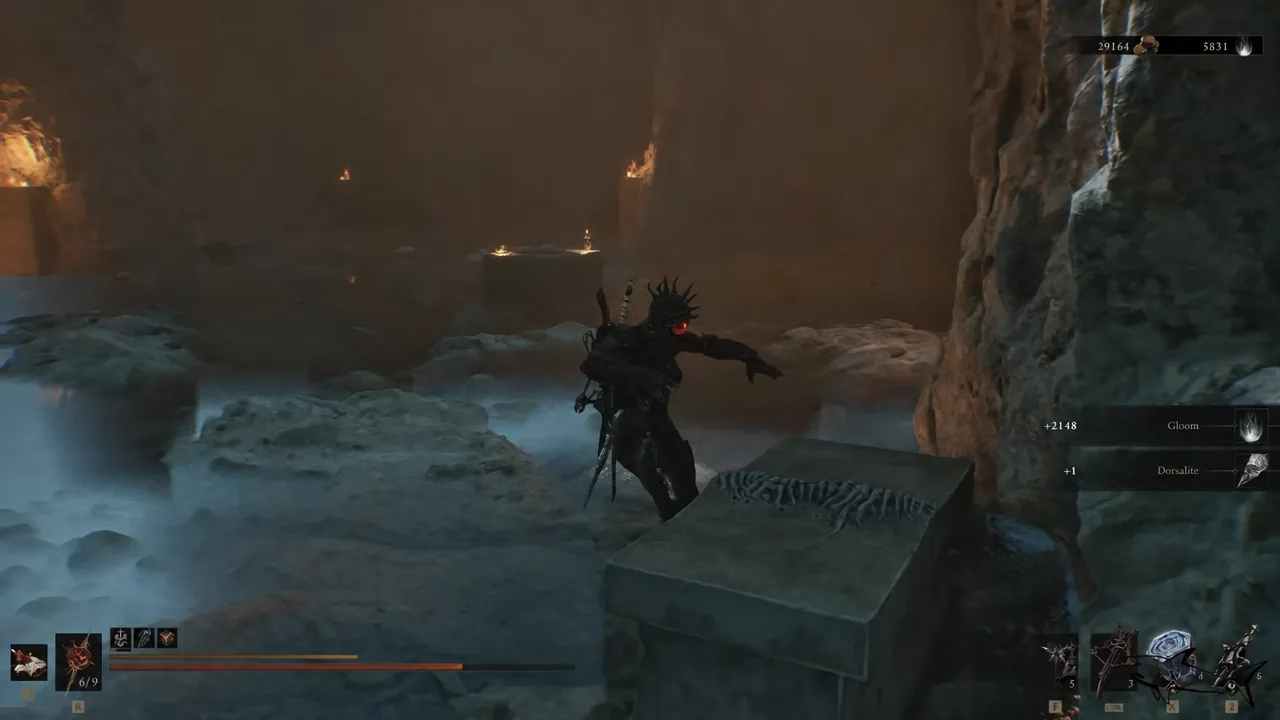
You land in a flooded cavern patrolled by several tall Gloom Seekers. Clear them out, then head for the small stone basin in the middle of the water. The Faded Gland rests in the dish.
How to activate Night Mode at Marrow Keep
Night Mode is the game’s harder difficulty setting, but you only need it switched on long enough to hand in the glands. Turn it back off immediately afterward if you would rather not fight the tougher enemy set.
How to offer the glands at the Forgotten Tower
The Forgotten Tower sits in south-eastern Mammon, cut off from the rest of the map. It is Fallgrim Tower from the first game, complete with the enormous bird creature you used to feed glands to, now slumped over and apparently dead.
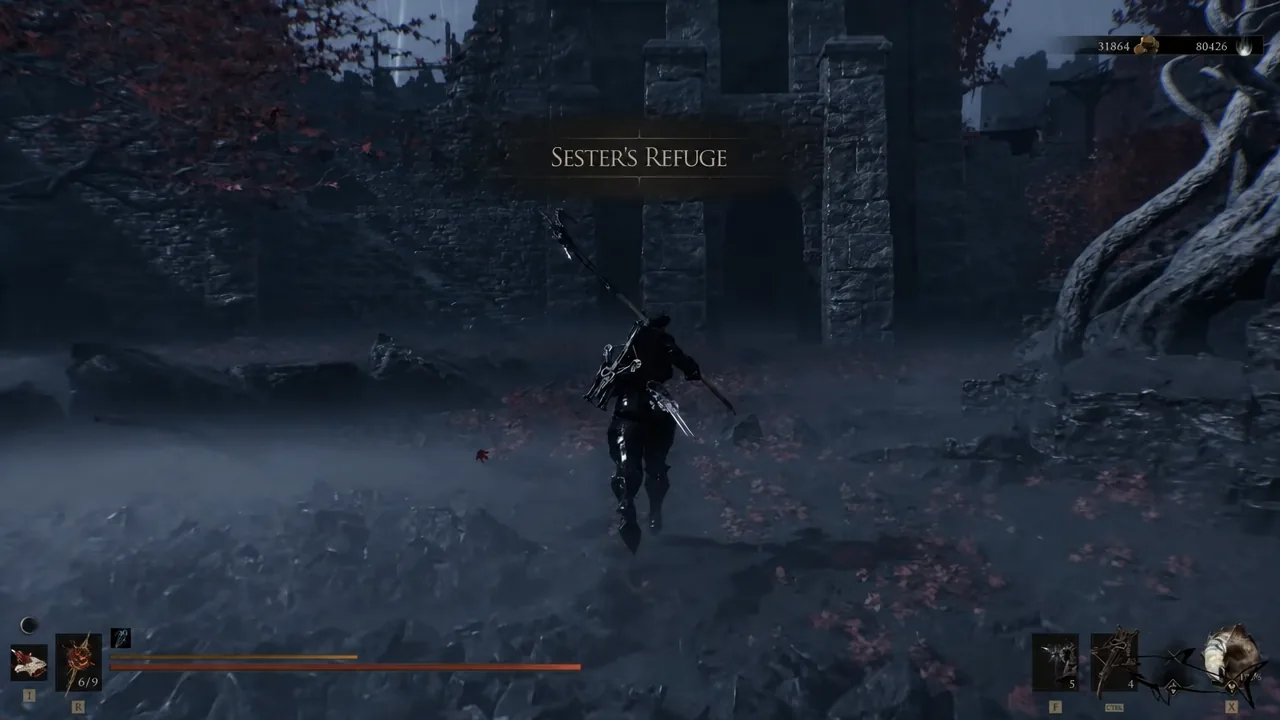
You will know it worked when the screen cuts to black for a moment and the Seedbearer’s Scripture appears in your inventory. The bird giant then vanishes from the tower for good, which closes out the questline.
The offering option does not exist during the day. If you cannot interact with the corpse, night is not active.
Seedbearer’s Scripture effects and familiarity tiers
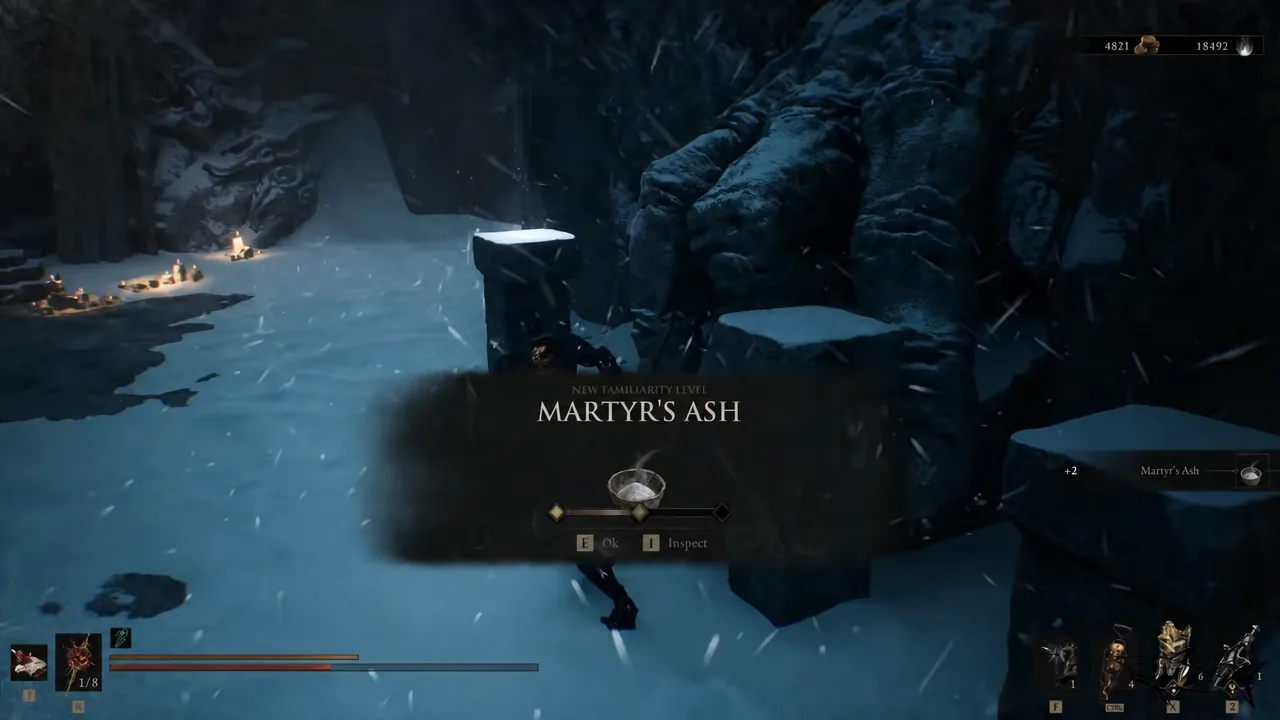
The Scripture is a Permanent Pickup item, so it scales with familiarity like the others. The catch is that only one exists per playthrough, which means Tier II and Tier III are locked behind a second and third run.
| Tier | Active | Passive |
|---|---|---|
| I | Cures Cosmic Disease, +100% mitigation for 120s | +80% mitigation |
| II | One extra use per rest | +90% mitigation |
| III | Cure duration extended to 999s | Scales with Scriptures found |
Mitigation here means a chance to resist the effect being applied at all, not a flat damage reduction. At Tier I that +80% passive alone changes how often the disease meter fills during the final fight.
Using the Scripture against Zmey, the Unbidden
Zmey, the Unbidden is the only enemy in the game that applies Cosmic Disease. His fire breath does no direct damage. Instead it fills a meter on screen, and when that meter tops out the consequences depend on what form you are in.
- In a Shell: your Shell dies instantly and cannot be recovered by normal means.
- In a Shell: your weapon, sidearm, Permanent Pickups, and Tarstones are disabled, leaving only your Seal and a small sword with its own moveset.
- In Harbinger form: instant death, with no way to survive it.
Trigger the active effect the moment the meter starts climbing. It clears the disease, grants temporary immunity, and sends out a wave of yellow energy that staggers Zmey for a few seconds. You can then move the Scripture from the active slot into a passive slot mid-fight to immediately start benefiting from the standing mitigation instead.
It will not turn the fight into a walkover, but it removes the one mechanic that can end a run outright. Pick up all three glands during your normal route through the Conquered Temple, Withered Shoals, and Faded Citadel, and the whole detour costs you one Night Mode trip.