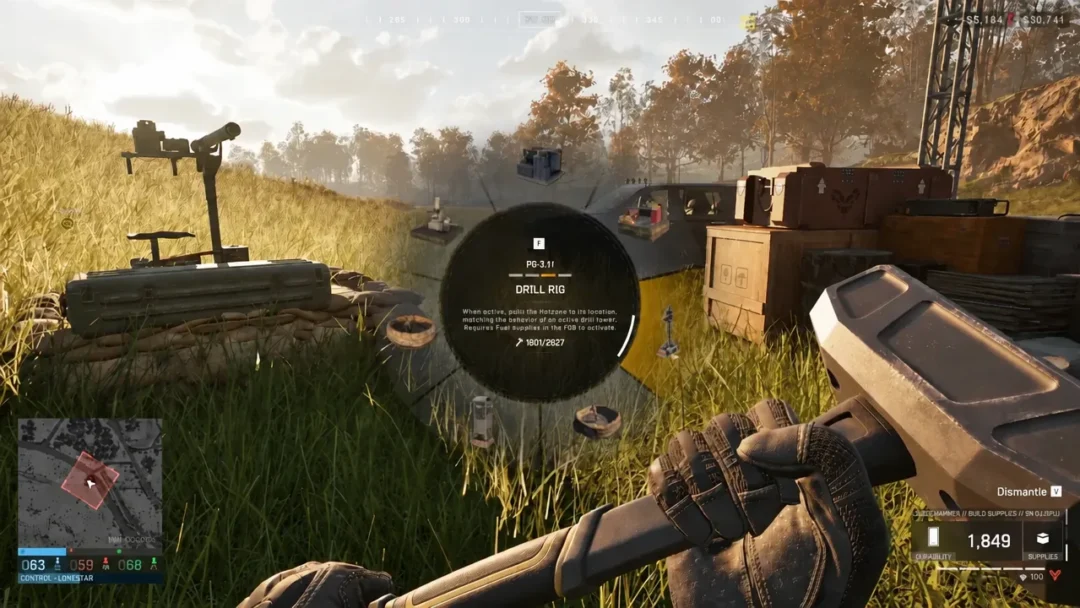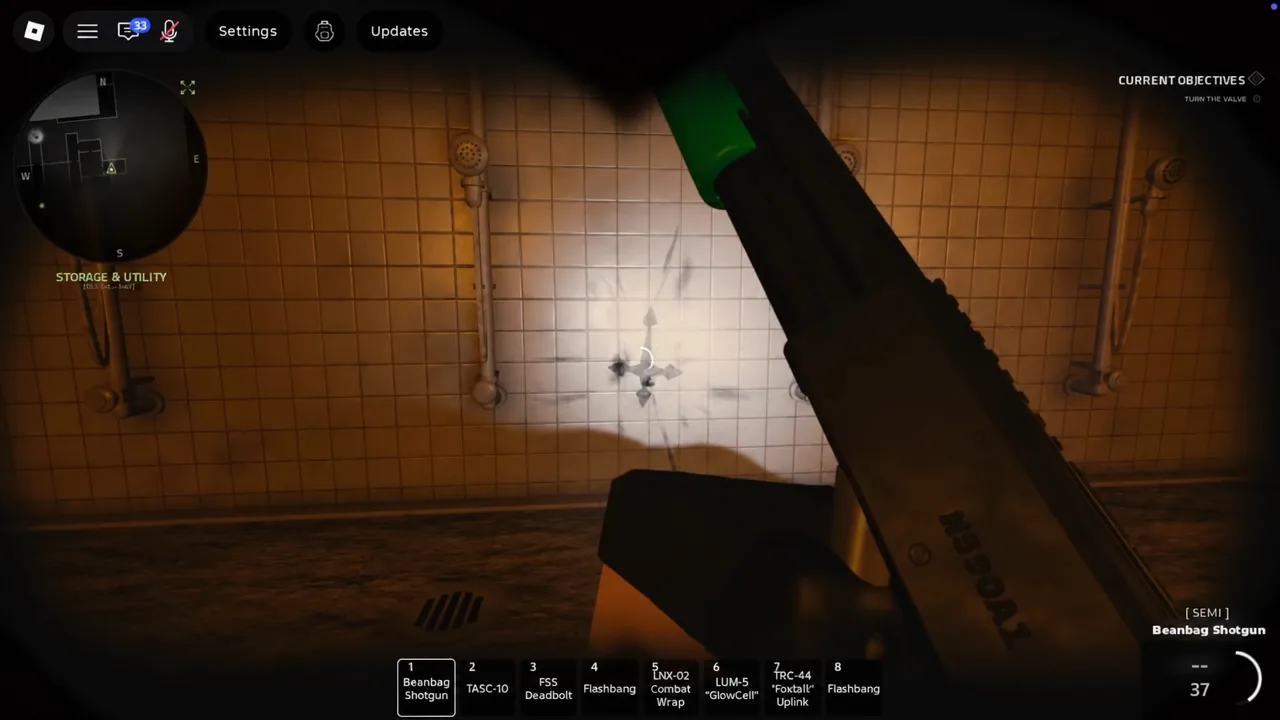
NEUTRUSPHYRIA is one of the stranger rewards in Examination. It is not tied to a boss kill or a sector milestone. Instead, it lives entirely inside the reworked Tunnels, where four glowing symbols appear one at a time and a fake wall hides a keypad chamber. Get the order wrong, and the puzzle simply does not resolve.
Quick answer: Drain the first layer of the Tunnels, collect four symbols that spawn one at a time across nine rooms, then input them in the exact order you found them on the hidden keypad behind the yellow pump room wall.
NEUTRUSPHYRIA badge requirements in Examination
The badge is listed as obtainable, with no rank reward attached. Its unlock condition is narrow and mechanical, so everything below exists to satisfy one trigger.
- Access to the reworked Tunnels from the Storage & Utility area.
- All water drained from the first layer, which is what makes symbols spawn.
- Four symbols found, with both their shapes and their collection order recorded.
- Entry into the hidden keypad room behind the yellow pump.
- The four symbols entered on the wall keypad in chronological order.
Run this in a private server if you can. A solo run means no one else is clearing symbol spawns before you reach them, and you can take your time mapping the first layer.
Reaching the reworked Tunnels
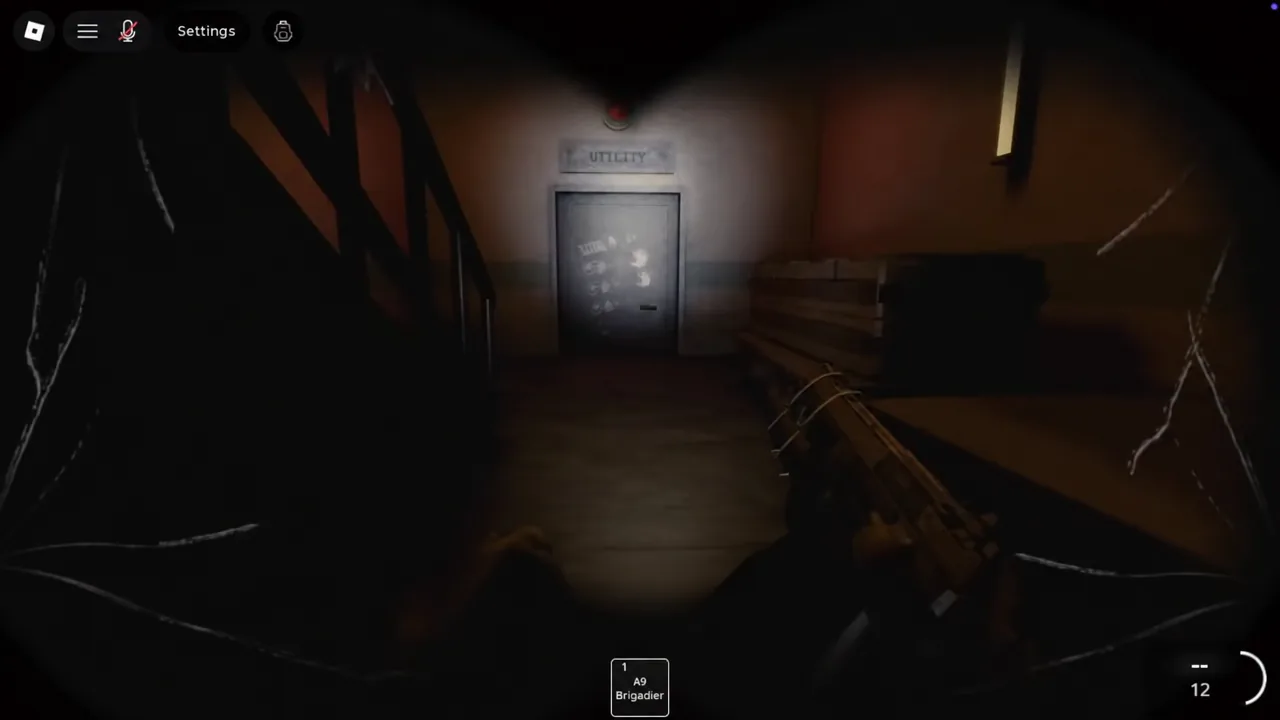
Draining the first layer so symbols spawn
Nothing appears on the walls while water is still in the first layer. The standard Tunnels rework sequence is what clears it, so you complete the floor as normal and the puzzle opens up as a side effect.
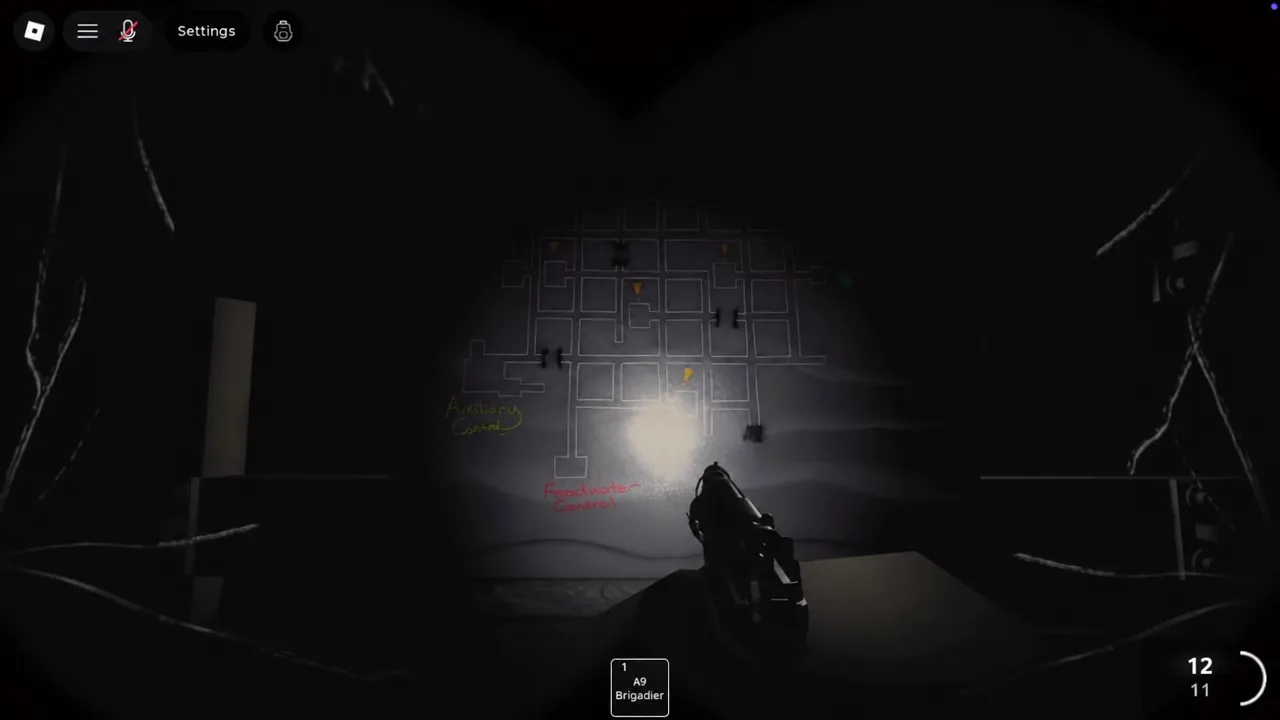
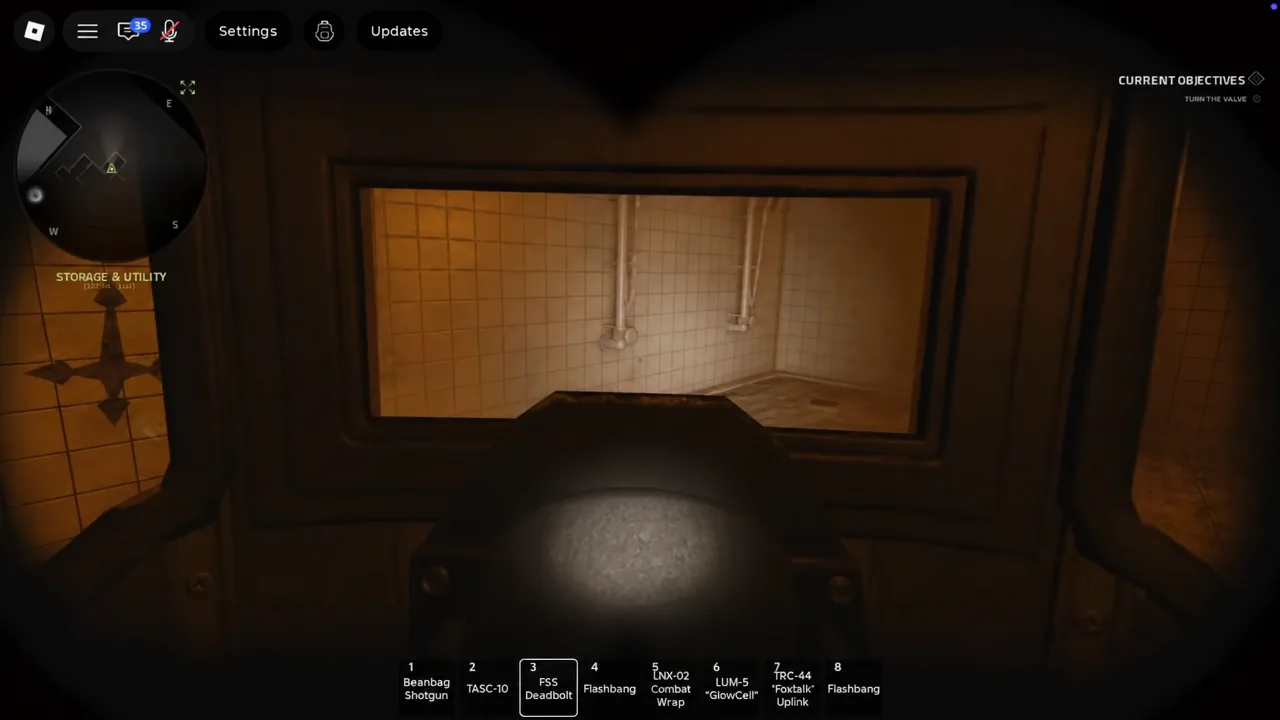
All nine symbol spawn rooms in the Tunnels
There are nine possible spawn rooms, but only one symbol is active at any moment. You find it, interact with it, and the next one appears somewhere else in the loop. Four in total is the full set. Symbols always sit on a wall inside the room, not on the floor or ceiling.
| Room | Landmark to look for |
|---|---|
| 1 | Locker beside a closed doorway |
| 2 | Wall next to a row of lockers |
| 3 | Corner wall past an open door |
| 4 | Outside the Pump Room door, near a locker |
| 5 | Rock formation with ladder rungs on the wall |
| 6 | Hallway corner next to a stairwell |
| 7 | Storage shelves with boxes and a large tank |
| 8 | Corner entryway beside a doorway |
| 9 | Corner of a corridor |
Because only one spawn is live at a time, the fastest approach is a fixed route loop rather than random wandering. Landmarks like Yuri’s Workplace and the control rooms make good anchors for orienting yourself between checks.
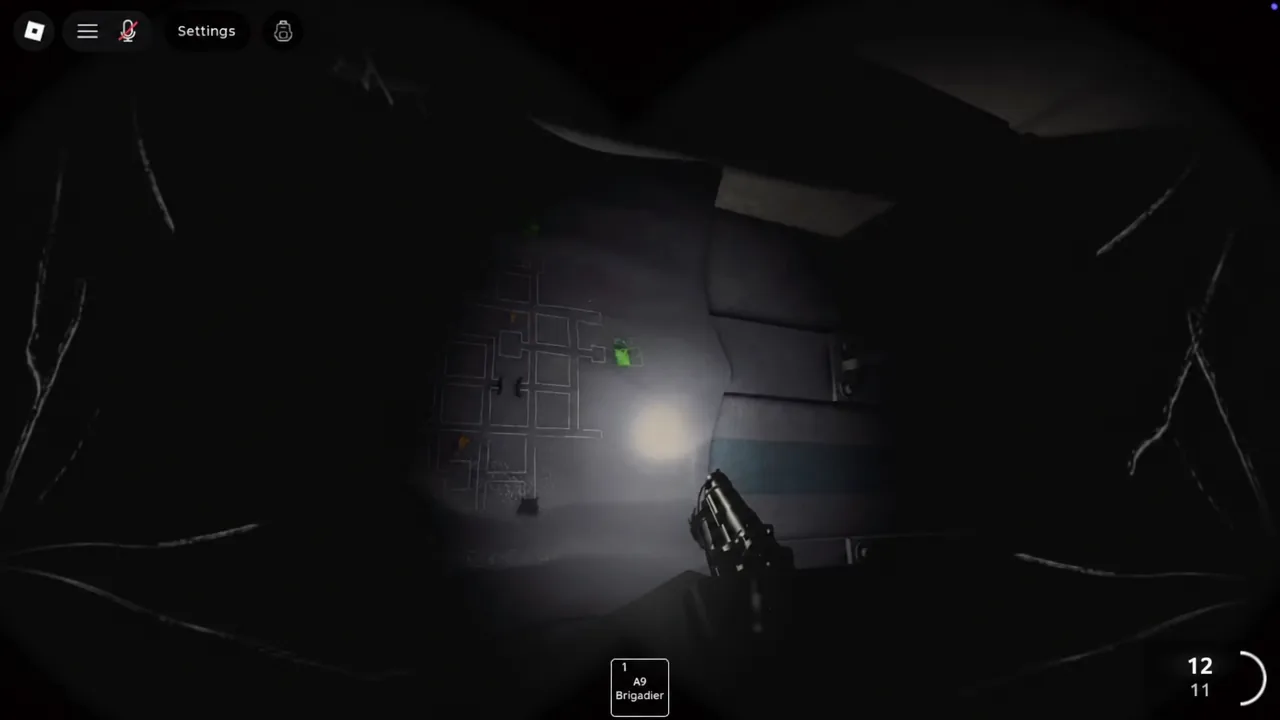
Raising in-game lighting and lowering graphics settings makes the etched symbols far easier to pick out against dark concrete.
Recording the symbol order
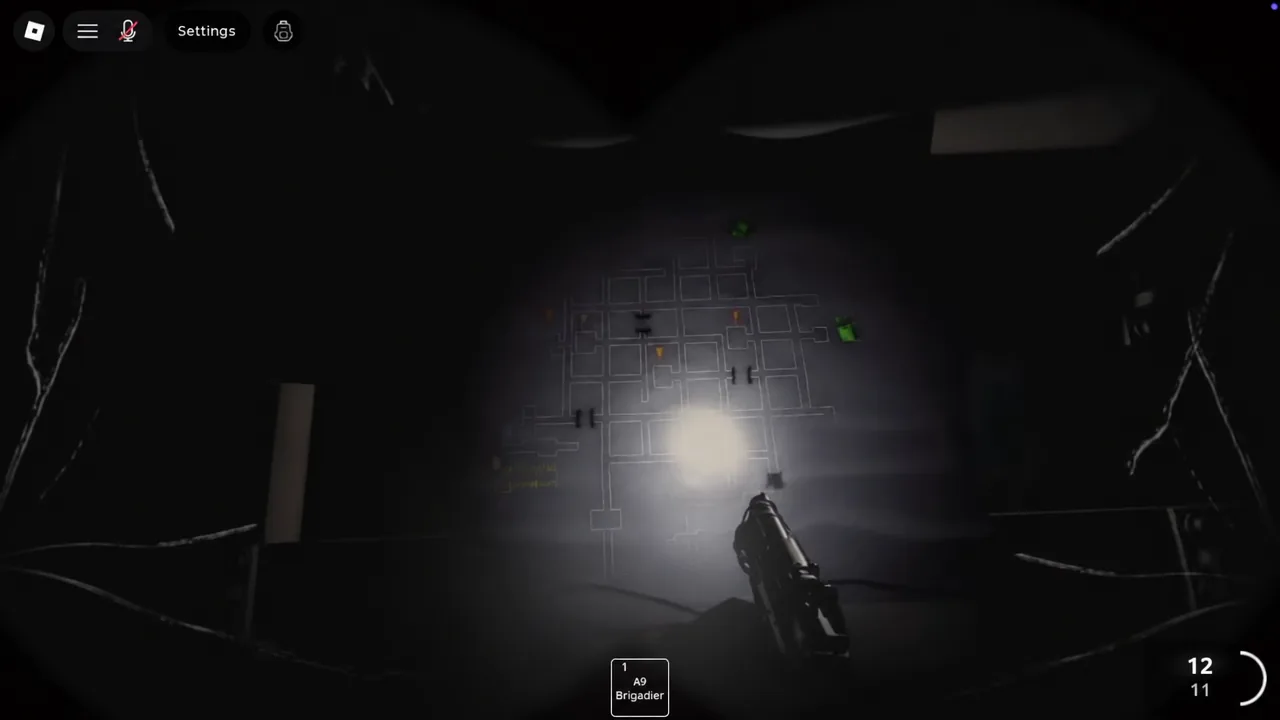
The shapes alone are not enough. The keypad expects the four symbols in the exact sequence you collected them, first to last. Write them down, screenshot each one, or use the in-game reference on the side wall of the keypad chamber, which lists your four collected symbols from top to bottom.
Since spawns are random across the nine rooms, no two runs produce the same code. Do not carry over a sequence from a previous attempt.
The hidden keypad in the yellow pump room
How to confirm the badge unlocked
A correct sequence triggers an immediate bright white flash, and the objective registers as complete. From there, the sequence continues into a retro office lounge where THE HIVEMIND dialogue begins at a computer terminal. Work through the conversation prompts, then walk into the white doorway exit. A disconnection popup appears, which is the final confirmation that the run closed out.
Some runs also involve picking up a red keycard on the ground after the keypad input and inserting it into a nearby computer terminal to finish the objective chain. NEUTRUSPHYRIA itself carries no rank advancement or gear unlock, so the badge on your Roblox profile is the payoff.