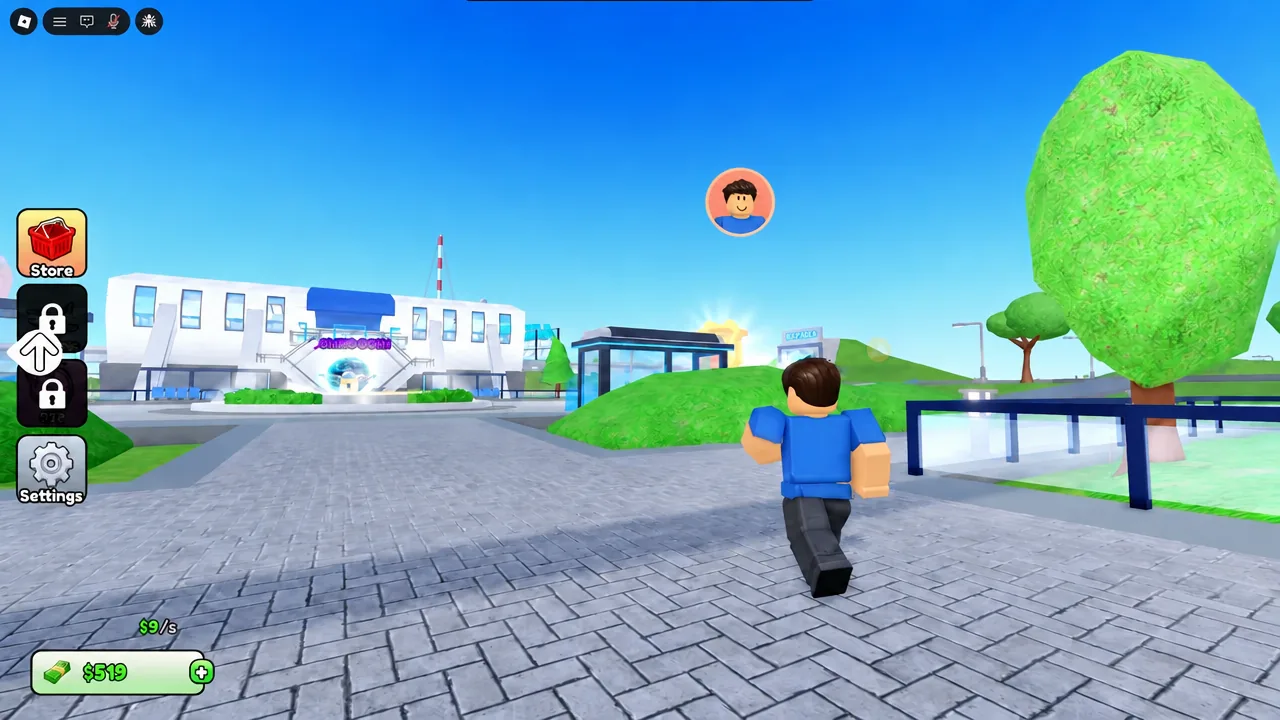
Airport Tycoon 2 by Fat Whale Games drops you onto an empty plot on a shared island and asks you to turn it into a working airport. Everything you own is bought by standing on a glowing build pad, and the cash to pay for those pads comes from passengers moving through your terminal. Finishing a plot means clearing every one of those pads, from the first patch of flooring to the VIP lounge on the second floor. You can find the experience on its official Roblox page.
Quick answer: Build every green pad on your plot in order, collecting cash from the collector machine as check-in lanes and parked planes generate income. The plot is complete when no green pads remain.
How build pads and cash flow work
After the opening flight cutscene you get a “Select Plot” map. Pick any free plot, hit PLAY, and you spawn next to your first build pad. The colour coding stays consistent across the whole plot.
- Green rings with a white arrow are build pads. The white text above each one shows the name and price, such as “Check In Desk $20” or “Wall $10”.
- Red rings mark locked lanes or paths you have not paid for yet.
- Blue rings are teleporters and reward pads.
- The collector machine holds the cash your terminal has earned. Walk into it to bank the money.
Two free cash injections are available early. A “New Player Gift: $1,200!” notification fires shortly after you start building, and the Group Rewards menu pays out a 500 cash gift once you join the developer’s Roblox group and press CLAIM.
Open Settings before you build anything. Realistic Flight Mode, Inverted Controls, Auto Collect, Lock Plane, Button Guide, and the MPH/KPH speed unit all live there, and turning Realistic Flight Mode off makes the first plane far easier to handle.
First floor build order
The pads unlock in a rough chain, so the sequence below is the one the plot pushes you through. Nothing is skippable, but cheap decorative pads can wait while you save for the flooring that opens new areas.
Unlocking the second floor, control tower, and VIP lounge
The $1,200 flooring purchase is the gate that opens the back area and the route upstairs. After that the plot branches into several build lines that can be worked in any order as cash allows.
- Departure boards, plants, and a waterfall in the rear section.
- Stairs to the second floor, a poster, and the outdoor tarmac area.
- A vending machine, plus the flight board listing Chicago, Los Angeles, New York, Auckland, Cape Town, Helsinki, and Dakar.
- A radio control tower you can climb, followed by gate doors and line ropes.
- A fire station with lockers, doors, equipment, and a buyable fire extinguisher behind “FIRE SERVICE AUTHORISED PERSONNEL ONLY” signage.
Upstairs runs the passenger-facing half of the airport. You build the food display and the Bob’s Brews counter, then the baggage claim conveyors, the second-floor security checkpoints, bag scanners, and passport control. The retail strip follows with a convenience store, shelves, registers, the WHALES DUTY FREE section, and a KRISPY’S donut shop.
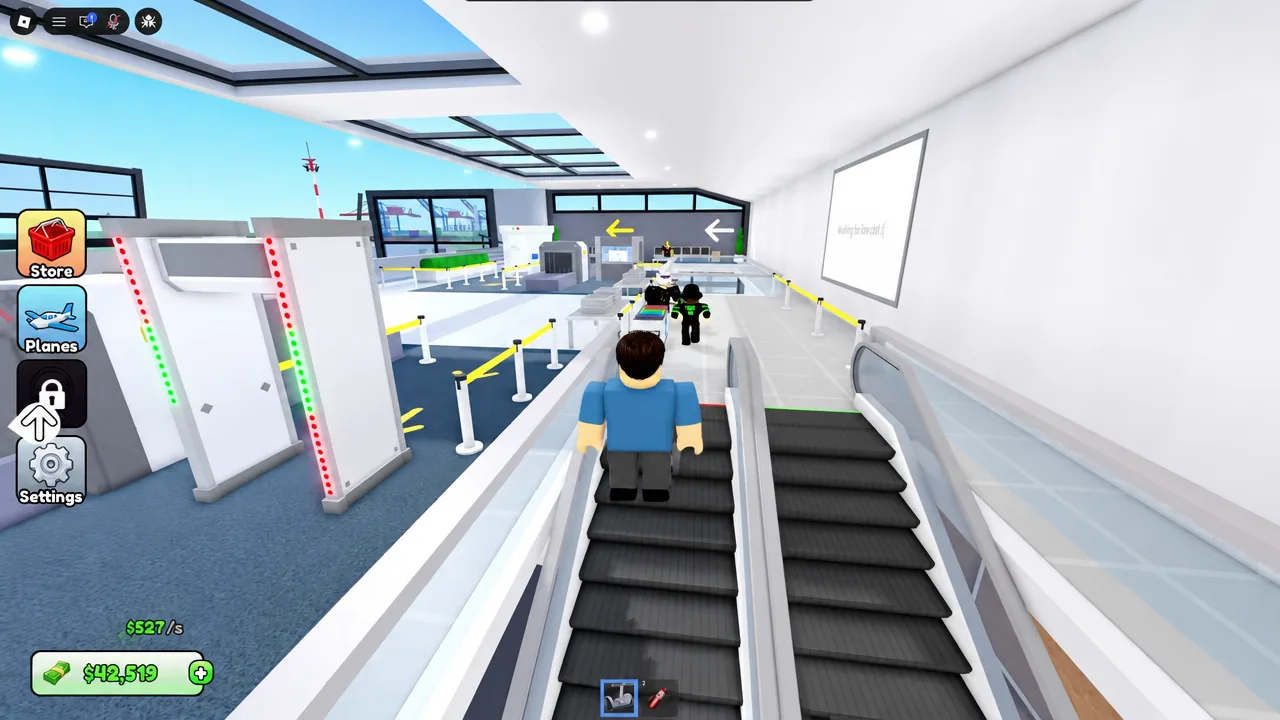
The VIP Lounge is the last major interior build. It comes with a buffet, a fireplace, luxury lighting, and a bar, with counter signs reading “american.”, “sushi.” and “desert.” A display model of a BRITISH AIRLINES Concorde sits inside the lounge as the final showpiece. Outside, structural posts and a helipad round out the plot, along with a novelty toilet decorated with a dog’s face.
Moving around the plot faster
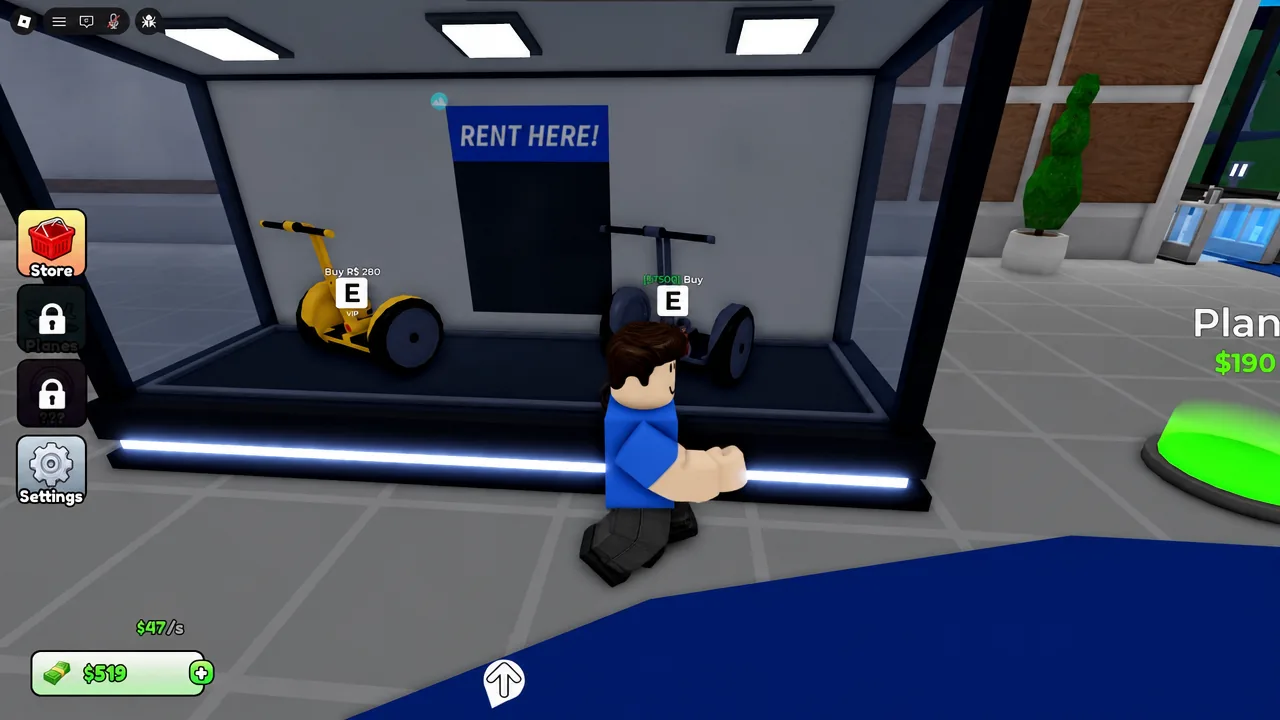
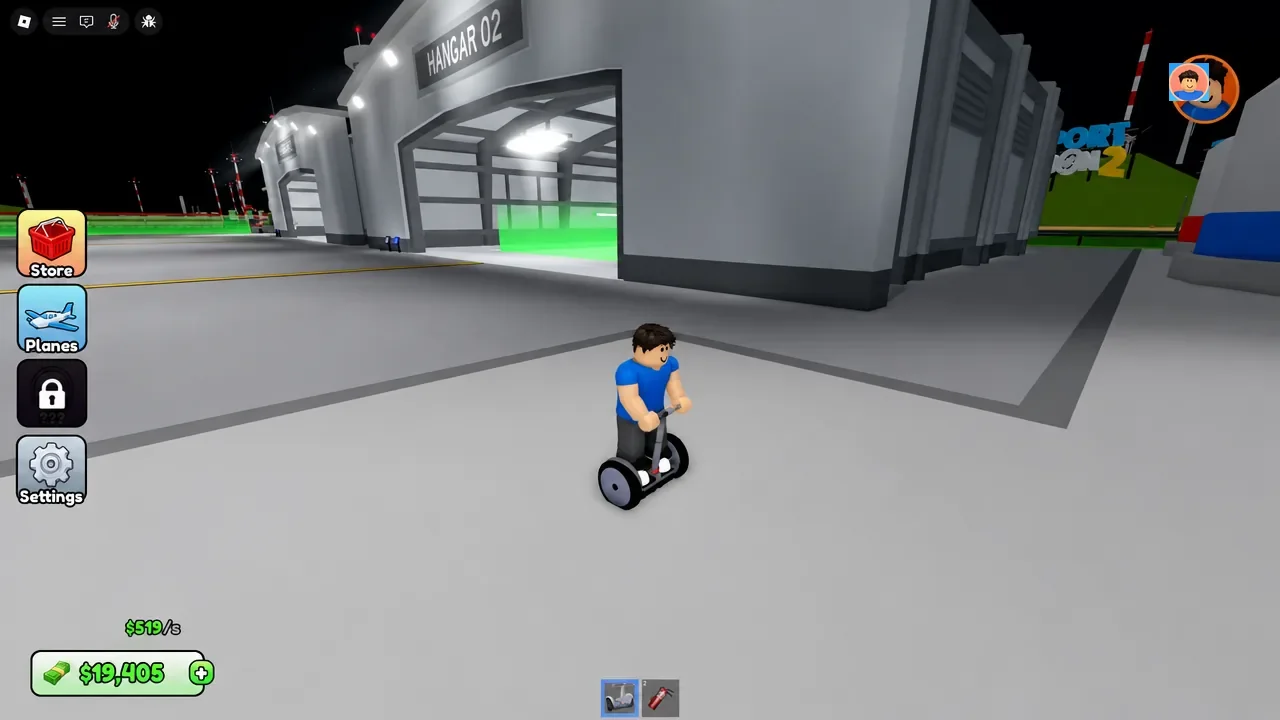
A completed airport is large enough that walking between build pads wastes real time. Roy’s Rentals solves that. The kiosk carries a “RENT HERE!” prompt and offers a Segway for $40 per rental or a permanent purchase at $5,280.
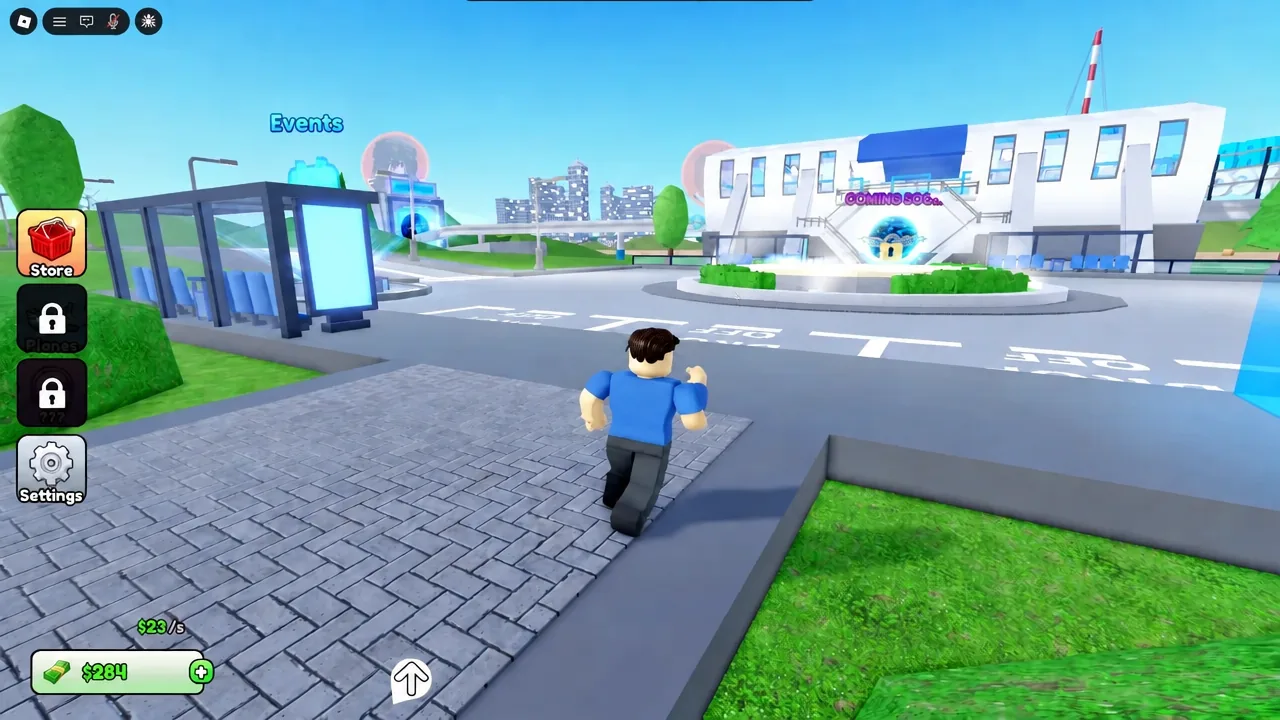
There is also an “AIRPORT TELEPORTER” bus stop labelled “Travel to others airports!” It sends you to other players’ plots on the same server, which is useful for seeing how a finished terminal is laid out before you commit cash to your own.
Game pass costs in Robux
Every pass is optional, but two of them change how the grind feels. Auto Collect banks your earnings without a trip to the collector, and 2x Cash doubles the rate coming in from lanes, kiosks, and parked planes. The Store button sits on the left side of the screen.
| Store item | Robux |
|---|---|
| Starter Money Pack | 72 |
| President Pack | 200 |
| Auto Collect | 240 |
| VIP | 280 |
| +2 Slots | 320 |
| 2x Cash | 480 |
The President Pack is the only one that changes your fleet rather than your income. It unlocks Air Force One, which is otherwise not purchasable with in-game cash.
Aircraft prices, income, and speeds
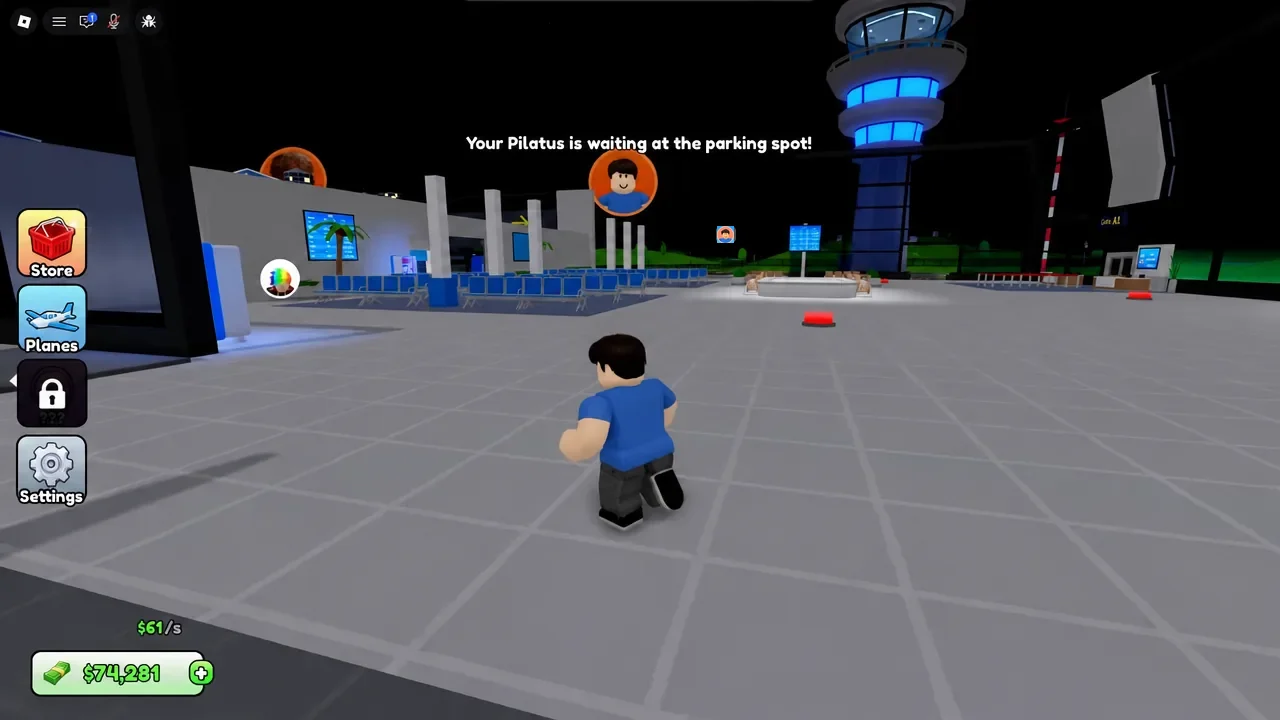
Planes are not just toys. Each one parked on your tarmac adds a passive cash rate on top of your terminal income, so buying the cheapest aircraft early accelerates everything that follows.
| Aircraft | Cost | Income | Top speed |
|---|---|---|---|
| Piper | $5,000 | $20/s | 142 mph |
| Cessna | $12,500 | $25/s | 150 mph |
| Twin Prop | $30,000 | $35/s | 280 mph |
| Pilatus | $39,000 | $35/s | 505 mph |
| Gulf Stream | Pass | $40/s | 510 mph |
| Air Force One | Pass | $40/s | 573 mph |
Seat counts scale with size. The Piper and Cessna carry three, the Pilatus six, the Gulf Stream ten, the Twin Prop fourteen, and Air Force One twenty-six. The big airliners sit further up the price ladder at $100,000 for the A320, $200,000 for the 737, $249.5K for the A340, $405K for the 747, and $3.6M for the A380. A helicopter, the Ultra Light, costs $24,500 and needs a helipad on the plot.
How to spawn and fly a plane
Crashing into scenery or another player’s terminal can leave you stuck at the crash site with a long walk back. Keep your first flights over open water until you are comfortable with the controls.
The three outer islands and the FATWHALEGAMES clipboard
Once you have an aircraft, three islands sit beyond the main landmass and the city. A Bora Bora style resort island is populated with NPCs, a snowy island holds a wrecked ship named “SAFETY FIRST”, and a desert island is built around pyramids and a strip called “SUNSTONE AIRPORT”. They are exploration destinations rather than income sources, and nothing on your plot depends on reaching them.
At the city construction site, NPC workers stand next to a clipboard reading “CODE: FATWHALEGAMES”. Entering it in the Store menu returns the error “That code isn’t on the flight manifest!”, in both lowercase and uppercase. The clipboard is a prop rather than a live reward, and no working redemption code is currently confirmed. New ones surface through the Fat Whale Games Discord and Roblox group when they are issued.
Confirming the plot is finished
There is no completion pop-up. Verification is visual, so do a full sweep of the plot and check that no green pads or white price labels remain anywhere on it. Walk the ground floor first, then the upper terminal and VIP lounge, then the exterior areas including the tarmac, fire station, helipad, and the base of the control tower. Any leftover green ring is an unbuilt item.
Red rings are the other thing to watch for. A red ring means a lane or path is still locked, which usually points to a prerequisite build you skipped rather than a missing pad. The “Arrival Gate Stairs 2 Required” prompt is a typical example of one build gating another.
With the plot cleared, your income settles into whatever your check-in lanes, kiosks, and parked fleet produce per second, and the only remaining spending is on larger aircraft. At that point the game shifts from construction to flying, and the A380 at $3.6M becomes the last realistic target.