Your first hours in Aniimo throw a lot at you at once. You are a Pathfinder exploring Idyll, catching creatures that double as your combat team, traversal tools, and Homeland workers. Getting the order right early saves you from wasted pods, misspent materials, and a roster that cannot clear the next fight.
Quick answer: Lock the correct server and link your Aniimo Pass before creating a character, follow the opening story until Twining, catching, and Homeland unlock, then build a four-role team around a single main damage dealer.
Set your server and link your account first
Aniimo runs on three servers, Aniimo-America, Aniimo-Europe, and Aniimo-Apac. Progress on each is separate, and once you create a character it is locked to that server with no transfer. If you plan to play with friends, agree on a server before anyone hits create.
Cross-platform play works only when every device signs in with the same Aniimo Pass. On console the account-linking prompt appears exactly once at first login, so read it instead of clicking through. If you already have an account, follow the existing-account path described in the official account notice.
Character names are unique and claimed first-come, so pick your name early. You can adjust the avatar’s appearance later, but the name sticks.
Follow the opening story until core systems unlock
The introduction teaches one system at a time in a fixed order: create your Wayfarer, make a first capture, choose a starter, learn Command and Twining, then finish Polaris Institute initiation before the transporter sends you to Nimbus Fields. Stay on the main objective through all of that. You will know the interface is fully open when the HUD prompts you to open the function menu after you join the Institute and reach the first badge scene.
Both starters, Helion and Lunara, are Light element, so the choice is about feel rather than coverage. Pick Helion for close-range burst damage, or Lunara for ranged, wide-area attacks with self-sustain. Your other elements come from captures, not this screen.
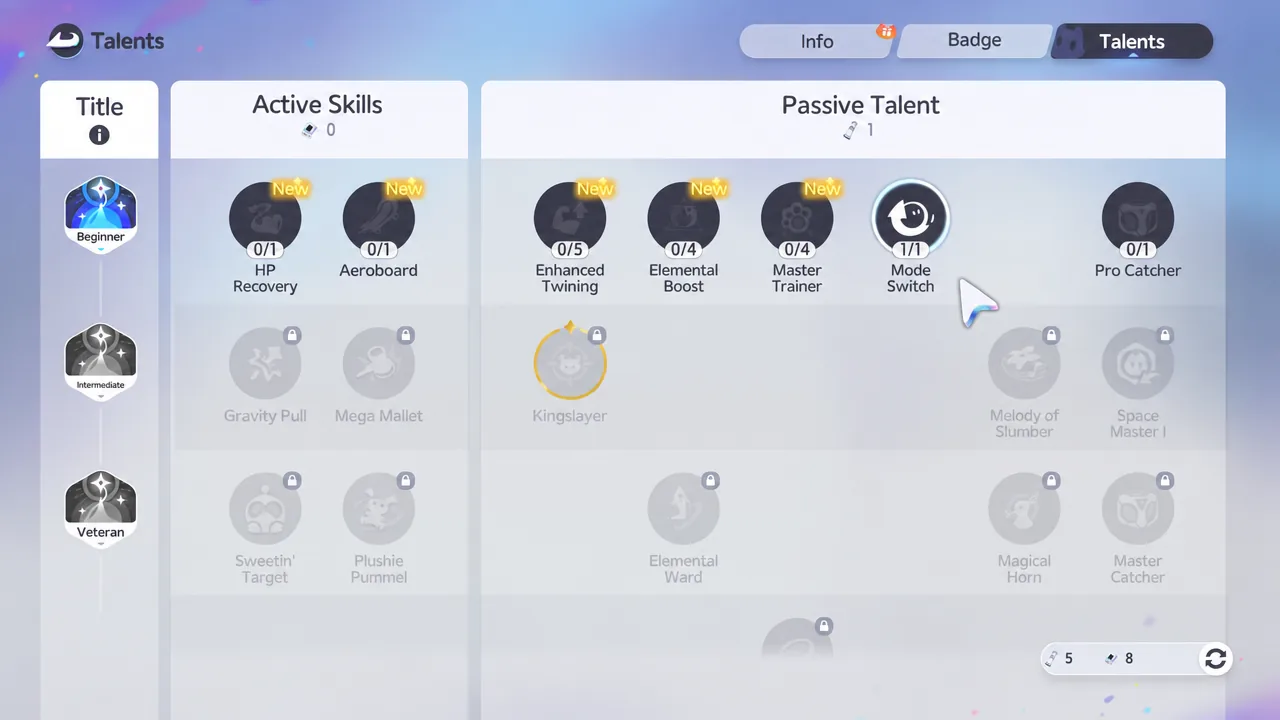
Spend your first character talent point on Master Trainer for a +10% experience bonus across catching and combat, and do not use an Experience Gem before activating it, or you lose that bonus permanently.
Once Nimbus Fields opens, treat the story quest as a spine and branch off only for a catch, chest, or puzzle already within reach. When progress stalls, read the next objective before grinding. You often need to finish a species task, advance a quest, or take a title assessment rather than earn more levels. Elite Training tasks are also the fastest way to raise your level and cap.
Learn Twining and the two combat modes
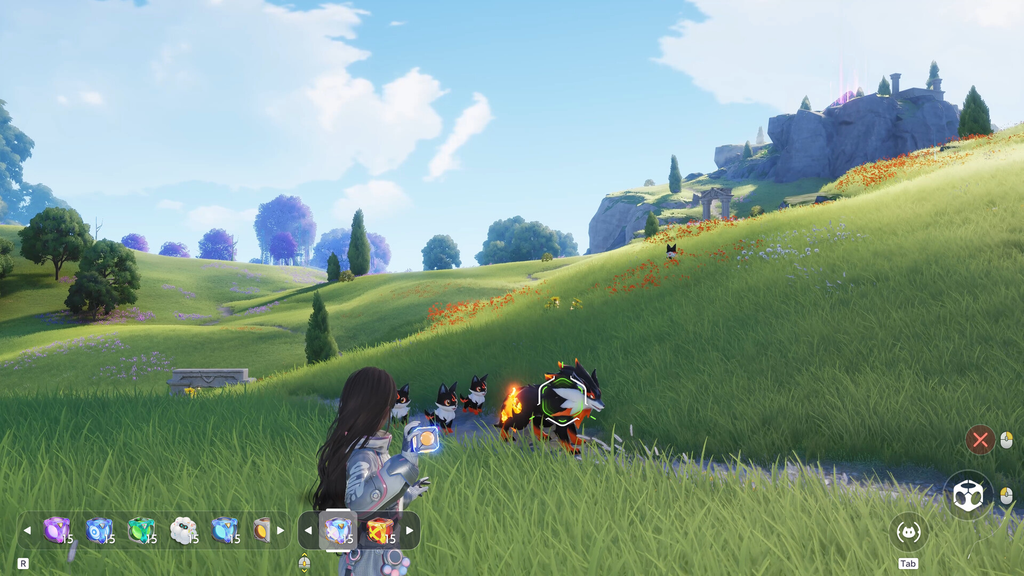
Aniimo separates giving orders from becoming the creature. Command Mode keeps the Wayfarer on the field while directing a companion. Twine Mode puts you directly in an Aniimo’s body, using its full kit, movement, and special interactions. The first fight forces you to use both, and Twining also becomes your traversal and puzzle tool outside combat.
Test each new companion somewhere safe before investing in it. Movement speed and attack timing vary widely, so check basic attacks, active skills, energy recovery, and its traversal action. Different Aniimo let you fly, swim, dive, tunnel, or interact with the environment. Keep useful traversal specialists even when they are not your strongest fighters.
Use Break to create openings
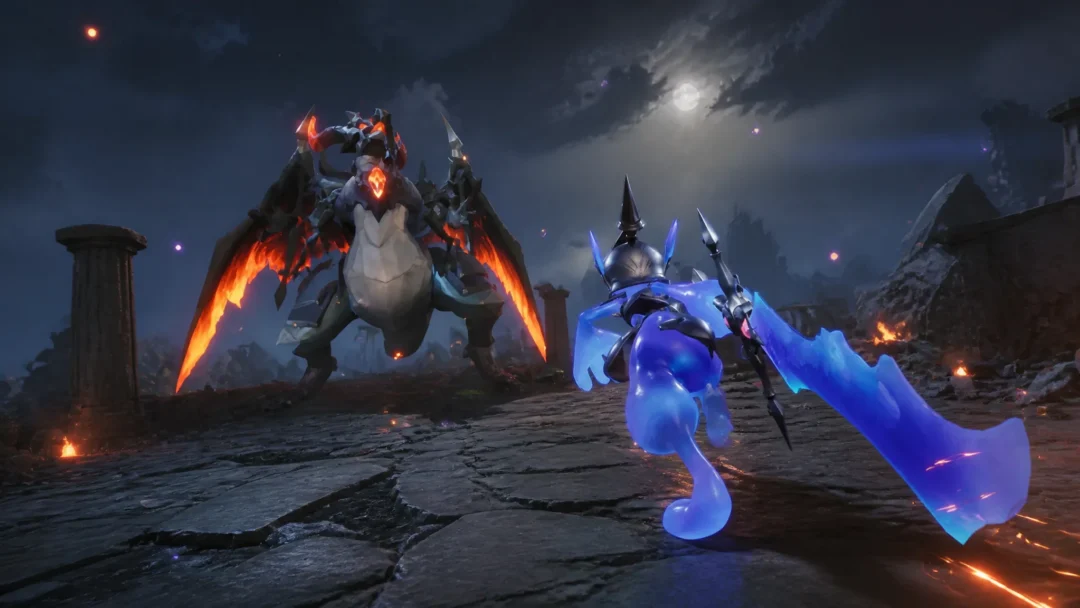
Break pressures an enemy’s poise, and when its resistance gives way you get a window for your strongest attacks. A reliable breaker helps your damage dealer land more work against tougher enemies, and it also raises your capture chance, so its value extends well beyond boss fights.
Manage EP and dodge before long attacks
EP is Energy Points, the resource spent on active skills. If you keep running dry, check how that specific Aniimo restores energy, since basic attacks, zero-cost actions, and team effects differ per creature. Read skills carefully: REGEN means energy recovery, not passive healing. A creature that keeps your skills available and one that restores health solve different problems.
Against a tough enemy, learn its pattern before unloading. Give yourself room, dodge the dangerous move, then attack during its recovery. If a fight keeps going badly, ask whether you were underleveled, out of EP, in a bad matchup, or simply standing in the same attack again. Only the first is fixed by more experience.

Build a four-role team
Your field team has four slots. Cover functions, not job labels, since one Aniimo can handle several roles and free a slot for something else. Start with this core.
| Role | What to look for |
|---|---|
| Main damage dealer | Reliable damage and a moveset you enjoy controlling |
| Breaker | Consistent Break pressure for openings and captures |
| Sustain or energy | Healing, shields, damage reduction, or EP recovery |
| Flexible slot | Extra element, control, support, or traversal for your route |
Read traits alongside active skills. A support buff might only help certain elements or need a specific trigger, so it is useful only if your team can actually use it. Do not level every catch equally. Keep your main attacker able to clear current encounters, then bring the rest of your core up enough to do their jobs.
Aniimo has nine elements: Fire, Water, Grass, Lightning, Ice, Earth, Wind, Light, and Dark. Use the in-game matchup information when facing unfamiliar opponents rather than importing another game’s type chart from memory. Different forms can change an Aniimo’s element and abilities, so check the exact form and species name before building coverage.
Catch Aniimo without wasting pods
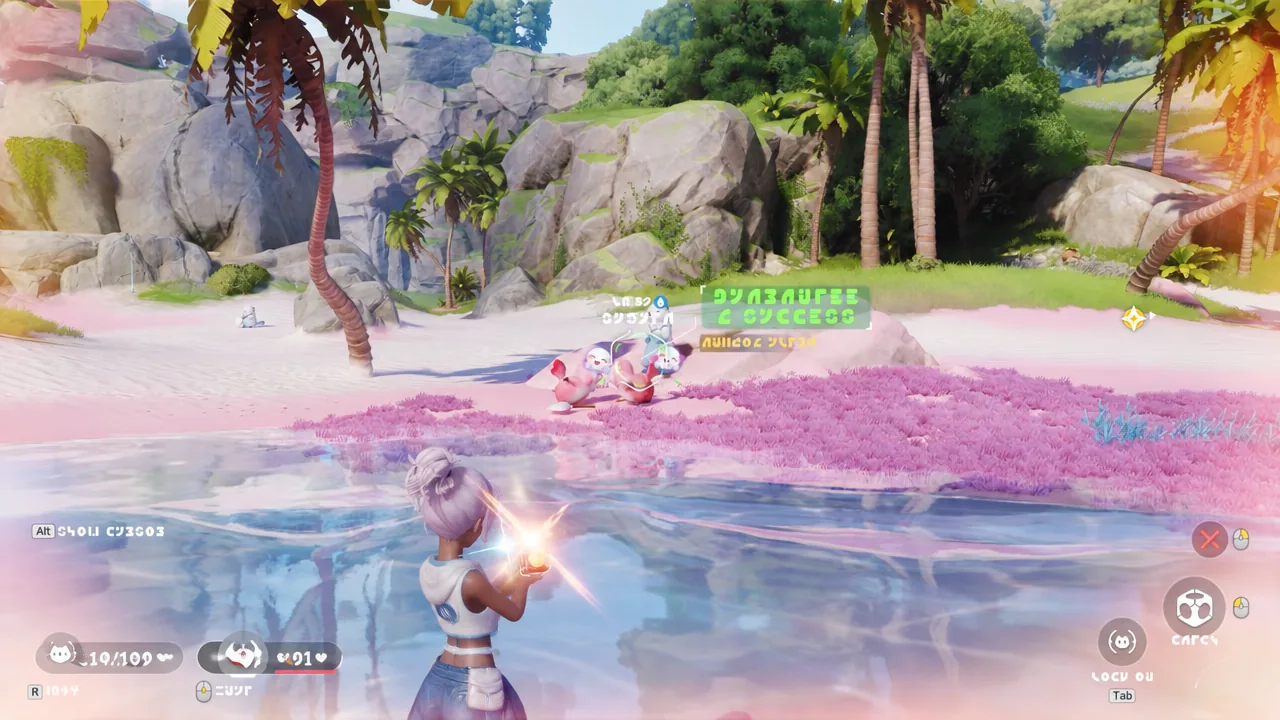
Good catching starts before you throw anything. Set up the attempt, then spend the pod. The percentage shown next to a target tells you whether the current throw is worth it.
Keep ordinary pods stocked for routine catches and save premium ones for targets that justify them. Specialized items are not simple upgrades: the Tumbler handles group captures, and a Legendary Aniipod belongs to a dedicated Legendary encounter. Lock your Ultra and Sparkling pods in the inventory so you do not spend them by accident. If supplies run low, check quest rewards, shops, and your Aniipod Maker at Home.
Explore Idyll and collect Lumin Amber
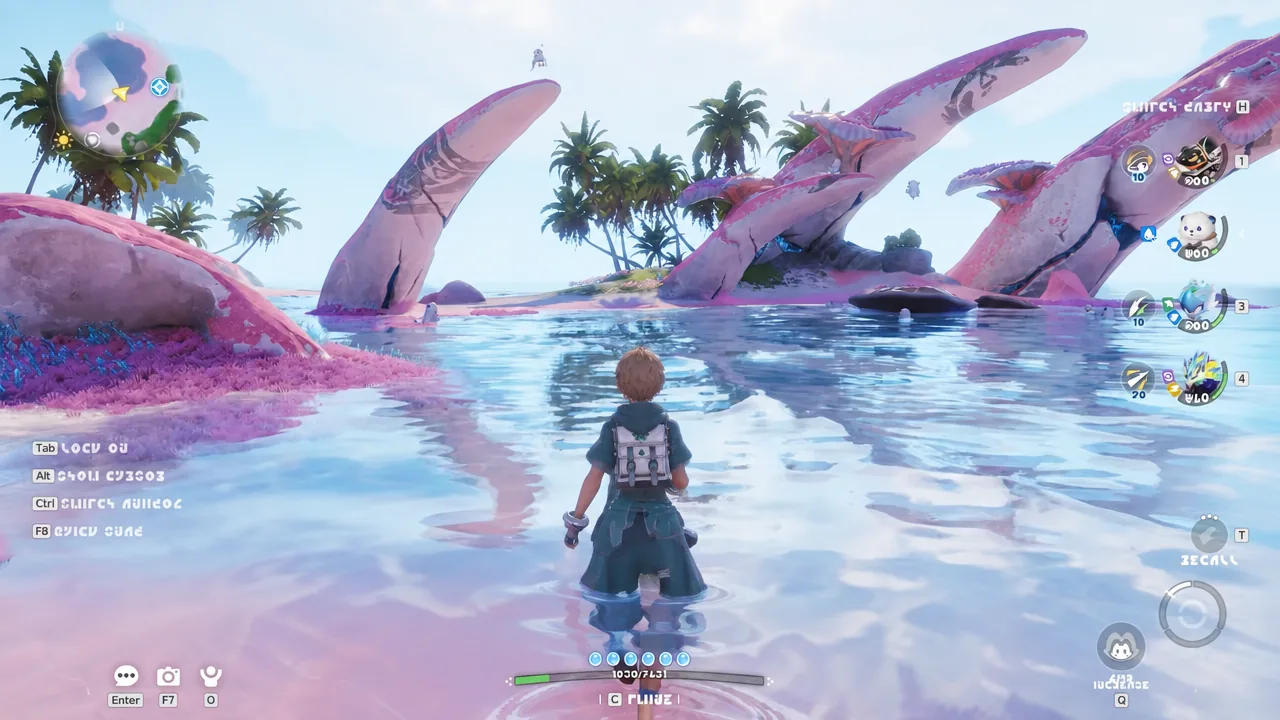
Where and when a creature appears matters. Time of day, weather, local happenings, and a region’s population all change which Aniimo and forms you find. If a creature is not where you expected, adjust those conditions before retracing your steps, and use the Aniilog for habitat and research notes.
Progressing the main story into Bloomville and resting unlocks the day and night switch, which controls time-specific spawns. That single feature widens what you can hunt considerably.
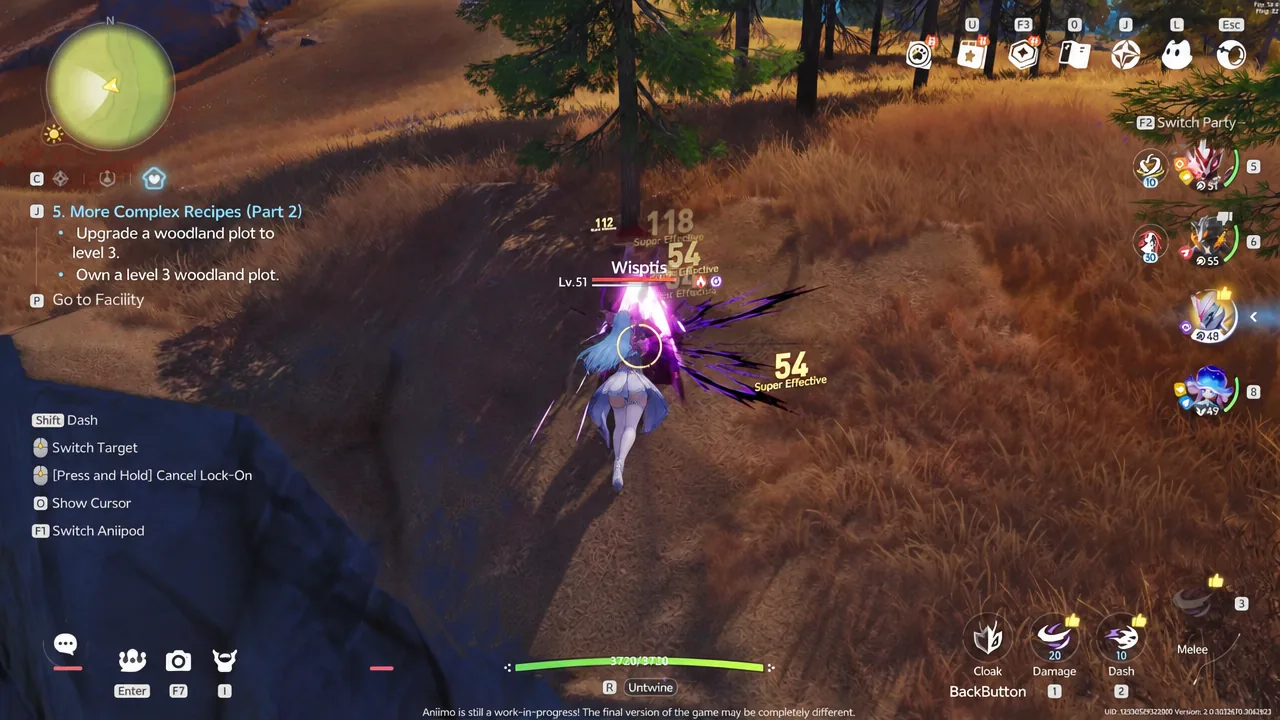
As you travel, activate Blooms and other fast-travel points, collect nearby Lumin Amber, and clear manageable puzzles. Lumin Amber feeds regional Branch progression, so return to the relevant Branch to claim unlocks and rewards. Mark obstacles you cannot solve yet and come back with a different traversal ability rather than trying to clear every corner on the first visit.
Keep an eye on the event schedule too. Limited-time events hand out rare resources and Aniipod vouchers, and check-ins, mail, and completed progression tasks often have claimable rewards waiting.
Spend materials and evolve deliberately
Before committing resources to a catch, ask two things: does this species and form help your team, and how good is this individual? Potential and traits answer the second question, not the first. A useful, imperfect companion can still clear quests and reach better opportunities, so do not stall your run chasing a Perfect appraisal.
Focus your limited resources on the units that stay on field, and know what each one does.
| Resource | Purpose | Early priority |
|---|---|---|
| Lumin Amber | Regional Branch progression | Collect on route, claim Branch rewards |
| Experience Gems | Direct leveling | Spend on your active core |
| Astranite | Resonance progression | Check the grade needed first |
| Home Coin | Home economy | Favor useful production and facilities |
| Glimmer | Shop purchases | Compare options before spending |
Level and skills come first, then work on Resonance as progression allows. Resonance Star-Up and its Ascend stages raise base attributes and CP, and it also unlocks Capability Points for specialization. Read the requirements whenever you hit a training limit.
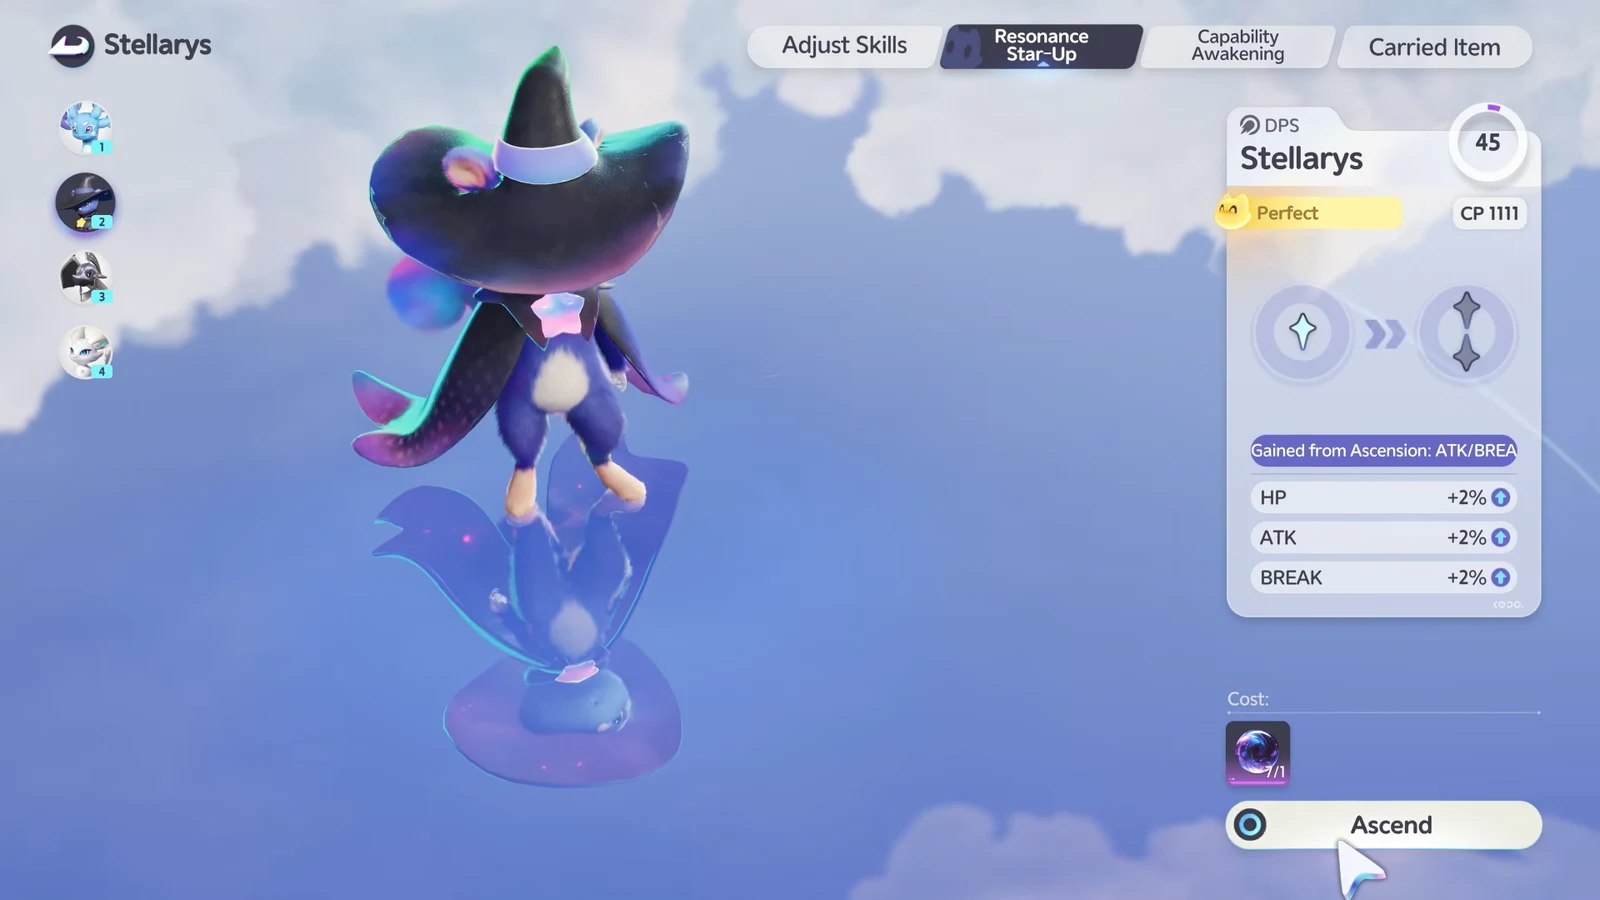
You can reset Capability Awakening below level 60 and recover your training items, and Capafruit effects transfer through inheritance, which gives you room to experiment. That does not make every upgrade refundable, so check the relevant screen first. The developer’s training notes confirm these rules.
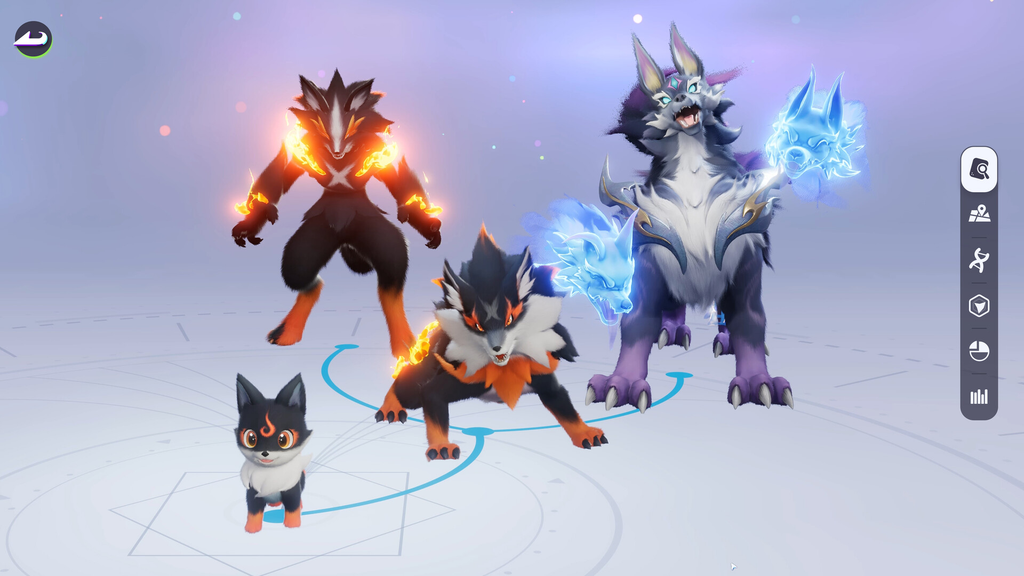
Evolution has no single universal level requirement. Routes can involve species tasks, skills, encounters, or quest progress plus materials, and branches lead to different combat roles. Check the destination in the Aniilog before spending, since a branch is not guaranteed to be reversible. Also separate permanent evolution from combat transformations: Lunara’s Fennelun and Helion’s Soleon are tied to their Ultimates and last only until combat ends.
Set up Homeland as soon as it unlocks
Homeland is your campervan base, unlocked through the Prologue: The Mysterious RV quest. It supports your adventure with crafting, farming, food, and production, and much of it runs in the background, so an early start compounds over days. Get useful processes going before heading back out.
Assign workers by each Aniimo’s Home abilities, not its combat strength, and keep useful workers when sorting duplicates. Send creatures on time-gated Expeditions from the RV for passive materials. Build around your current needs: if pods run short, prioritize the Aniipod production chain; if an upgrade needs processed materials, start making them before you need the stack.
When production stalls, check inputs, worker assignment, storage, and facility requirements. Adding another machine will not fix a missing ingredient. Keep hatching, crafting, and RV tasks moving, and leave decorating until the essentials are running.

Beginner mistakes to avoid
- Building four similar attackers instead of covering Break, sustain, and different situations.
- Ignoring how a kit restores EP, then running dry mid-fight.
- Throwing premium pods without preparing the catch first.
- Farming a habitat under the wrong time, weather, or form conditions.
- Evolving without reading where the branch leads.
- Releasing every duplicate before checking form, quality, and Home usefulness.
- Spreading upgrades thin across the whole roster instead of a reliable core.
- Leaving Home production idle instead of queuing supplies your next trip needs.
- Chasing Perfect rolls before your team and access are functioning.
By the end of your first few sessions, aim for a team you understand, a steady supply of Aniipods, several fast-travel points active, and a clear next objective. That foundation lets you chase rare forms and harder battles with enough pods in your bag to actually catch them.