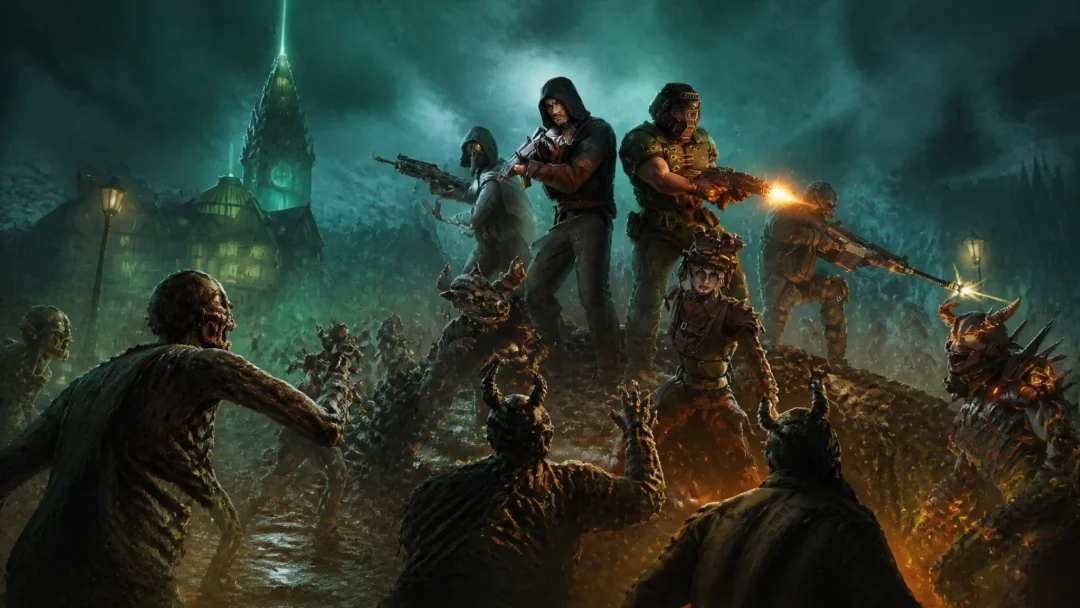
The Arbiter Armor set is the strongest armor in The Blood of Dawnwalker, and it only exists if you build it yourself. A side quest called A Bulwark Against Darkness hands Coen a shopping list of four obscure crafting materials, scatters them across four unrelated questlines, and then asks him to fight for the privilege of wearing the result. Finish the whole chain and the Arbiter’s Regalia trophy pops.
Quick answer: Bring the Uriashi blacksmith a Relic of a Saint, a Flask of Quicksilver, a Bundle of Silk Threads, and the Moult of a Large Lizard, then survive the binding ritual she performs.
All four Arbiter Armor components
| Component | Where it is | Requirement |
|---|---|---|
| Flask of Quicksilver | Top of Aurelius’ Tower | Home Sweet Home + 4 Time Segments |
| Relic of a Saint | Four possible relics | One relic of any kind |
| Moult of a Large Lizard | Cave east of Muddy Trail | None |
| Bundle of Silk Threads | Murohn burrow, or Sanzhani merchant | Come Hither, or 5,000 Denarii |
You only need one relic, not all four, and the blacksmith accepts components one at a time. There is no penalty for dropping off materials as you find them.
How A Bulwark Against Darkness starts
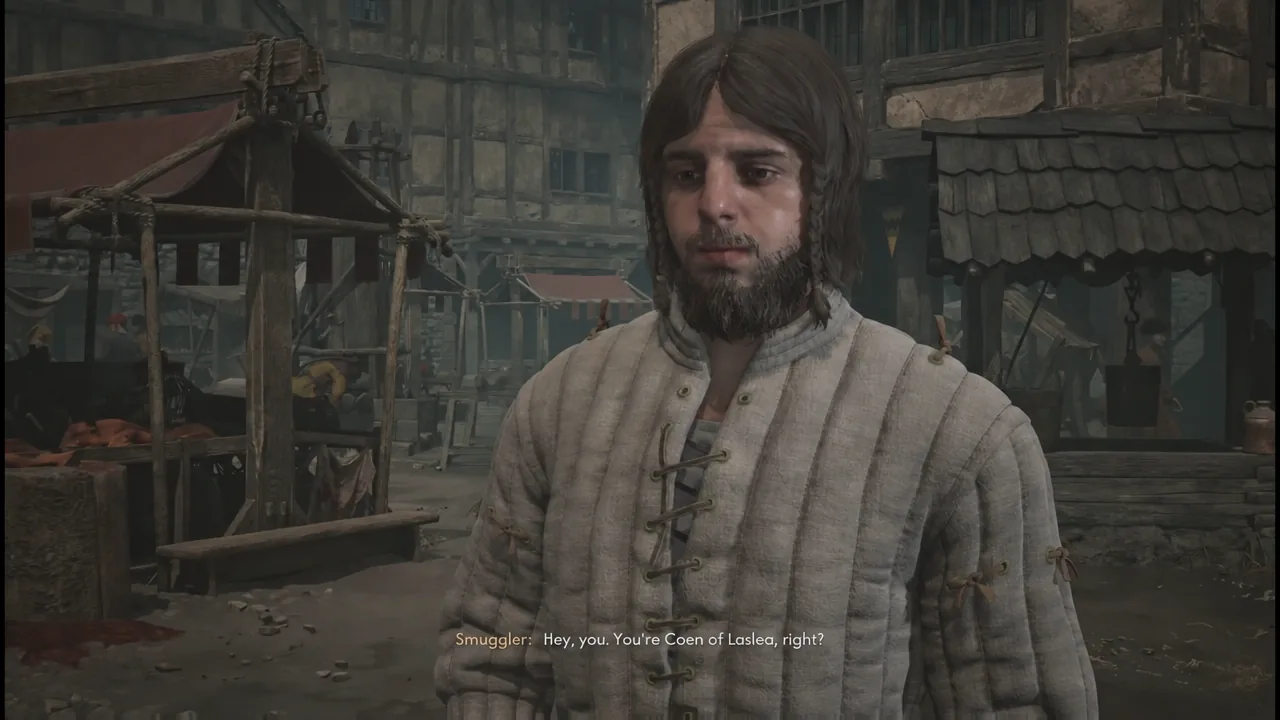
The quest is gated behind reputation rather than progress. Reach Infamy Level 4 (Notorious) and a smuggler will find Coen in the Altenmarkt district of Svartrau City to pass along the letter. If you have already finished Echoes of Silenced Bells, Anca can hand it over directly instead.
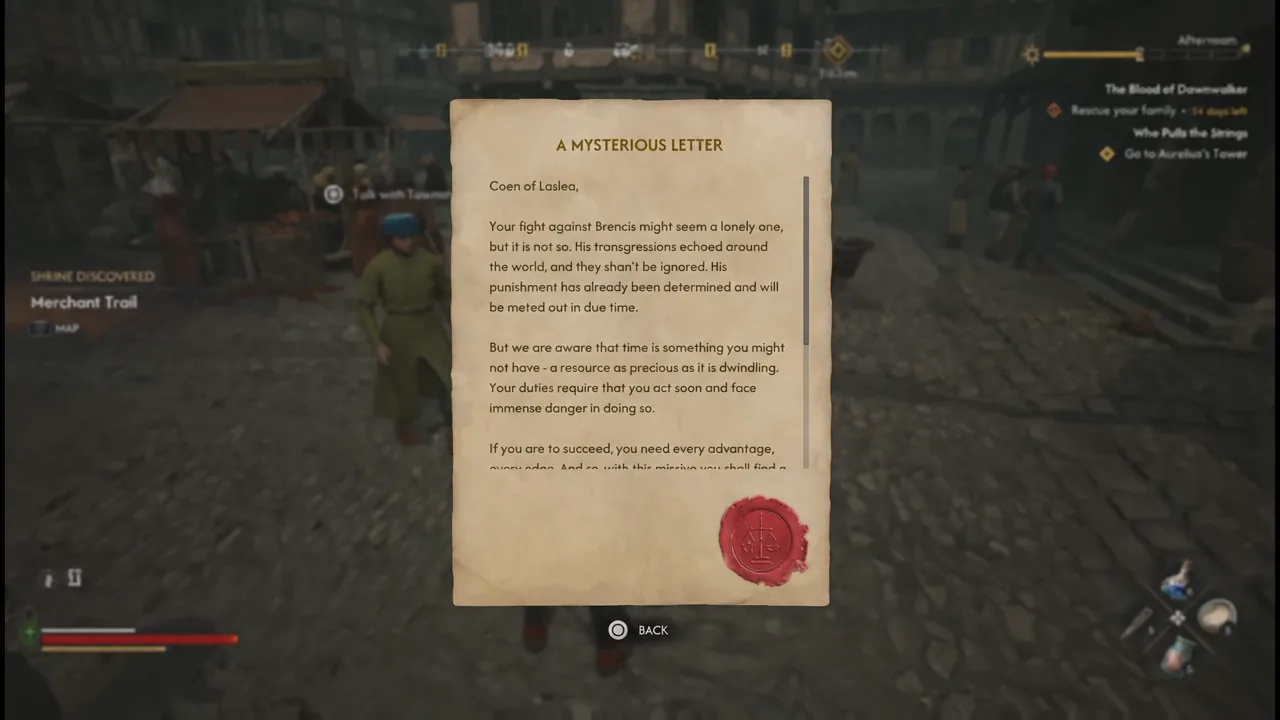
Open your inventory and read A Mysterious Letter. It lays out the fight ahead against Brencis, the schematics for the armor, and a deliberately vague description of the four materials the smith needs. Reading it is what places the quest in your journal.
You can talk to the Uriashi blacksmith first for context, but it is not required. Skipping straight to material hunting loses nothing.
Where to find each component
Flask of Quicksilver
The flask sits in Aurelius’ experiment room at the very top of Aurelius’ Tower, also called Silts Tower, in the southwest of the map. You must clear the Home Sweet Home side quest before the room is reachable, and unlocking its door costs 4 Time Segments. Once you are inside, the flask is simply lying on the table.
Relic of a Saint
Four different relics satisfy this requirement, so most players already have one without realizing it.
- Saint’s Tibia — a corpse under a ladder at the westernmost end of St. Tyna’s Convent, reachable during Echoes of Silenced Bells.
- The Relic of St. Tyna — also in the convent during Echoes of Silenced Bells, behind a door opened with the Monastery Keys.
- The Relic of St. Dasius — the second floor of Xanthe’s Manor during The Cycle of Love, or bought from Vicho after A Study in Crimson.
- The Relic of St. Tobias — looted from a corpse’s hand during The Night of Horrors.
The Saint’s Tibia is the cheapest option in terms of detours, since you pass its corpse naturally while working through the convent. Search it deliberately, because nothing flags it.
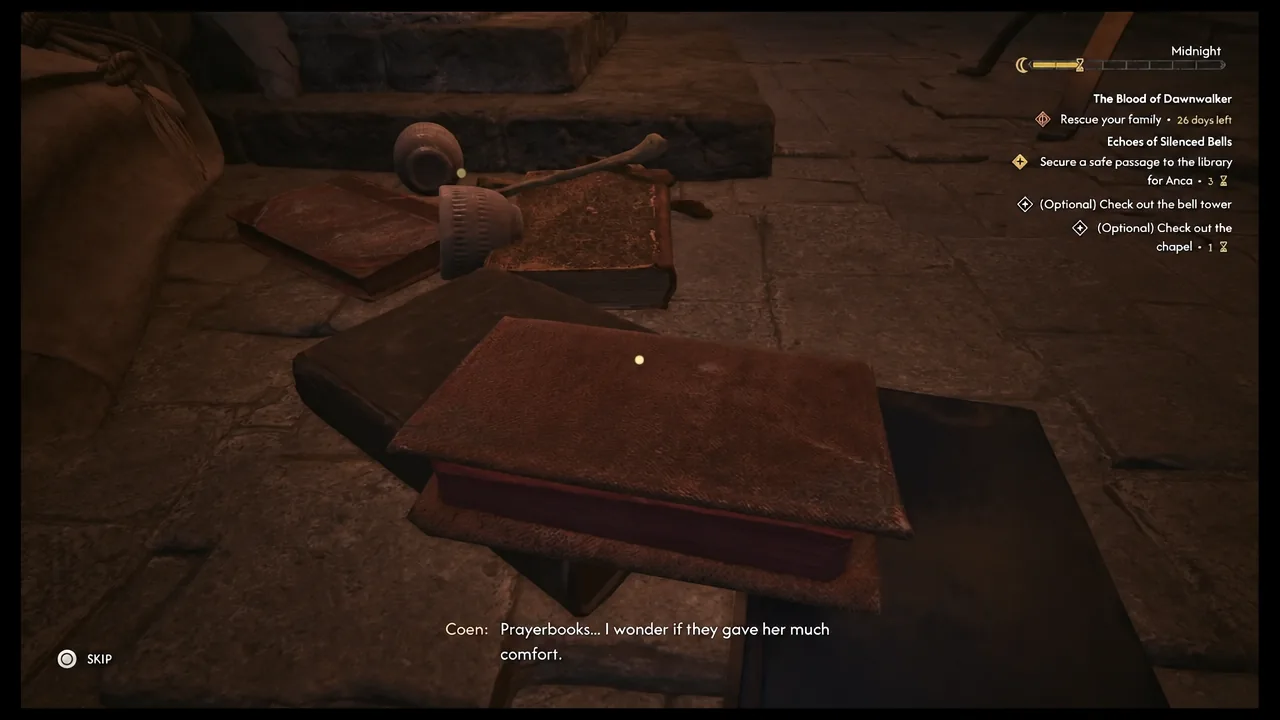
The Relic of St. Tyna is also needed for the Most Precious Thing quest. Hand over a different relic if you want to keep that option open.
Moult of a Large Lizard
This is the only material with no quest attached. Fast travel to the Muddy Trail shrine, west of Maragir Wealds, then walk east until large slime trails lead you into a cave mouth. The moult is on the ground at the back, usually guarded by a couple of Tatzelwurm. If you already killed one of those creatures during Bittersweet Toast, check your inventory first — the moult may be sitting there.
Bundle of Silk Threads
The free route runs through the Sanzhani questline. Finish Good Home, then head north of the Vedera Marsh Guardpost fast travel point to pick up Come Hither. Inside the burrow where you fight the Murohn, the threads are lootable off the floor once the fight ends.
If you would rather pay, the Sanzhani merchant stocks a bundle for 5,000 Denarii after you complete Pearly and Precious. That is a steep price for something the burrow gives away, so the quest route is the better deal unless you are swimming in coin.
Forging the Epic set at the Uriashi Hermitage
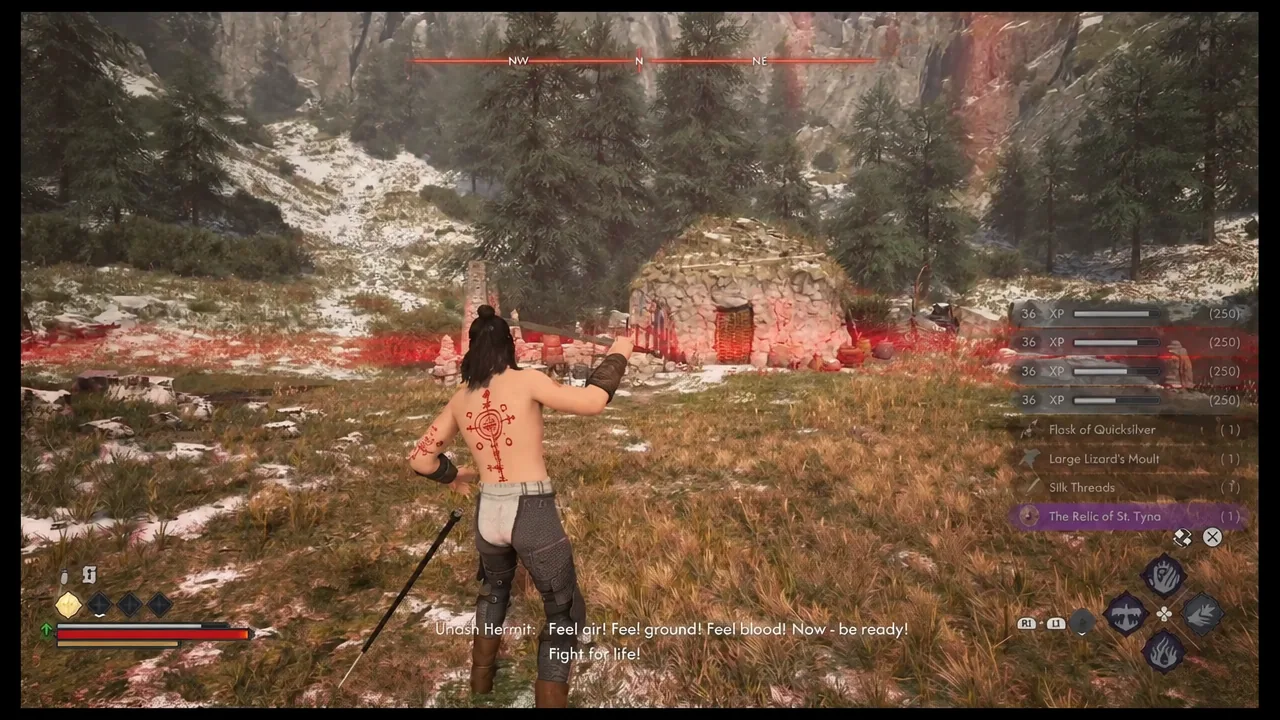
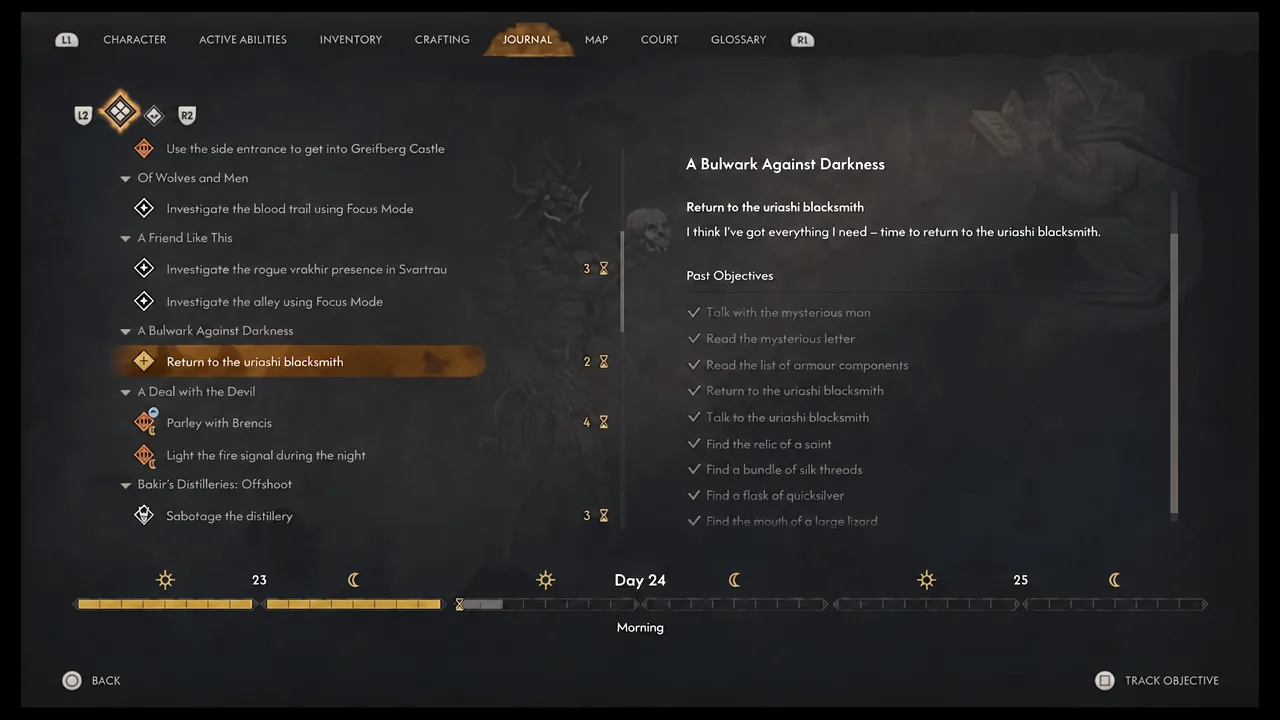
With the materials collected, your journal points you back to the smith with the objective “Return to the uriashi blacksmith.” She works out of the northwestern corner of the map, near the Uriashi Hermitage fast travel point and the Briar Sloughs. If you have already restored St. Mihai’s sword, you know the spot.
The binding ritual fight
Handing back the Epic set begins the ritual, which costs 3 Time Segments. The smith works at the anvil inside a red boundary while Coen holds the line outside it. Waves of vrakhir wolves come first, followed by a towering Ursine Apparition — a shadow bear that is the real test of the encounter.
You do not need to protect anything beyond yourself. Kill everything that spawns and the ritual completes on its own. Afterwards the smith, who finally gives her name as Nare, binds the finished armor and sends Coen off to deal with Brencis.
Fighting the wolves and the bear without your equipment is a serious handicap. Double-check your loadout before you trigger the ritual.
Rewards and how to confirm the trophy unlocked
Once the fight ends and you speak to Nare again, the side quest closes and four Legendary pieces land in your inventory.
- Enhanced Armour of the Arbiter
- Enhanced Shin Guards of the Arbiter
- Enhanced Bracers of the Arbiter
- Enhanced Boots of the Arbiter
The “Enhanced” prefix is your confirmation. If the pieces in your inventory still read as plain Arbiter items at Epic rarity, the ritual has not been performed yet and the trophy will not fire. The quest completion screen appears at the same moment, alongside the Arbiter’s Regalia unlock — a bronze trophy on PlayStation and 20 Gamerscore on Xbox, described as gathering all the parts of the Arbiter’s set of armour and unlocking their full potential.
Keep the set upgraded to your current level at any blacksmith and it stays the best armor available for the rest of the run. Pair it with the Imbued Sword of St. Mihai from the Forge It Anew chain and Coen is about as well-equipped as the game allows.