RuneScape Dragonwilds: How to Complete All Raid Puzzles (Pylon Order)
Every Anima Pylon, siphon timer, and circuit sequence from the opening courtyard to the Gates of Culdra.
Every Anima Pylon, siphon timer, and circuit sequence from the opening courtyard to the Gates of Culdra.
by Kabir Anand
The raid run through Gornfell, Fellhollow and Dowdon Reach is built on one repeating idea: you carry an element, and the environment only reacts to the element you are currently holding. Every locked barrier, dead pylon and sealed gate along the route is a variation on that rule, ending with a four-part circuit puzzle in front of the Gates of Culdra.
Quick answer: Light all four Anima Pylons — Water and Earth in Gornfell, then Fire and Air at the keep — and finish by connecting the final circuits in Air, Water, Earth, Fire order.
How attunement and Anima Pylons work
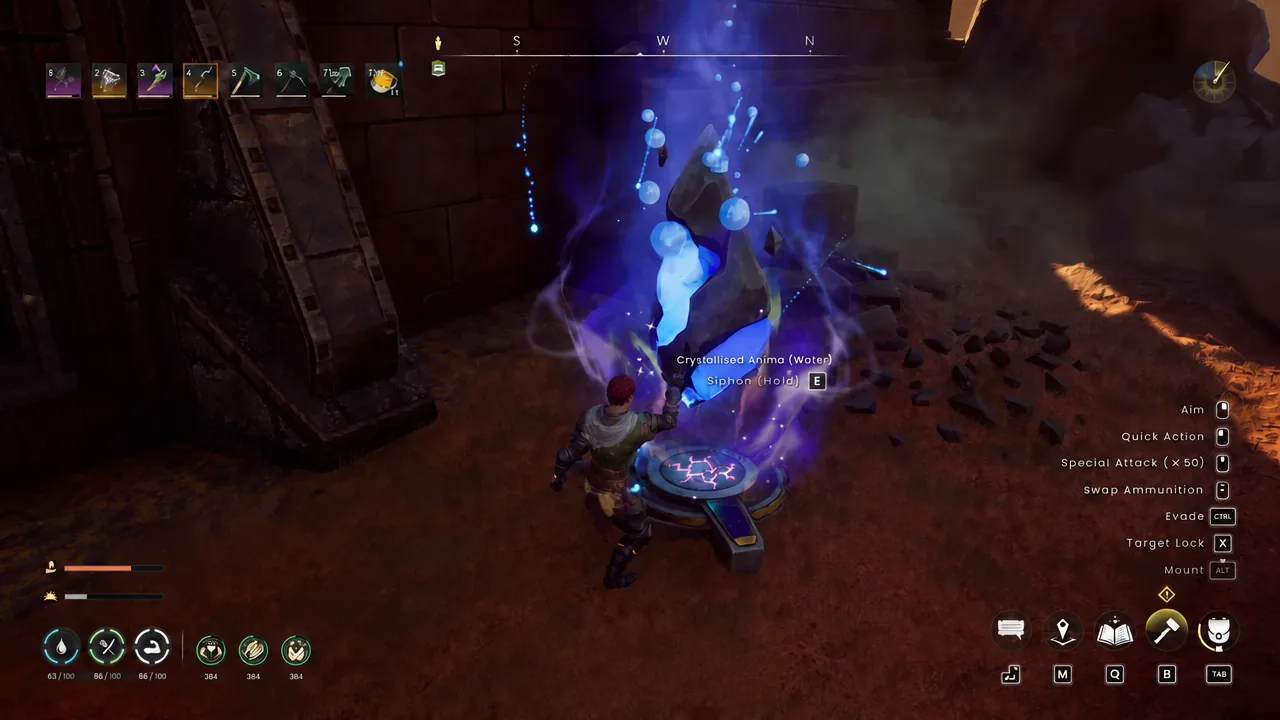
Attunement comes from two sources. You can siphon it directly from a coloured vent or a node of Crystallised Anima, or you can charge an attunement meter by killing enemies that carry the matching element symbol. Both methods put the same element on your character, and both are temporary.
Siphoned attunement runs on a 30-second timer. That window is the actual puzzle in several rooms — it is how long you have to sprint past flame emitters, cross a barrier, or climb a tower before the element drops off and the obstacle turns hostile again.
Enemies display an element symbol; killing three attuned enemies in quick succession activates an Ammo Orb Dispenser.
An Anima Orb is carried by hand and slotted into an empty Anima Pylon.
A seated orb does nothing until you attune to the matching element and activate the pylon.
Windstep is required for most vertical routes, including the fire tower and the floating ruins.
All four Anima Pylons and how to charge them
Pylon
Location
Charge method
Water
First arena past the gate
Orb from dispenser, attune at vent
Earth
Gornfell keep grounds
Circular glyph attunement
Fire
Keep upper platform
Orb from burning tower, 30s timer
Air
Keep upper battlement
Three Air-attuned Skeletal Warriors
The Water and Earth pylons open the path into and through Gornfell. The Fire and Air pylons sit together on the same upper platform, and the Air Pylon is the one that finally unlocks the gate to Fellhollow.
Kill three attuned enemies back to back. Watch the symbols above them, because the dispenser only powers up when the kills land in quick succession. The Ammo Orb Dispenser then produces an Anima Orb.
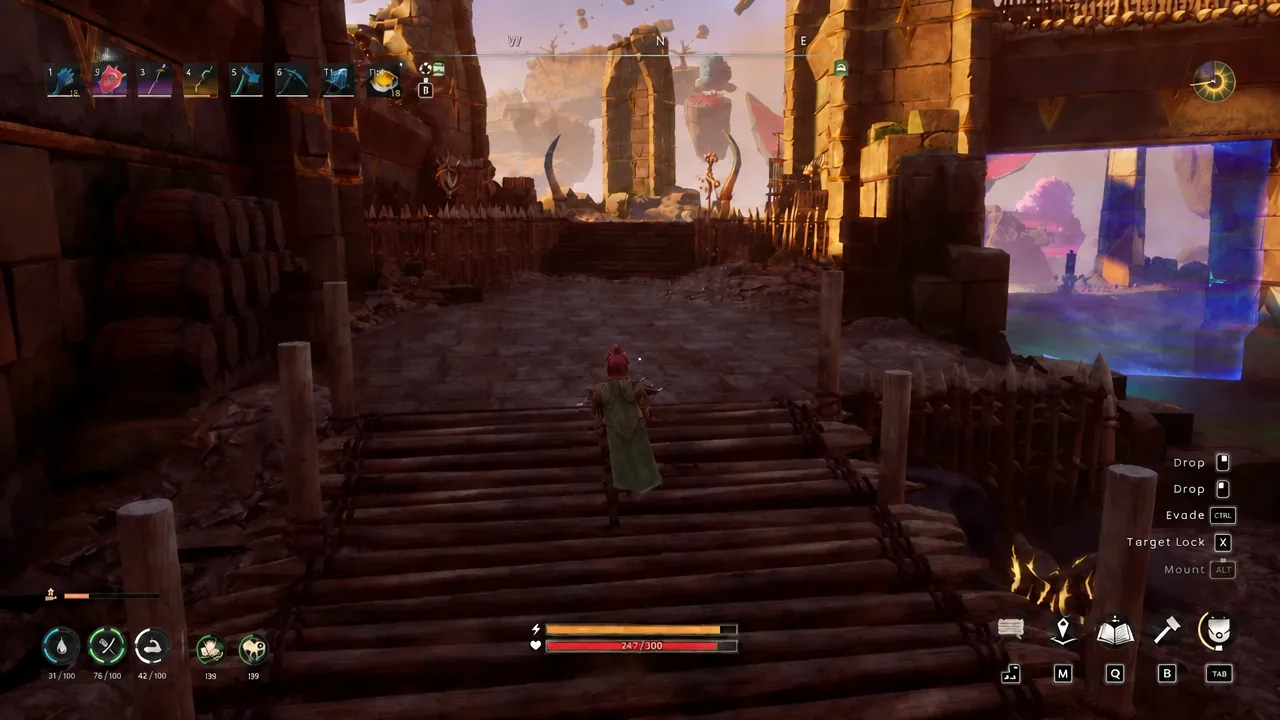
Crossing the bridge toward the fortress on the approach to the first pylon arena. Image: Jagex
Carry the orb over, pull the lever next to the chest, and drop the orb into the Anima Pylon. Attune to water, activate the pylon, and the barrier ahead drops.
Move into the Gornfell keep area and find the circular glyph on the ground. Attuning to Earth there lets you switch on the green Earth Anima Pylon. The stone room above it opens up with a chest and a Sanguine Urn inside.
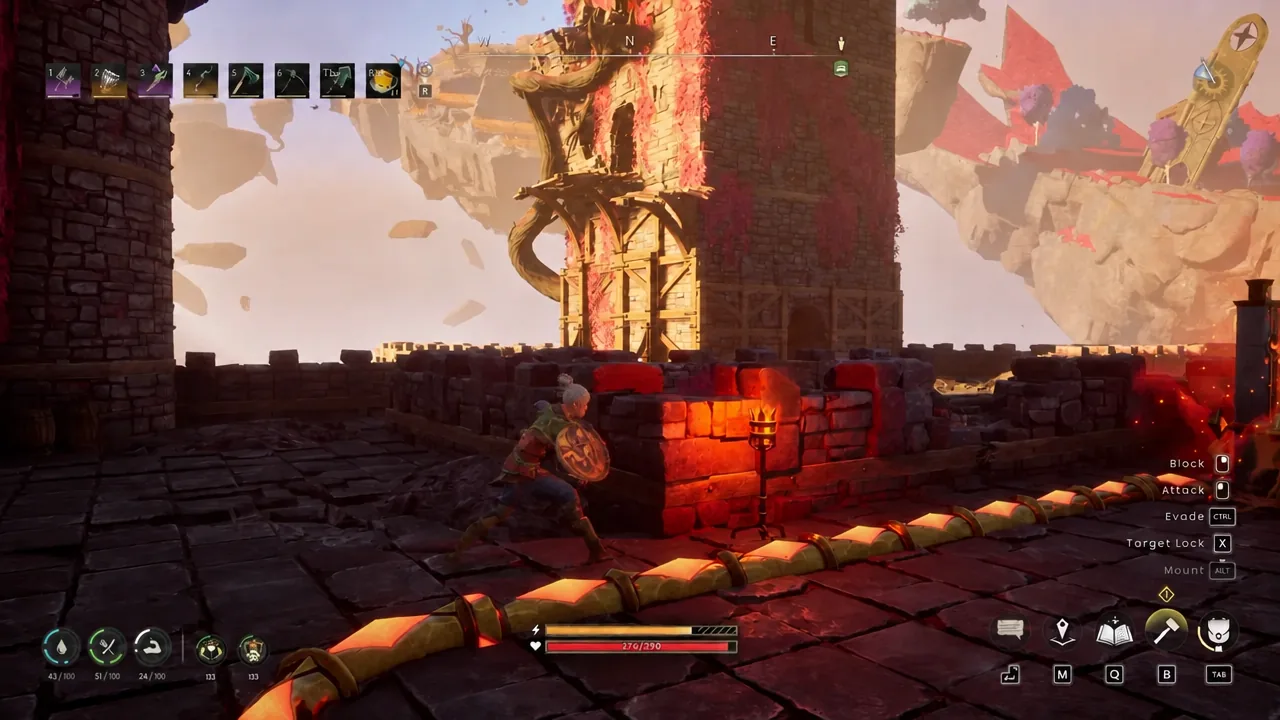
Enter the burning tower room and attune to Fire. With the 30-second timer running, Windstep up the tower, manifest an Anima Orb, and drop straight back down. Slot the orb into the pylon and ignite it with your Fire attunement.
Taking cover inside the burning tower before the Fire attunement run. Image: Jagex
Drop into the courtyard below and kill three Air-attuned Skeletal Warriors to fill the Air attunement meter. Climb back to the battlement, activate the Air Pylon, and the gate to Fellhollow opens.
Clear the chest and Sanguine Urn in the Earth pylon room before you head up the keep, because the route through the fortress runs one way toward the battlements.
Fellhollow: flame traps, levers and the sewage route
Work your way into Fellhollow while avoiding the yellow poison gas clouds. The descent mixes straight drops down stone cliffs with Windstep hops across ledges.
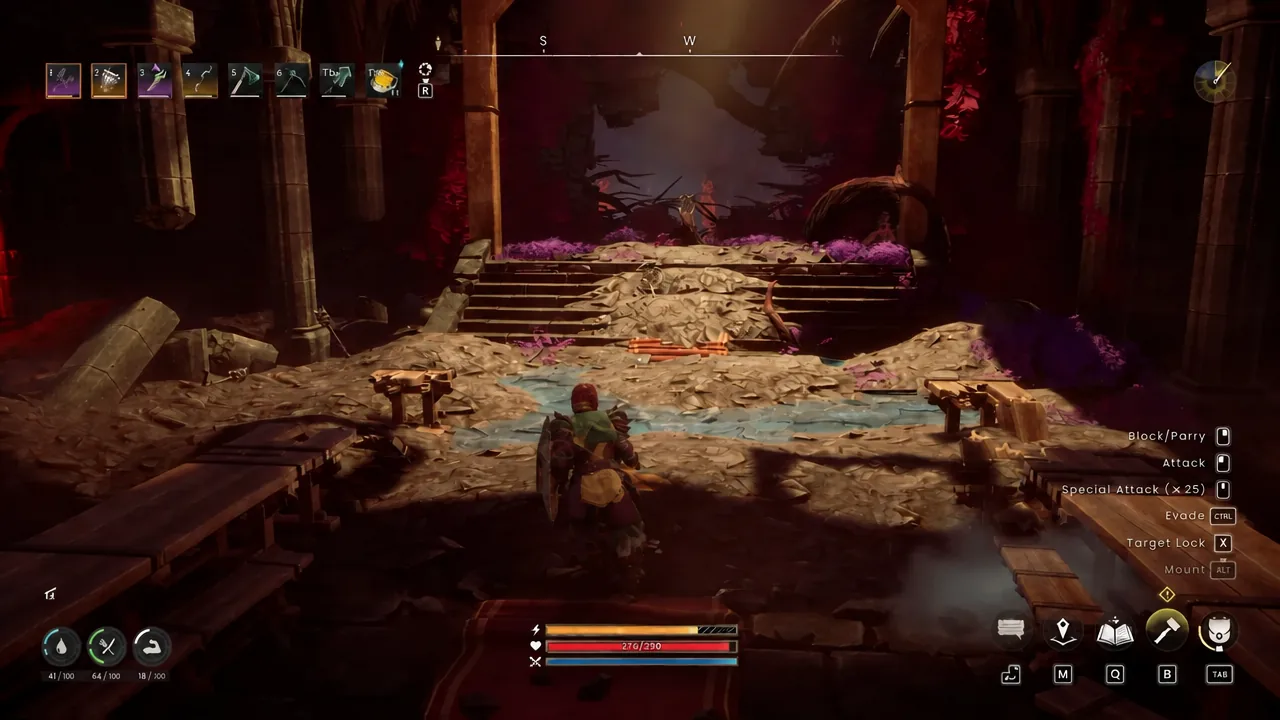
A ruined chamber partway through the Fellhollow descent. Image: Jagex
Cross the broken floorboards carefully. A hidden Sanguine Urn and extra chests sit behind the broken walls and wooden beams here, then an elevator and a staircase take you back up.
Windstep up the ruins and follow the tunnels to a node of Crystallised Anima (Air). Siphon it and use the 30-second window to run the corridor of flame emitters in one go.
Kill the attuned rats past the flames to power the next Anima Orb Dispenser, then head down and pull the levers that open the prison cell doors. Zombies spawn as the doors swing open.
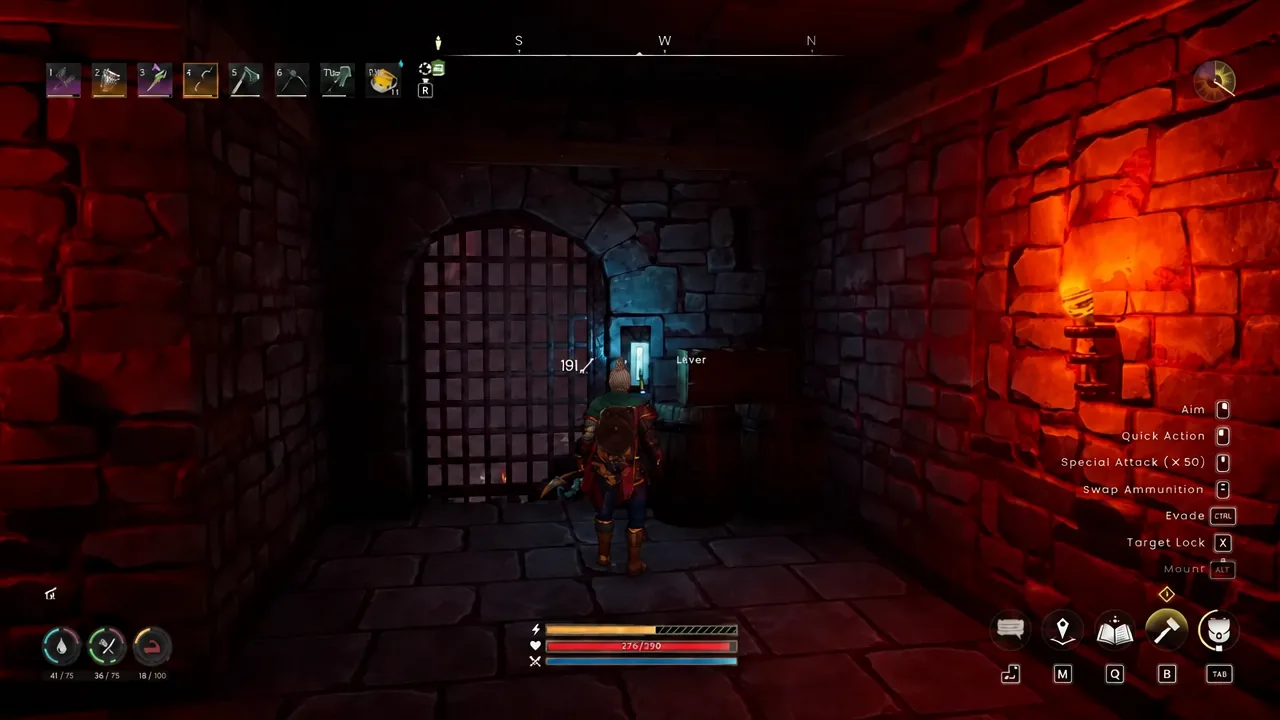
The lever that raises the barred gate on the lower level. Image: Jagex
Break the crumbling brick wall to reach the sewage system and grab the Sanguine Urn inside. Clear the boss arena with the Abyssal Demon, then head out into the canyon, where a Zilyana Teleporter is waiting.
Dowdon Reach: Water entry, the Earth barrier and the fire pylon
Siphon Crystallised Anima (Earth) to walk through the barrier, trigger the lever on the far side, then charge the fire pylon outside to open the way forward.
Dowdon Reach library puzzle: the correct book order
The library sits on the western side of the keep, behind a sealed Library Door. Alric’s Notes on the podium spell out four riddles covering knowledge, power, ambition and rebellion, and the books have to be touched in the right sequence. Pick a wrong book and the message “A mechanism whirs angrily into life, resetting your progress” appears, sending you back to the start.
Go behind the central altar and interact with The Empty Throne – Forgetting Worthless Gods. A correct pick returns “A mechanism clicks, as if a key has been turned in a lock.”
Cross to the bookshelf on the right side of that same corridor and take Taking the Crown – Zamorak’s Ambitious Plan to Acquire All the Elder Artefacts.
Return to the main room’s outer wall and interact with Zamorak’s Rebellion – Shattering the Chains of Infernus. The barrier over the Library Door fades once arcane energy is routed to the centre of the room.
Rasthin’s Riddle of Faith: the final circuit order
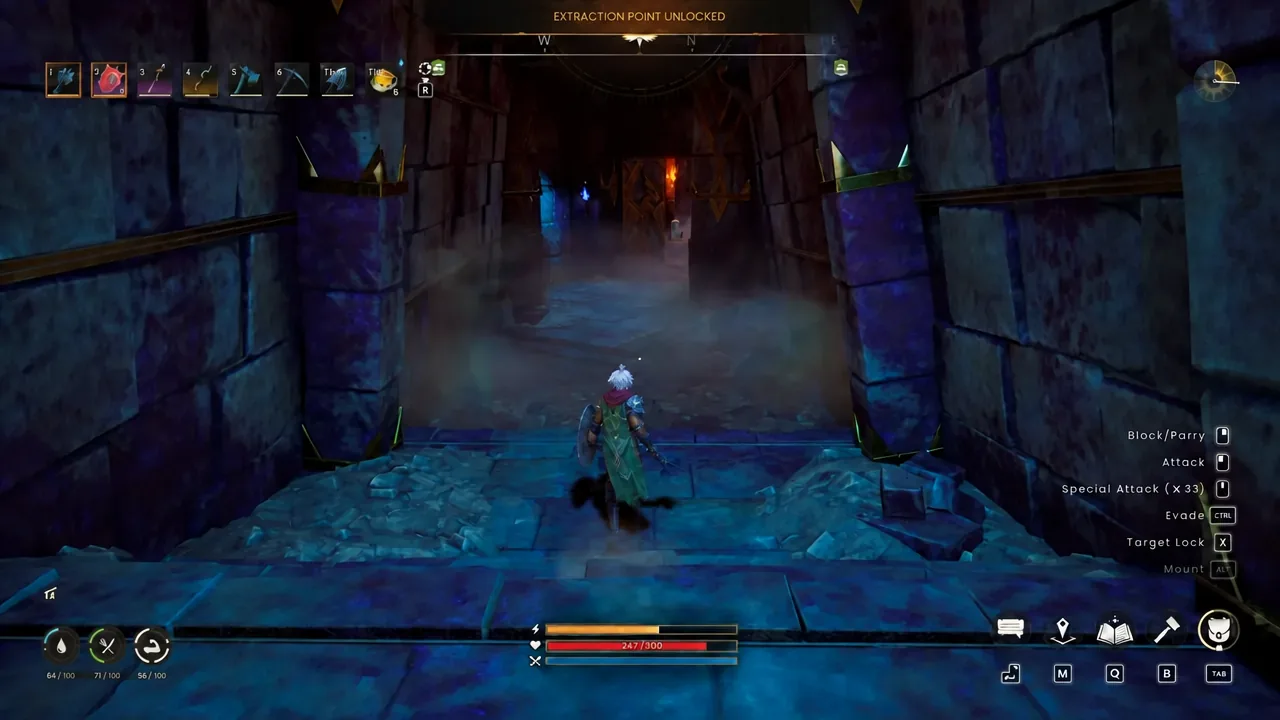
Unlock the extraction teleporter, then cross the floating crumbling ruins using Windstep and air dashes while the rotating flame jets sweep across the gaps. The puzzle chamber is on the far side.
Entering the grand room spawns three Vault Guardians. Clear them, then take the external traversal route around the outside to reach Fire attunement and charge the fire circuit.
The extraction point unlocks just before the floating ruins traversal. Image: Jagex
Connect the circuits in order — Air, Water, Earth, then Fire. The main gate opens on the final connection.
How to confirm each puzzle is solved
A pylon visibly ignites in its element colour and the barrier it powers disappears.
The Air Pylon in Gornfell opens the gate through to Fellhollow.
A correct library book returns a lock-turning message; a wrong one resets progress.
The fourth book clears the barrier from the Library Door structure.
The final circuit opens the main gate, revealing the Zilyana Teleporter at the Gates of Culdra.
Once the Gates of Culdra are open and the teleporter is live, the raid route is fully unlocked behind you, so the Sanguine Urns and chests tucked into the Gornfell stone room, the Fellhollow floorboards and the sewage system are worth sweeping up on a second pass rather than hunting mid-run.