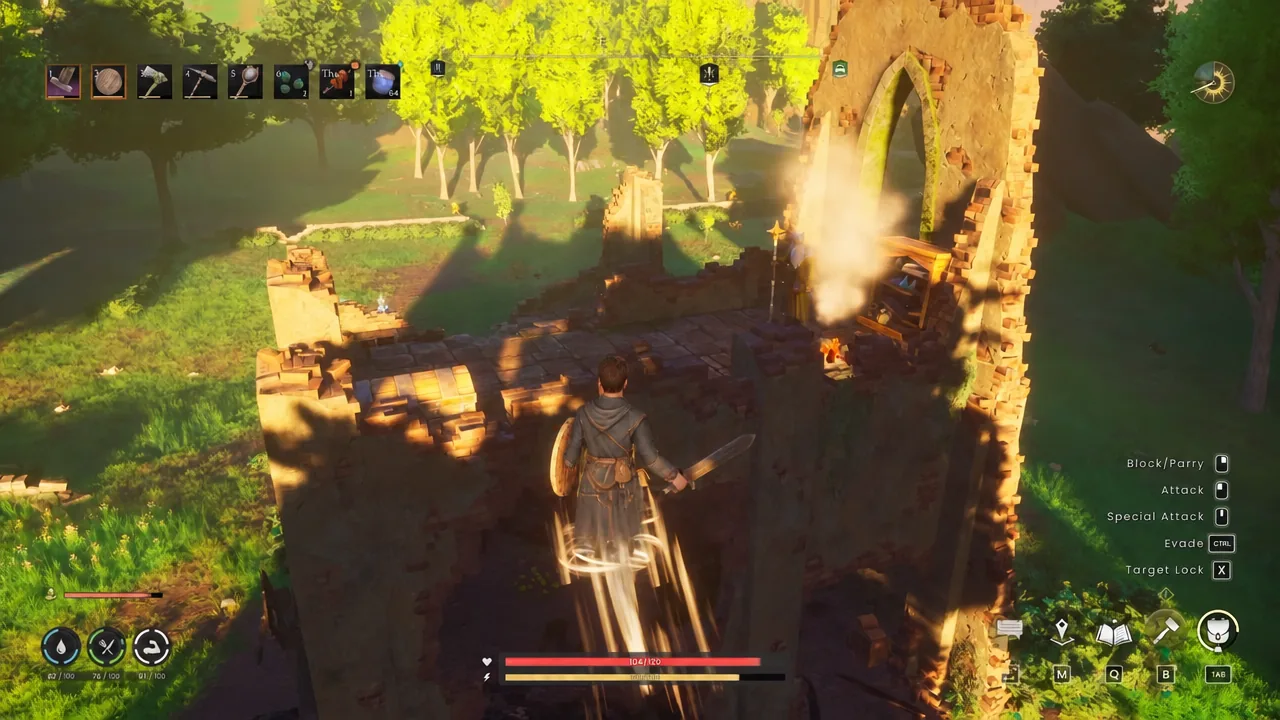
Every region in Ashenfall is gated by three things — the tools in your bag, the tier of your armour, and the crafting stations sitting back at your base. Getting stronger in RuneScape: Dragonwilds is not a matter of grinding one number. It is a loop you repeat in the same order each time you push into new territory.
Quick answer: Move into a region, upgrade your gathering tools so you can harvest its materials, process those materials into the next gear tier, then keep your power level within one level of the zone before pushing on.
Power level and what the diamond colours mean
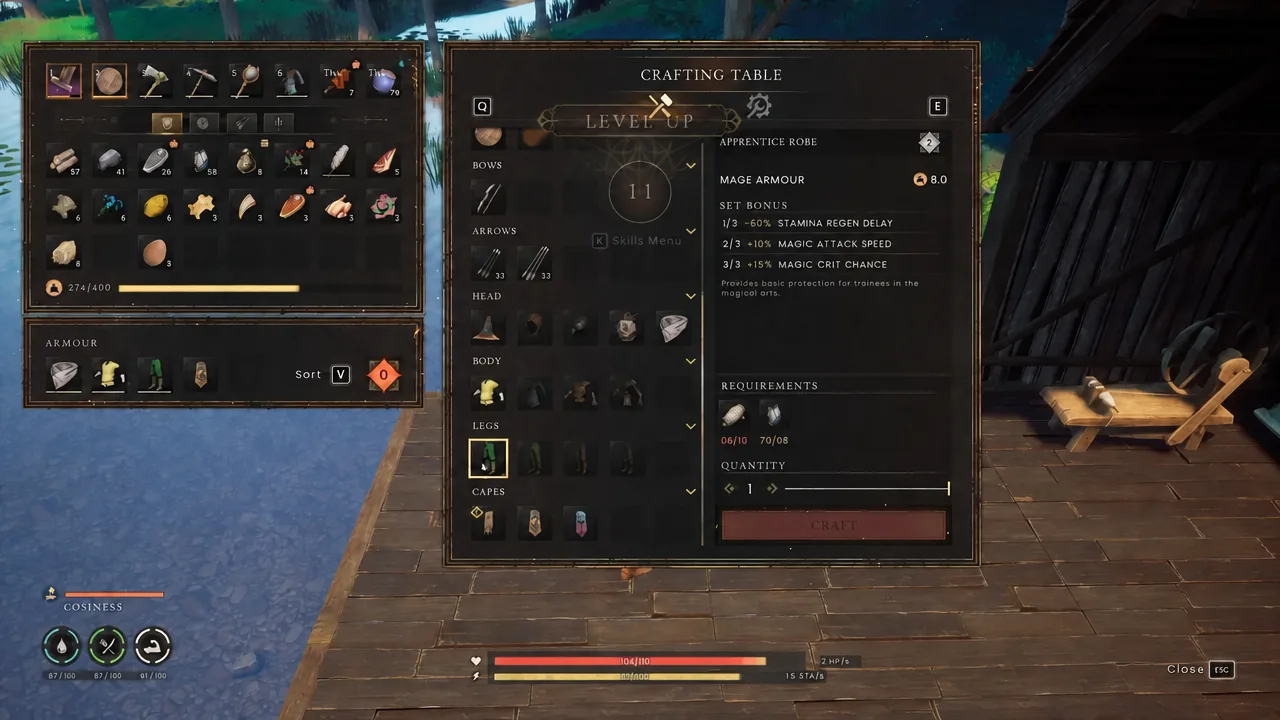
Your power level appears in the inventory and is calculated as the average power level of your equipped armour, rounded down. Weapons do not feed into it. Zones and monsters carry their own power level, and the game compares the two with a coloured diamond symbol so you can read the gap at a glance.
| Indicator | What it means |
|---|---|
| White | Neutral, used for starter areas such as Temple Woods |
| Orange | You are one level below the zone or enemy |
| Yellow | You match the zone or enemy |
| Green | You are above the zone or enemy |
| Red skull | You are more than one level below — extremely dangerous |
Zones advertise a recommended power level, so Temple Woods sits at 1 and the Whispering Swamp sits at 11. Treat orange as the absolute floor for entering an area and yellow as comfortable. If ordinary enemies barely take damage, or they kill you in two or three hits, the armour is the problem, not your technique.
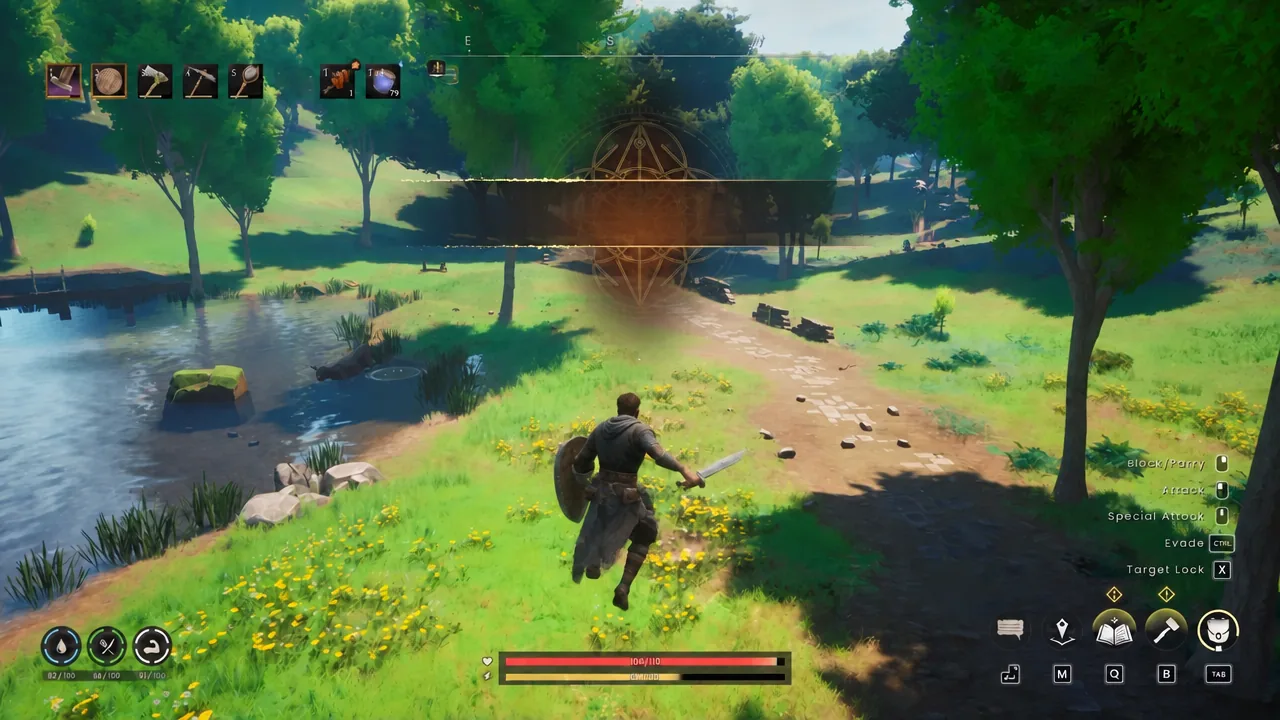
Gear tiers follow the regions. In Brynmoor, the starting region, you can only reach power level 2 equipment before you need to head north into Ghornfell to unlock bronze and iron, which are power level 3 and 4. Endgame armour splits by combat style, with Rune armour for melee, Black Dragonhide for ranged, and Ancestral Robes for magic.
Upgrade gathering tools first in every new region
Tools decide what you are allowed to harvest, which makes them the real bottleneck. A pickaxe, logging axe, shovel, or farming tool below the required tier will simply refuse the node and tell you that you need a more powerful tool. Nothing downstream — armour, weapons, station upgrades — can happen until the tool tier clears the material tier.
- Stone tools carry you through the tutorial and the earliest nodes only.
- Bone tools are the first meaningful step up once you start hunting animals.
- Bronze, then iron tools speed up mining and woodcutting and open higher-tier nodes.
- Runite and Luminite require an Adamant Pickaxe or better.
- Magic Wood requires a Rune Logging Axe.
Check your tool tier before a dedicated gathering trip. Walking to a distant deposit and discovering your pickaxe cannot touch it wastes a full round trip.
How new materials unlock recipes
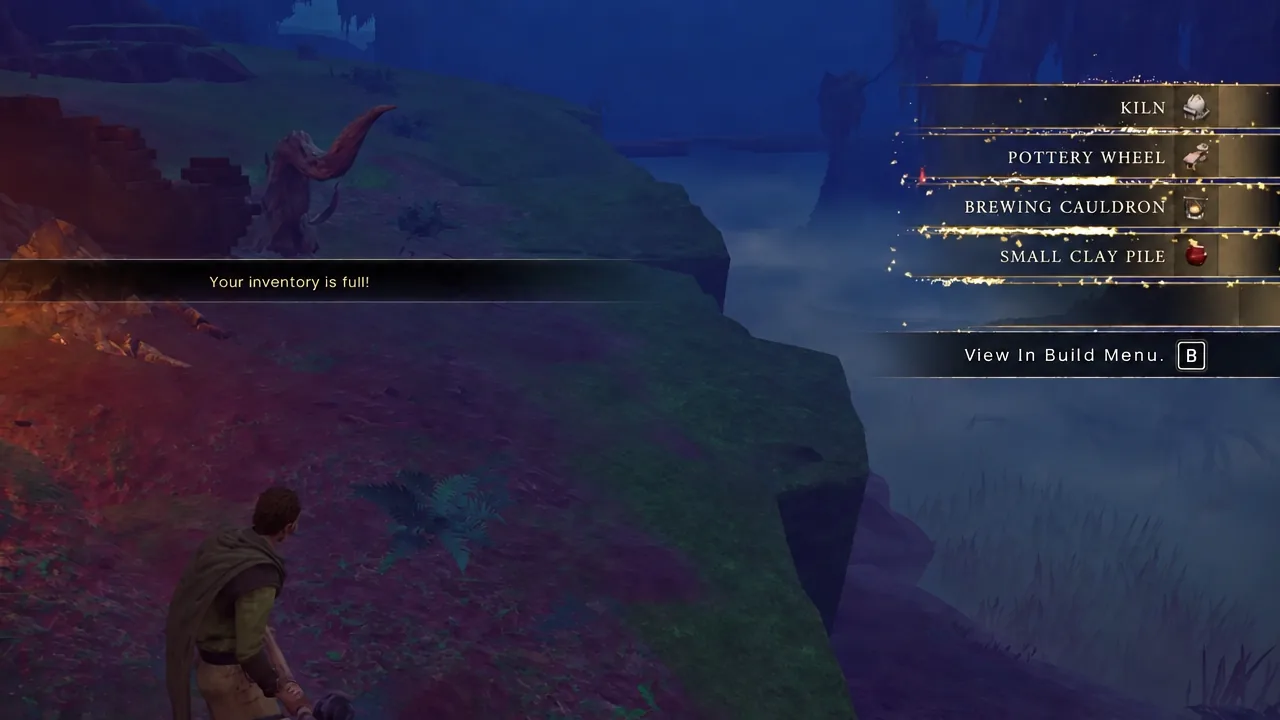
Collecting a material for the first time unlocks recipes tied to it, and the game flags the moment with a milestone material discovered prompt. Some recipes are quieter about it. They only appear once you carry the material back to base and interact with the matching crafting station while it sits in your inventory.
That makes a simple habit worth building. Pick up at least one of every new resource a region offers — new metals, new woods, animal drops, plants — then process a single unit of each at home. First planks, first thread, first leather, and first bars frequently reveal the next item you need. Ash Logs, Stone, Flax, Rune Essence, Animal Bone, and Animal Hide are the early materials that unlock the widest set of recipes.
Crafting stations and their kit upgrades
Raw materials are useless without the station that refines them, and each station has a ceiling. The Tannery turns animal hide into leather, but hard leather needs a Tanner’s Kit, which in turn unlocks the Advanced Tannery. The Loom follows the same pattern through the Loom Harness, which is built from iron bars. Expect every processing station to demand a kit upgrade at roughly the point you reach the next metal tier.
| Station | What it handles |
|---|---|
| Tannery | Animal hide into leather, then hard leather after the Tanner’s Kit |
| Blacksmith’s Bench | Tools and melee weapons |
| Armour Bench | Armour sets |
| Fletching Bench | Bows, crossbows and ammunition |
| Mystic Forge | Staves and advanced upgrades |
| Furnace | Smelting ore into bars |
| Kiln | Adhesive, charcoal, clay vessels, wild anima |
| Loom and Spinning Wheel | Cloth and thread |
| Brewing Cauldron | Potions |
| Jeweller’s Bench | Rings and trinkets |
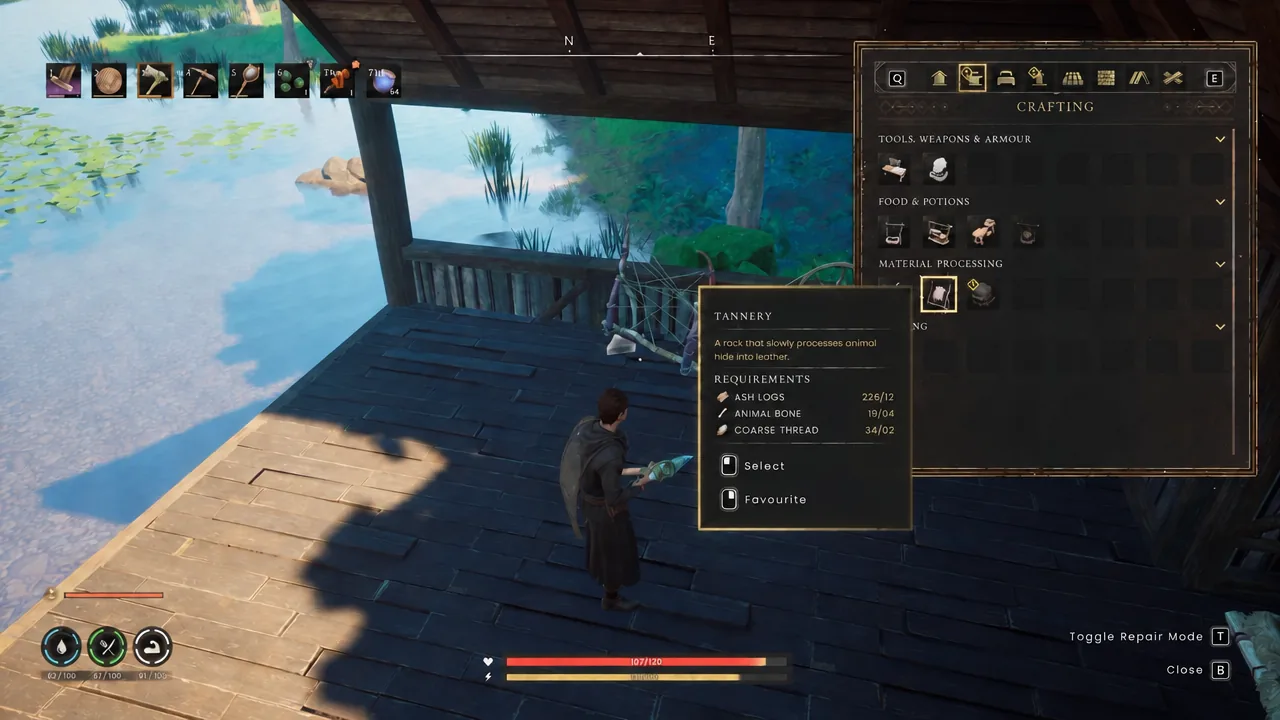
Before you gather anything, check which bench actually makes your next upgrade. Armour and weapons of the same tier often come from different stations, so it is easy to haul home a full load of bars with no way to shape them. Leave physical space around the crafting area too, because station count only goes up.
Skills level through use and unlock spells
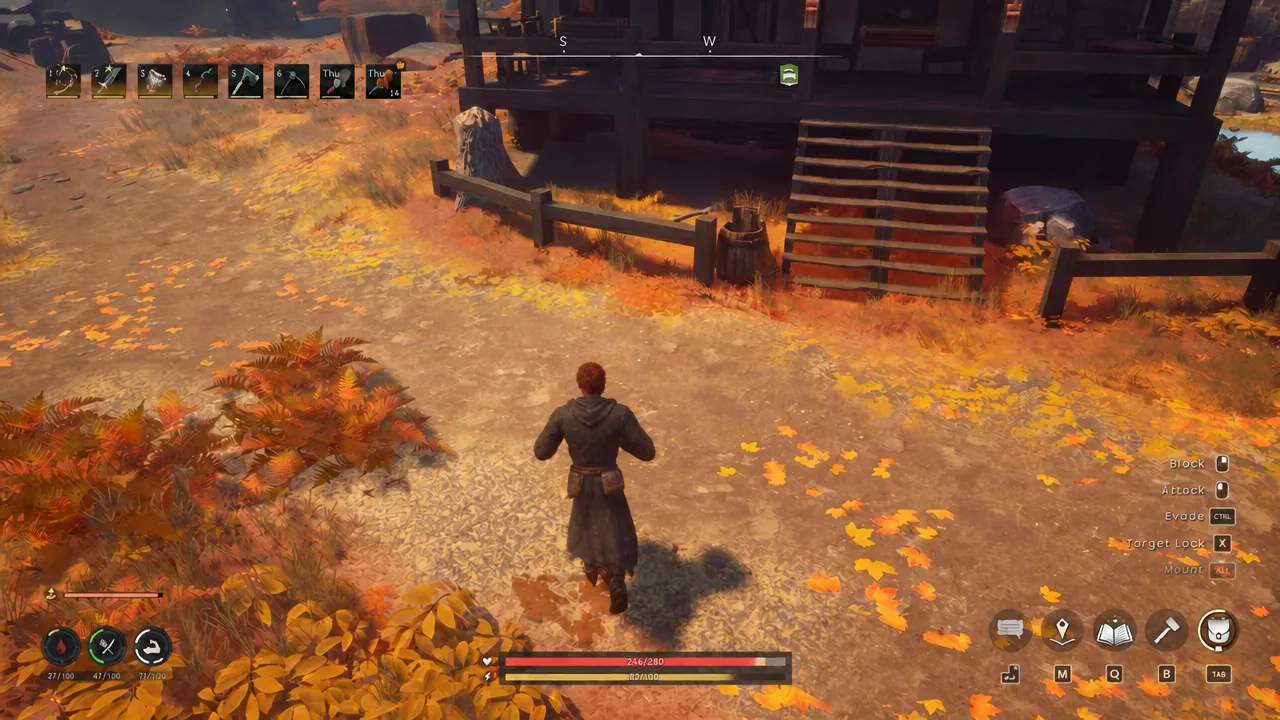
There is no skill point allocation. Chopping trees trains Woodcutting, mining rocks trains Mining, melee hits train Attack, and crafting trains Artisan. Every skill caps at level 99, but the unlocks that change how you play are packed into the first forty levels, and tougher materials or enemies award far more XP per action than basic ones.
Each level also grants a small passive. Attack shaves stamina cost off melee swings, Mining adds critical hit chance, Woodcutting reduces stamina drain, and Artisan cuts equipment durability loss — the last of which quietly saves a lot of repair material over a long run.
| Skill | Level | Unlock |
|---|---|---|
| Attack | 5 | Parry |
| Attack | 11 | Tempest Shield |
| Attack | 16 | Weapon Expertise |
| Runecrafting | 8 | Windstep |
| Mining | 11 | Rocksplosion |
| Woodcutting | 11 | Axtral Projection |
| Construction | 20 | Summon Shelter |
| Magic | 20 | Runic Refund |
Skill spells are the largest practical speed-up. Axtral Projection clears a line of trees, Rocksplosion shatters ore veins and boulders, and Windstep turns awkward terrain into a shortcut. Assign the ones you use to the Spell Wheel and keep collecting Rune Essence, since spells consume runes. Some also require the matching tool to be equipped before they will fire.
Vestiges unlock endgame weapons and trinkets
Vestiges are rare items pulled from chests and vaults, and they sit outside the normal material chain. An Educational Blade, Suspiciously Light Tattered Boots, A Threadbare Grain Sack, and a Commemorative Coin are examples. On their own they do nothing useful.
Take them back to base and study them. Studying a vestige unlocks a unique endgame weapon, armour piece, tool, or trinket, including the Amulet of Glory and the Abraxas Ring. Because they live in chests and cleared vaults rather than on the quest path, they reward actually sweeping a region instead of running straight through it.
Vault cores, lodestones and permanent health
Fast travel is itself a progression unlock. The lodestone building recipe stays locked until you recover a vault core from a dragonkin vault, after which you can place lodestones and hop between regions. Raid vaults for spare cores and vault shards early, because both feed later gear upgrades as well as your travel network.
Exploration also raises your ceiling directly. Sanguine Urns scattered around Ashenfall permanently add 10 points to your maximum health when interacted with, and they are spread across every region. Food is your main healing source, with fish giving the strongest direct restore, so carry cooked meals and water before a vault run or a boss.
How to confirm you are ready for the next region
The game tells you where you stand without any guesswork. Open the inventory and read the power level against the region’s recommended value, then look at the diamond beside enemies you meet. Yellow or green means the zone is within reach. A red skull is a hard stop.
Confirmation that a progression step landed is equally direct. A new material triggers a milestone discovery prompt, a station shows freshly available recipes once the kit upgrade is built, a tool stops returning the message about needing a more powerful tool, and a skill unlock arrives with a level-up notice and a new entry on the Spell Wheel.
The main quest line gives a general route through Ashenfall, but it is deliberately loose. Opening chests, clearing vaults, and picking up side quests is what keeps your gear tier ahead of the next region’s power level — which is the only thing standing between you and the dragon roaming overhead.