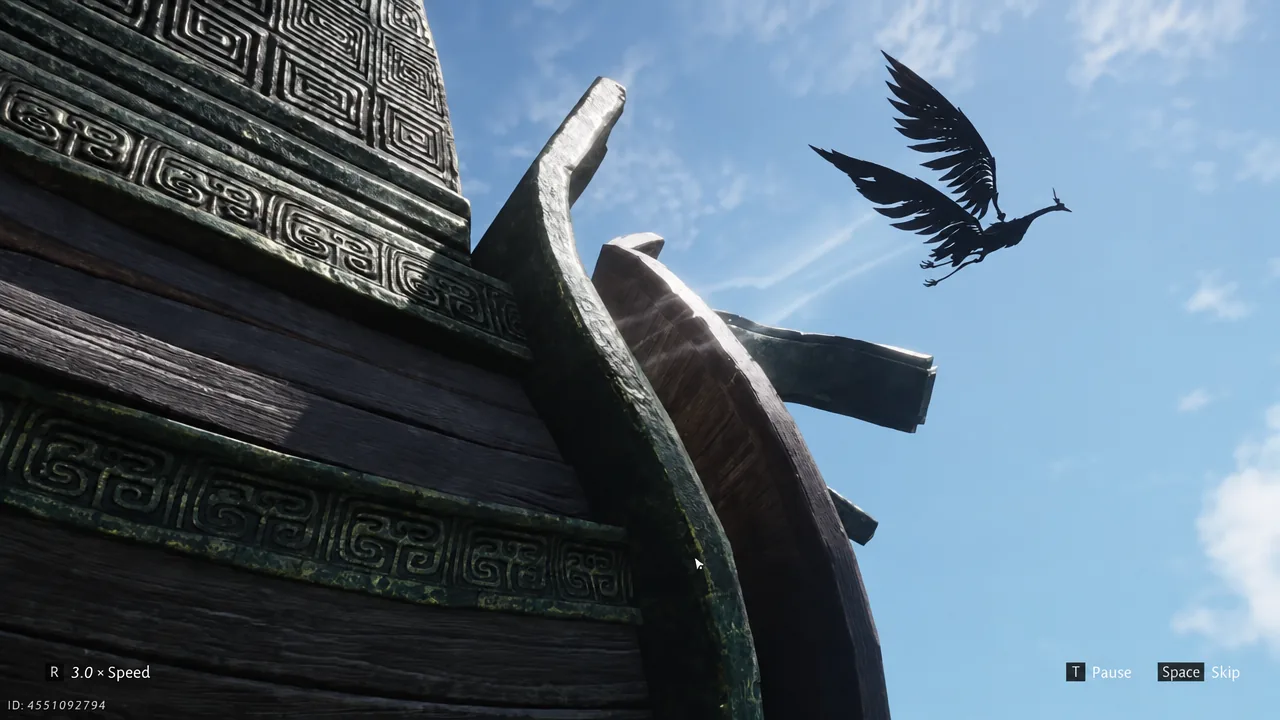
Skyward City Ruins is a Campaign side quest in Where Winds Meet, added with the Version 2.2 update, Perilous Eminence, as part of the Hidden Mountain finale. It sends you through a collapsing mountain city built around a colossal wooden bird, follows the memories of a group of monkeys who once lived there, and ends with a multi-phase fight against the former Grandmaster Halcyon.
Quick answer: Start the campaign at the overlook north of the Welkin Way Boundary Stone in Heaven’s Threshold, follow the route into the wooden bird, beat Halcyon’s three phases, then inspect her corpse in the secret chamber.
Where the Skyward City Ruins campaign starts
The quest sits in Heaven’s Threshold, the Hidden Mountain subregion. Teleport to the Welkin Way Boundary Stone east of Heaven’s Threshold, the one next to the enormous mechanical bird, and take the path leading north.
That path ends at a mountain overlook where three Qiongqi Artificers are standing around talking. Walk up to them to trigger the campaign. You overhear a Reckless Qiongqi Artificer and a Cowardly Qiongqi Artificer arguing about why Skyward City has come back to life, and the quest formally begins from there.
Traversal tools you need inside the ruins
Almost every obstacle here is a gap rather than an enemy. Four movement tools carry the entire run, and the quest keeps reusing them in new arrangements:
- Lanterns — floating platforms you hop across using Cloud Steps to cross broken bridges.
- Zenith Box — a box you pick up off the ground and throw; it unfolds into a lantern you can then jump on.
- Ziplines — fixed anchors that move you between decks of the wooden bird and down to ground level.
- Gliding — used for the long drops down the outside of the structure and across the waterfall chasm.
A thrown Zenith Box is not locked in place. As long as it stays within grabbing range, you can reposition it mid-air, which saves you from walking back for a fresh throw when the first one lands short.
Route through the ruins to the rear cabin
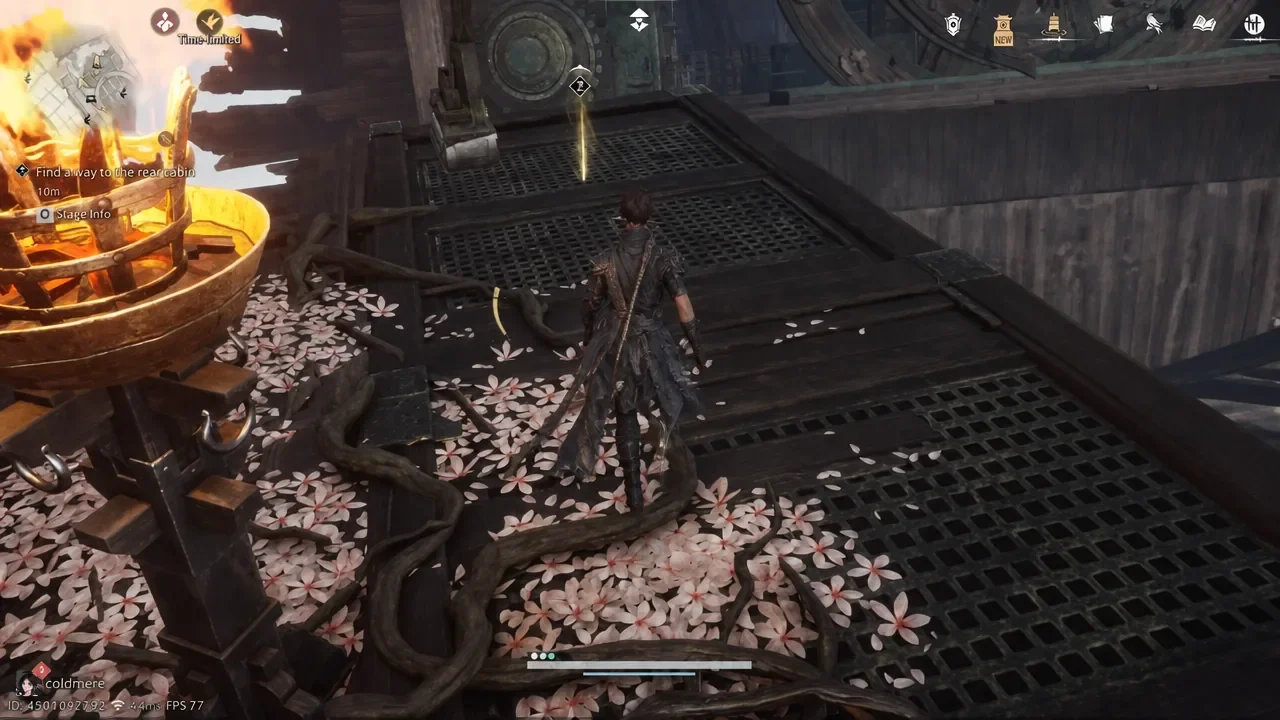
All Fragrant Candle locations
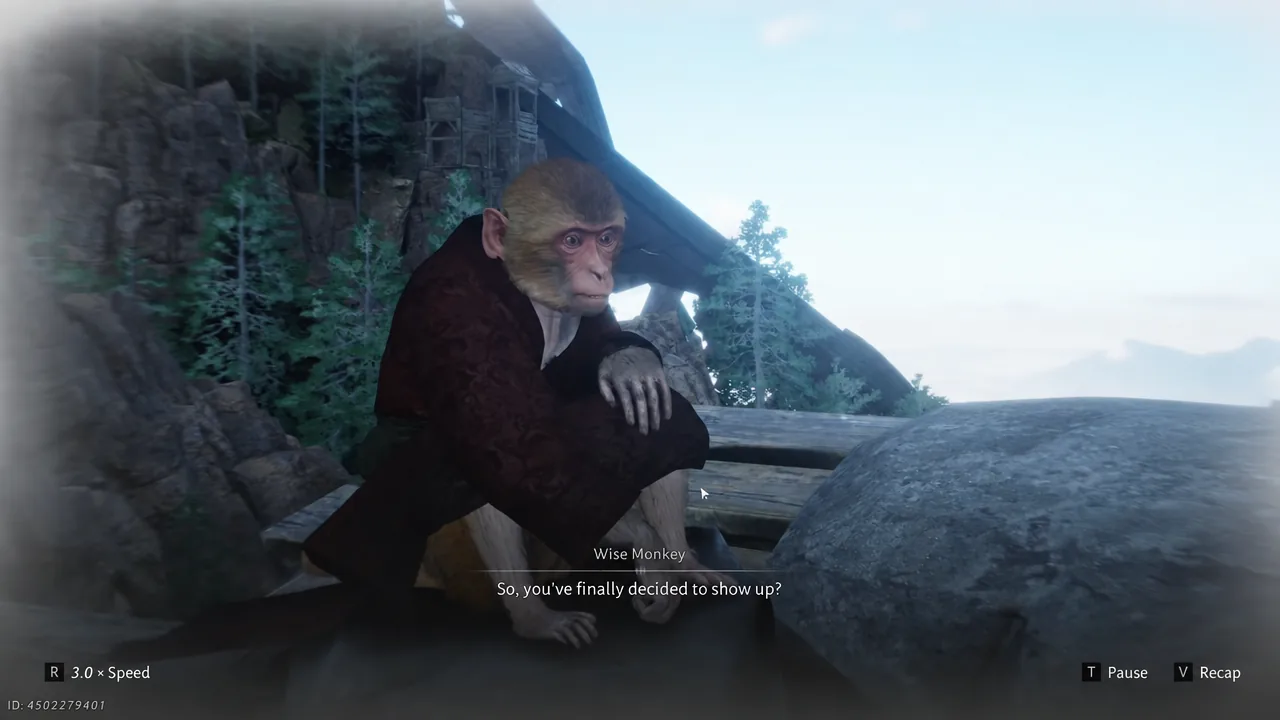
The candles mark each memory you witness, and one appears after nearly every monkey conversation. Light them as you pass, since they gate progress on the objective chain.
| Candle | Where to light it |
|---|---|
| 1 | Stone table with Crane, Wise Monkey and Eloquent Monkey |
| 2 | Balcony in front of Eloquent Monkey, inside the bird |
| 3 | Beside the letter Eloquent Monkey leaves behind |
| 4 | Upper level of the rear cabin, where Swallow and Falcon talk |
Escaping the Qiongqi Artificer siege
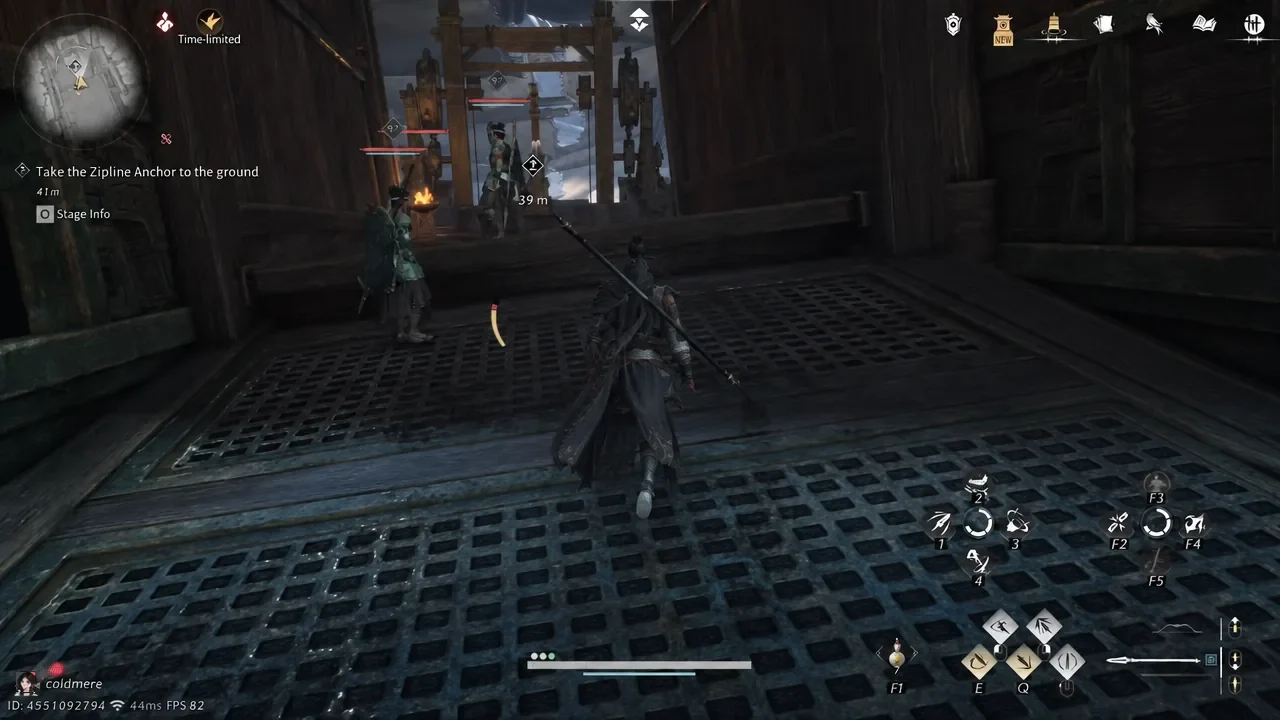
Halcyon boss fight: all three phases
| Phase | What Halcyon does | How to answer it |
|---|---|---|
| 1 (ground) | Fast lunging melee combos, homing projectiles | Parry everything, drain her Qi |
| 2 (aerial) | Raven pilots the Sun Crow against you | Shoot it, dodge projectiles, no kill needed |
| 3 (ground) | Long-range whip, unblockable attacks in combos | Hit the deflect prompt, or dodge away |
Phase 1: ground combat
Halcyon opens by activating her mechanical arm and alternates between rushing you down with quick melee strings and summoning homing projectiles. She moves fast enough that you rarely get a clean window for your own combo, so the reliable approach is to parry her strikes and chip away at her Qi instead of trying to out-damage her.
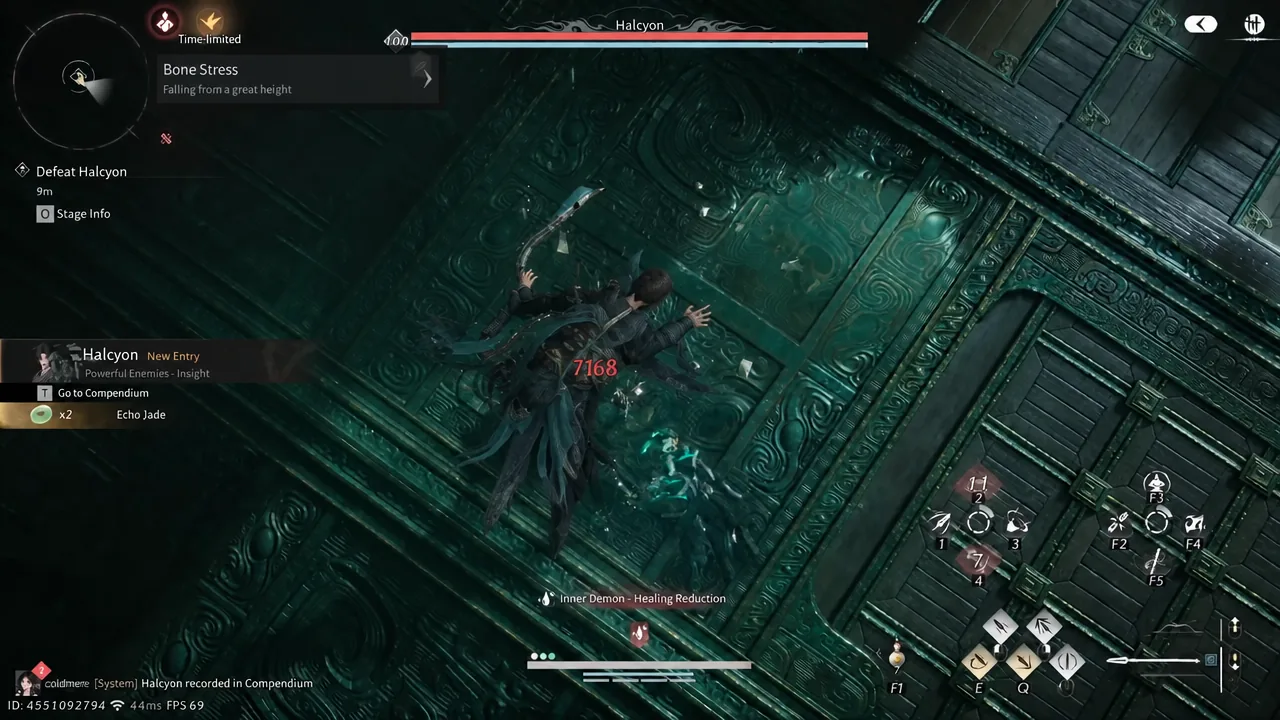
Phase 2: the Sun Crow in the air
Beat her first phase and control switches to Halcyon’s own past confrontation with Raven, who pilots the Sun Crow. Press the prompts during the cutscene to hold your ground. After that you fly a mechanical bird and shoot at the Sun Crow while weaving through its projectiles.
The Sun Crow has a health bar, but you do not have to empty it. The segment ends on its own and moves into a shared flight between Halcyon and Raven regardless. The cutscene portion can also be skipped outright.
Phase 3: Halcyon’s forbidden technique
Back on the ground, Halcyon is noticeably more aggressive. She gains a long-ranged whip and folds unblockable attacks into her normal combos. Watch for the button prompt that appears over those unblockables and press it to deflect. If you miss the timing, roll away instead of trying to trade, since the unblockable will go straight through a guard.
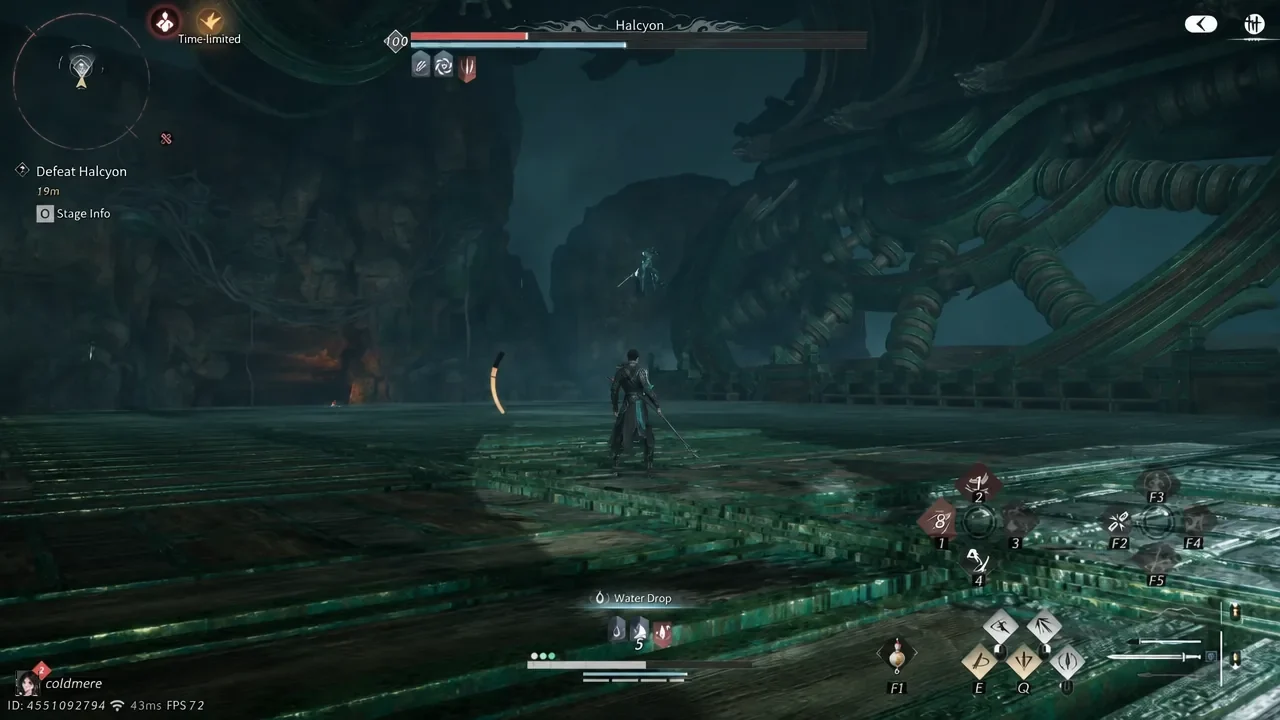
Clearing the encounter unlocks two achievements, No Escape from Above and Mind Over Magnet, which is your first confirmation that the fight registered properly.
Secret chamber and how to confirm the campaign is complete
Halcyon collapses after the fight and hands you a key before she goes. Climb onto the raised platform nearby to reach the elevator, which drops you into the secret chamber at the heart of the ruins.
Down there you find the real Halcyon’s corpse resting on a pedestal. Investigate the corpse to close out the campaign. You will get her final words, followed by the “Skyward City Ruins Campaign unlocked” screen, which is how you know the quest has properly completed and is available to run again.
There is an Unsent Gift sitting on a table to the left of the secret chamber. Its description lists it as a quest item, so grab it before you leave.
Skyward City Ruins rewards and repeat clears
The totals below cover everything earned across the quest and on completion, not a single lump payout at the end.
| Reward | Amount |
|---|---|
| Lingering Melody | 1 |
| Medicinal Tales | 1 |
| Mystic Insight Pill | 1 |
| Echo Jade | 55 |
| Hidden Mountain Exploration | 105 |
| Oscillating Jade | 5 |
| Enlightenment Point | Yes |
| Character EXP | 60,000 |
| Coin | 60,000 |
After the first clear, the campaign becomes repeatable, and every rerun carries a chance at the Face Ornament: Steadfast Veil. If the drop refuses to cooperate, the same ornament is stocked in the Season Shop for 80 Appearance Tickets, so the farming is optional rather than mandatory.