The Spiral Abyss has rotated again in Genshin Impact 7.0, and Floor 12 is now built almost entirely around two reaction families. The first half of every chamber pushes Swirl and Stellar Swirl damage, the second half pushes Electro-Charged and Lunar-Charged, and nearly every boss in the lineup hides behind a shield or a gauge that only those reactions deal with efficiently. Enemies here sit at Lv. 95 to Lv. 100, so a mistimed reaction is usually the difference between a three-star chamber and a two-star one.
Quick answer: Run a Stellar-Swirl or Stellar-Conduct team in the first half and a Lunar-Charged or Electro-Charged team in the second. Every boss shield and gauge on this floor responds to those reactions.
Floor 12 Ley Line Disorder and Abyssal Moon blessing
The disorder is the clearest signal of what the floor wants from you. Both halves multiply a specific reaction rather than an element, so a strong on-field DPS with no reaction access will underperform against a mid-tier team that triggers the right thing on cooldown.
| Half | Ley Line Disorder |
|---|---|
| First half | Swirl DMG +200%, Stellar Swirl DMG +75% |
| Second half | Electro-Charged DMG +200%, Lunar-Charged DMG +75% |
Layered on top is the Blessing of the Abyssal Moon, which fires a shockwave dealing True DMG at an opponent’s position whenever a character deals Swirl or Stellar Swirl damage. That shockwave is on a 4-second cooldown, so a single Anemo unit rotating Swirl consistently is enough to keep it up. The bonus does nothing for the second half, which is why most players swap into an entirely different reaction core after the halfway split.
This blessing and enemy rotation stay in place until the Abyss resets on 2026/10/16 at 4:00 server time.
Floor 12 enemy lineup by chamber
| Chamber | First half | Second half |
|---|---|---|
| 1 | Battle-Hardened Chimeric Burrowbeast | 9x Wilderness Exile, then Raskolnikov |
| 2 | Immortal Construct | 4x Fishers of Hidden Depths, then Lord of the Hidden Depths: Whisperer of Nightmares |
| 3 | Battle-Hardened Domovoy Sculptor (Churin) | Battle-Hardened Lightkeeper (Sigurd) |
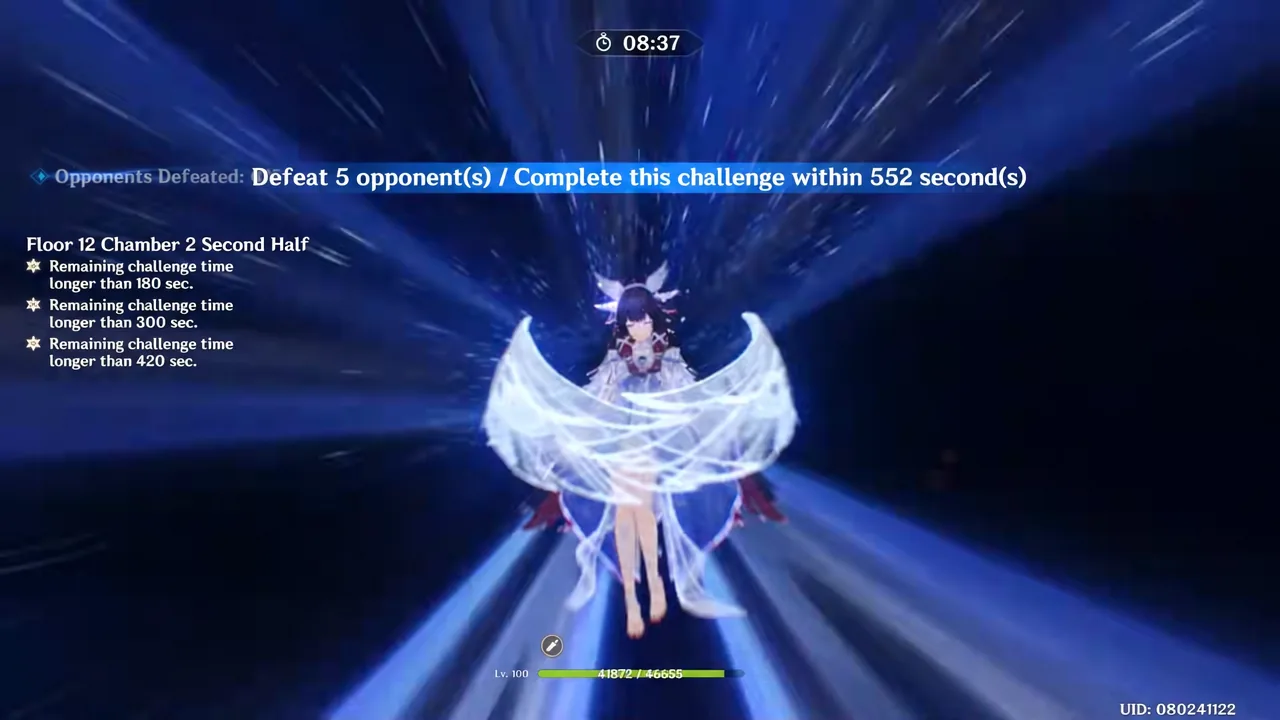
Star thresholds are identical across all three chambers: three stars require more than 420 seconds of remaining challenge time, two stars more than 300 seconds, one star more than 180 seconds.
Chamber-by-chamber strategy
Chamber 1: Burrowbeast gauge and Raskolnikov’s shield
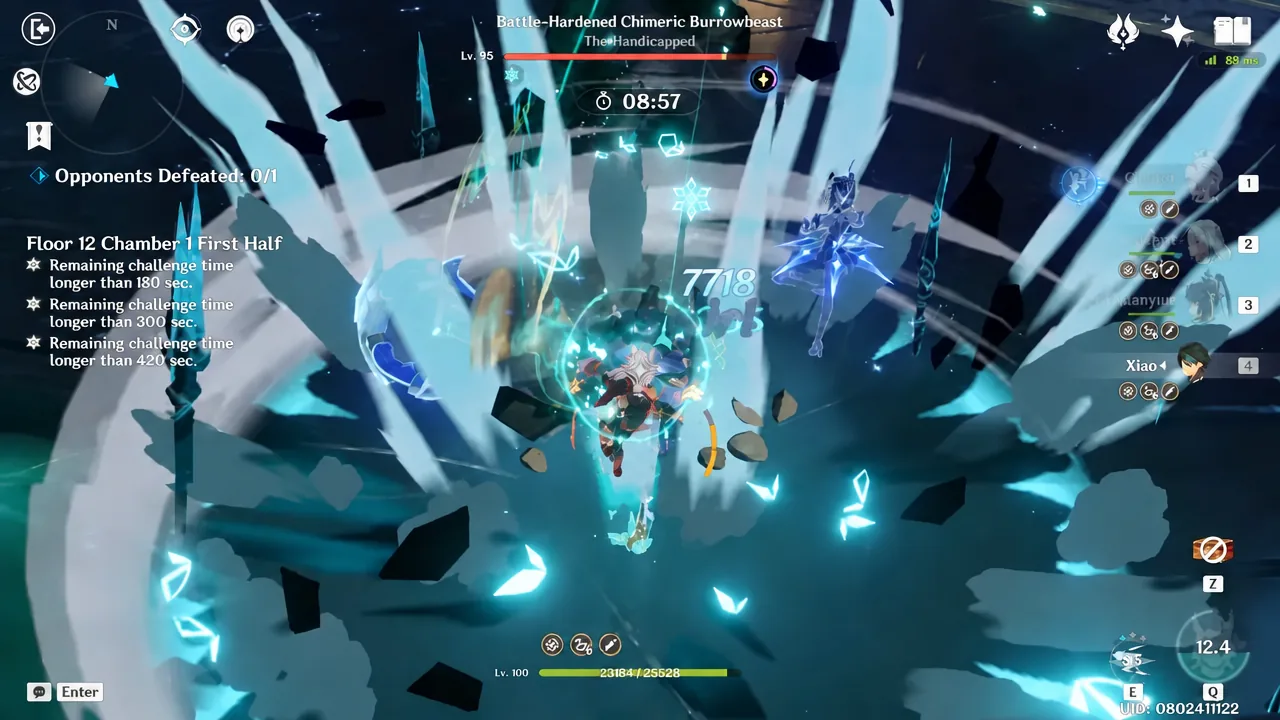
The Battle-Hardened Chimeric Burrowbeast opens with a Fury gauge that has to fill before it grows and starts taking real damage. It fills on its own, but slowly. Hitting it with Electro speeds it up considerably, which is convenient for a Stellar-Swirl team since swirling Electro does the job while you build damage. Stellar-Conduct teams get there without any extra thought.
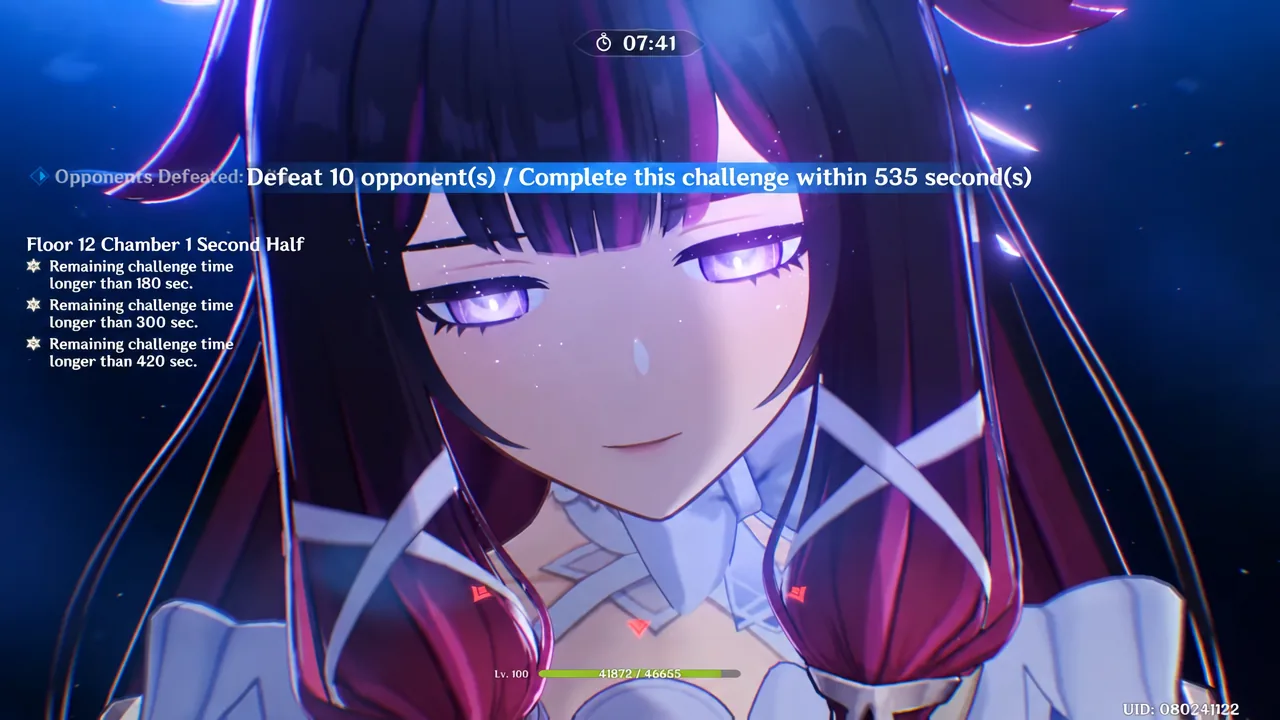
The second half asks for ten kills. Nine Wilderness Exiles come first, then Raskolnikov spawns as the final target. His shields regenerate on their own, and Lunar-Charged or Electro-Charged shuts that regeneration down.
Set up your Hydro and Electro application while you are finishing the ninth Exile so the reaction is already running the moment Raskolnikov appears.
Chamber 2: Immortal Construct and the Whisperer of Nightmares
The Immortal Construct does exactly what its name suggests. It regenerates shields to keep itself alive, and Stellar Glimmer damage is what stops the cycle. The moment it starts generating a shield, get your Stellar unit on field and interrupt it, otherwise you will burn a minute of clock chewing through health it keeps restoring.
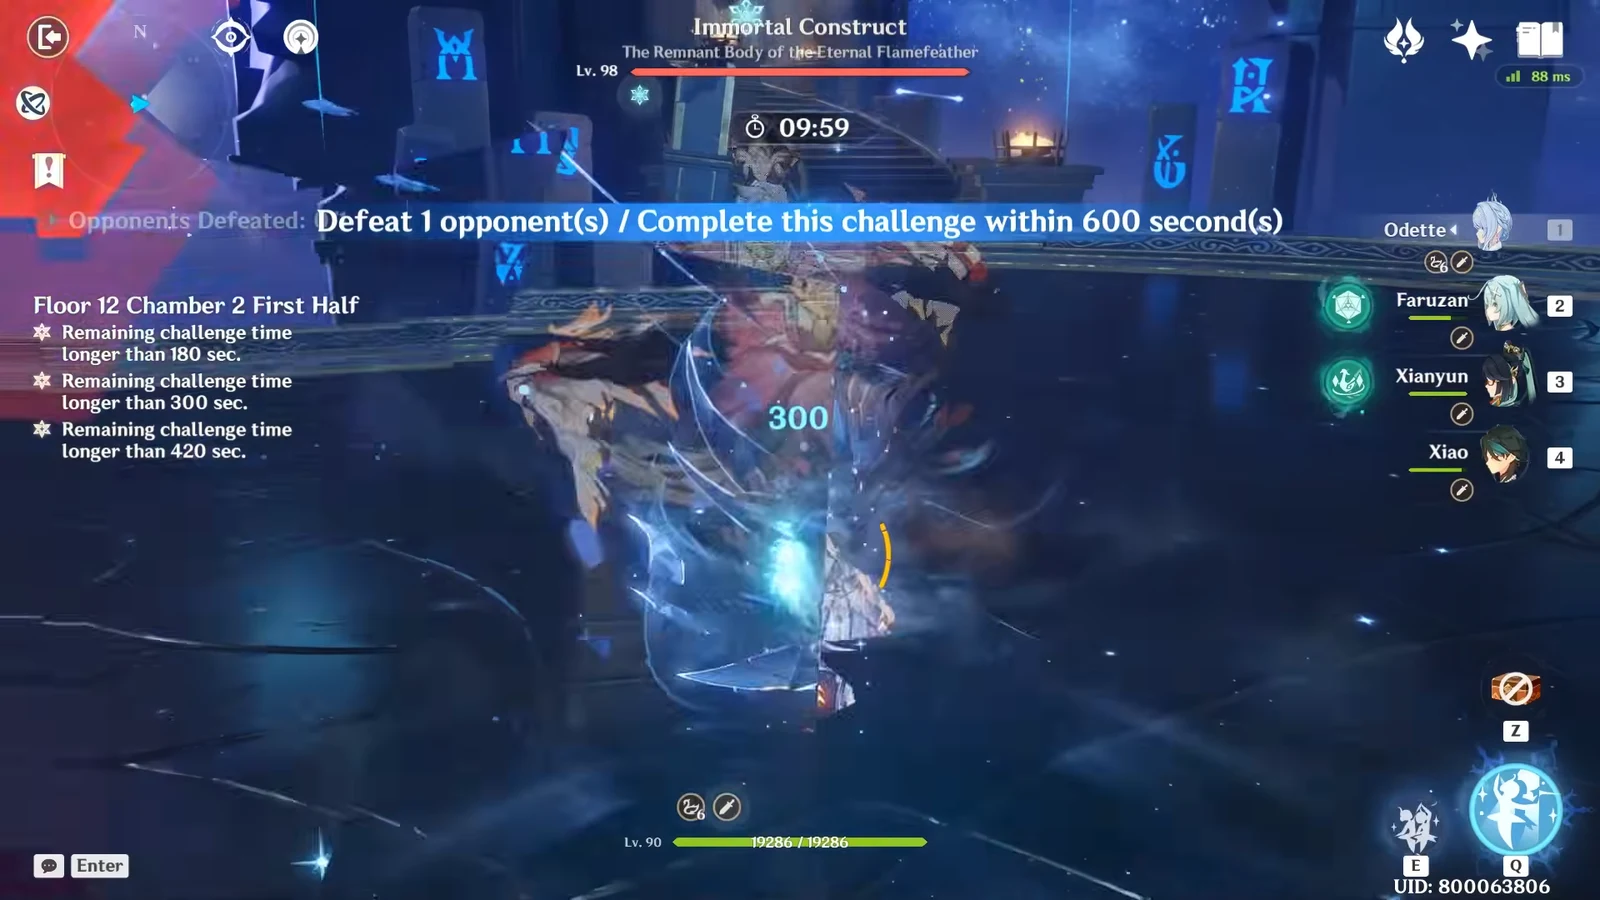
The second half opens with four Fishers of Hidden Depths. Break one of their shields and the rest group themselves, which makes the wave trivial for any AoE team. The Lord of the Hidden Depths: Whisperer of Nightmares then puts up a similar shield that requires Lunar damage to break.
Chamber 3: Churin’s statues and Sigurd’s Grave Stricken state
Churin, the Battle-Hardened Domovoy Sculptor, summons Jack Frost statues the instant the fight begins. Those statues can one-shot your active character, so ranged damage and constant movement matter more here than raw numbers. Stellar-Conduct largely bypasses the fight, and Sandrone in particular trivializes it. If you brought a Stellar-Swirl team built around Mizuki, keep circling at range instead of committing to a stationary combo.
The second half is a solo fight against the Battle-Hardened Lightkeeper, Sigurd, a Wild Hunt enemy with the Grave Stricken mechanic. Dodge his Electro lunges, keep Lunar damage rolling, and unload when he enters Grave Stricken, since he stays stationary for several seconds during it.
Team compositions that clear Floor 12
The template is simple. First half wants a Stellar Linchpin paired with Anemo or Cryo. Second half wants a Moonsign character paired with Hydro or Electro. The enemies are vulnerable to Stellar Glimmer and Lunar damage in general, so Stellar-Conduct, Lunar-Bloom, or Lunar-Crystallize all work even when they miss the disorder bonus.
First half teams
- Yumemizuki Mizuki, Odette, Cryo Traveler, Faruzan
- Sandrone, Odette, Yae Miko, Alyosha
- Cryo Traveler, Odette, Yae Miko, Sucrose
- Varka, Odette, Escoffier, Prune
- Wriothesley, Nicole, Odette, Yae Miko
Second half teams
- Flins, Columbina, Ineffa, Sucrose
- Varesa, Columbina, Ineffa, Xilonen
- Nefer, Lauma, Columbina, Kuki Shinobu
- Zibai, Linnea, Illuga, Columbina
- Neuvillette, Furina, Kazuha, Fischl
If you are still struggling with the Lightkeeper and the Wilderness Exiles, stacking at least two Nod-Krai units lets you damage the boss and fill its second HP bar at the same time, which is the fastest route through those fights.
Older DPS units still clear it: Xiao and Arataki Itto
Neither half strictly demands the newest characters. A C6 Xiao slotted alongside Odette, Faruzan, and Xianyun covers the first half because Xiao’s Anemo application keeps the disorder’s Swirl bonus and the Abyssal Moon shockwave running. On the build side, that means a Refinement 5 Staff of Homa at Level 100, with the artifact set chosen to feed his on-field burst window.

For the second half, a C6 Arataki Itto backed by Columbina, Linnea, and Xilonen handles the Exile waves and the shielded bosses, with Columbina supplying the Lunar reactions the floor is built around. Itto runs a Refinement 5 Redhorn Stonethresher on a Husk of Opulent Dreams set at Level 100.

Confirming a 9-star Floor 12 clear
You know the floor is done when the Challenge Ended screen appears after Chamber 3 and the summary shows 9/9 stars. The Star’s Bounty for a full Floor 12 clear pays out 200 Primogems and 60,000 Mora, plus one Domain Reliquary – Tier I and two Domain Reliquary – Tier II from the floor rewards.
Each chamber also has a one-time Chamber’s Bounty on first clear, worth 25,000 Mora, three Adventurer’s Experience, two Hero’s Wit, six Mystic Enhancement Ore, and a Domain Reliquary. Those only pay once, so a repeat clear on the same rotation will not show them again.
If you are short of three stars in a chamber, check which half ate your clock before rebuilding a team. On this rotation the answer is usually a boss gauge or shield left untouched for too long, not a damage problem.