The sea is the only road in Valheim. Metal will not go through a standard portal, new biomes sit on islands you cannot walk to, and the fastest way to lose an hour of mining is to sink on the way home. Sailing itself is simple once you stop fighting the wind and start reading it.
Quick answer: Interact with the rudder, then tap the forward and back keys through five settings — reverse, neutral, rowing, half sail, full sail — and keep the wind out of the greyed-out cone directly ahead of your bow.
Rudder controls: the five boat speed settings
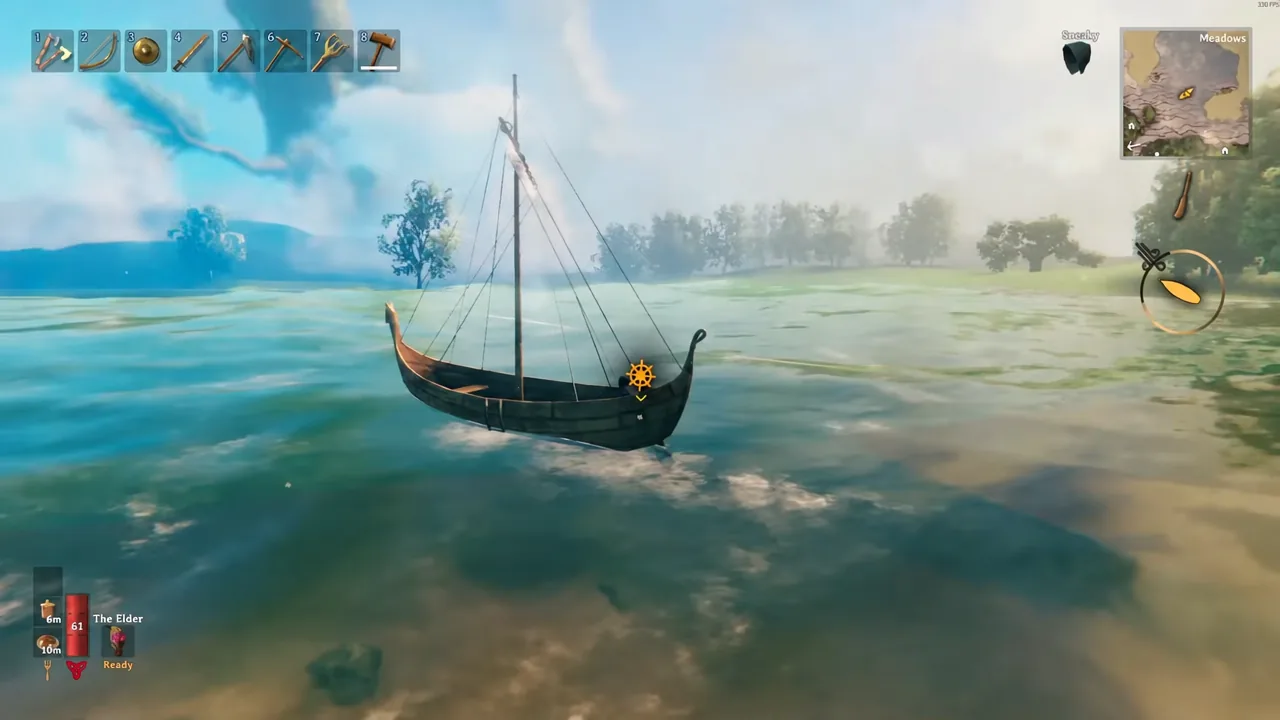
Climb aboard, walk to the back of the boat, and interact with the rudder — E on default PC controls. Every ship uses the same five-position speed dial, so the Raft handles like a slower, flimsier Drakkar. Press forward to move down the list, back to move up it. You tap the key once per step; holding it does nothing extra.
| Setting | What it does | Use it for |
|---|---|---|
| Reverse | Paddles backwards | Backing off a beach or dock |
| Neutral | No paddling, no sail | Coasting to a stop |
| Forward rowing | Paddles forward, sails furled | Headwinds, narrow channels, docking |
| Half sail | Sails at reduced speed | Rocks, fog, tight coastlines |
| Full sail | Fastest wind-driven speed | Open water with usable wind |
Neutral is where the dial starts when you first grab the rudder. Rowing is powered by your character, not the weather, which is why it works when the sails are useless. Half and full sail both depend entirely on wind direction and strength — unfurling canvas into a dead headwind gets you nowhere.
Steering, momentum, and how to stop a boat
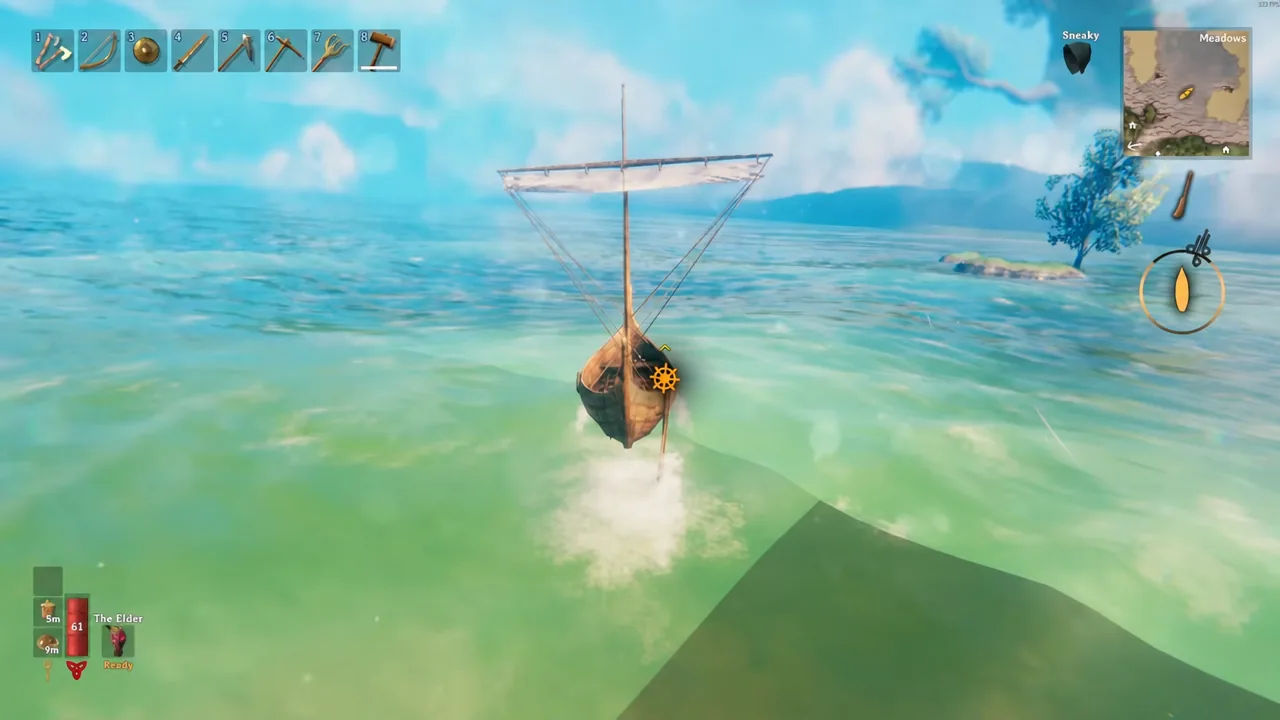
Left and right (A and D by default) swing the rudder, and the rudder stays where you put it. If your ship is lazily circling the same island, that is why — nudge the opposite direction until the indicator returns to centre. The boat only turns while it is actually moving, and while reversing the rudder pushes the bow the opposite way to what you would expect.
Boats carry momentum. Dropping to neutral does not park you; it just stops adding speed. Kill your sails well before a dock, finish the approach under rowing, and use reverse to scrub off the last of it. If you are alone on board, releasing the rudder and jumping off stops the ship instantly no matter how fast it was going.
A boat with its sails up keeps sailing as long as at least one player is standing on deck, even with nobody at the rudder. Logging out with a crewmate aboard can strand you mid-ocean.
How to read the wind indicator in Valheim
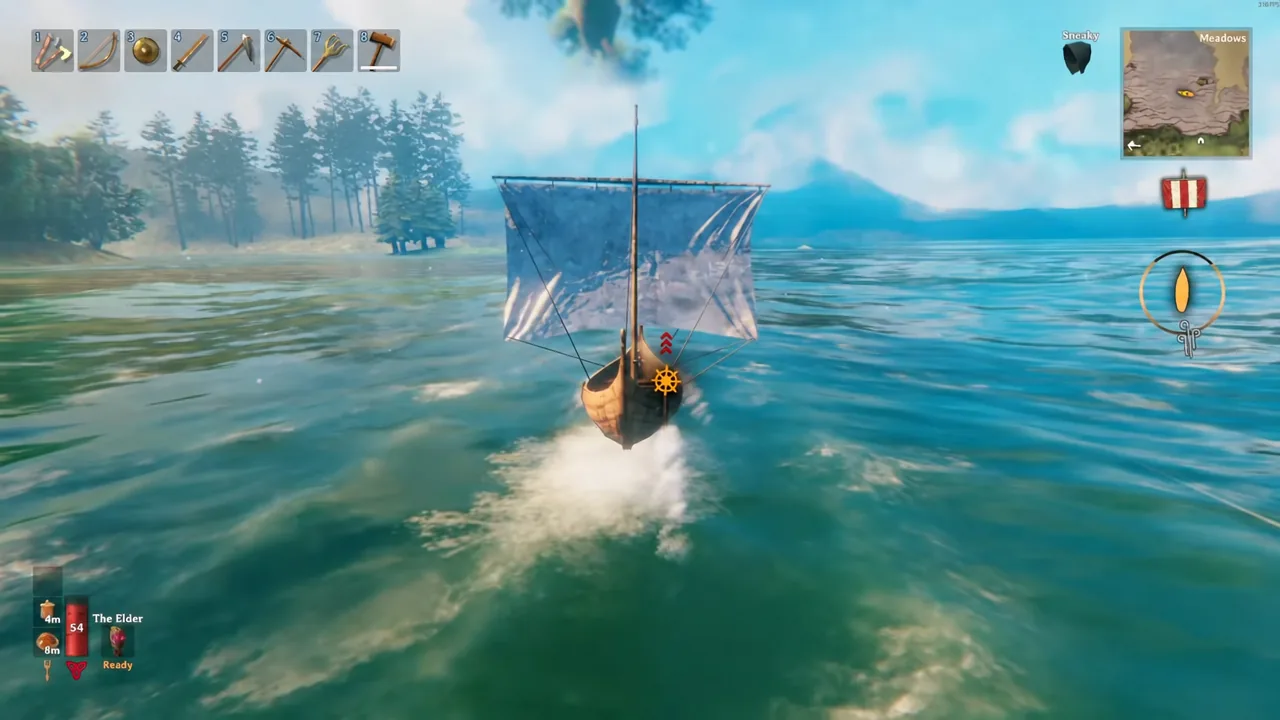
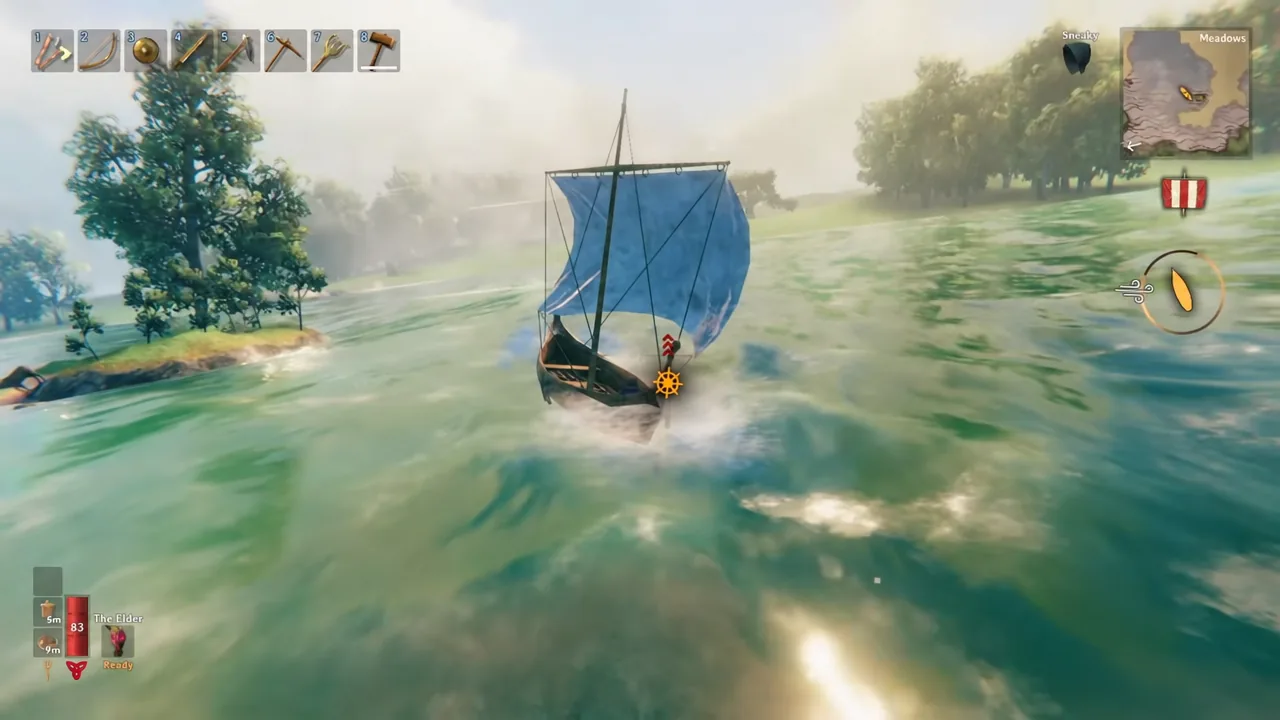
The circular gauge by the minimap is the whole game of sailing. The ship symbol shows where your bow is pointed, the pointer shows where the wind is coming from, and the darkened wedge — roughly 90 degrees straight ahead — is the no-go zone. Point into that wedge and the sails go grey and stop pulling. When the indicator is bright, the wind is working for you, and the brighter it is the harder it is pushing.
You do not need a perfect tailwind. The sails swing to catch the wind automatically, and anything from a crosswind to a following wind moves you at close to the same speed — the mathematically ideal angle is only a few percent faster than a plain beam reach. Practically, that means the fastest route is usually a straight line unless the wind is genuinely in your face.
How to sail against the wind: rowing vs tacking
When your destination sits directly upwind, you have exactly two tools. Neither is automatically better, and picking wrong mostly costs you time rather than your ship.
Row straight into it
Drop to the first forward setting so the sails furl and your Viking paddles with the rudder. It is slow but completely predictable, and wind has no say in it. Rowing is the right answer for short hops, river mouths, narrow straits between rocks, and any stretch of coast where wandering off course would put you on the shoreline.
Tack across the wind
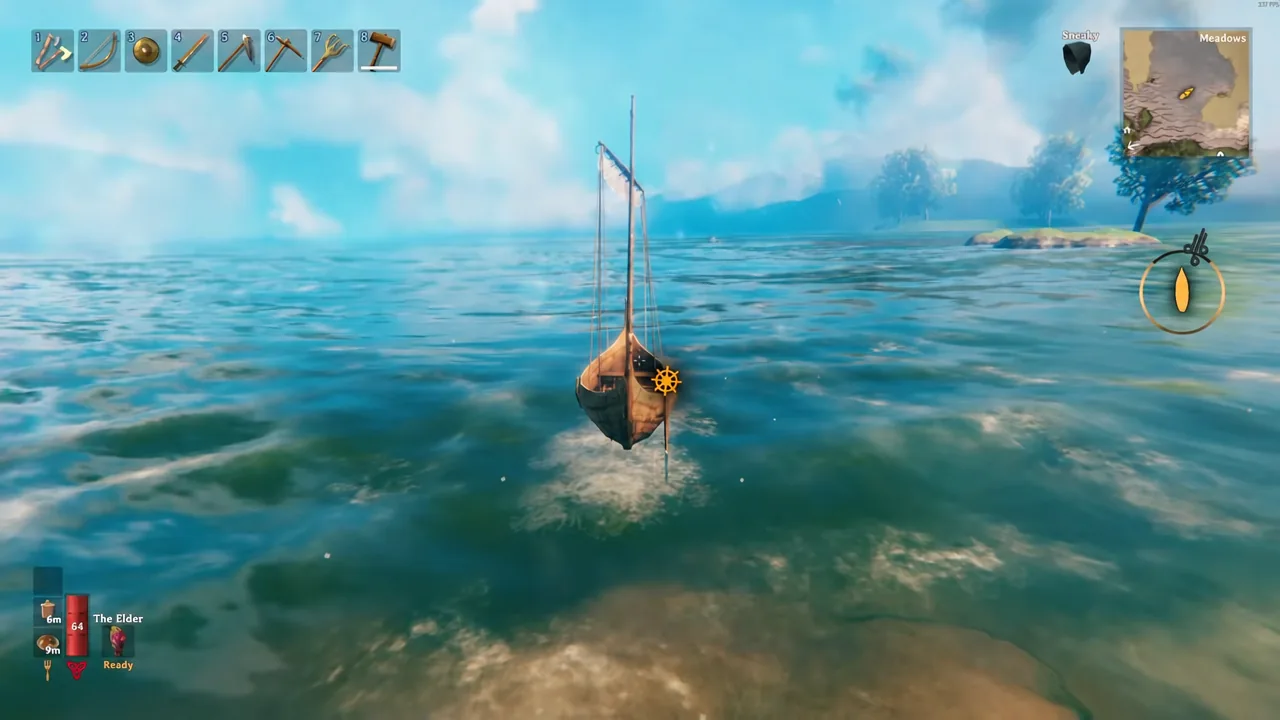
Tacking is a zigzag. Angle the bow about 45 degrees off the incoming wind so the sails stay lit on the gauge, run that leg for a while, then turn through the wind and run the mirror-image leg on the other side. Each leg puts you a little closer even though you are never pointed straight at the target.
Expect to lose sail power during the turn itself. Flick down to rowing to carry your momentum through, then unfurl again once the gauge brightens. Tacking needs open water and adds real distance, so it pays off best in strong winds on long crossings. In a light breeze, paddling the direct line often gets you there first.
Moder’s Forsaken Power: a tailwind in any direction
Moder is the fourth boss in the normal progression and lives in the Mountains. Hang her trophy on the Sacrificial Stones, select her power, and the wind problem largely goes away. Activate it with F on default controls and the boat you are steering gets a following wind no matter which way you turn.
- Duration: 5 minutes
- Cooldown: 20 minutes
- +300 carry weight, +10% movement speed, +50% frost resistance
Five minutes goes quickly, so do not burn it while you are still nudging away from the dock. Clear the shallows first, then trigger it for the open-water leg where the wind is actually costing you time. The carry weight bonus is handy for loading ore, but it expires — if you are over your normal limit when it ends you will be stuck at a crawl until you drop something. Being encumbered also blocks you from using the rudder at all.
Which boat to build: Raft, Karve, Longship, and Drakkar
All four ships are placed with the Hammer while you are in range of a Workbench, standing at water deep enough to float them. The advanced components are made elsewhere — nails at a Forge, Ceramic Plates at an upgraded Artisan Table — but the hull itself always comes out of the Hammer’s build menu.
| Boat | Materials |
|---|---|
| Raft | 20 Wood, 6 Leather Scraps, 6 Resin |
| Karve | 30 Finewood, 10 Deer Hide, 20 Resin, 80 Bronze Nails |
| Longship | 40 Finewood, 40 Ancient Bark, 10 Deer Hide, 100 Iron Nails |
| Drakkar | 50 Finewood, 25 Yggdrasil Wood, 30 Ceramic Plates, 100 Iron Nails |
| Boat | HP | Cargo slots | Extra seats |
|---|---|---|---|
| Raft | 300 | 0 | 0 |
| Karve | 500 | 4 | 2 |
| Longship | 1,000 | 18 | 4 |
| Drakkar | 3,000 | 32 | 8 |
Raft. No metalworking required, which is its only real selling point. It is slow, it has nowhere to put anything, and it is the boat most likely to capsize in a swell. Treat it as a river ferry or a way to retrieve gear from the shallows, not an expedition vessel.
Karve. The Bronze Nails tie it to your Black Forest metalworking, and it is the first ship that feels like a ship. It is nimble enough for narrow inlets, quick enough to outrun a Serpent with decent wind, and it hauls your first loads of ore. Its thin hull means you do not want a running fight.
Longship. Unlocked once the Swamp gives you Iron and Ancient Bark for the nails and planking. It is the workhorse — faster, far tougher, and with the hold space to move Iron, Silver, and Black Metal in one trip instead of four. The trade-off is bulk: you need more water to turn it and more care on the approach.
Drakkar. The only hull that survives the boiling sea around the Ashlands, which makes it mandatory for the endgame and the deck you fight Bonemaws from. Its Ceramic Plates are refined from Black Marble at a level 2 Artisan Table, and upgrading that table needs an Artisan Press built from the Majestic Carapace the Queen drops — so it lands after the Mistlands. It is also slightly slower than the Longship, which stays the better pick for ordinary runs.
What damages boats and sinks cargo
Hulls do not just take hits from monsters. Most wrecks are self-inflicted, and the game checks for collision damage constantly while you are moving.
- Ramming terrain, buildings, or creatures deals blunt damage that scales with your impact speed — and the ship takes the same amount back.
- Slamming down off a big wave costs 10 damage; bigger ships tolerate a harder landing before it triggers.
- A capsized boat bleeds 20 damage per second. Heavy seas roll the Karve most easily.
- Every hull is vulnerable to fire, resistant to frost and pierce, and immune to chop, pickaxe, poison, and spirit damage.
- Near land, Necks, Greydwarfs, Draugr, Leeches, and Lox will attack a moored boat. Deathsquitos chase passengers far out to sea, and Blobs can leap aboard.
When a ship is destroyed it drops a floating crate holding its cargo, but the dense parts of the wreck — pelts and nails — sink. In deep water they are gone for good.
Serpents are the one threat that forces a decision. You cannot steer and shoot at the same time, so either stop and fight from the deck with a bow, or turn downwind and run. Trying to do both is how people lose a hold full of iron.
Hauling metal, repairing, and landing safely
On default world settings, ordinary wooden portals refuse ore and metal bars, which is the entire reason cargo capacity matters. Stone Portals later lift that restriction, and adjusting your world’s portal rules changes it too, but until then every ingot comes home by sea. Sail out with a full hold and an empty backpack so you have room for whatever you dig up.
Repairs use the Hammer while the boat is within range of a Workbench, so check the hull before a long run and carry enough Wood to throw down a temporary bench on a foreign beach. Eat and refresh Rested before departure — you will want both if the landing site turns hostile.
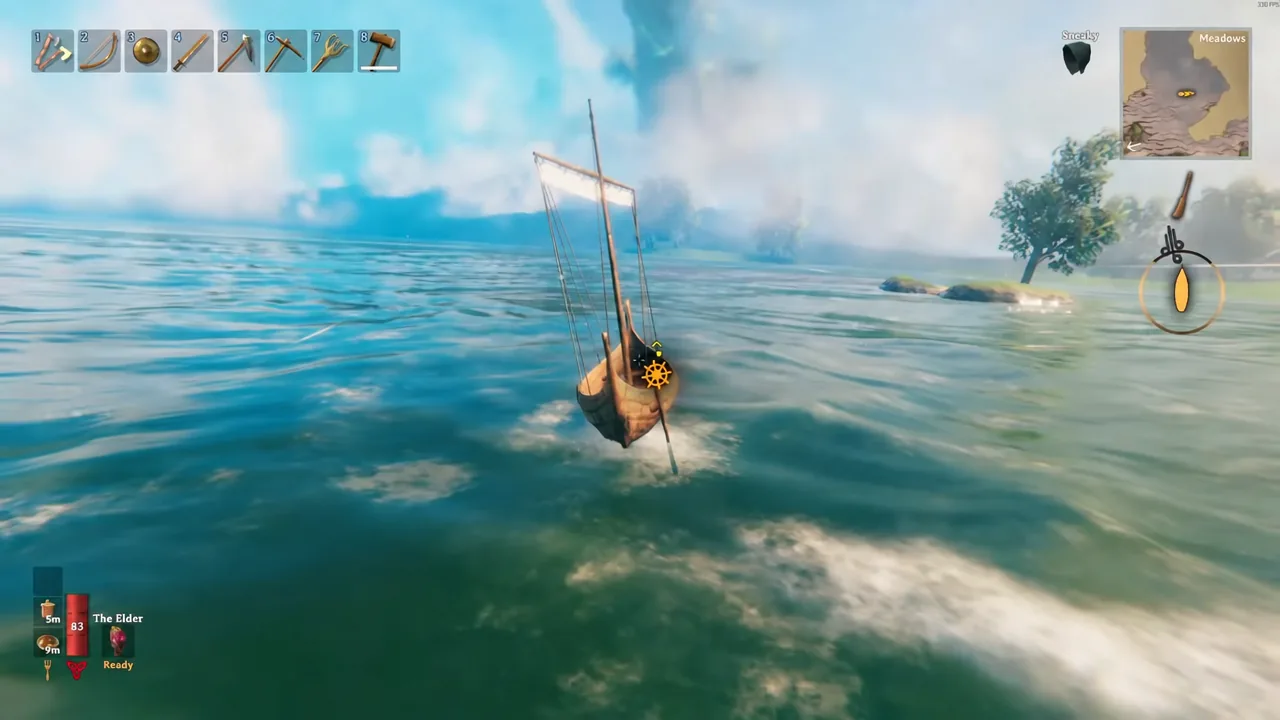
Come into an unknown shore slowly, look for what is waiting on the sand, and pick a spot you can shove off from again in a hurry. Mark the boat on your map the moment you step away from it, and if a route is one you will be running repeatedly, a small dock with a chest, a Workbench, and a bed turns every future crossing into a chore instead of an expedition.