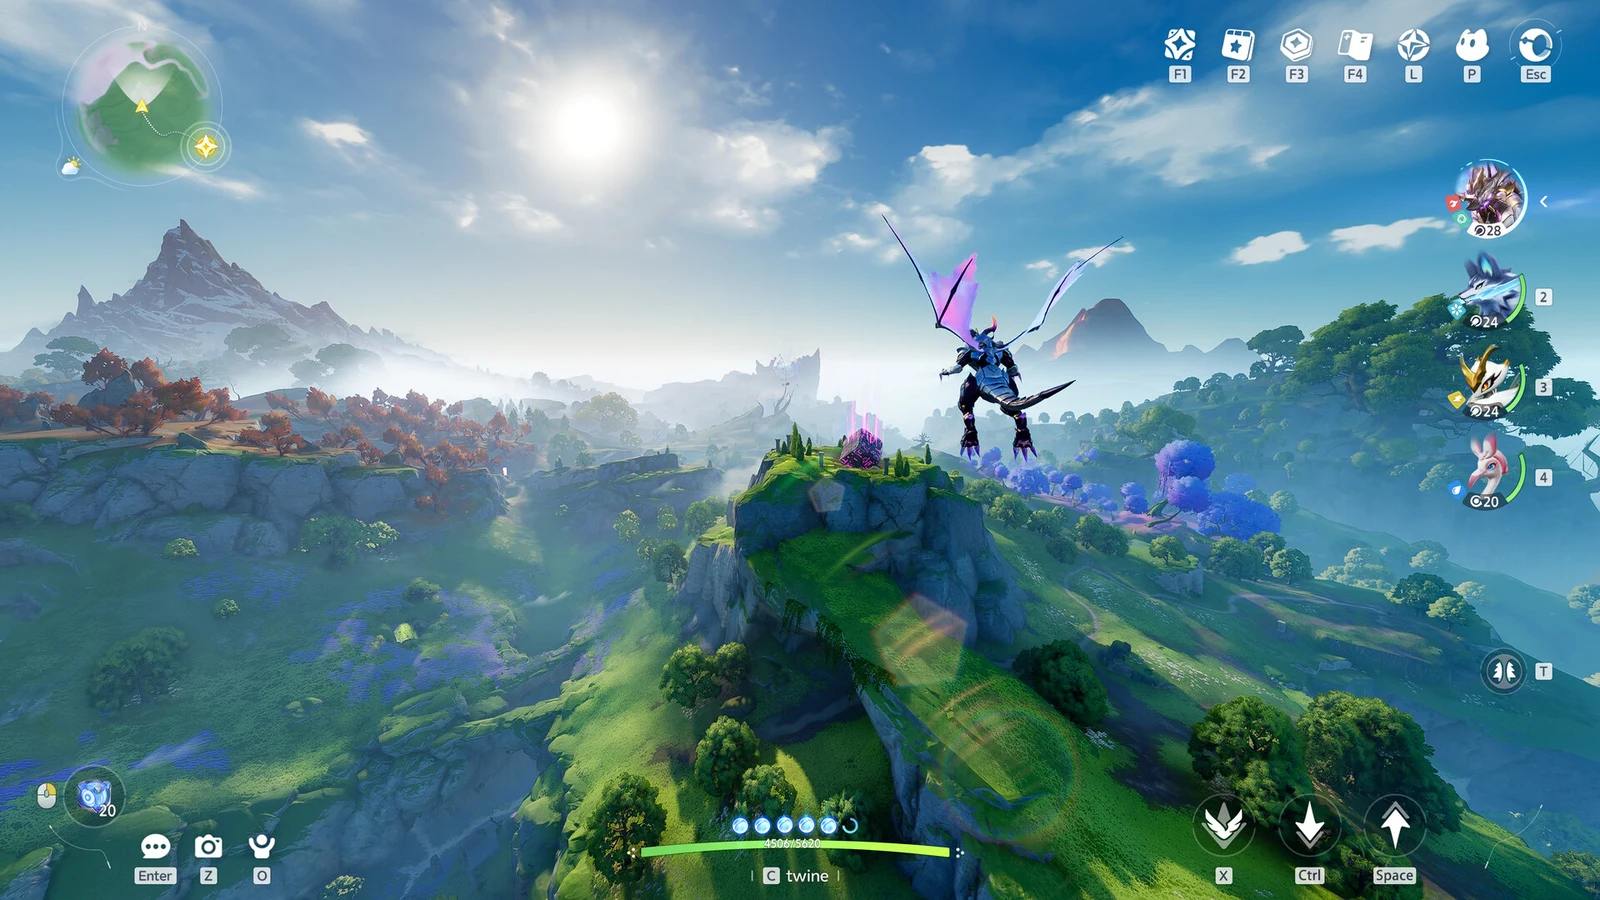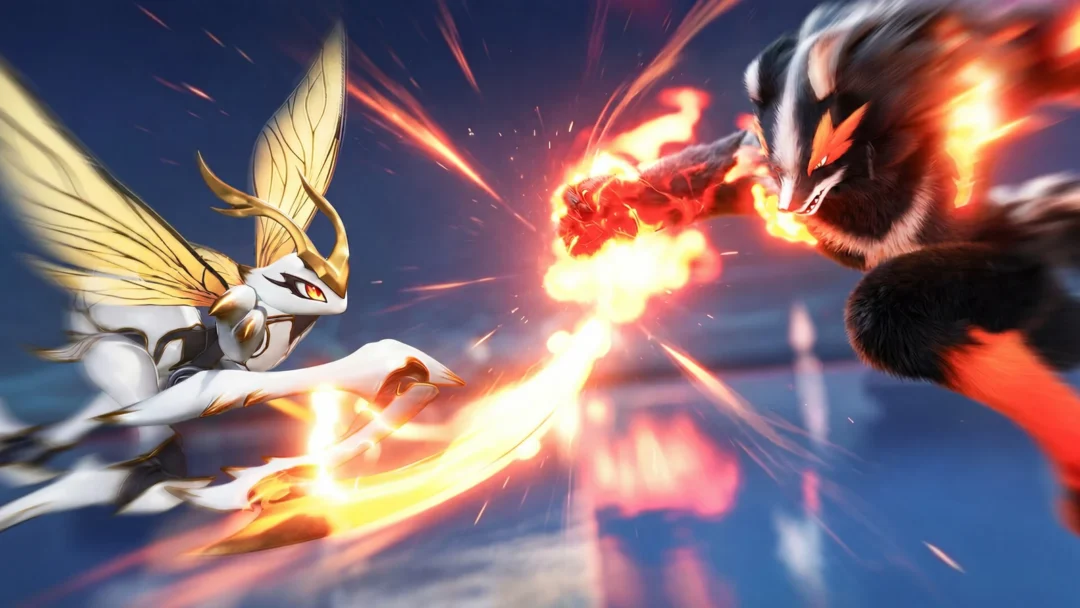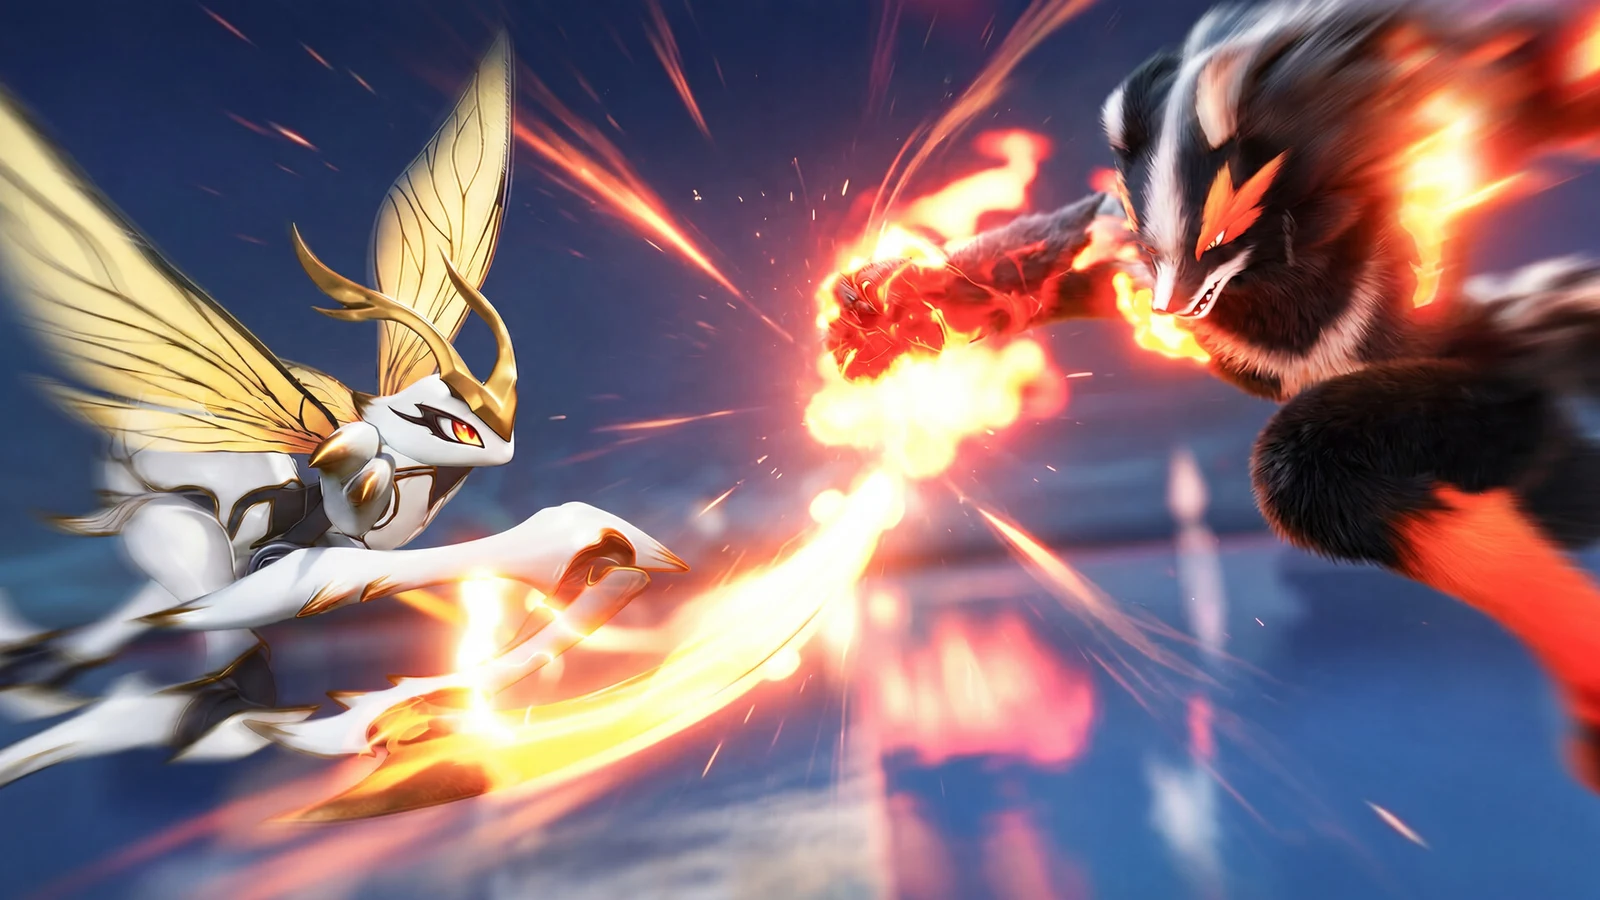
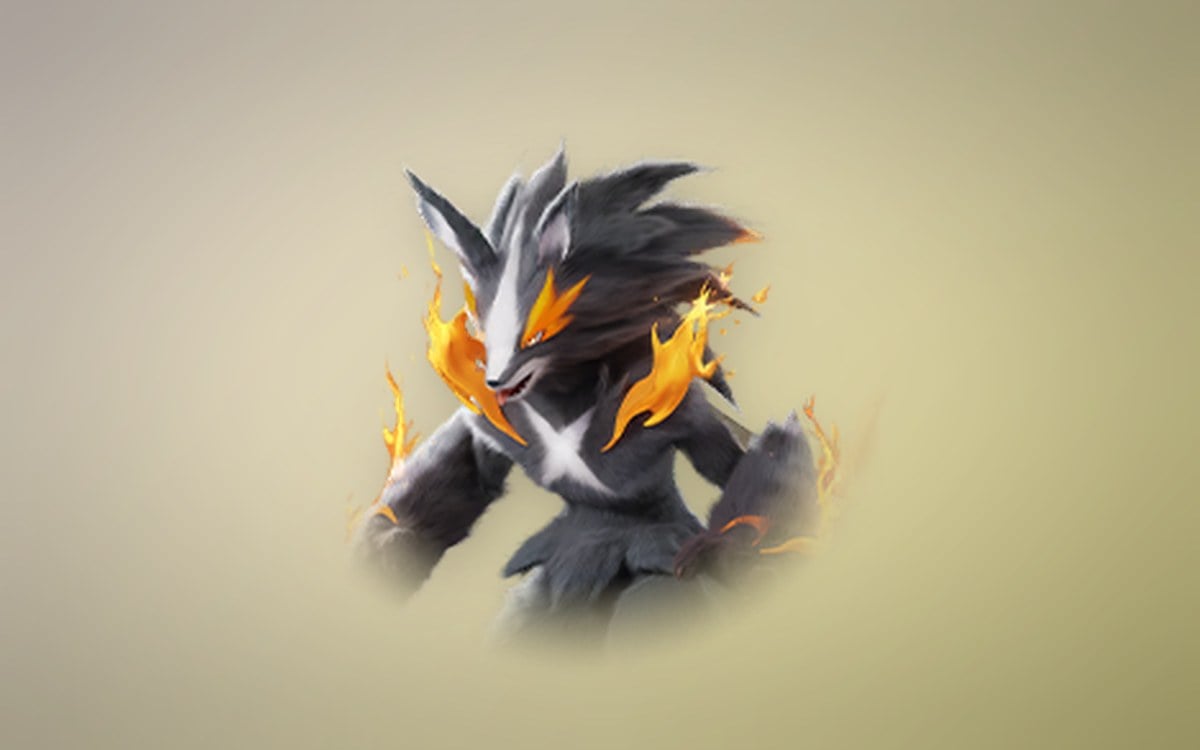
Alpha Scorchhowl is one of Aniimo’s field bosses, a supersized Fire wolf that patrols a stone circle in Beast Fang Ridge. It is also a hard gate: until you knock it down, your Flameruff cannot take the final step of its evolution line, no matter how high you level it.
Quick answer: Alpha Scorchhowl sits in Beast Fang Ridge, east of Sanctum: Water to Ice, in the center of a three-stone monolith. Defeat it around Level 33 to unlock the Flameruff evolution.
Alpha Scorchhowl location in Beast Fang Ridge
Head to Beast Fang Ridge and travel east from Sanctum: Water to Ice. The boss arena is the open patch ringed by a three-stone monolith, and the alpha paces inside it on a loop. It shows up on the world map as an Alpha Aniimo marker, and the game flags the arena with a recommended level of Lv. 33 when you walk in.
Beast Fang Ridge is the same region that hosts the regular Scorchhowl, plus its Thunderstorm and Prismana forms during the matching weather. That makes the trip worth planning around the forecast if you want more than one thing out of it.
What to bring to the fight
Alpha Scorchhowl is a Fire Aniimo, and Fire takes 1.6x damage from Water and Dark. A Water or Dark carry shortens the fight considerably. Bring a second Aniimo with a mobility skill too, because a chunk of this encounter is spent repositioning rather than attacking.
- Character level close to 33, or the alpha’s hits will delete most of your health bar.
- A Water or Dark attacker for the elemental advantage.
- A capture device stocked before you start, since the catch window is timed.
- An Aniimo with a fast movement skill for crossing burning ground.
How to beat Alpha Scorchhowl
Read the wind-up, then clear the fire pools
Every heavy attack the alpha throws hurts, but each one takes a long time to charge. Watch for the red area indicators on the ground and walk out of them rather than trying to tank a hit. The damage is front-loaded into slow, readable swings, which is the whole reason this fight is survivable at level.
The catch is what happens after the swing lands. Those zones stay lit as pools of fire, and the arena gradually fills up with them, so the safe ground shrinks the longer you take. Treat every impact site as permanently off-limits and keep circling to fresh ground between your own attacks.
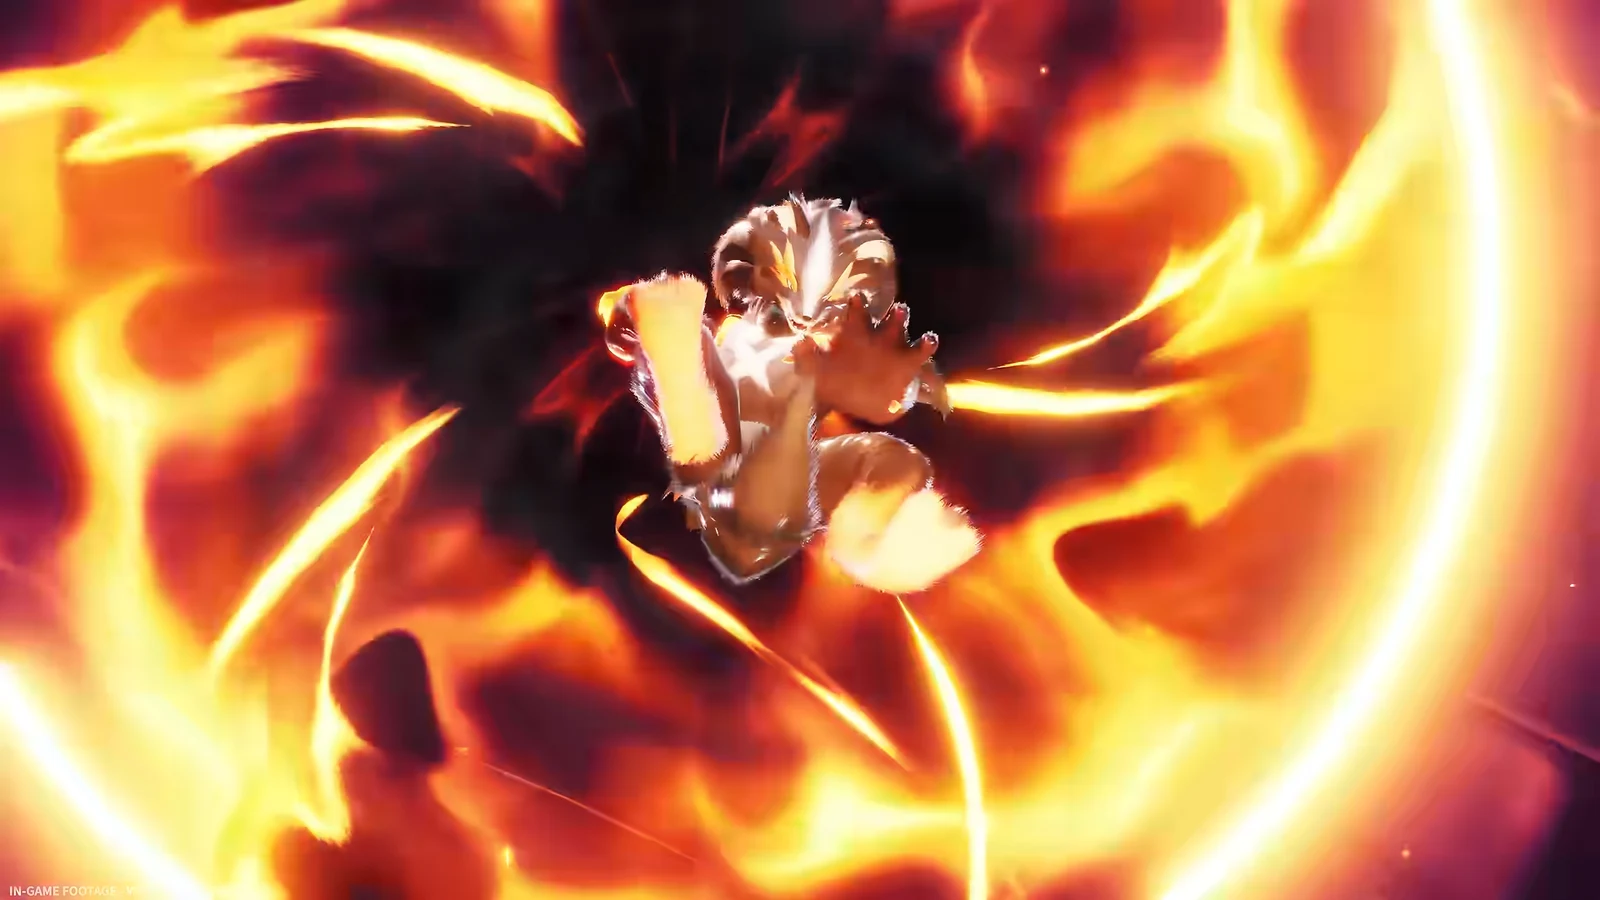
Melee pressure works fine here, but only in short bursts between charge-ups. Land a combo, then reset your spacing before the next wind-up finishes.
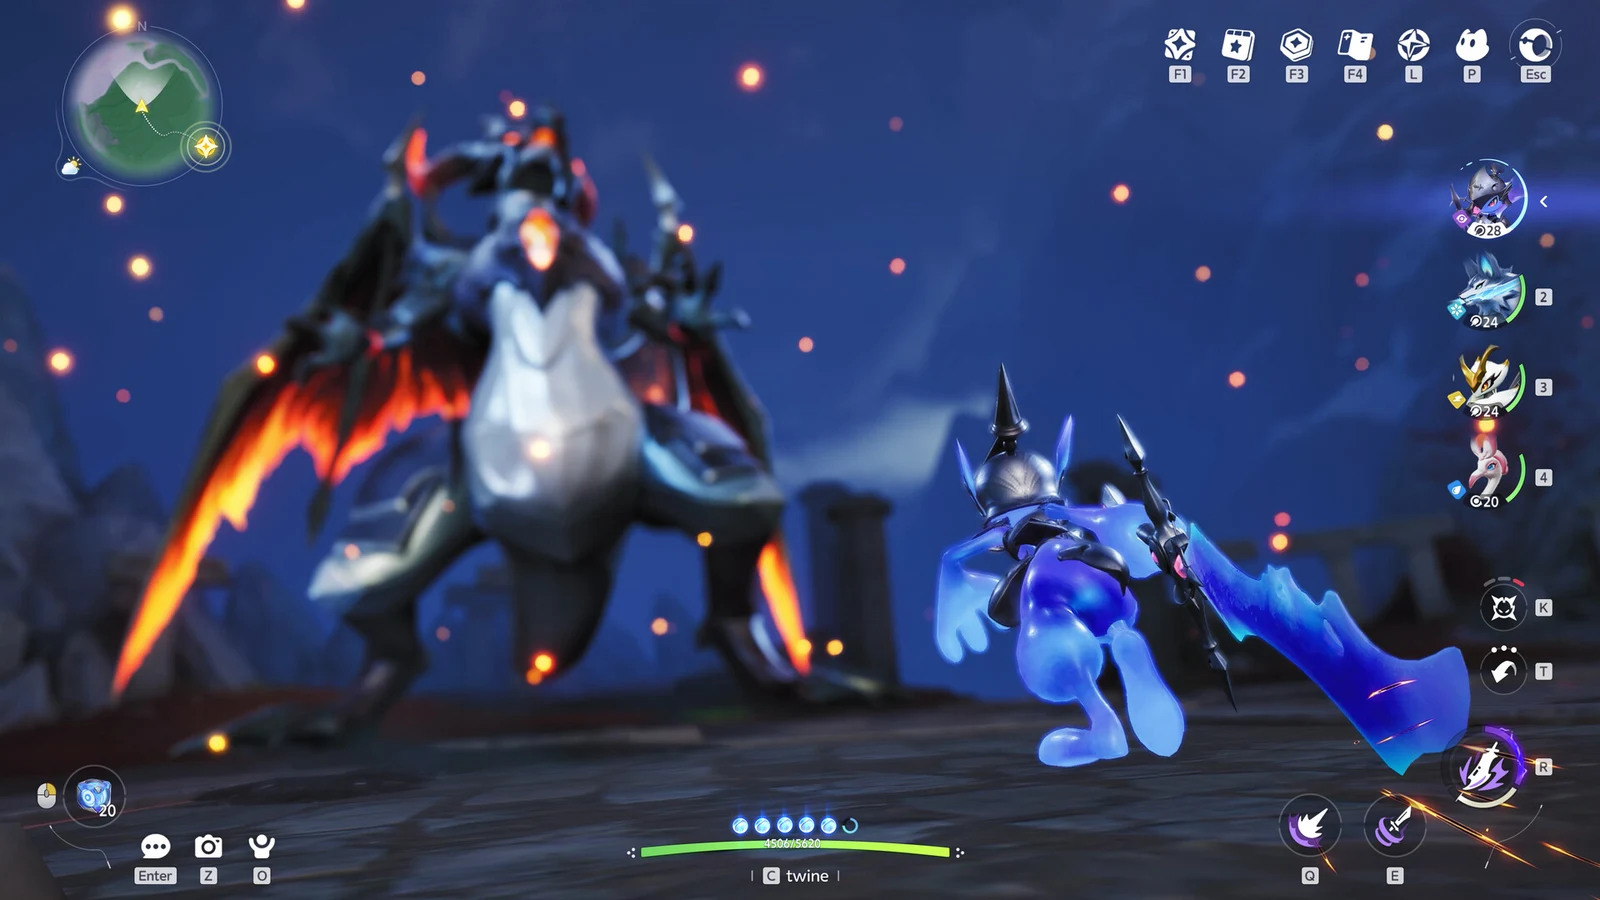
A fast-moving Aniimo makes the burning floor a non-issue. Swapping to a mobility form to roll around the edge of the arena costs you a few seconds of damage but avoids the chip damage that usually ends these attempts.
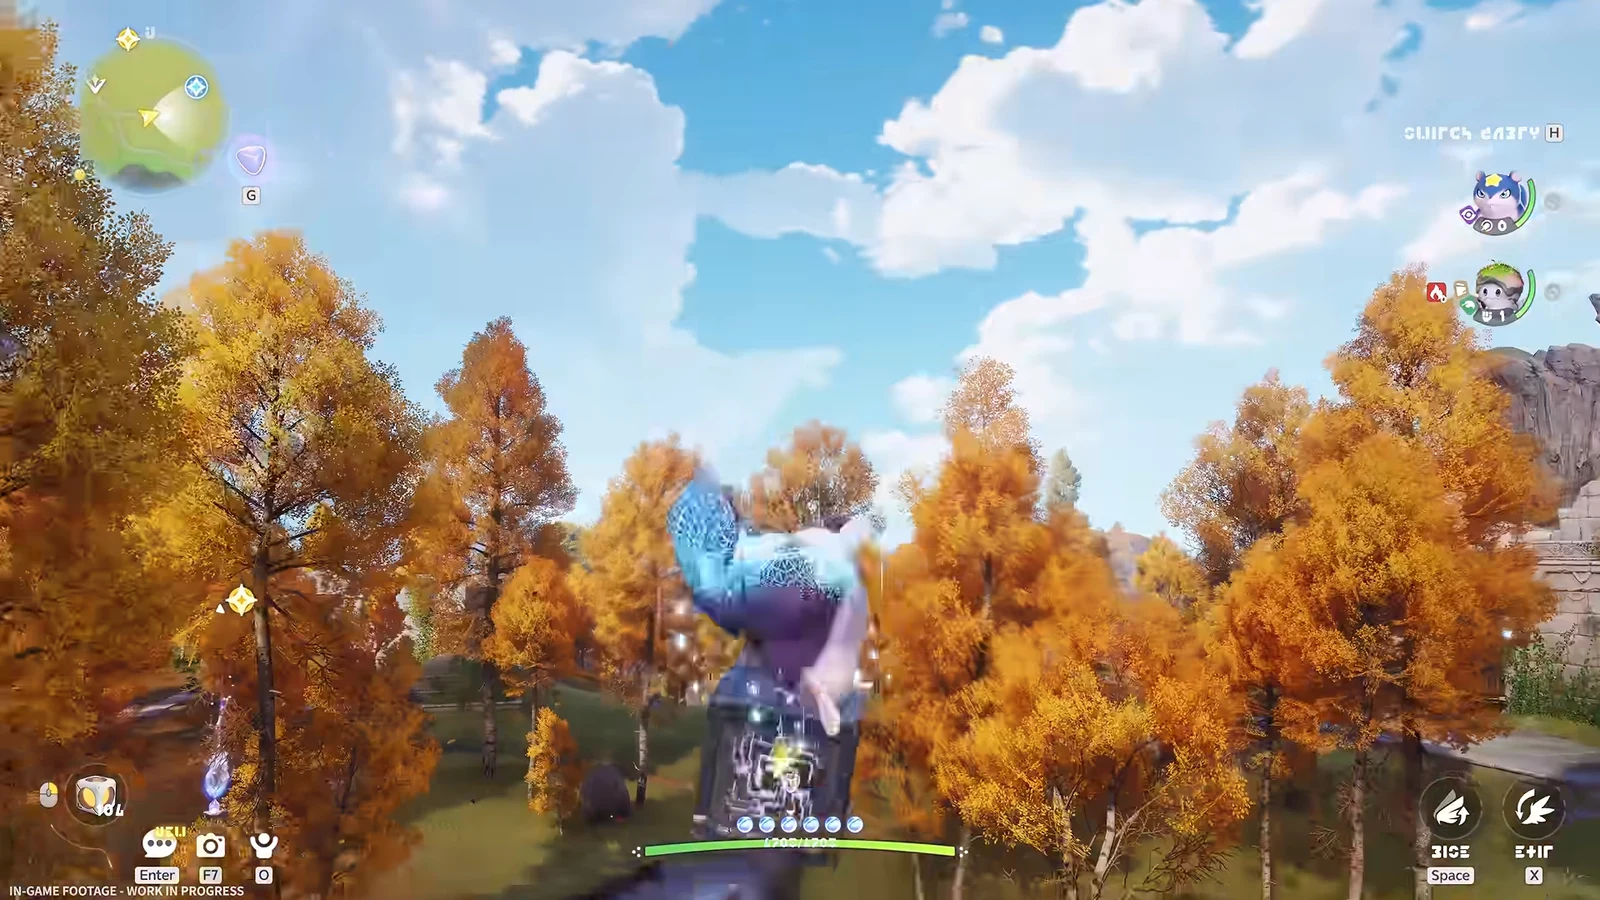
Break the guard for the 250% damage window
Alpha Scorchhowl has a guard gauge under its health bar. Filling it triggers a BREAK state that stacks a 250% damage multiplier on top of your hits, and that window is where most of the boss’s health actually disappears. Save your ultimate and your hardest-hitting skill for it instead of firing them off the moment they come up.
Once the health bar empties, the game cuts to a slow-motion defeat animation. Do not put the controller down, because the capture phase starts immediately after it.
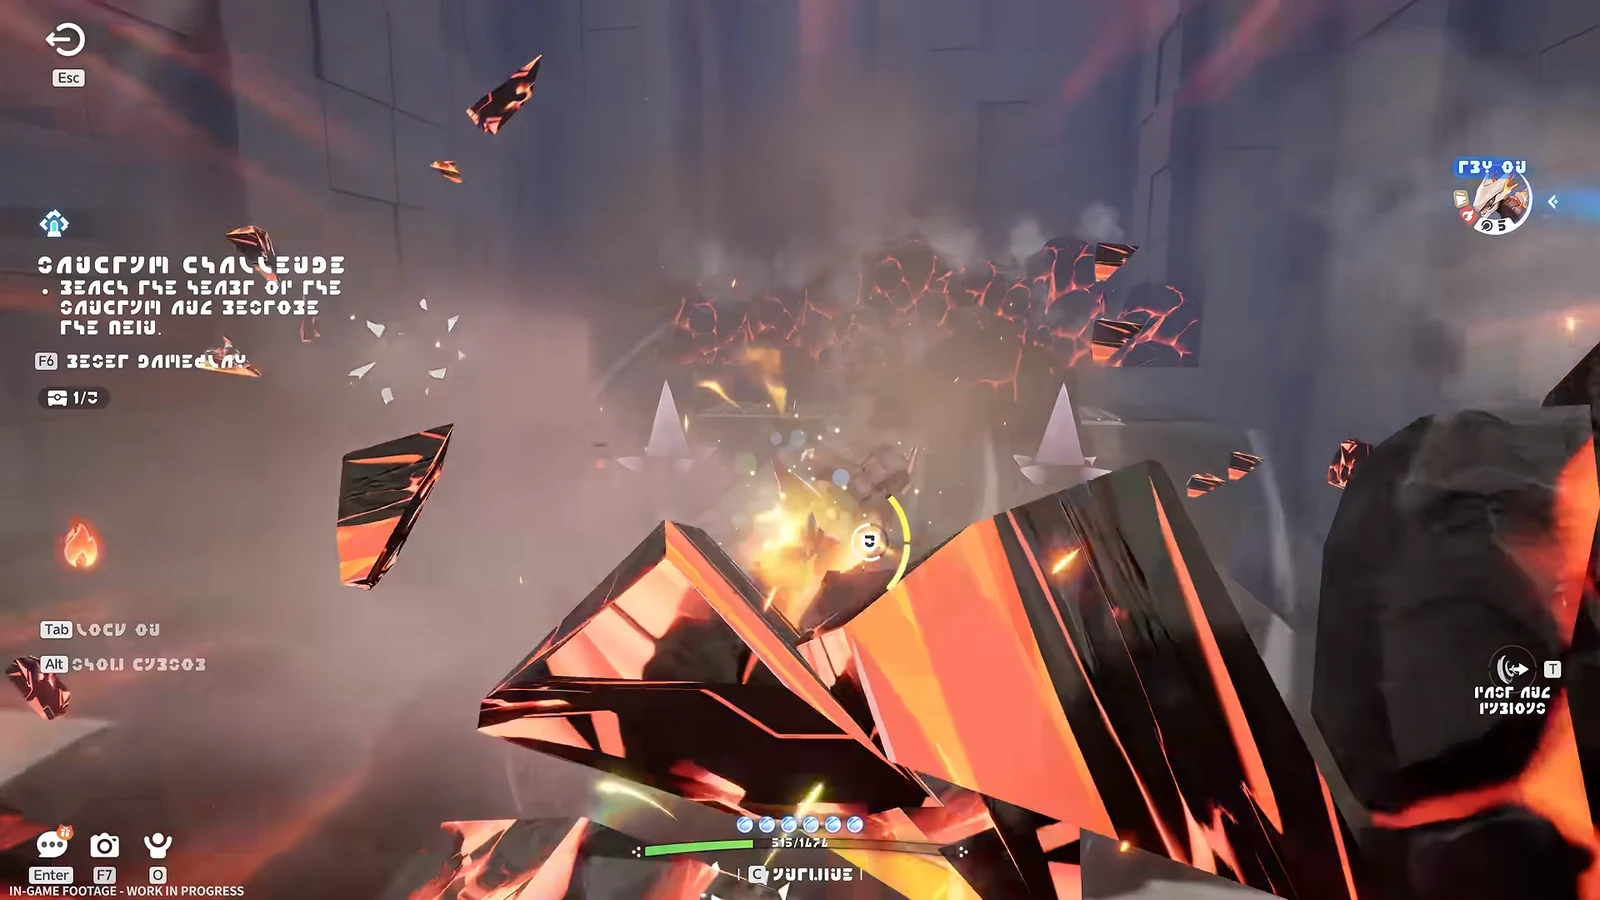
How to catch Alpha Scorchhowl after the fight
Beating the alpha opens a Catch Countdown. A capture wheel appears with a timer, and you pick which device to throw before it runs out. The odds vary wildly by device, so the decision is really about how much of your stock you are willing to spend on one attempt.
| Device | Capture rate |
|---|---|
| Anipod | 6.6% / 9.9% |
| Anipod Track | 13% |
| Anipod Mega | 13% |
 Sparkling Cube Sparkling Cube | 100% |
| Anipod Ultra | 100% |
Only the Anipod Ultra and the Sparkling Cube guarantee the catch. If you want the alpha on your team on the first clear, use one of those rather than gambling a standard Anipod on a boss you would have to re-fight.
Alpha Scorchhowl rewards and drops
The first clear pays out a one-time bundle, and the Blaze Stone in it is the part that matters most, since that is the material the Scorchhowl evolution consumes.
| First clear reward | Amount |
|---|---|
| Safaris | 500 |
 Irisalis Petal Irisalis Petal | 1 |
| Glimmer | 50 |
| Lumin Amber: Breezy Plains | 1 |
 Blaze Stone Blaze Stone | 5 |
Blaze Stone is also the repeat material drop, so returning to the alpha is a reliable way to stock up if you plan to evolve more than one Flameruff. On the results screen you can additionally spend 30 Primegy to claim a Tenacious Fang.
What beating Alpha Scorchhowl unlocks
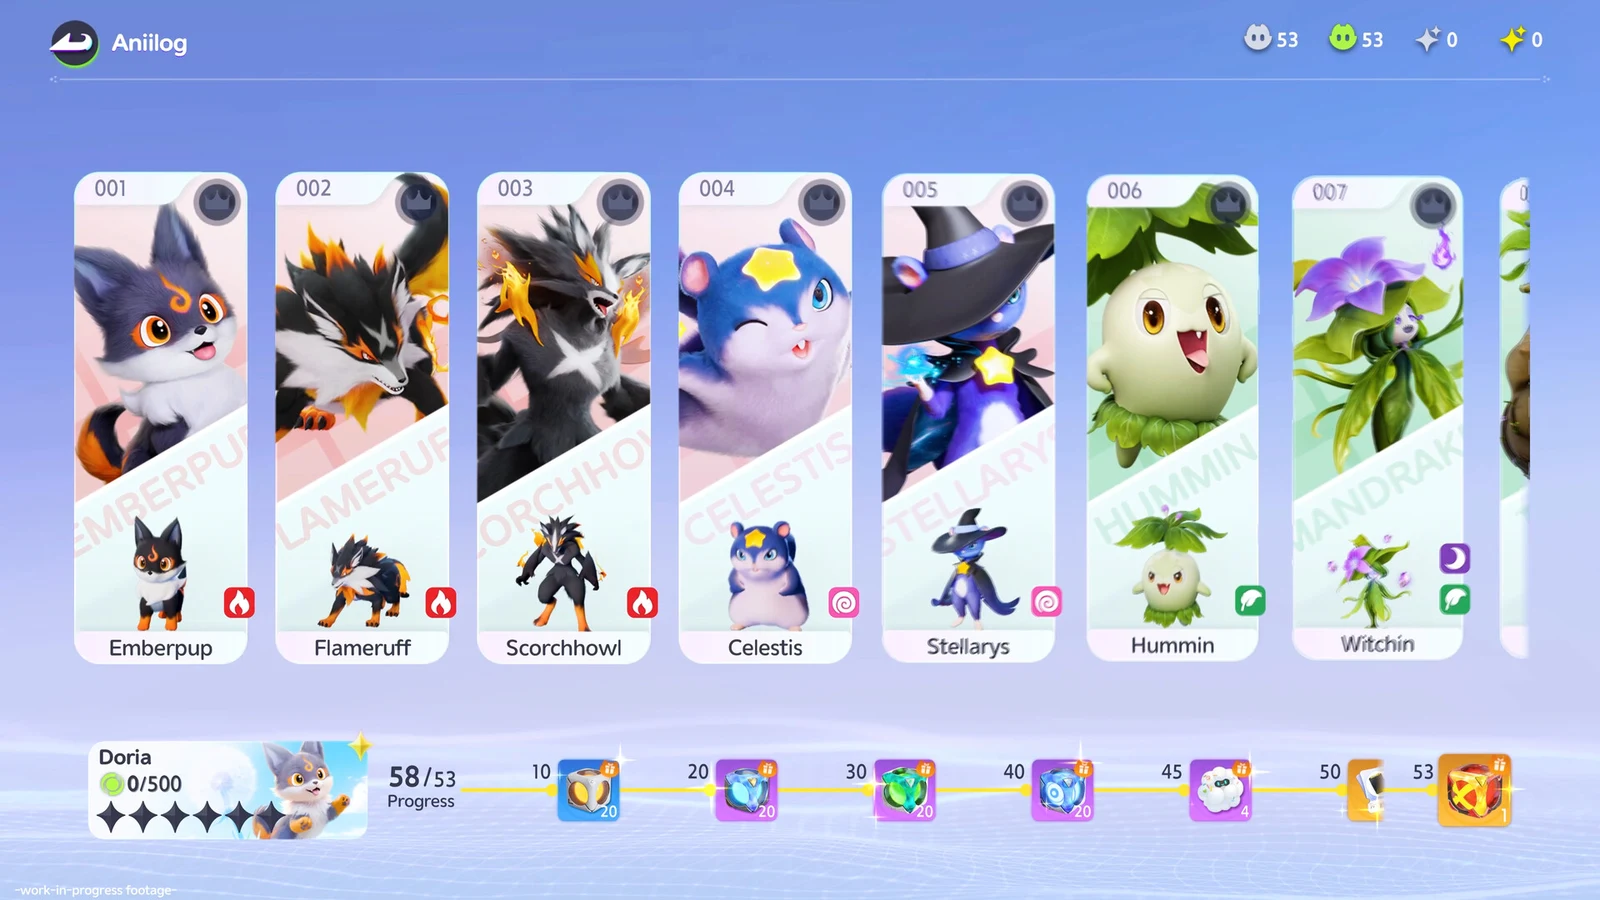
The Emberpup line runs Emberpup to Flameruff at Level 12, then Flameruff to Scorchhowl at Level 20. The first step needs you to clear Sanctum: First Spark. The second step stays locked until Alpha Scorchhowl is dead, and it costs Blaze Stone on top of the level requirement. Scorchhowl itself is a Nova-stage Fire DPS whose signature skill, Burn Breaker, costs 30 EP and carries 84 power, dumping all remaining EP at full charge for 30% extra damage per additional 10 EP spent.
You can confirm the unlock in two places. The Flameruff evolution entry stops showing the “Defeat the Alpha Scorchhowl” requirement and becomes selectable for any Flameruff at Level 20, and the main quest line advances to Fists II, which sends you after the Alpha Glynsera next.
Regional variants follow the same rule with an added condition. Evolving into the Highland form means doing it in Russet Highlands, while the Mountain Woods form requires Beast Fang Ridge during the daytime. Both still need the alpha beaten first, so this one fight clears the way for every version of Scorchhowl you can evolve.