Part 3 is where Fire Emblem: Fortune’s Weave stops being a single-army strategy game and becomes a logistics problem. The world map is broken, your roster is enormous, and every chapter ends with an underworld Gate that several teams have to dismantle together. The systems are not complicated once you see how they connect, but they arrive all at once.
Quick answer: Finish any one Part 2 route to open Part 3, rebuild Posthouses before anything else, split your army into Squads, and clear each chapter’s Gate battle period.
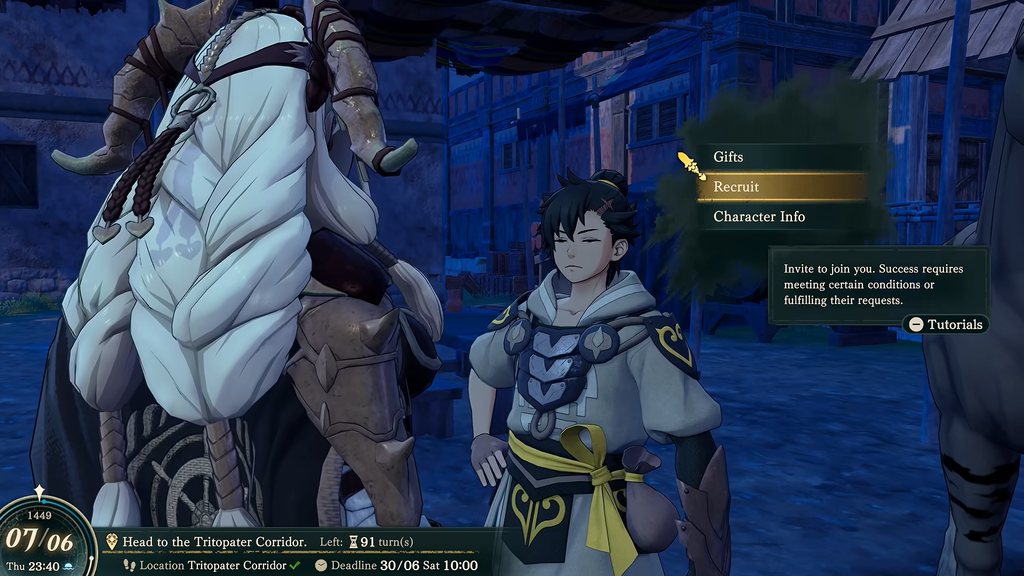
How Part 3 unlocks and what carries over
Part 3 opens the moment you complete any single Part 2 route. You do not need to play every version, and Part 2 itself can be skipped outright while still counting as completed for a given protagonist. Skipping still awards your units roughly the experience they would have earned in those fights.
When Part 3 begins, the armies you raised across protagonists who reached the end of Part 2 are merged into one roster. Shared recruits combine their support ranks, weapon experience and unlocked classes, so a character trained on two paths arrives noticeably stronger than one trained on a single run. You can technically start Part 3 early, but a thin army makes it punishing.
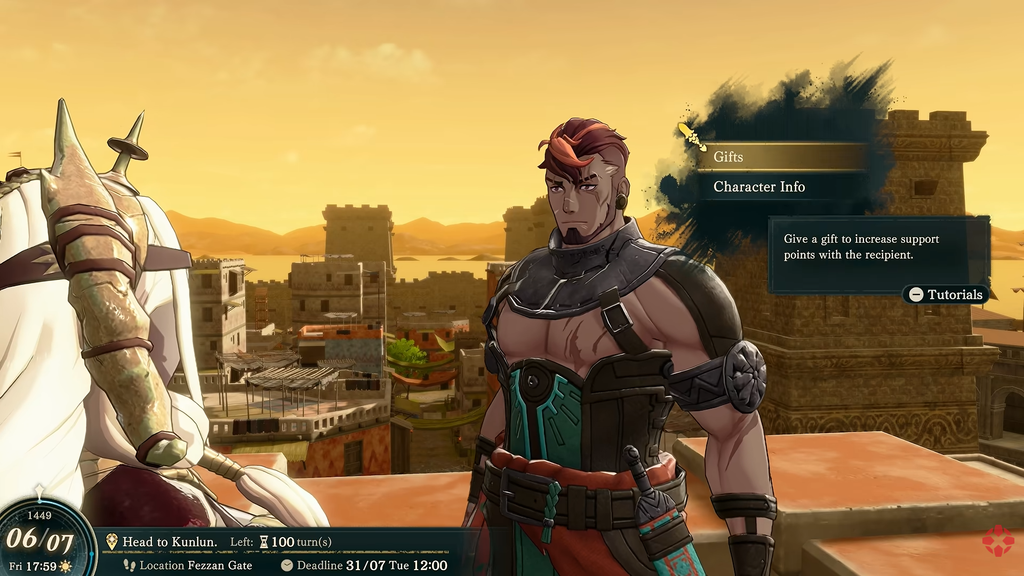
The Part 3 chapter loop: free time, then a Gate battle period
Chapters retain Part 1’s pattern: free time gives way to a major conflict, then repeats. What changes is the size of your operations. In free time, you direct multiple Squads across the map rather than a single group, collecting resources, completing quests, and fixing locations. Before the map turn is over, each Squad currently in action must spend its turn moving or choose to skip.
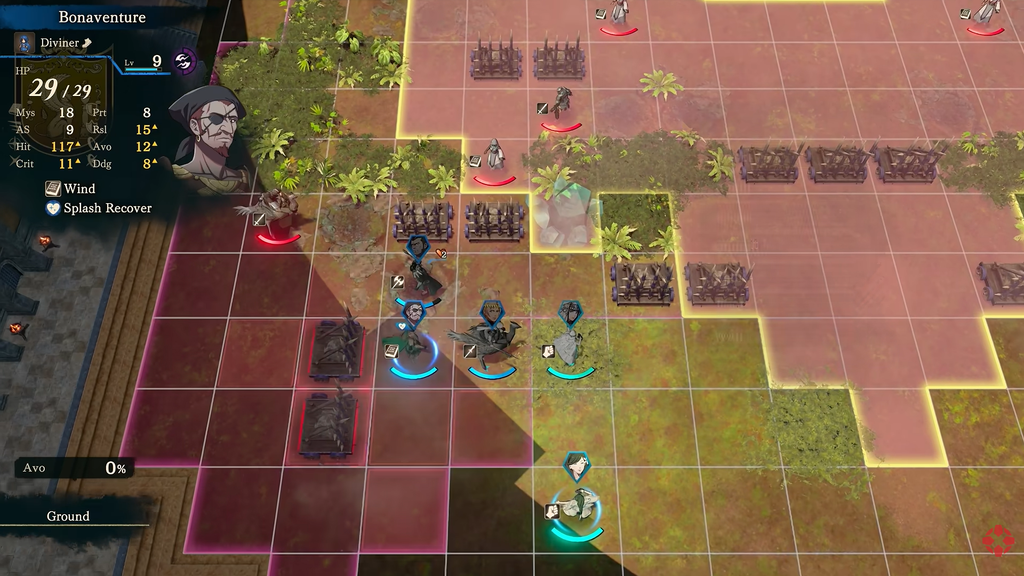
When the chapter’s free time runs out, the battle period starts. All Squads return to Dagsion, a Gate to the underworld opens as the central threat, and the fight plays out as a wider operation rather than one map.
Destroying the Gate
Spread your dependable units across teams rather than stacking one super-Squad. A single exceptional fighter cannot purify nodes and defend Dagsion at the same time.
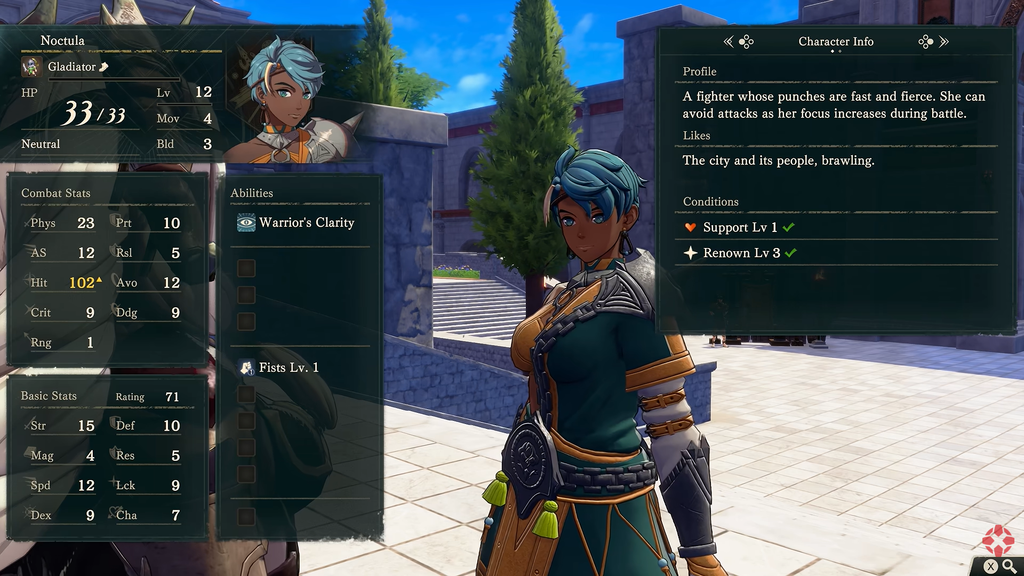
Squad rules: size, slots and Flame Lord abilities
| Rule | Detail |
|---|---|
| Units per Squad | Up to 8, chosen freely |
| Squads at the start of Part 3 | 2 |
| Maximum Squads | 5 |
| How slots unlock | One more after each main battle sequence |
| Flame Lord requirement | None, unless you want their map ability |
Squad composition is entirely yours. You can build around combat roles, around a travel objective, or around whoever needs training time. The one hard constraint is that Flame Lord map abilities belong to the Flame Lord, not the team. Cai’s beast-taming only works in a Squad containing Cai, and Theodora’s recruitment ability only works with Theodora present.
With two slots, keep plans simple. One team handles the main objective or the repair network, the other collects materials, clears quests and covers Flame Lord-specific interactions. Specialist teams make more sense once you are running four or five.
Benched units still gain levels
Your roster will always be larger than your deployment capacity, and that is fine. At the end of every map turn, each unit sitting outside a Squad picks up some experience and class experience. Reserves stay usable, so rotating the bench does not quietly ruin half your army. Characters who need a specific class threshold hit soon should still be in an active Squad.
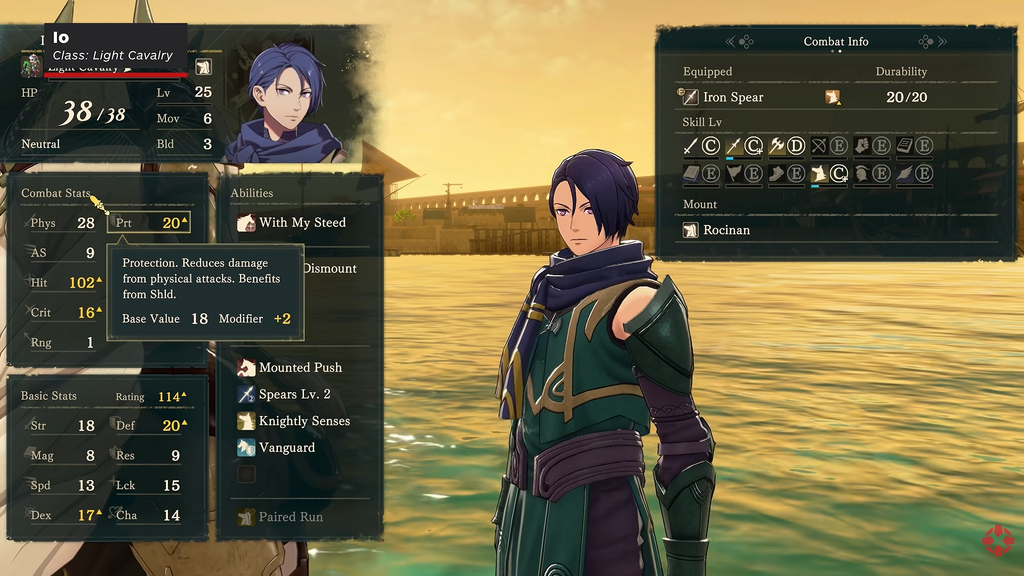
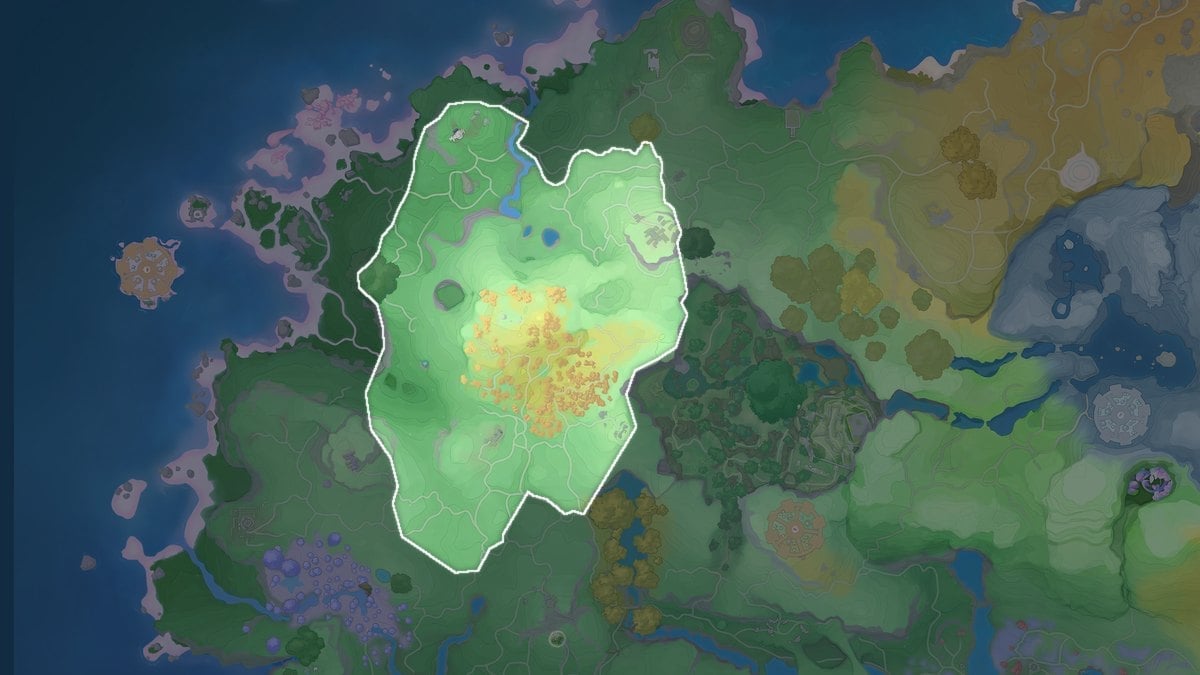
Rebuilding the world map: repair order that saves the most turns
Part 2 leaves most settlements on the map damaged, and a damaged location cannot be entered at all. That locks out its shop and any quest sitting inside it. Repairs cost a mix of resources, and the stockpiles you carry in from earlier paths will cover a lot of the early work, though rarer materials have to be found during Part 3 itself.
| Priority | Target | What it gives back |
|---|---|---|
| 1 | Posthouses | Fast travel across a very large map |
| 2 | Temples | Teleport plus god and goddess quests |
| 3 | Settlements | Shops and location-locked quests |
Posthouses come first because Part 3 constantly sends you across long distances to collect resources and revisit repaired locations. Restored fast-travel links pay for themselves within a single chapter.
Temples need a second step. Repairing the building is not enough, and the teleport function stays dormant until you complete the quest for that Temple’s god or goddess. Those quests are worth chasing anyway, since they frequently hand over a class as a reward. Ordinary settlements are last on the list, though any town holding a required quest or a shop you need jumps the queue.
Relief Perks are useful, but they are not a gate on major progression. Do not redirect resources toward Relief at the expense of your travel network.
Construction Materials and Dagsion facility upgrades
Every time you reopen a town, check its shop and buy whatever Construction Materials it stocks. Make it part of the repair routine rather than a separate errand, because the totals needed later are steep.
Those materials feed the upgrades for Dagsion’s Inn, Arena and Temples, and reaching the top facility levels takes a large stockpile. The Arena is the strongest early destination for them. Its bonuses are the most immediately useful, even though maxing it out is an expensive commitment.
Master Classes, Divine Classes and Temple rewards
Two new class categories arrive with Part 3. Master Classes are the next conventional rank, they demand serious stat investment, and they are effectively soft-gated around Level 45. A unit that has been coasting on passive reserve experience will not qualify on schedule.
Divine Classes work differently. They are tied to a dedicated collection task that becomes available around the middle of Part 3, so they are not something you can rush at the start of the arc. Between the two, Temple quests remain a steady third source of new classes, which is another reason to get Temples back online early.
Merge Causality at the Shrine of Causality
Within the Obelisk Chamber, the Shrine of Causality grants access to Merge Causality. At the shrine, Karma Shards let you pool the progress made by separate Part 1 versions of one recruit, uniting their classes, mastered abilities, combat arts, skill levels, and stat gains in a single unit.
There is no need to merge everyone the moment the system opens. Step away from the story and visit the Chamber when a specific unit stands to gain something that matters for the fight ahead. Characters you trained along very different lines across multiple Part 1 paths benefit the most, and merging them saves a lot of retraining.
Part 3 feels like a lot at first because a damaged map, a merged roster and multiple simultaneous teams all land in the same chapter. Fix the travel network, buy Construction Materials as towns reopen, and make sure no single Squad is carrying the whole operation. Once Dagsion’s facilities start climbing and the Posthouses are back, the structure settles down quickly.