Enshrouded: How to Cross Braelyn Bridge (Grappling Hook Route)
The route over the broken bridge in the Springlands, with the fall spots that kill you and the way out of the Shroud valley.
The route over the broken bridge in the Springlands, with the fall spots that kill you and the way out of the Shroud valley.
by AllThingsHow Staff
Braelyn Bridge in Enshrouded’s Springlands is damaged. The wooden deck at its southern end finishes before a gap; on the other side, a masonry pier is topped by a wooden frame. A stone bridge continues north to a ruined tower overlooking a Shroud valley. Use the Grappling Hook to get across the gap. Beyond it, take the Glider down into the valley, then use a wooden scaffold to climb back out.
Quick answer: Climb the ivy wall by the camp gate onto the south deck. Aim at the pier’s wooden frame and press E, then step right of the ladder hole. Walk north to the tower, glide into the valley, and climb out through the scaffold.
What you need before crossing Braelyn Bridge
The Grappling Hook, crafted and equipped, for the swing across the gap.
The Glider, for the drop from the tower foot into the Shroud valley.
Try to go during daylight. After dark, level 2 Fell with a blue glow attacked us at the ivy wall and camp gate; by day we met none on the wall.
All but one of our deaths on this route came from a fall; the other was a night fight with Fell at the ivy wall. Respawning put us back at our Flame Altar, so the edges called out below are the parts to take slowly.
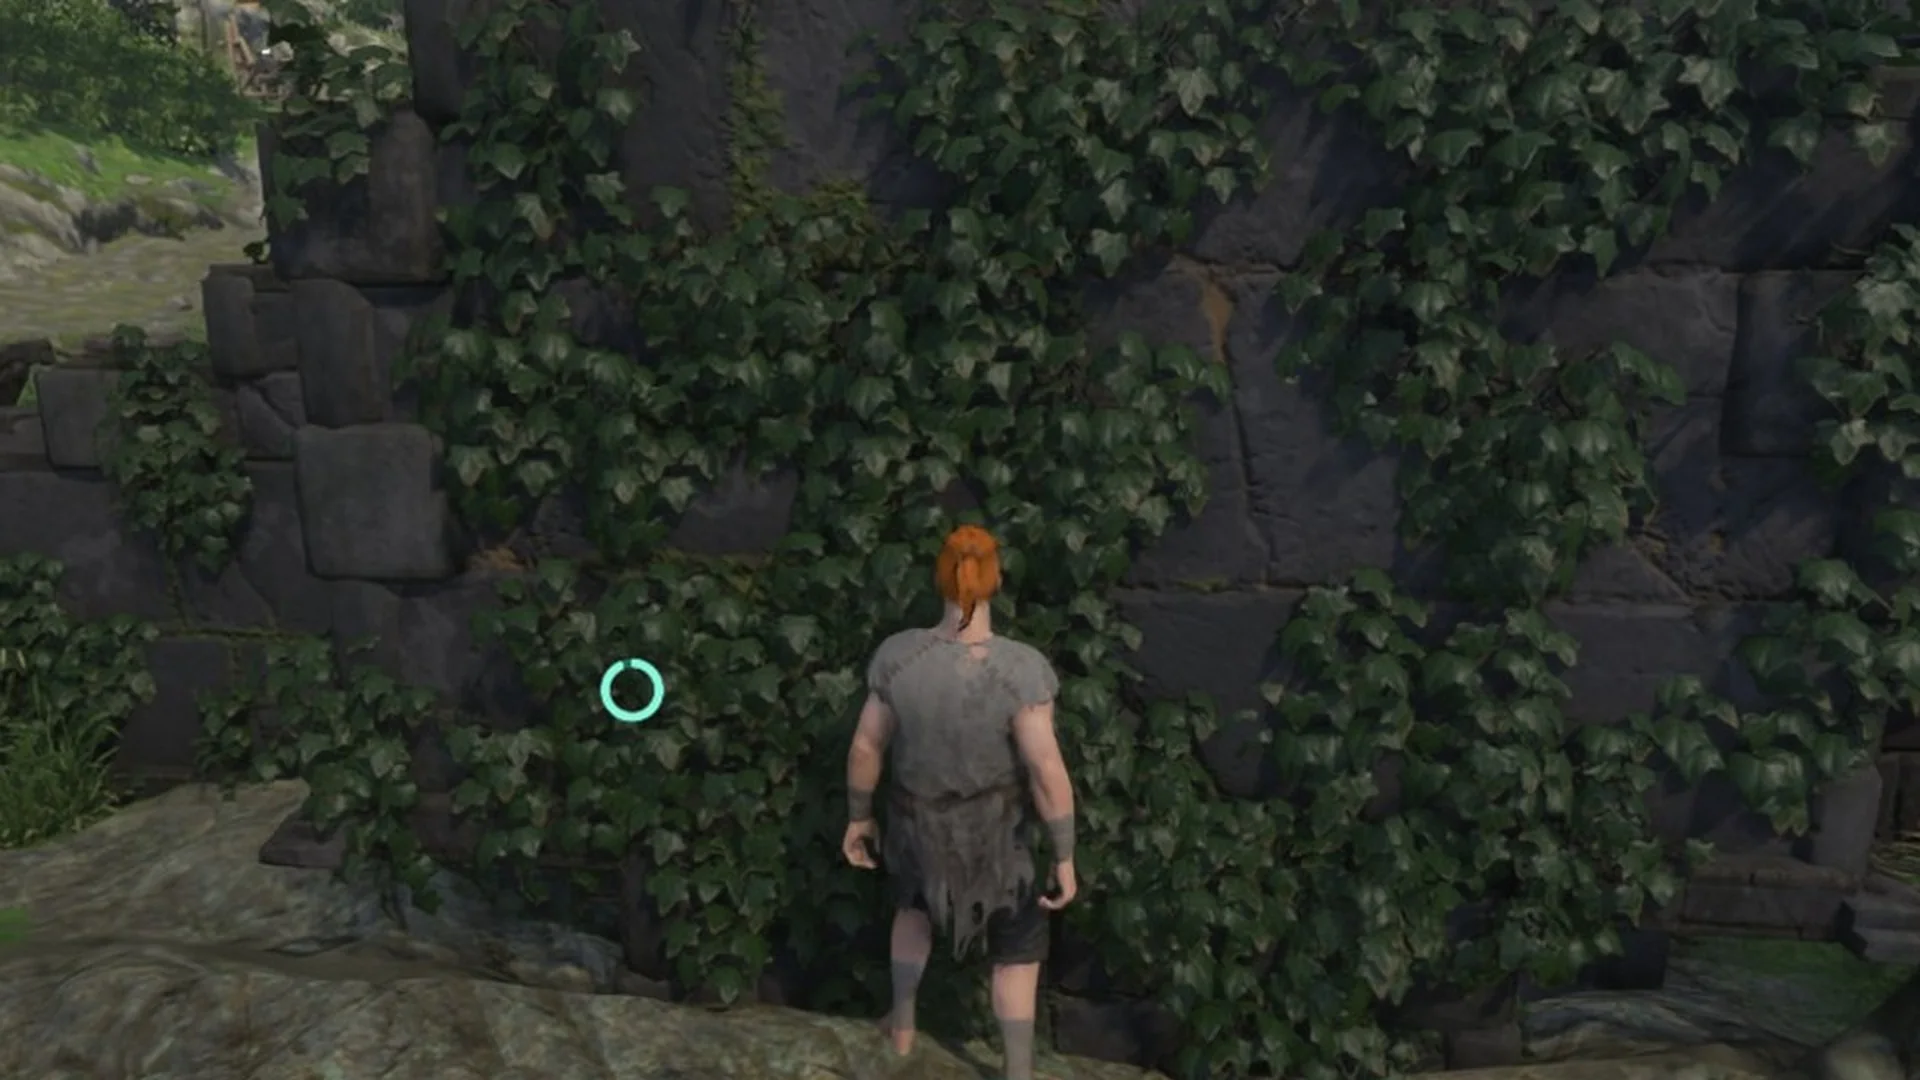
Head to the south end of Braelyn Bridge, where a small tent camp sits behind a gate. The stone wall just west of that gate is covered in ivy, and it is your way up.
Run into the ivy wall and tap Space quickly, several times in a row. Slow jumps don’t move you, but fast taps carry the character up. Sometimes you need one more short hop at the top to reach deck level.
Climb the ivy-covered wall by the camp gate to reach the south deck.
Keep away from the west edge of the wall top. Stepping off there drops you down the slope under the bridge, and the fall killed us.
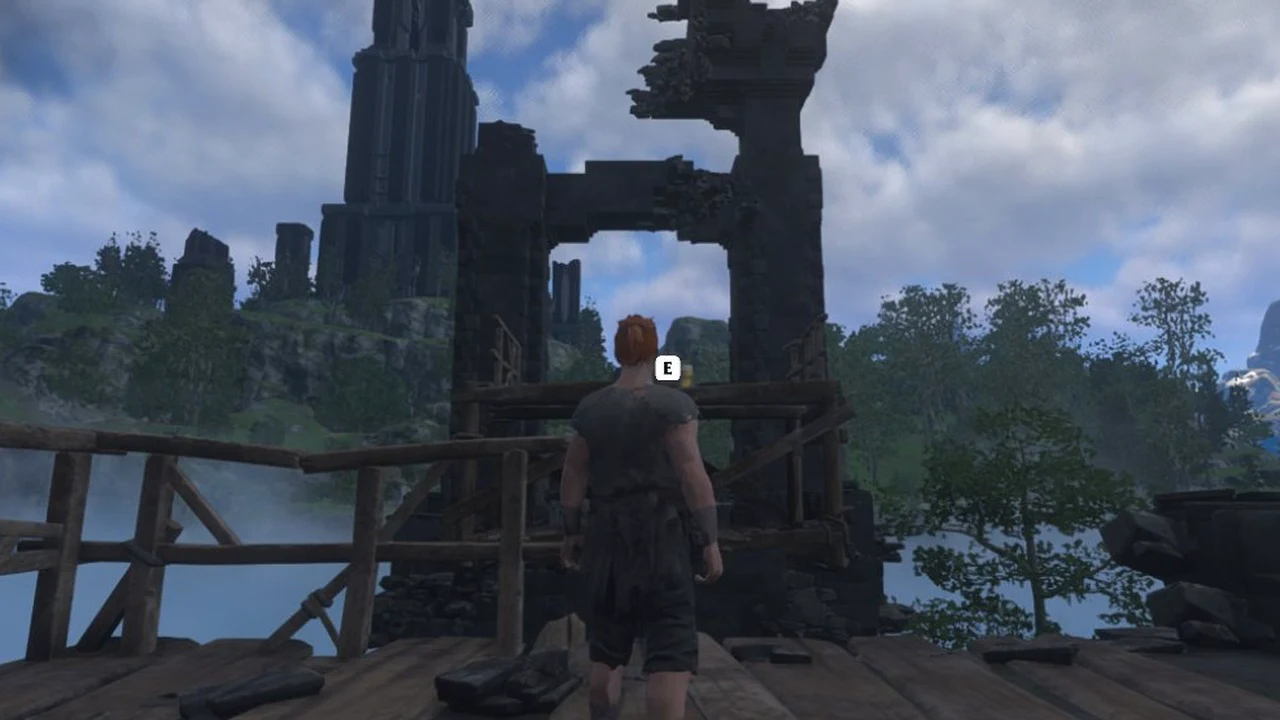
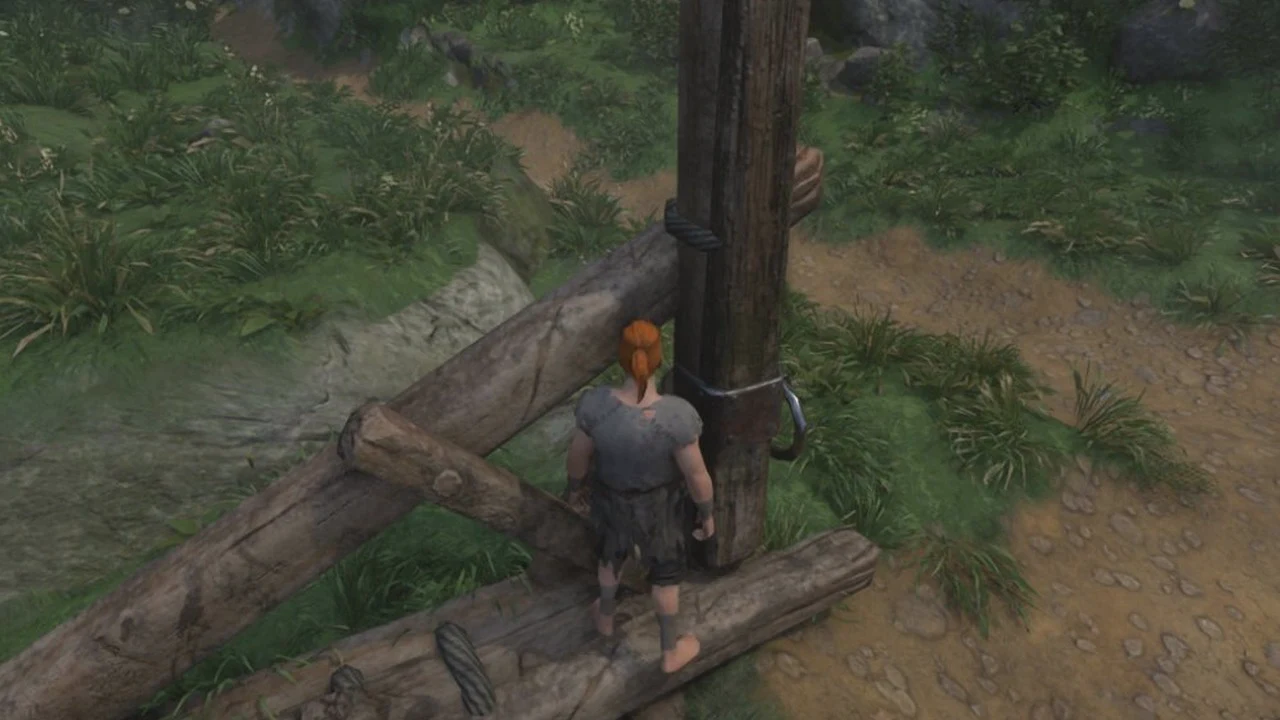
Turn to the north and raise your view toward the pier’s wooden frame. Adjust your aim until the frame displays an “E” prompt. The prompt is available both in daylight and at night.
The E prompt on the pier’s wooden frame, seen from the south deck.
You must stand on the deck for the prompt to respond. Pressing E from the ground, roughly 20 meters beneath the pier, has no effect.
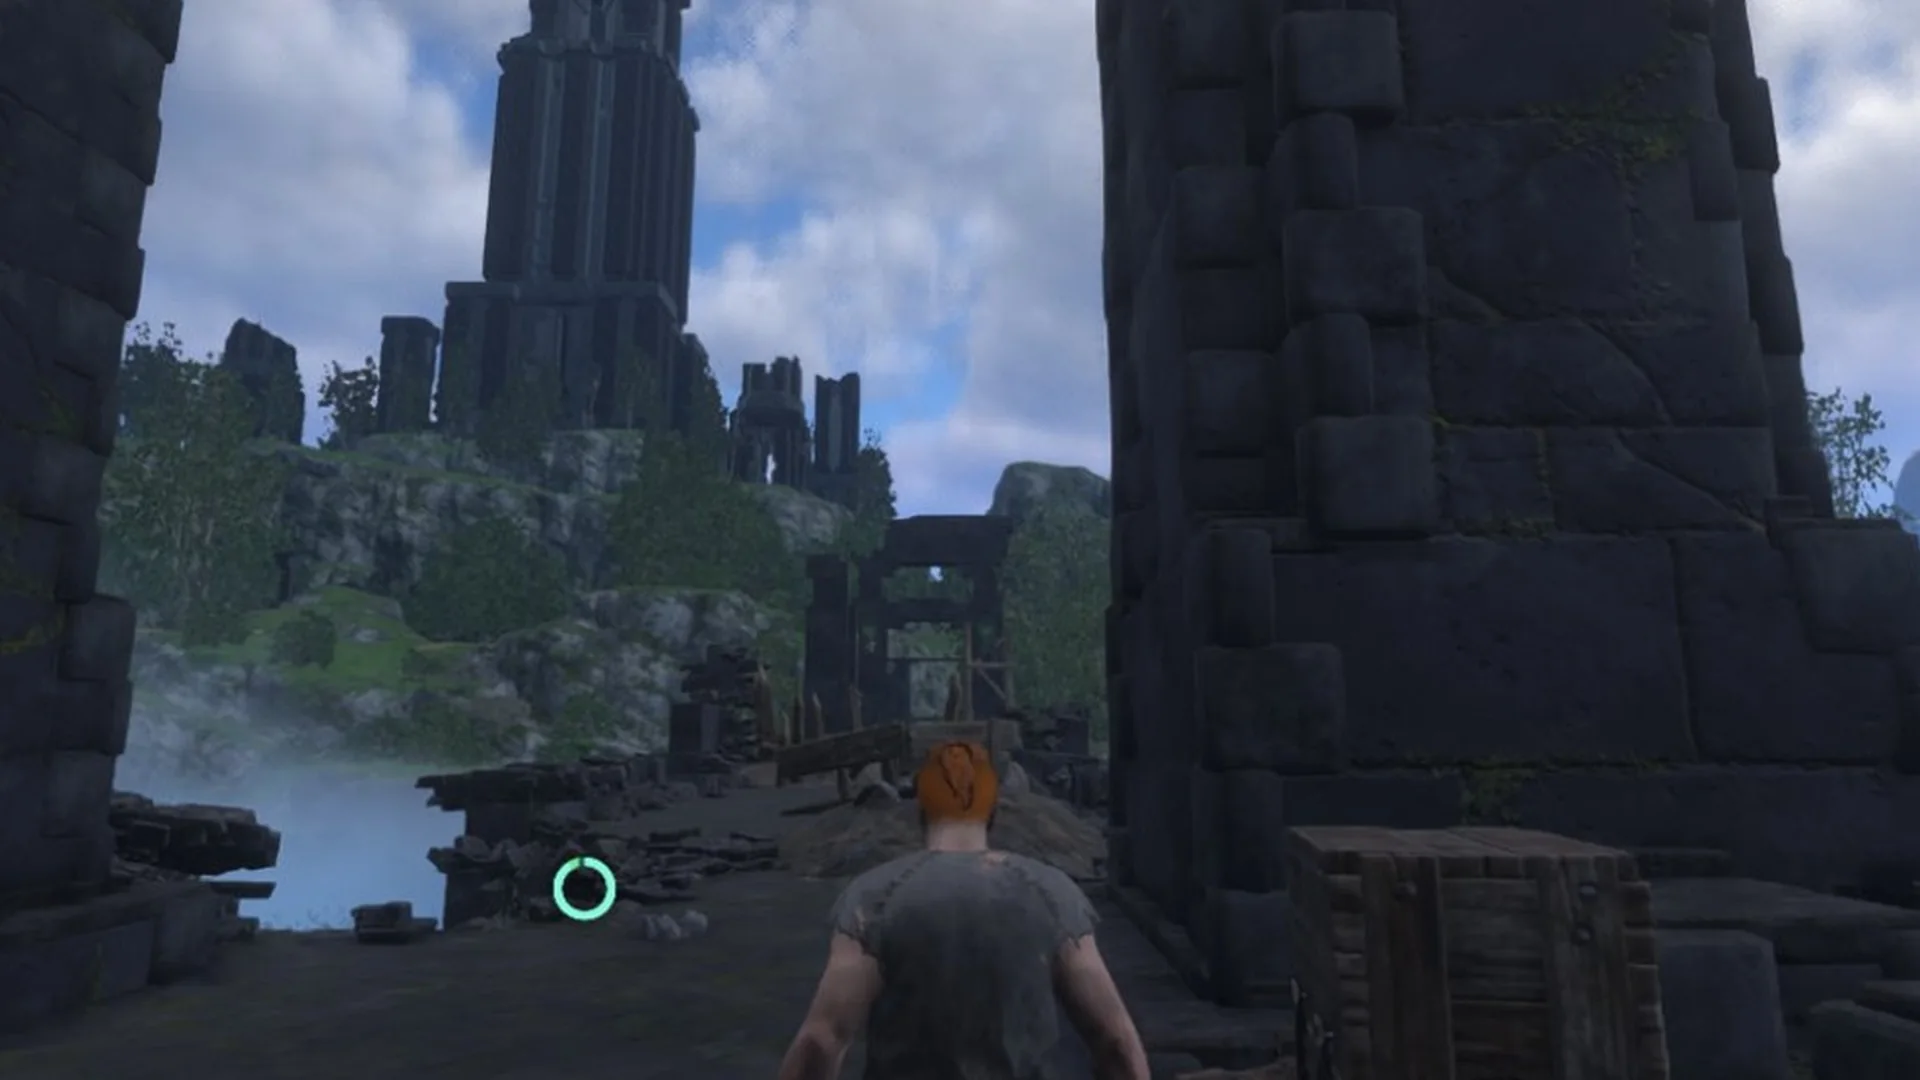
Shift slightly east, to the right, before moving forward. A hole for a ladder sits in the center of these planks. Heading straight north can snag your character on the ladder, spin you around, and send you off the pier’s west edge to your death. From the right side, continue north to drop roughly three meters onto the stone bridge.
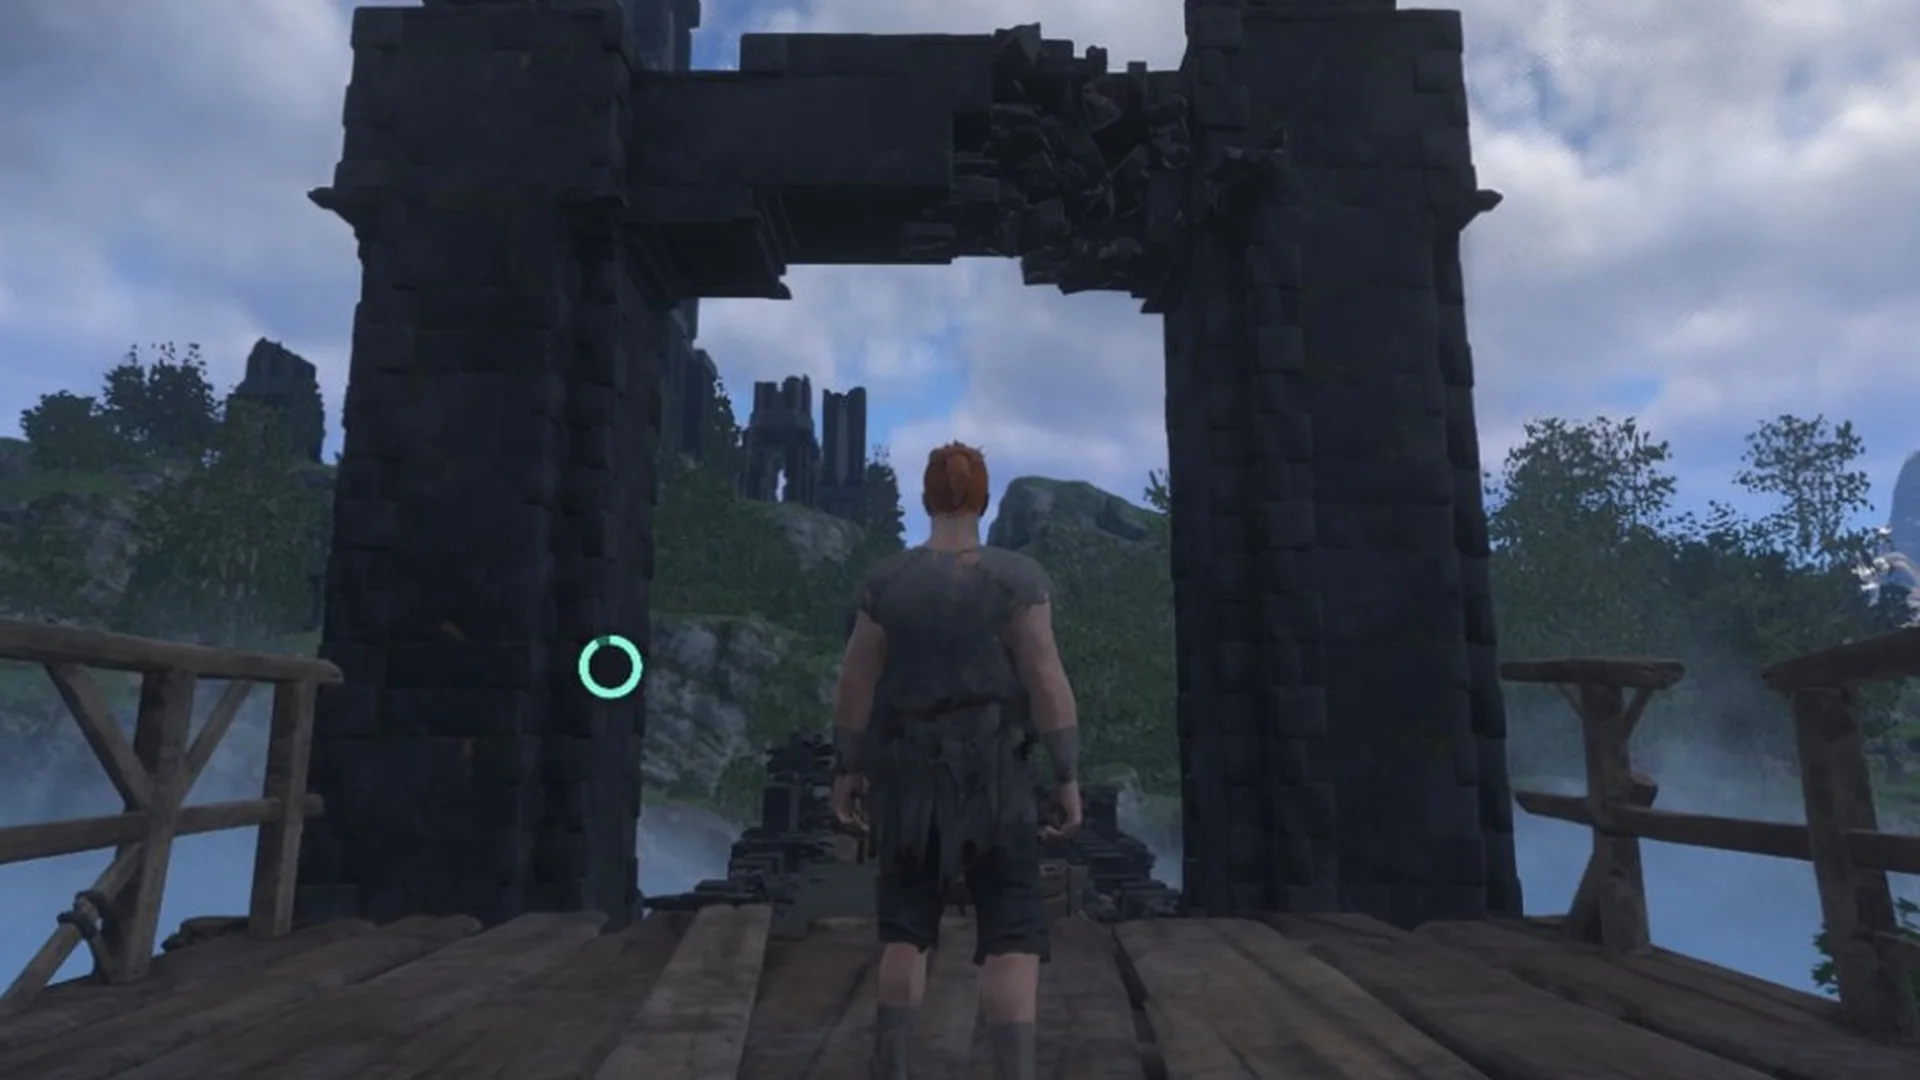
Step down from the pier onto the stone bridge and face north toward the ruined tower.
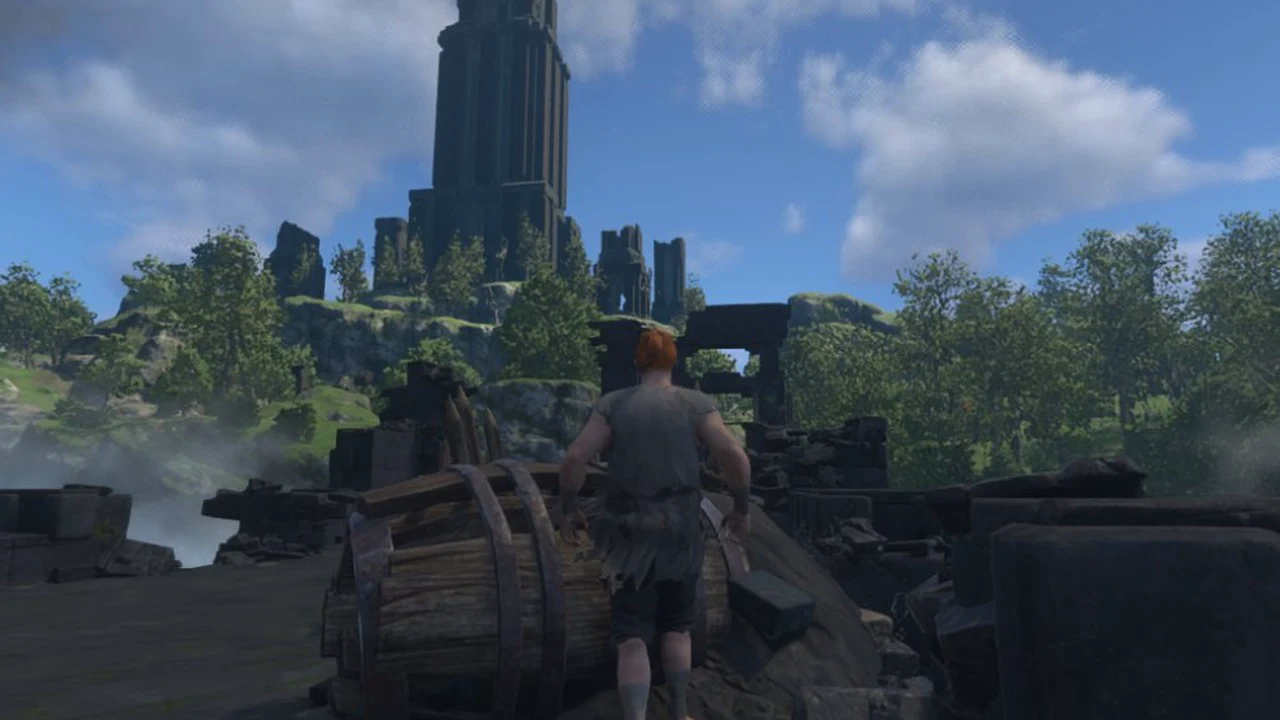
Follow the stone bridge north. Midway along, a rubble step obstructs the way, with a wooden beam and barrel on it. You can’t climb it by walking forward; jump up instead. Press Space twice to make the jump.
Past the barrel on the rubble step, the ruined north tower comes into view.
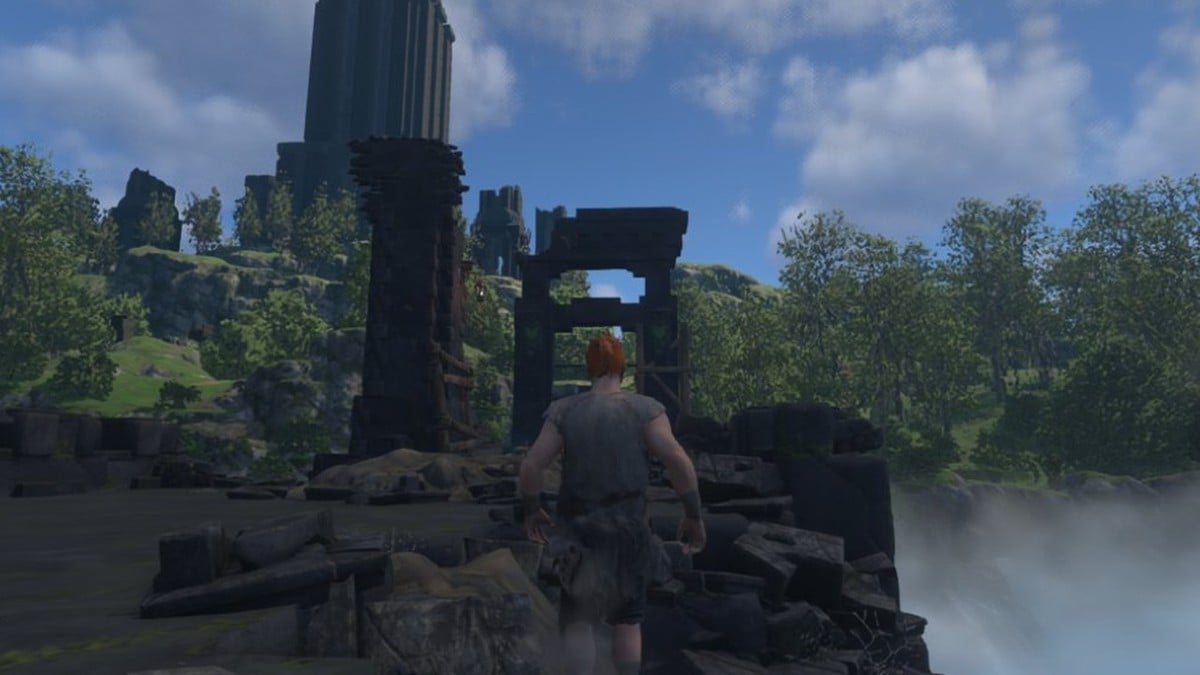
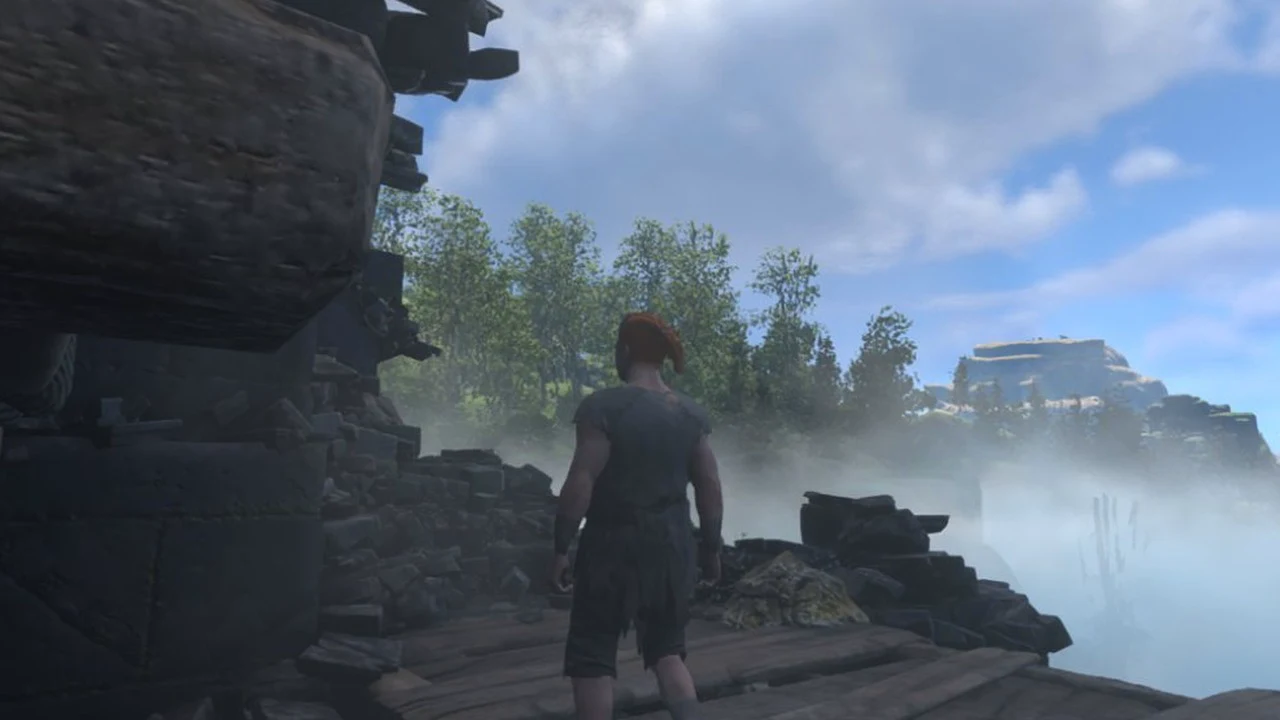
Continue north to the base of the ruined tower. From there, a rubble trail descends northeast and terminates at a cliff above the Shroud valley.
The cliff edge at the end of the rubble path, above the Shroud valley.
Glide into the Shroud valley and climb out north
The glide is where most of our runs went wrong, and it comes down to timing. Press Space too early and the Glider never opens. Press it too many times and it closes again.
Walk or jump off the cliff edge. Don’t press Space while you’re still running down the rubble path. If you do, the character runs off the cliff without the Glider.
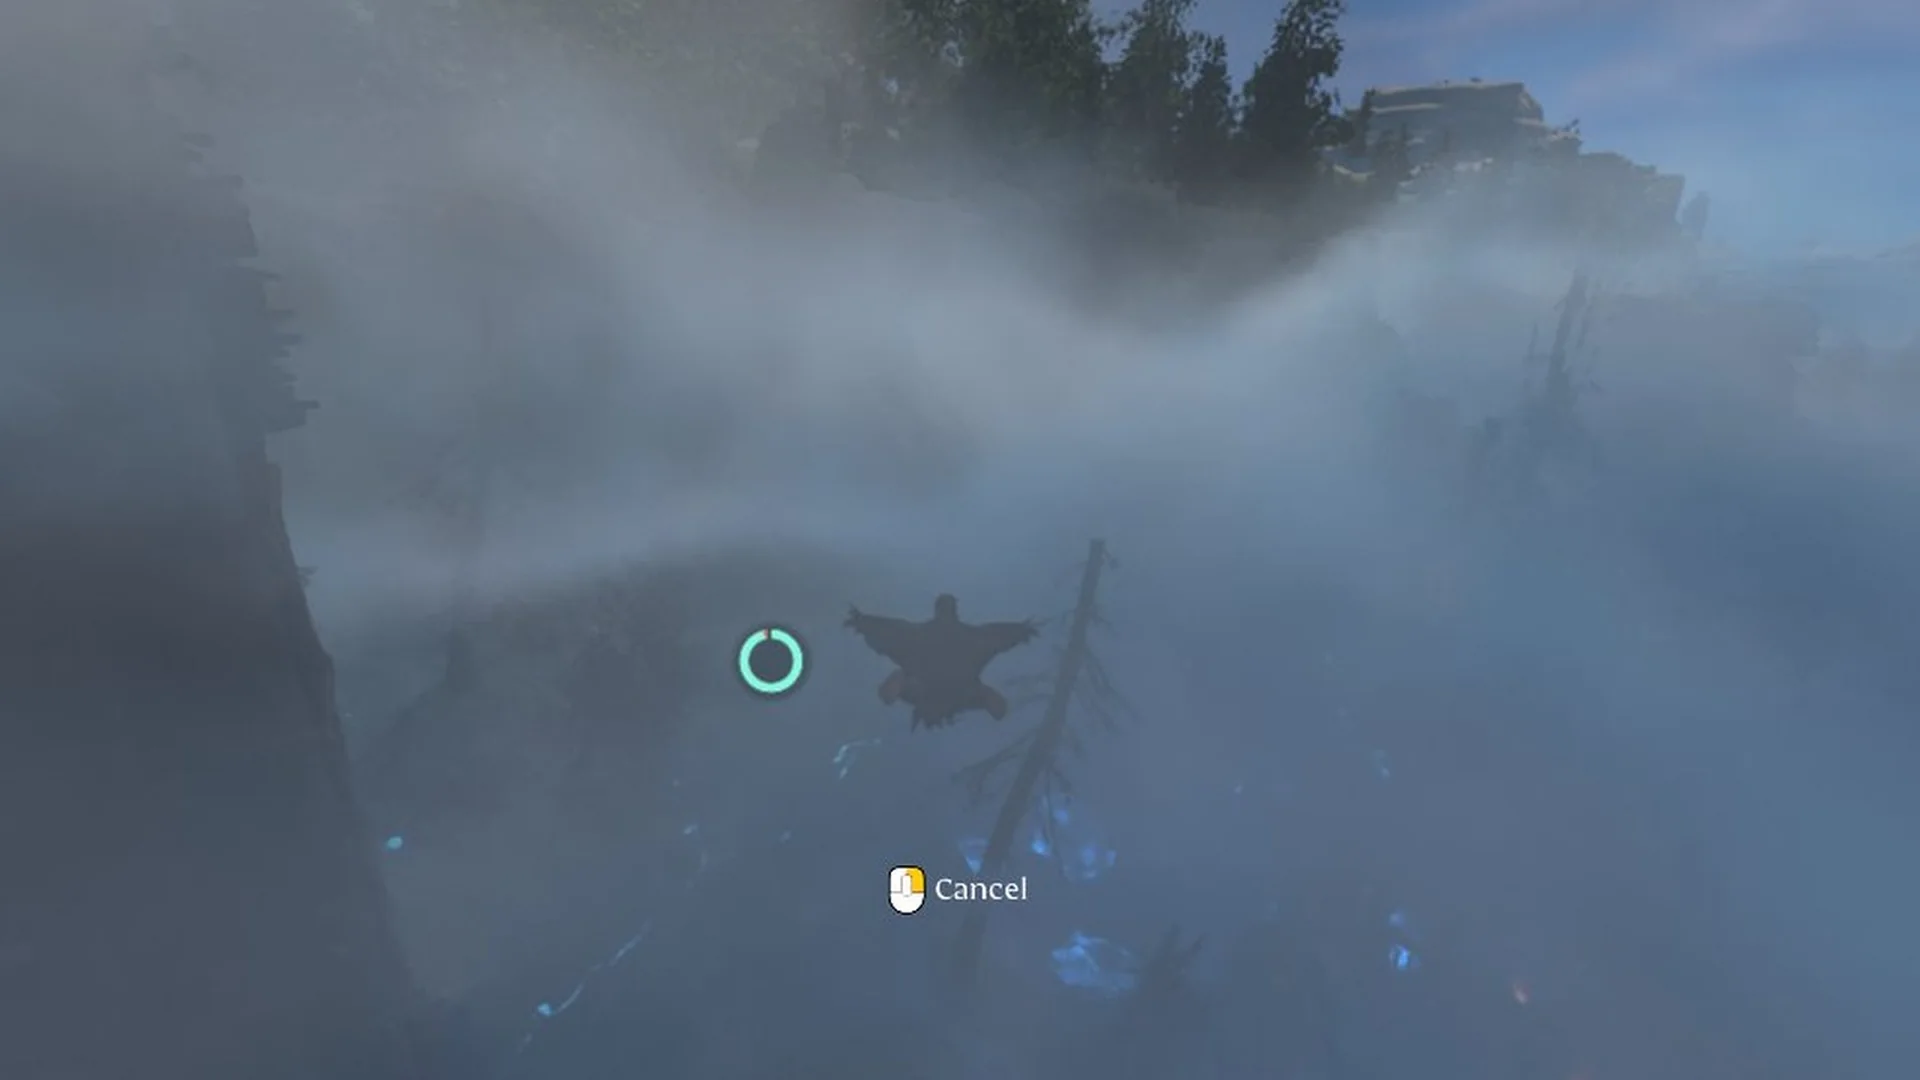
Once you’re falling, press Space once and keep moving forward. Pressing it two or three times after leaving the edge makes the Glider open and then vanish, which ends in a fatal fall.
Glide down from the cliff into the fog of the Shroud valley.
Once you land, move north immediately. Touching down in the Shroud valley starts the Shroud timer. Make for the wooden scaffold along the valley’s north side.
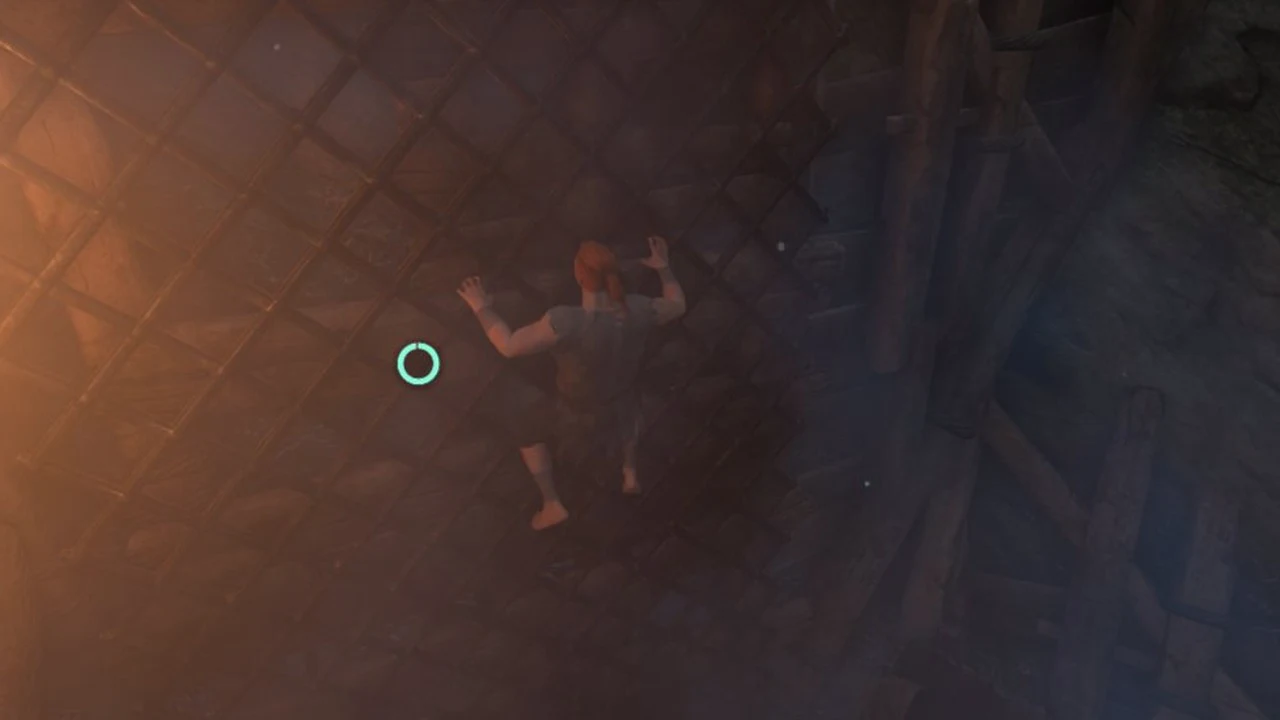
Inside the scaffold you’ll find a door marked “E Open” and a lattice wall. Jump at the lattice and press E while you’re in the air when “E Climb” shows, then climb up.
Jump at the lattice and press E while airborne to climb inside the scaffold.