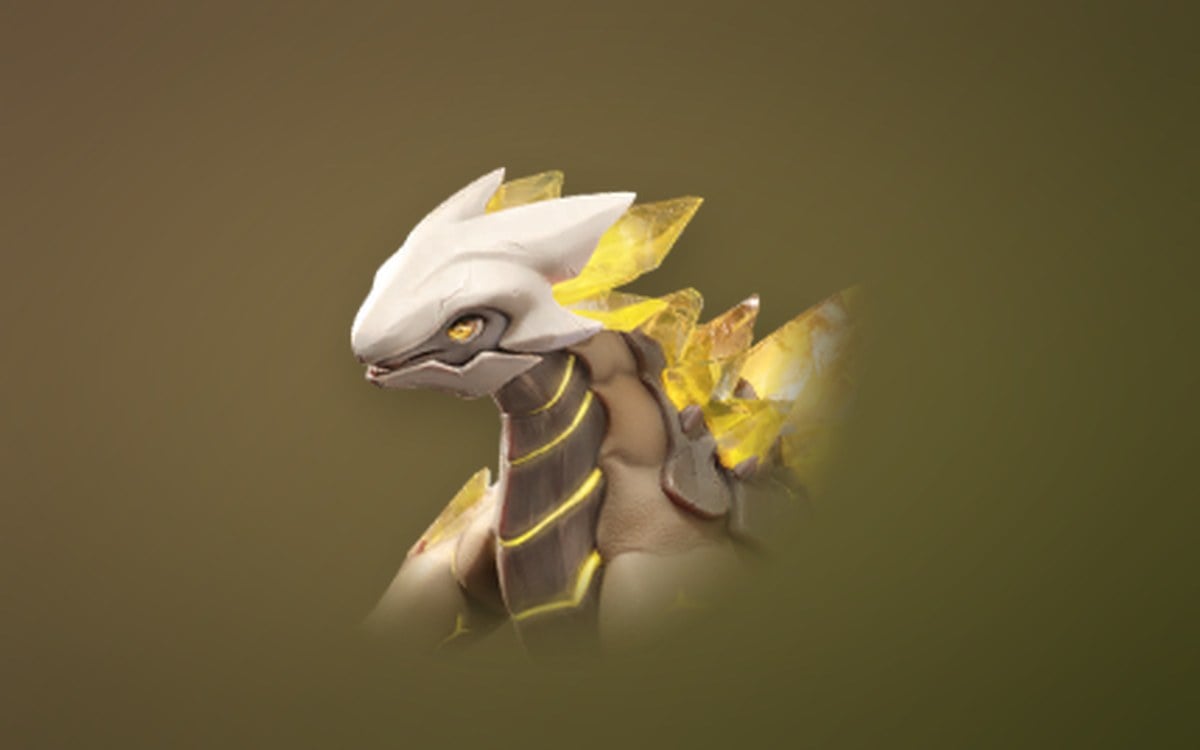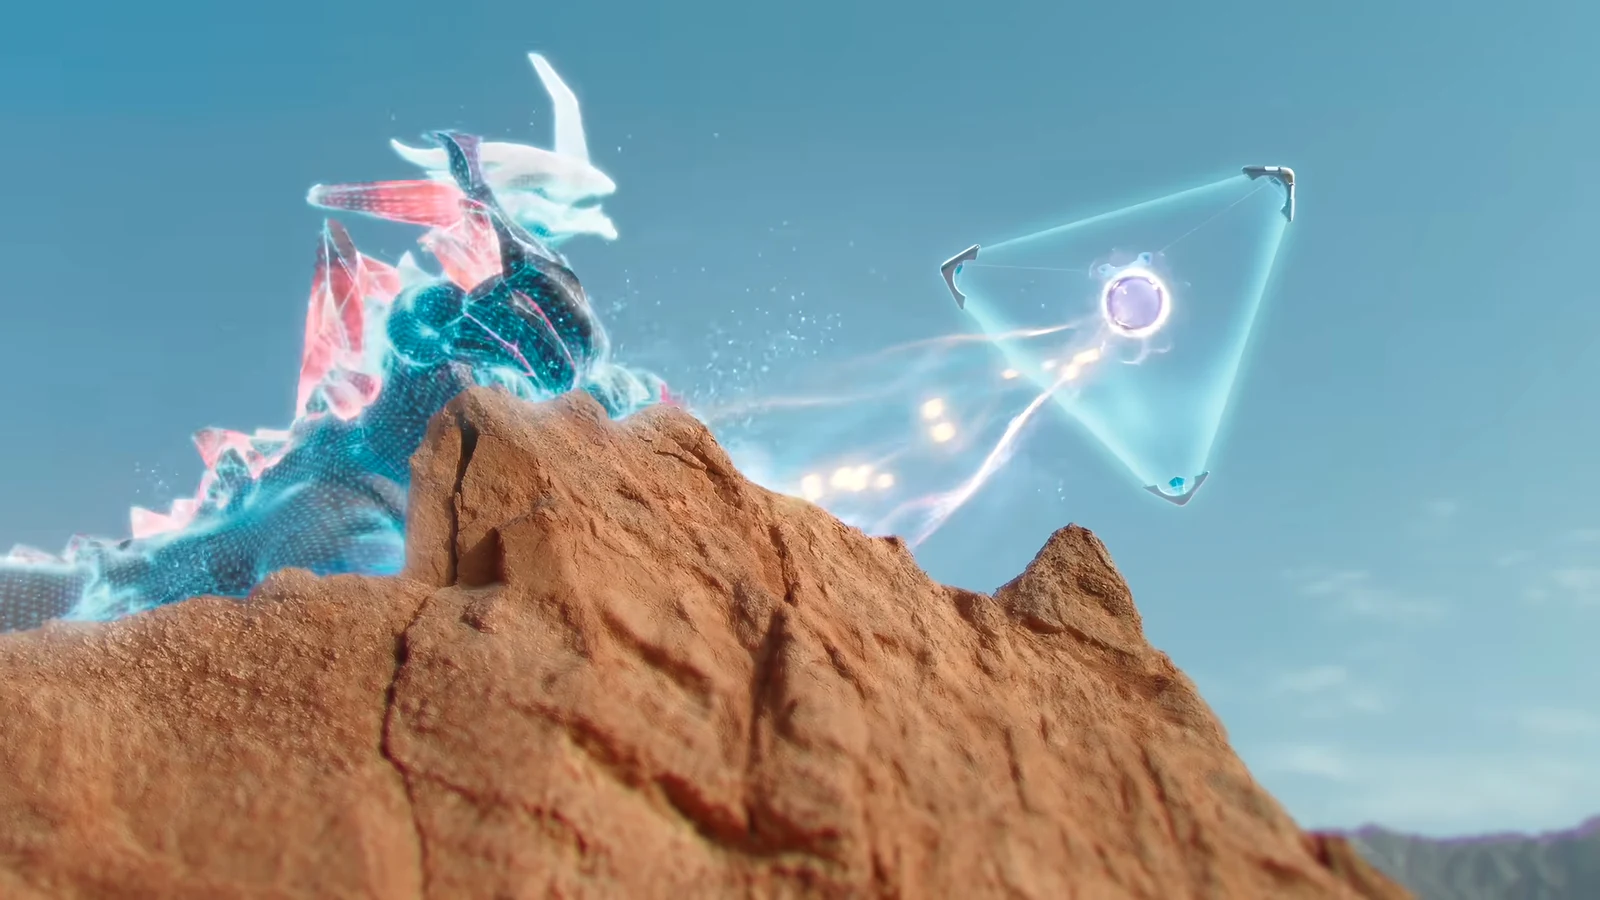
Alpha Minespine is a hidden Earth-type Alpha boss tucked away inside the Forgotten Mine, a sealed cave in Beast Fang Ridge. Reaching it takes a specific traversal setup, and the fight itself hinges on one repeatable attack you need to jump over. Once it falls, you can attempt to catch it and unlock the Minespine evolution line.
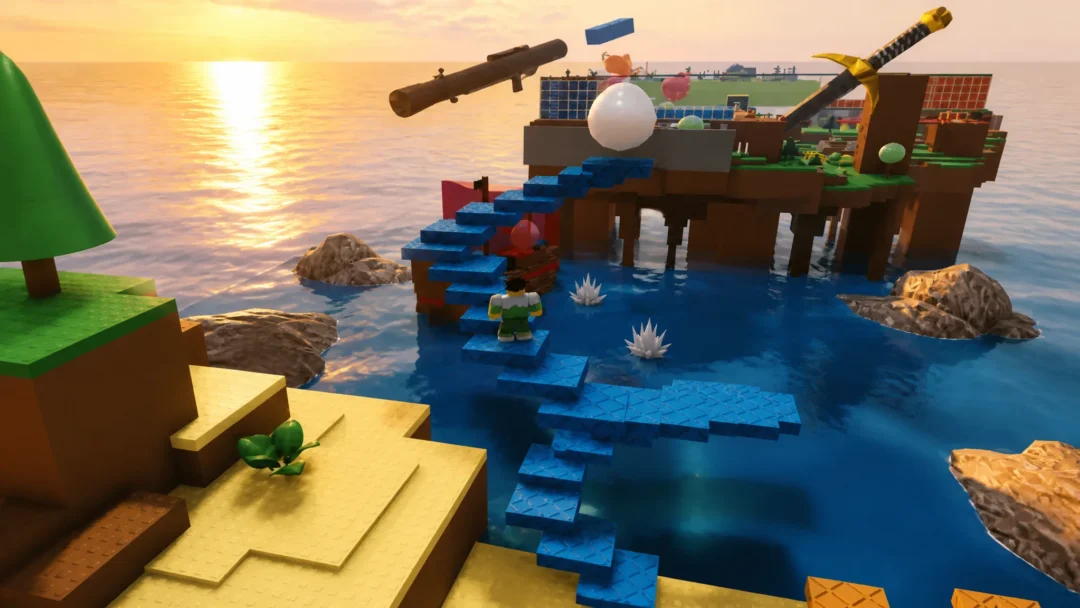
Quick answer: Head west from the Beast Fang Ridge Bloom Stone to the crystal-lined cave, clear the rocks and burrow inside, then jump over each seismic pulse until the boss dies.
Where to find Alpha Minespine
Alpha Minespine lives at the end of the Forgotten Mine, a cave set into a rocky hillside in Beast Fang Ridge within the Breezy Plains region. The surrounding area sits at level 29–32, so it is an early-region encounter rather than a late-game one. The boss respawns 20 seconds after each clear, and each challenge attempt costs 30 Primegy.
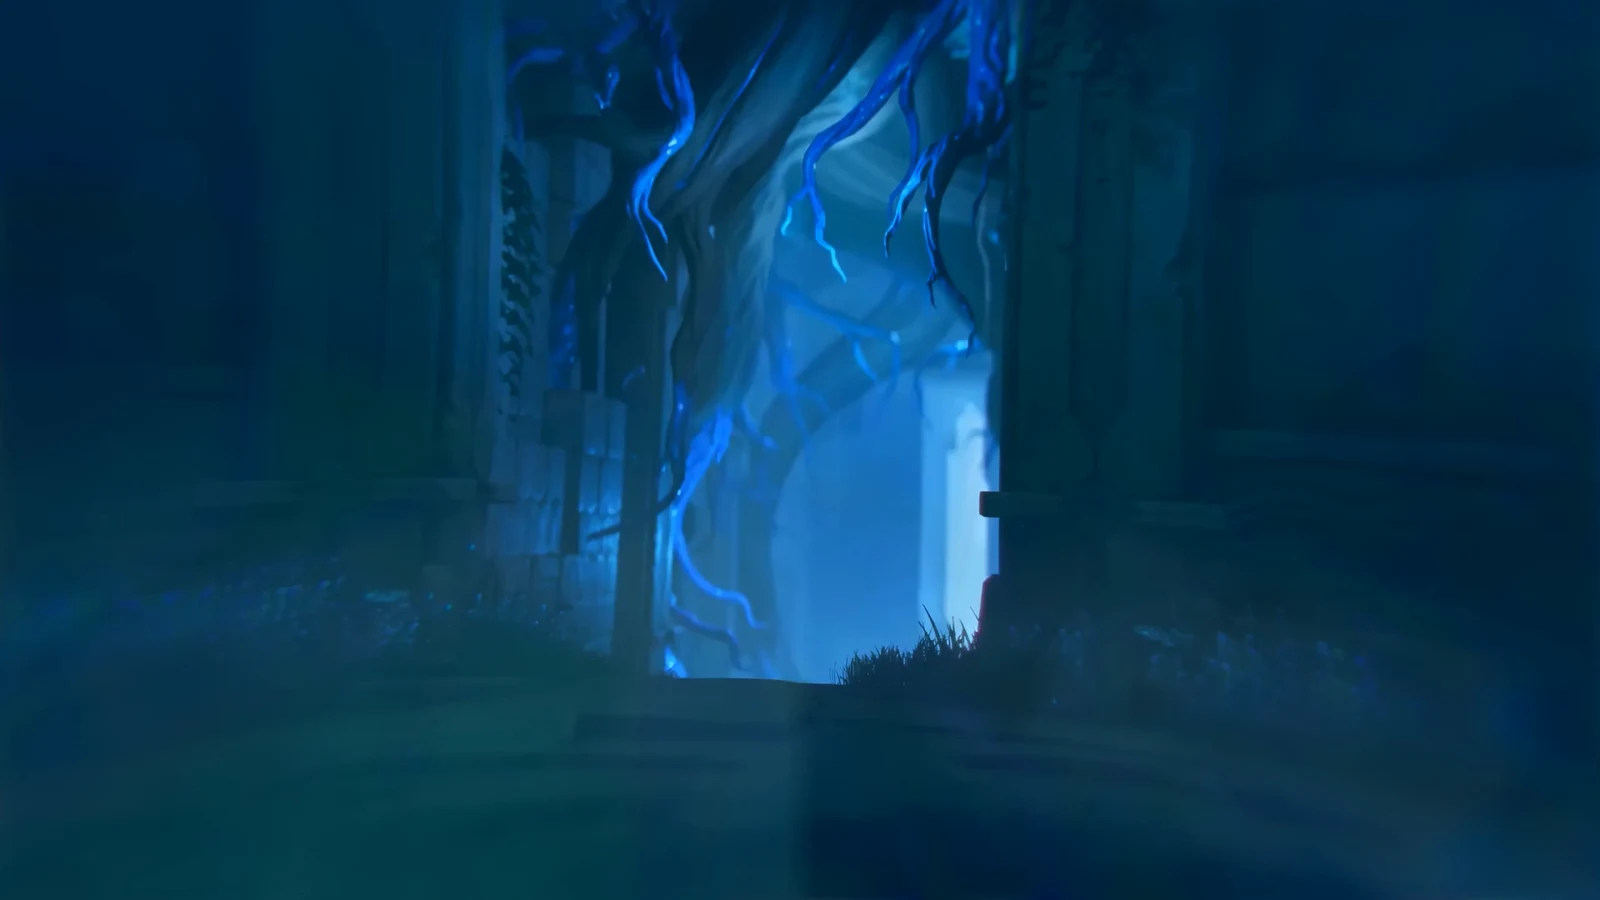
The path deeper into the cave stays sealed by vines until you have completed 120 infusions on the Breezy Plains Branch upgrade tree, which unlocks Earthquake Prayer and reveals the hidden cave. Finish that first, or you will hit a dead end underground.

How to reach the Forgotten Mine

Team and element matchup
Alpha Minespine is an Earth-type boss, so bring attackers that hit it hard and leave the elements it shrugs off at home.
| Effective against it | Resisted by it |
|---|---|
| Grass, Water | Electric, Fire, Ice, Rock |
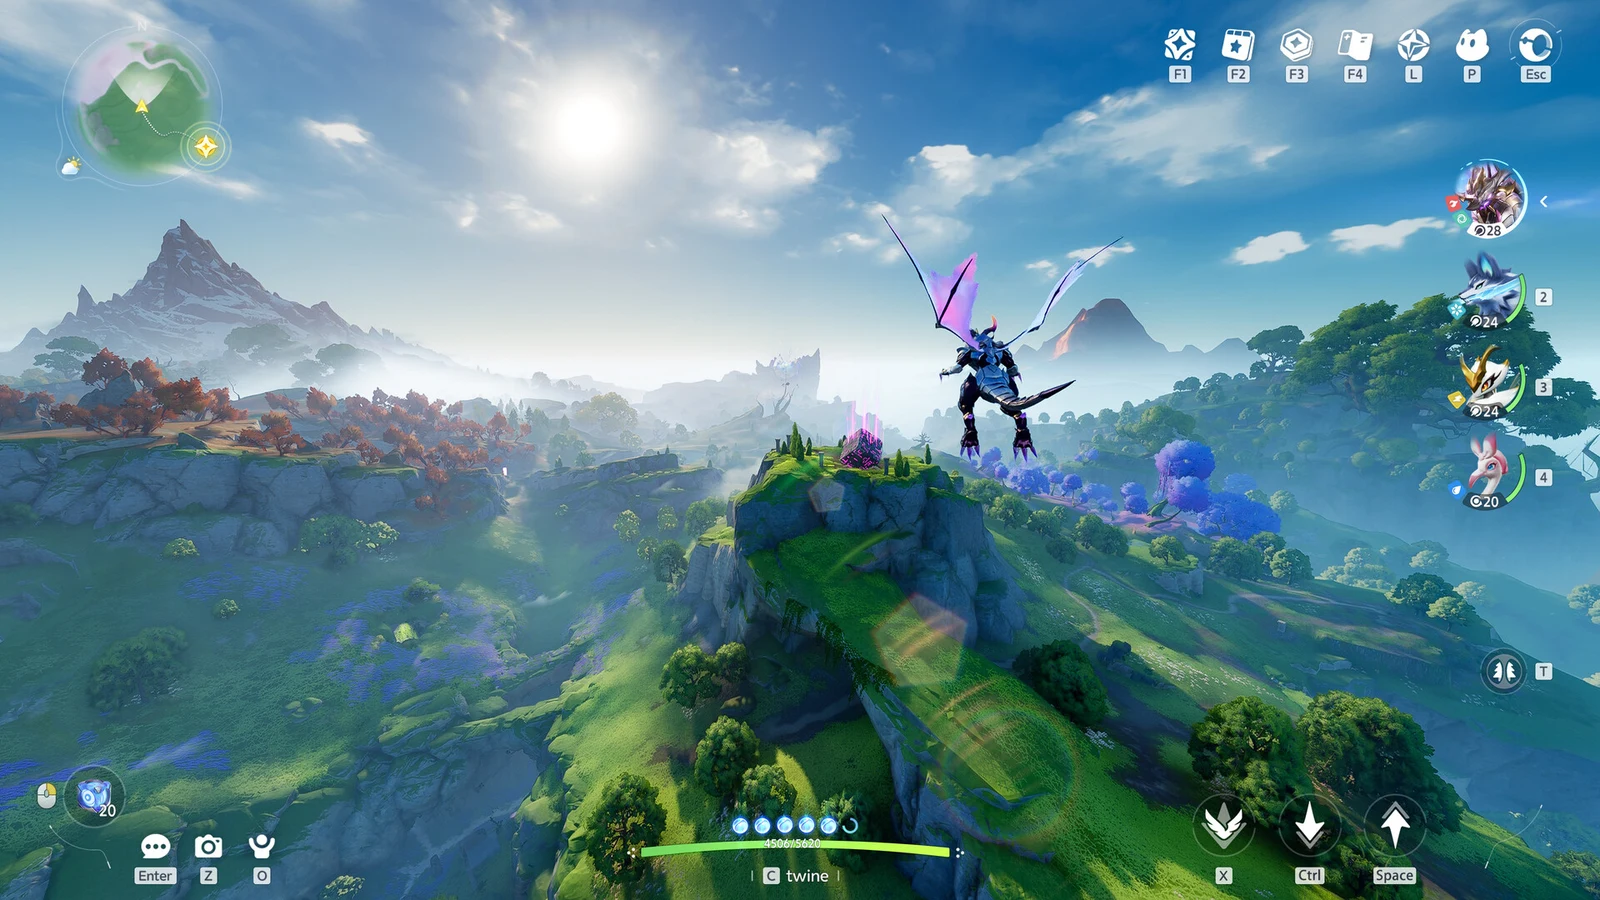
A full Water squad works well, pairing Sherro on DPS with Panpanta for BREAK, Piopiota for support, Glacy for healing, and Erlath for energy. A Grass lineup is just as valid, with Thornblade or Irisal on damage, Pomawk or Shrubclaw handling BREAK, Melloblum on support, and Leafy for energy. Shrubclaw doubles as your Tunnel user, so it can help you reach the cave and fight.
How to beat Alpha Minespine
The fight is built around a single threat. Alpha Minespine burrows underground and releases a run of shockwaves that ripple outward across the entire arena. Each pulse deals damage on contact, and the in-game prompt calls it out directly, telling you to focus on dodging.
Jump over every pulse as it reaches you and keep jumping until the sequence ends. Between shockwave phases the boss is open, so break its posture and chain your ultimate abilities during those windows to bring it down quickly.
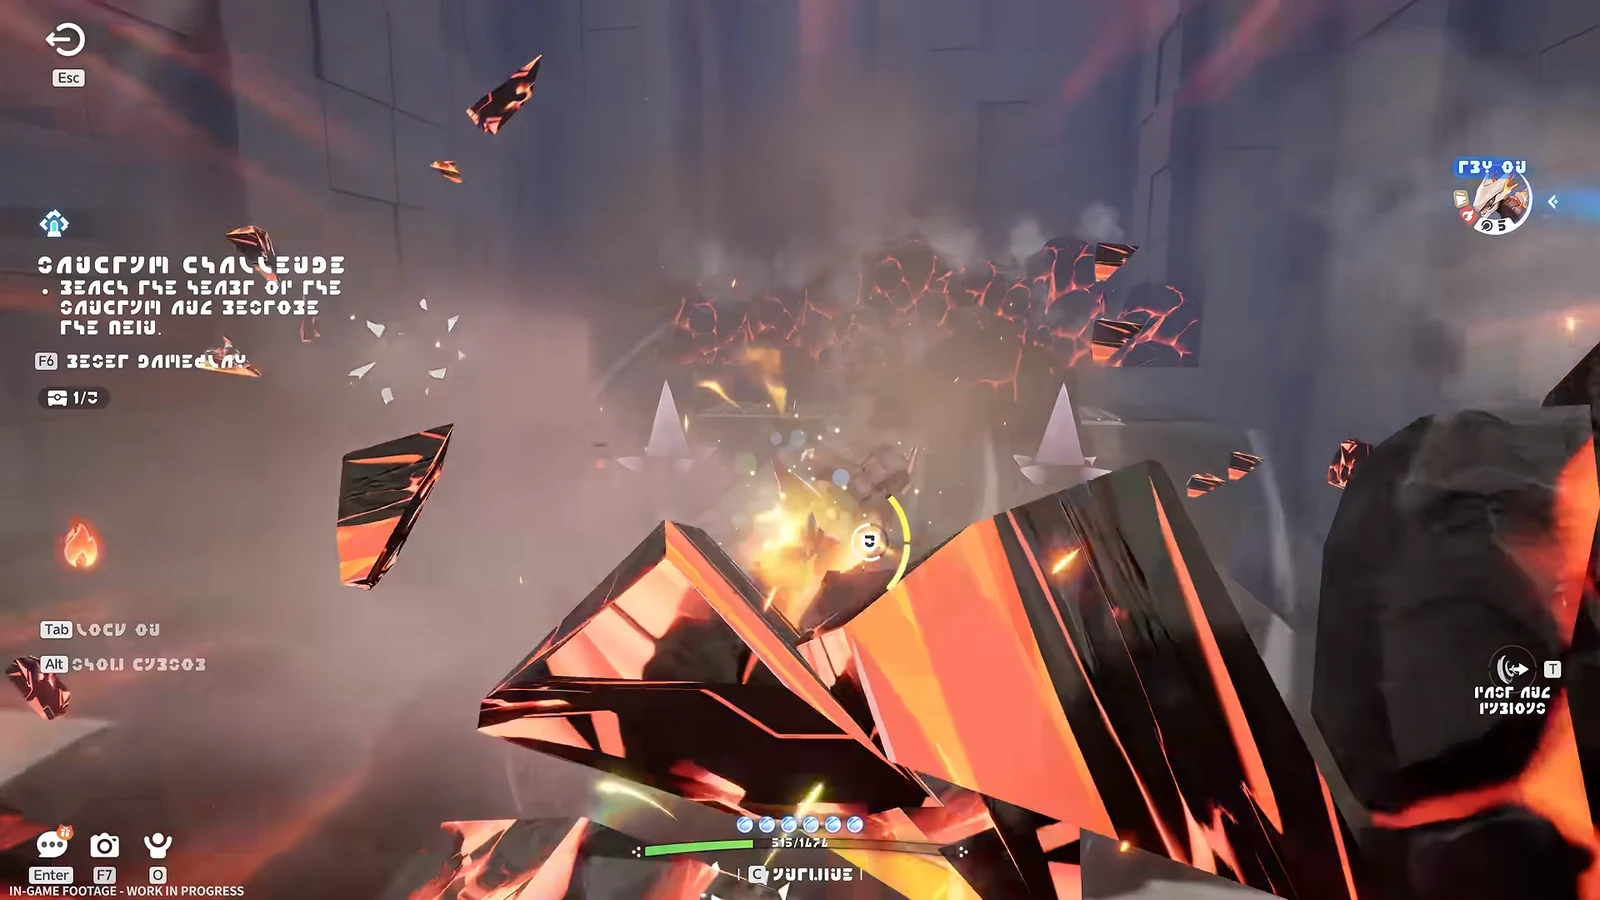
Do not try to trade hits during the shockwave phase. Dodging fully avoids the damage, and the boss has no other notable attack to punish you between pulses.
Catching Alpha Minespine and confirming the clear
Once the boss is defeated, open the capture wheel and select an Anipod Ultra to attempt the catch. The catch chance is 6%, so you may need several respawns before it succeeds. Defeating Alpha Minespine also unlocks the Minespine evolution, letting a Level 48 Geodeback evolve into the Nova-stage Minespine.
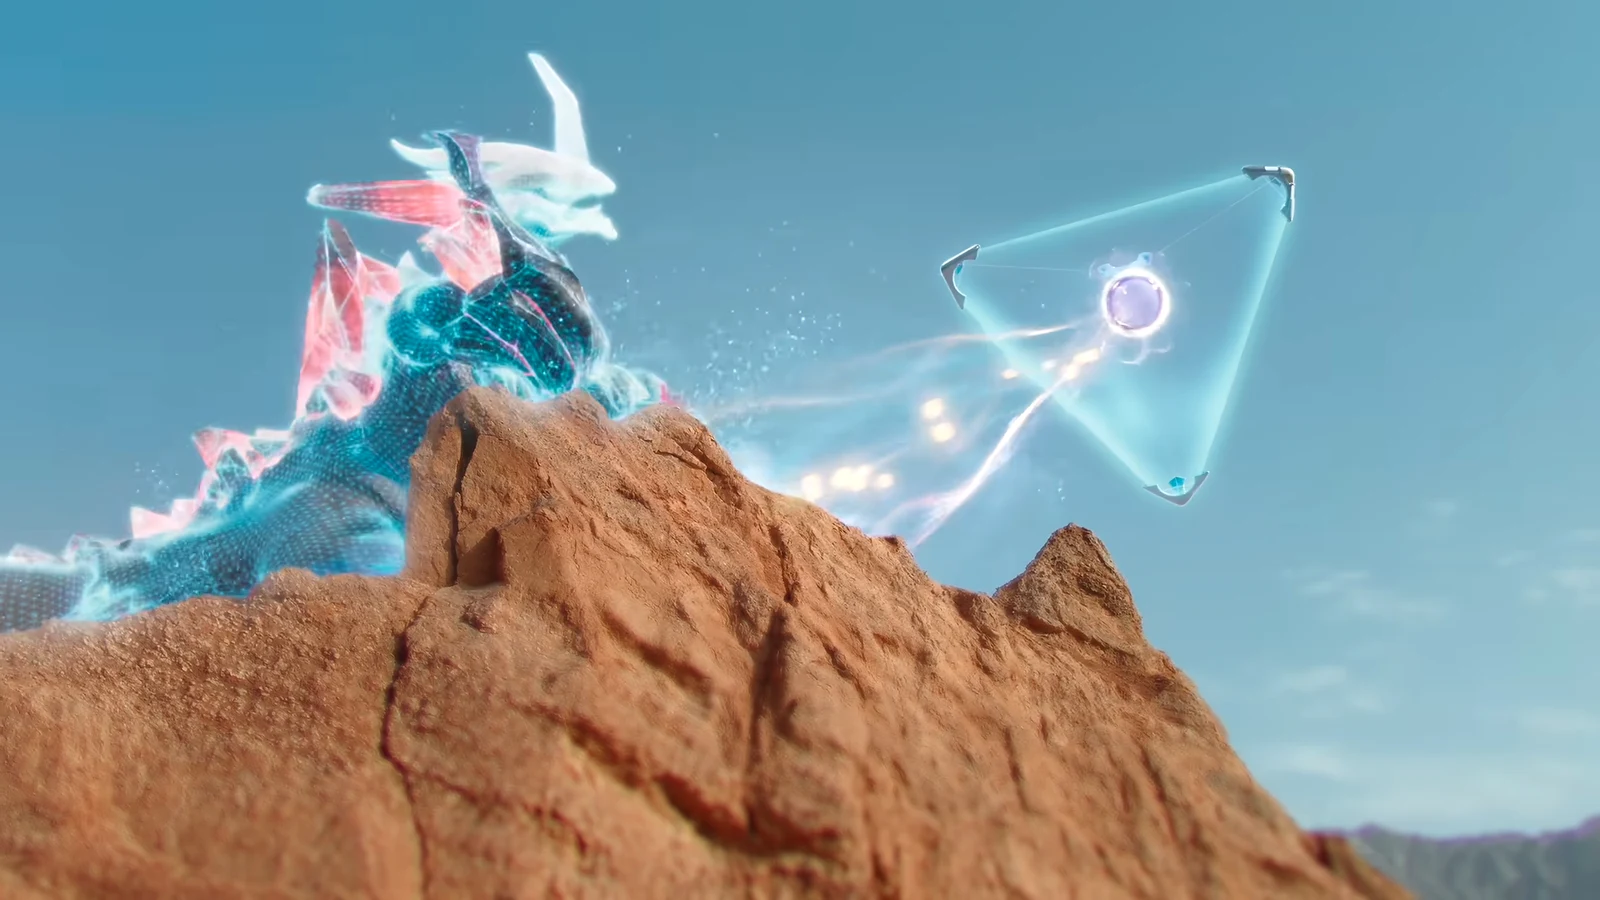
To confirm the result, return to the Outpost and submit your report at the Research Console. The console shows your Elite catch rating, which reflects the reward tier you earned for the encounter.
Alpha Minespine rewards
| Reward type | Contents |
|---|---|
| First clear | Safaris ×500, Irisalis Petal ×1, Glimmer ×50, Lumin Amber: Breezy Plains ×1, Explosive Gloves ×1, Basic Held Item Core ×5 |
| Material drops | Explosive Gloves, Giant Tortoise Shell, Auspicious Bell |
The first-clear bundle is a one-time payout, while the material drops repeat on later kills. Since the boss respawns 20 seconds after each defeat and each attempt costs 30 Primegy, you can farm Giant Tortoise Shells and Auspicious Bells by clearing it repeatedly, keeping the same shockwave-dodging approach each time.