Becoming a Slayer in Slayer 2 is gated behind one hard requirement and a long climb to reach it. The route is fixed, though, and every stage between your first bandit fight and the Hand Demon boss has a known level gate, a known NPC, and a known reward. Follow the order below and you skip the guesswork entirely.
Quick answer: Reach Level 45 as a human, then join Final Selection near Butterfly Estate at the top of any hour, clear its seven quests, and beat the Hand Demon to earn the Slayer title.
Slayer 2 level milestones and what each one unlocks
Progression is driven almost entirely by level gates on quests. Knowing which gate comes next tells you where to farm and when to move on.
| Level | What opens up | Where |
|---|---|---|
| 1 | Bandit quests from Krue | Starting town |
| 7 | Bandit Boss (Zuko) quest | Starting town |
| 10–13 | Bear Cub quest from Tom | Bear area |
| 18 | Mother Bear quest | Bear area |
| 25 | First Breathing technique | Trainer locations |
| 26 | Chaka’s subordinates quest | Near the large tower |
| 34 | Kaiden quest | Near the large tower |
| 45 | Final Selection | Near Butterfly Estate |
Roll your clan before you spawn in
Your clan is decided at the Customize menu with spins, not picked from a list, so spend your rolls before you commit to a character. There are six clan rarities, and Supreme sits at the top with a 0.1% roll rate.
Rarity alone is a poor filter. Open each clan you land on and read its skills, passives, and stat lines, because a Rare clan that matches your intended weapon or Breathing style can outperform a higher-rarity one that pushes stats you never use. Supreme and Mythic rolls such as Soyama are the obvious keeps, while Koko and Susumaru are workable if you do not want to burn spins.
Levels 1 to 13: Bandit quests, blocking, and your first katana
Find Krue in the starting area first. Krue hands out the opening quests, and the first one asks you to kill three Bandits. Always accept the quest before you start swinging, since killing bandits without an active objective throws away the bonus experience and cash.
You start with fists, a click attack, and a dash. Blocking is the mechanic that actually matters here. Spamming attacks leaves you open to counters and stuns, and learning to slot blocks between your strings carries you through every later weapon and Breathing style.
At Level 7 the Bandit Boss quest opens. Zuko spawns on a timer every few minutes and drops experience, cash, and a chest with gear inside. Keep running normal bandit quests between spawns instead of waiting around.
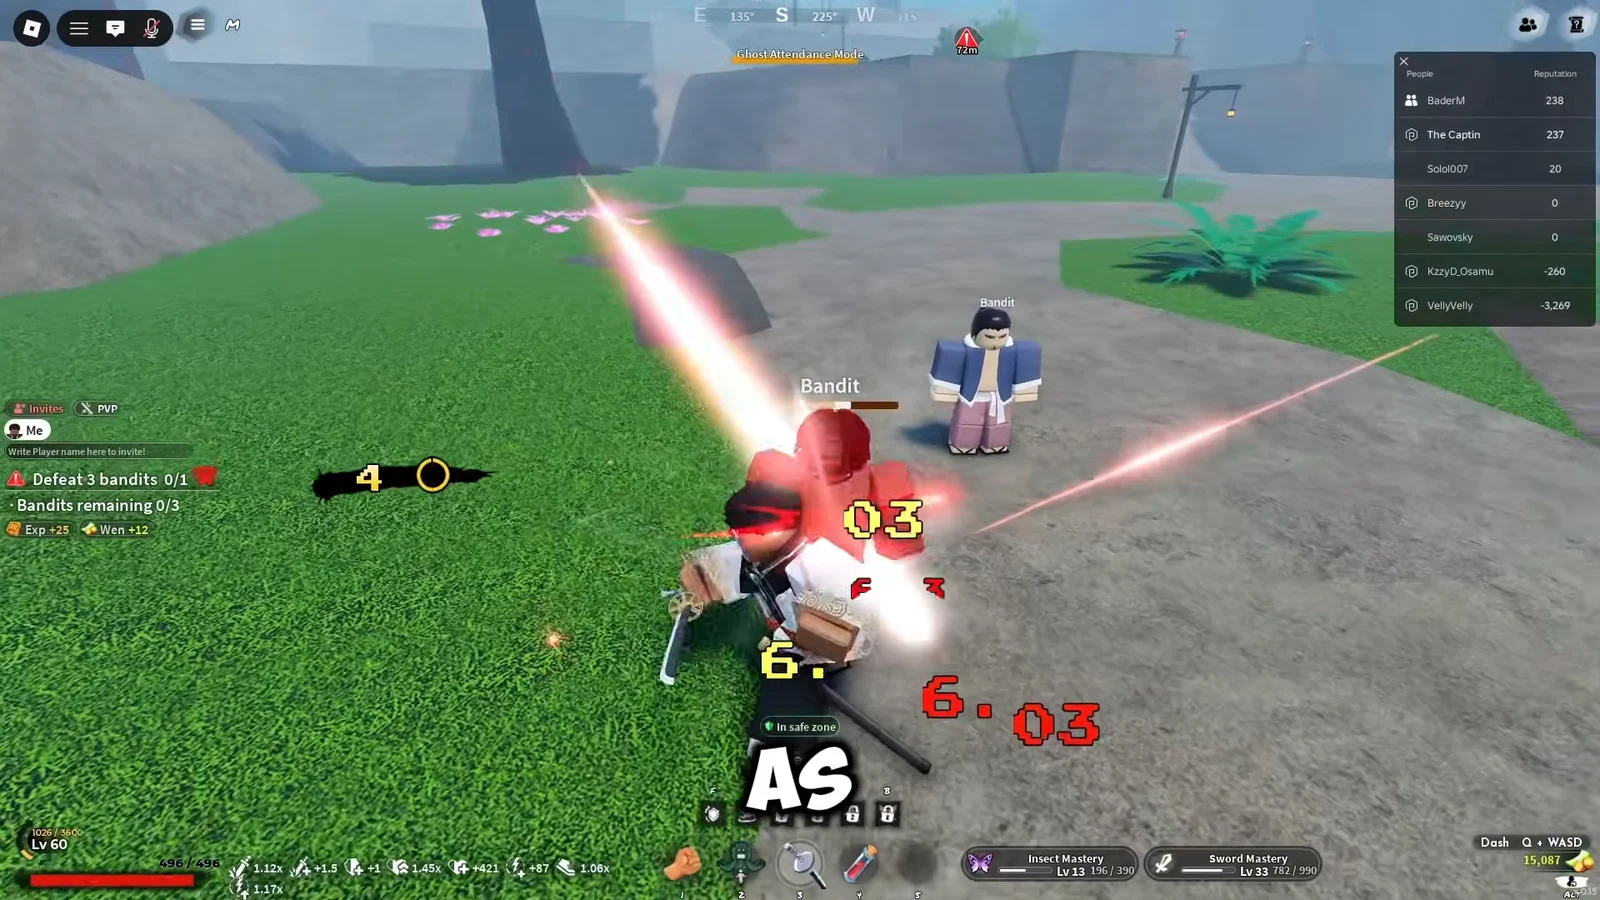
The boss chest is not locked to whoever dealt the most damage. Any player can take it, so move to the drop the moment Zuko goes down.
Save 500 cash and buy the regular Katana from Raze. When funds allow, go back to the same NPC for the Fancy Katana at 1,500 cash — the damage jump is large enough that some players skip the cheaper katana and keep punching until they can afford it outright. Lucy in town also offers the Restock the Pantry quest, which points you toward the bear habitat.
Levels 13 to 34: Bears, infiltrators, and tower quests
Head to the bear area and speak to Tom. He offers two quests of the same type, one for the lower level bracket and one that unlocks at Level 18 for the Mother Bear. Take whichever matches your level now and switch up when you qualify. Both pay considerably better than bandit farming, and a partner makes the Mother Bear far less punishing.
PvP switches on in the second area. Other players can attack you mid-farm, so watch your surroundings and avoid grinding at low health in crowded spots.
Kazu adds a quest that sends you after civilian infiltrators hiding among ordinary NPCs. The trick is to hit civilians and watch the reaction — infiltrators fight back, while genuine civilians run away.
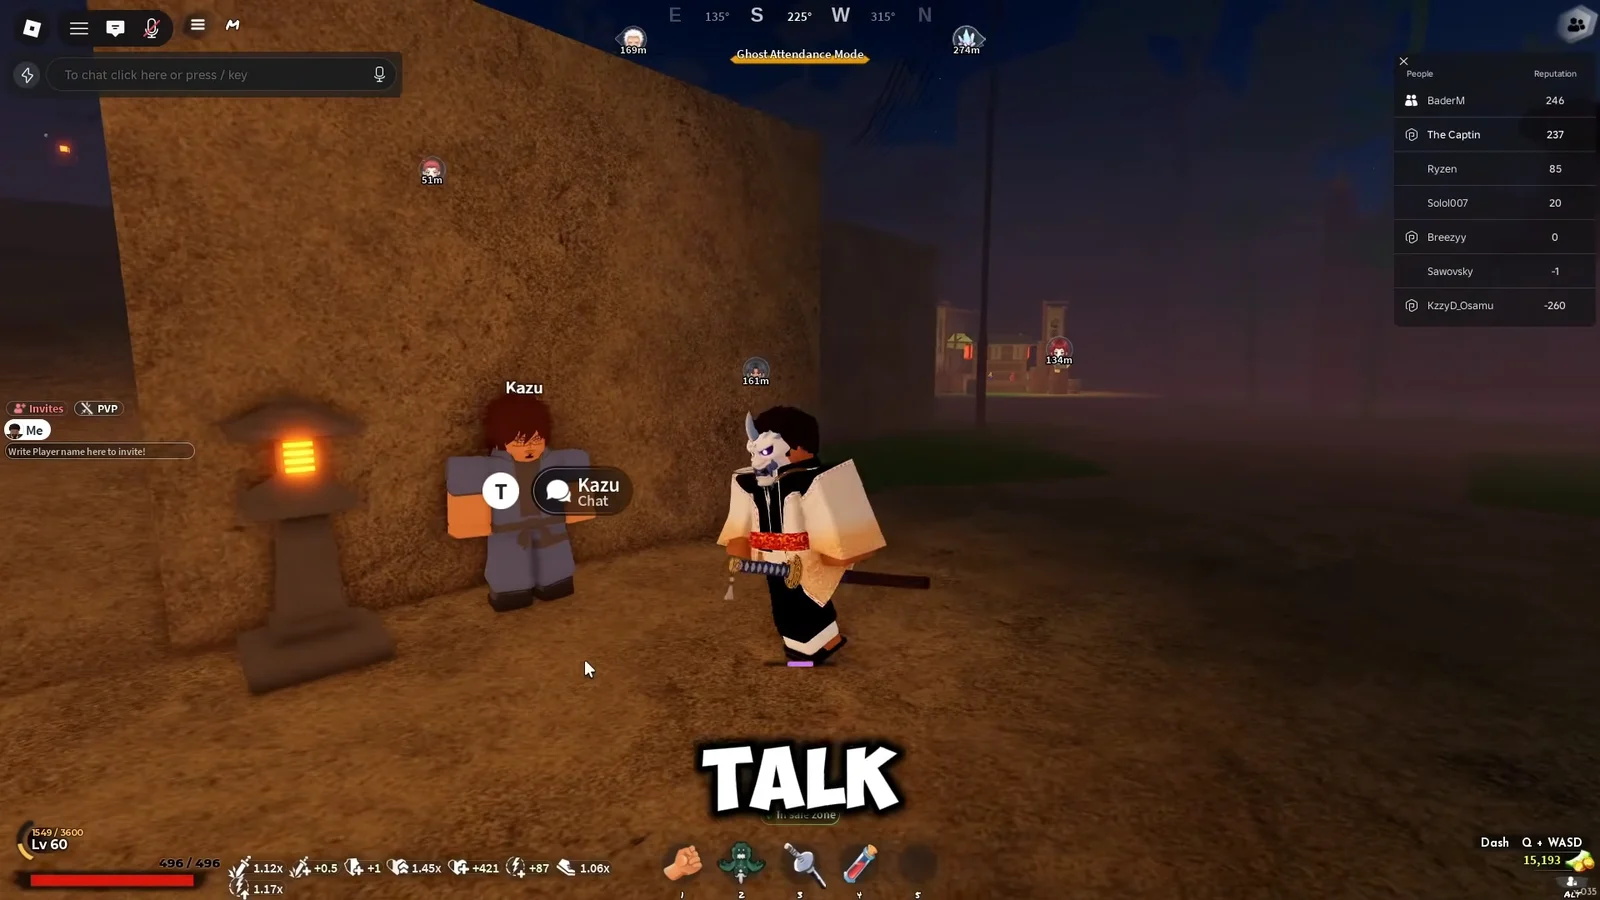
Chaka, standing near the large tower, carries the next two gates: a subordinates quest at Level 26 and a Kaiden quest at Level 34. Against Kaiden and his subordinates, hold your attacks until the enemy dashes, then punish the recovery with M1 strings rather than trading hits head-on. Keep talking to side NPCs as you move between zones, since several hand out extra experience and cash for objectives you are already completing.
Level 25: Unlocking your first Breathing technique
Breathing becomes available at Level 25 and is the first real change to how your character fights. Serpent, Sound, and Thunder are the standout picks, and each has its own trainer tucked away in a different part of the map.
Serpent Breathing (Obari)
Of the available trainers, Obari is the simplest to prepare for and reach. His requirements are Level 25, 20 Demon Horns obtained from snow demons, and 5 Beast Cores taken from Beast Born Demons. Once you deliver the materials, complete the training mini-games and defeat the Serpent Trainee to unlock him.
Sound Breathing
The Sound trainer sits out in the snow biome. Run through Iceveil Valley and follow the cliffs to find them.
Thunder Breathing (Zentaro)
Reaching Zentaro is the least convenient option of the three. His route goes up the cliffs beyond the bear village, so unlock Wall Climb through the skill tree before setting out. Use the skill point beforehand to avoid making the journey twice.
Final Selection at Level 45: Every quest in order
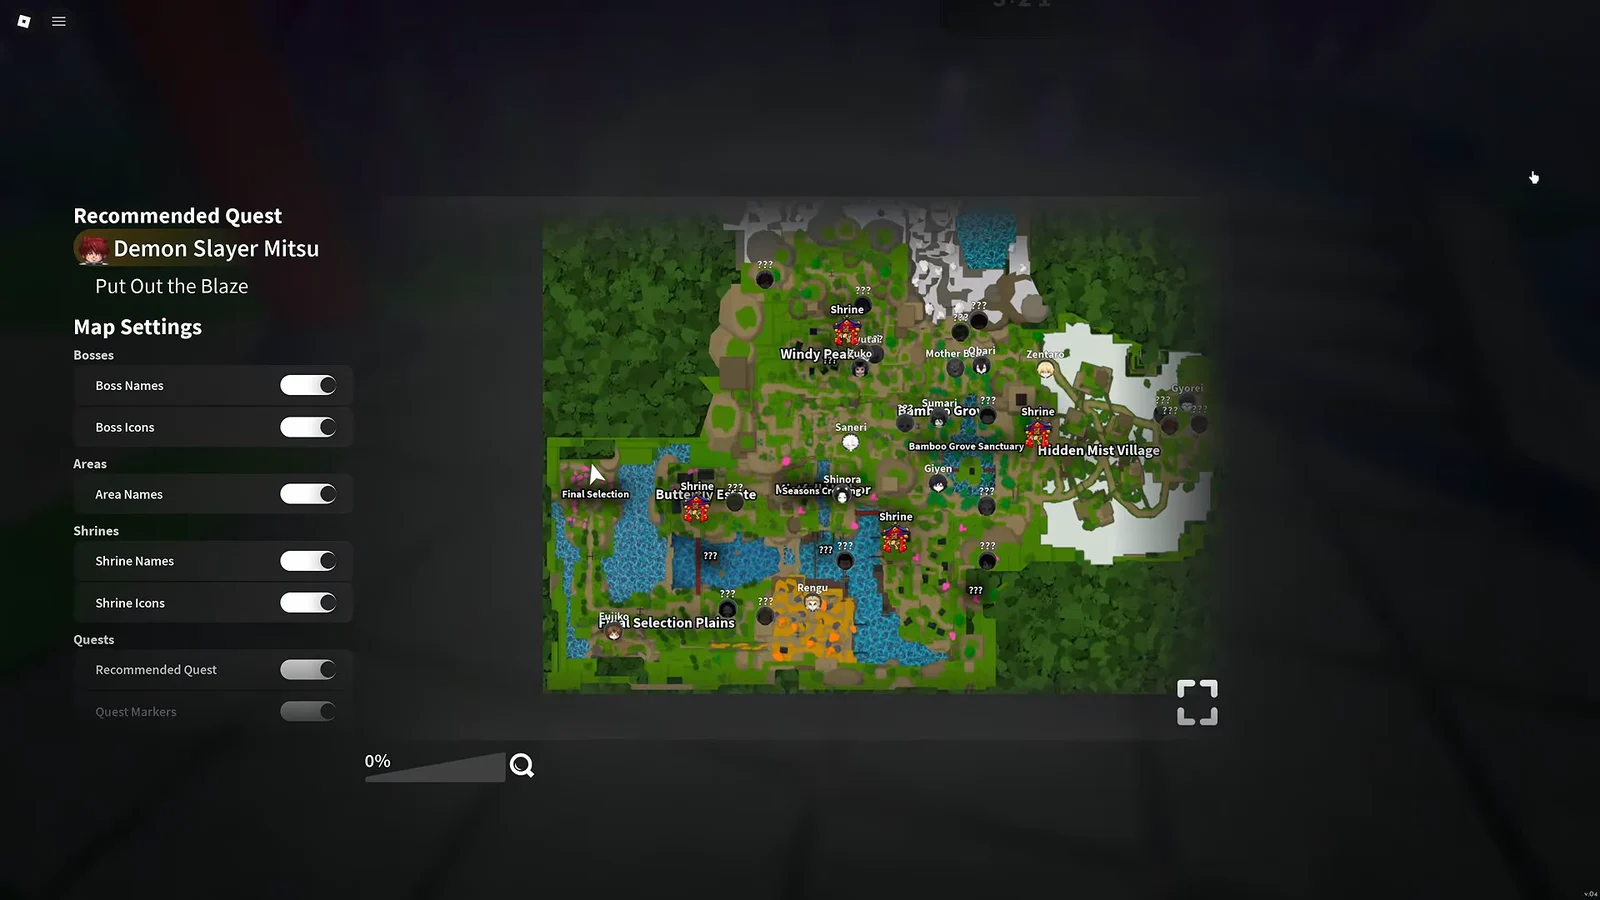
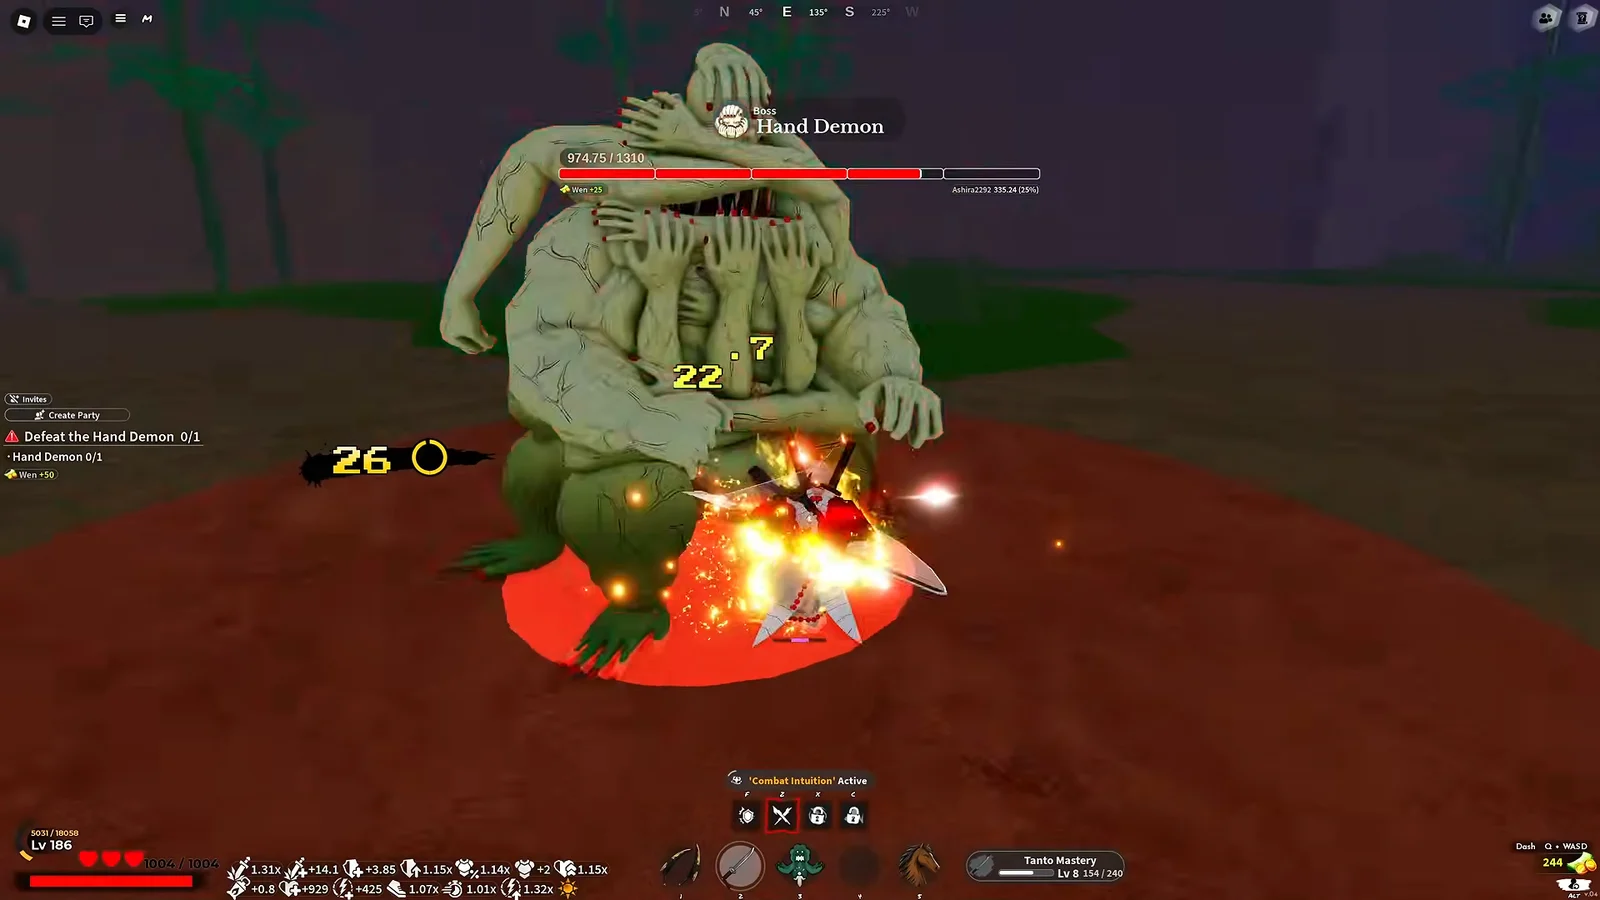
Final Selection is the event that grants the Slayer title. Two conditions must be met before you can take part. You have to be human, and you have to be at least Level 45. The event site sits at the bottom-left of the map near Butterfly Estate, and a new run begins at the start of every hour. Bring a party — the run mixes collection quests, demon fights, a parkour course, and a boss.
Slayer rewards: Katana forging and Kasugai Crow missions
You know the run worked when the Sisters appear and grant you three things: the Slayer title, the Uniform, and a Crude Iron Ingot. Those rewards are the confirmation that your character has switched onto the Slayer path.
Take the Crude Iron Ingot to Tagane at Hidden Mist Village. He turns it into one of three katanas, so decide before you hand it over.
- Enryu Katana
- Shinkage Katana
- Tengoku Katana
You also receive a Kasugai Crow, which is the more valuable long-term reward. The crow unlocks repeatable demon assassination contracts against targets including Enru, Datai, and Nezura. Those missions are the standard loop for cash, EXP, and weapon mastery once you are a Slayer.
Katana upgrades, equipment, and damage titles
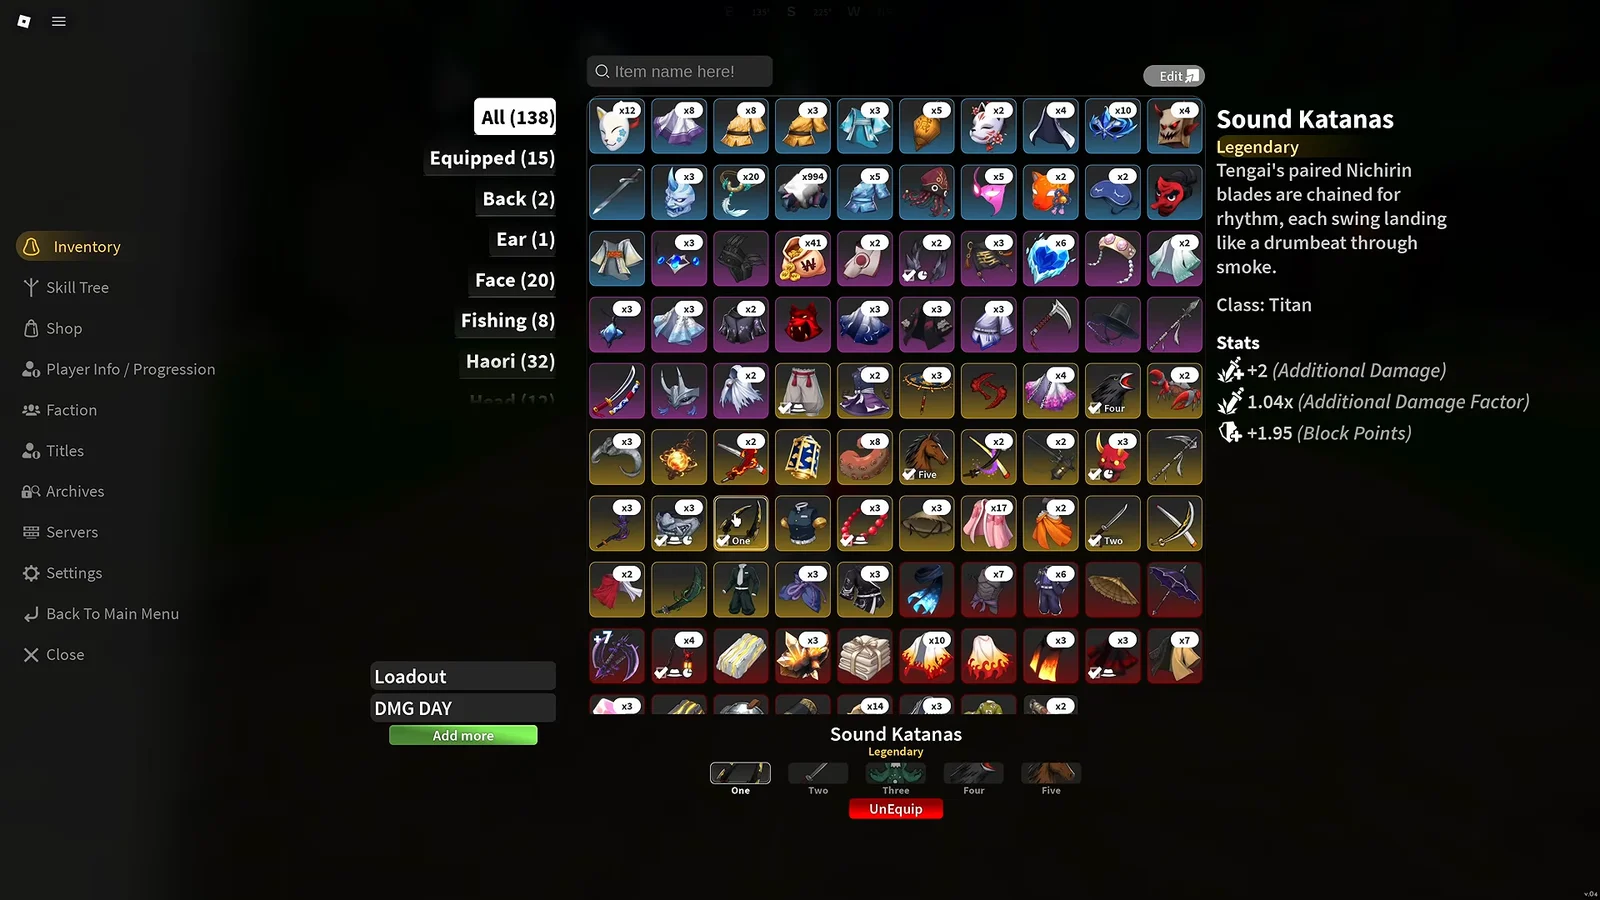
Checking katana stats in the Archives menu
Wind Katana, the Sound Katanas, and Flame Katana are the weapons worth targeting after your forged reward. Before you chase any of them, open the Archives menu — it lists each item’s stats alongside where it drops, so you can confirm a weapon is an upgrade and find its source in one place.
Tier 2 katana upgrades
Blacksmith Togane handles Tier 2 upgrades and is found in Ouwigahara during Tower Mode. He needs Metal Scraps and Silk Thread, both of which come from World Boss chests, plus Mythic Refinement Ore bought from the Mistfall Harbor merchant Ginzo. Start stockpiling those materials from World Boss runs before you make the trip.
Best equipment to stack
The strongest setups stack flat damage, health, and stamina rather than chasing rarity. Gear comes from bosses, chests, and shops, and a lower-rarity item with the right stat line can beat a higher-rarity one, so compare the actual numbers before you swap.
| Item | Slot | Source |
|---|---|---|
| Stone Haori | Body | Gyorei drop |
| Demonic Lantern | Accessory | World Boss chests |
| Demonic Horns II | Face | Tower chests |
| Silver Fang Mask | Face | Tower chests |
| Red Oni Mask | Face | Tower chests |
Titles and skill points
Open the M menu and you get Inventory, Skill Tree, Shop, Player Info and Progression, and Titles in one place. You can equip up to three titles at once, and the damage-boosting ones such as Bonebreaker, Hard Hitter, and Annihilator are earned by hitting cumulative damage milestones.
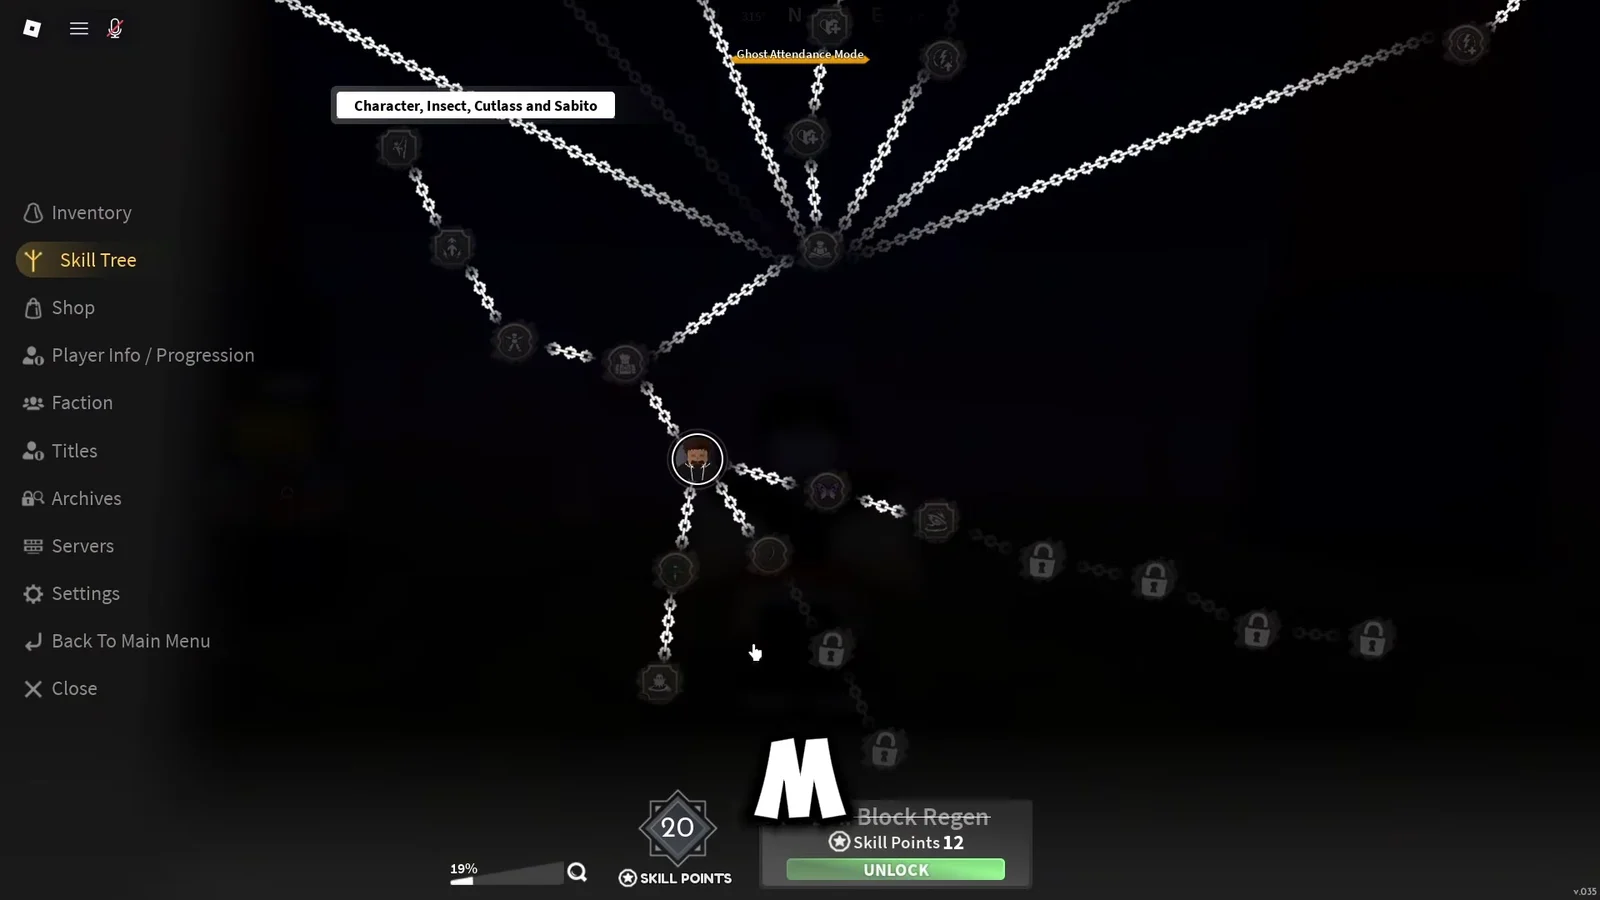
Every level grants skill points, and leaving them unspent is the most common way players stall out. The tree covers stamina, health, blocking, double jump, and wall climbing, so it feeds both your combat power and your ability to reach gated areas like Zentaro’s cliffs. Keep weapon mastery and skill tree investment moving at roughly the same pace rather than dumping everything into one side.
Run it in that order — clan first, bandits to 7, bears to 25, Breathing, tower quests to 45, then Final Selection — and the Slayer title arrives without any dead-end farming. From there the Kasugai Crow contracts and World Boss material runs become your main loop for the rest of the progression.