Dire is the sixth and final difficulty of Stygian Onslaught, and it removes almost every safety net. Enemies sit at level 110, Exalted One buffs are switched off, co-op is disabled, and no character can appear in more than one battlefield. That last rule is what forces a three-DPS plan, and a Varka, Chasca, and Clorinde split covers all three Version 7.0 bosses without overlapping a single unit.
Quick answer: Put Varka on the Veteran Wind Operative, Chasca on the Chimeric Winged Lion, and Clorinde on Knuckle Duckle. Dire blocks character reuse, so each team needs its own weapons and artifacts.
Dire difficulty rules you have to build around
Dire unlocks only after you clear Fearless in single player, and its rewards can be claimed in single player as well. Everything else about the mode is designed to punish thin rosters.
- Enemies are level 110 with far higher HP and damage than Fearless.
- No co-op at all, and no rewards for co-op clears at Fearless either.
- A character, weapon, or artifact set used in one battlefield cannot be swapped into another without wiping the earlier record.
- Exalted One bonuses to HP, ATK, and DEF do not apply on Dire.
- Each battlefield has a two-minute cap, and characters start with no Energy.
There is also a separate Perilous objective on top of simply finishing. Clearing all three battlefields within 180 seconds total, an average of 60 seconds per boss, is what unlocks the weapon skin reward. Finishing Dire and hitting that timer are two different achievements, and you can complete the challenge without meeting the time.
Team assignments for each 7.0 battlefield
| Boss | On-field DPS | Rest of the team |
|---|---|---|
| Veteran Wind Operative | Varka | Xingqiu, Prune, Mona |
| Chimeric Winged Lion | Chasca | Yae Miko, Citlali, Odette |
| Knuckle Duckle | Clorinde | Nicole, Durin, Xilonen |
Clorinde is usually flagged as a Wind Operative pick because she gains from Bond of Life, but Dire’s no-repeat rule means every unit is locked to a single fight. Sending her into Knuckle Duckle instead frees Varka to handle the Operative and keeps the Cryo and Stellar supports together for the Lion.
Dire HP pools you are fighting through
| Boss | Fearless HP | Dire HP |
|---|---|---|
| Veteran Wind Operative | 8 million | 17.5 million |
| Chimeric Winged Lion | 10.75 million | 23.35 million |
| Knuckle Duckle | 13.1 million | 25.9 million |
Veteran Wind Operative with the Varka team
The Operative opens with Hunt Down, spending a chunk of her own HP to gain a large White Damage Shield and swing at you. If that attack lands on an unshielded character, she heals herself and leaves a damage-over-time debuff on the active unit. While her shield is up she keeps stacking an unhealable Bond of Life on the whole party, so you either dodge the swing or hold a shield of your own.
Breaking that shield is the entire fight. Once it pops, she takes damage equal to what the shield absorbed, and she can put it back up roughly three times across the encounter. White Damage Shields also block the multipliers from Vaporize and Melt, so reaction-amplified burst is worth less here than raw output.
The rotation leans on Xingqiu and Mona for skills and bursts before Varka takes the field for Anemo damage, with Prune supporting. Warning: the Operative has increased Anemo RES in 7.0, so Varka needs noticeably more investment here than an off-element DPS would.
Chimeric Winged Lion with the Chasca team
Seconds into the fight, the Lion’s Electro head generates a 40-gauge-unit Electro Ward. Every Elemental Reaction chips that ward based on how much element you apply, and a Stellar reaction strips 16 units in one hit. When the ward finally breaks, the boss takes backlash damage scaled to what it blocked, goes down, and drops its Cryo and Anemo RES for a short window.
After it recovers, the Anemo head takes over. The Lion flies up, fires Gale Bolts, then opens a vortex to pull in Anemo Orbs and restore its power. Destroy those orbs with Hydro, Pyro, Electro, or Cryo damage, or hit the boss with Stellar Glimmer to stop the absorption outright. If the vortex closes before it has eaten enough orbs, it is paralyzed immediately and the cycle restarts.
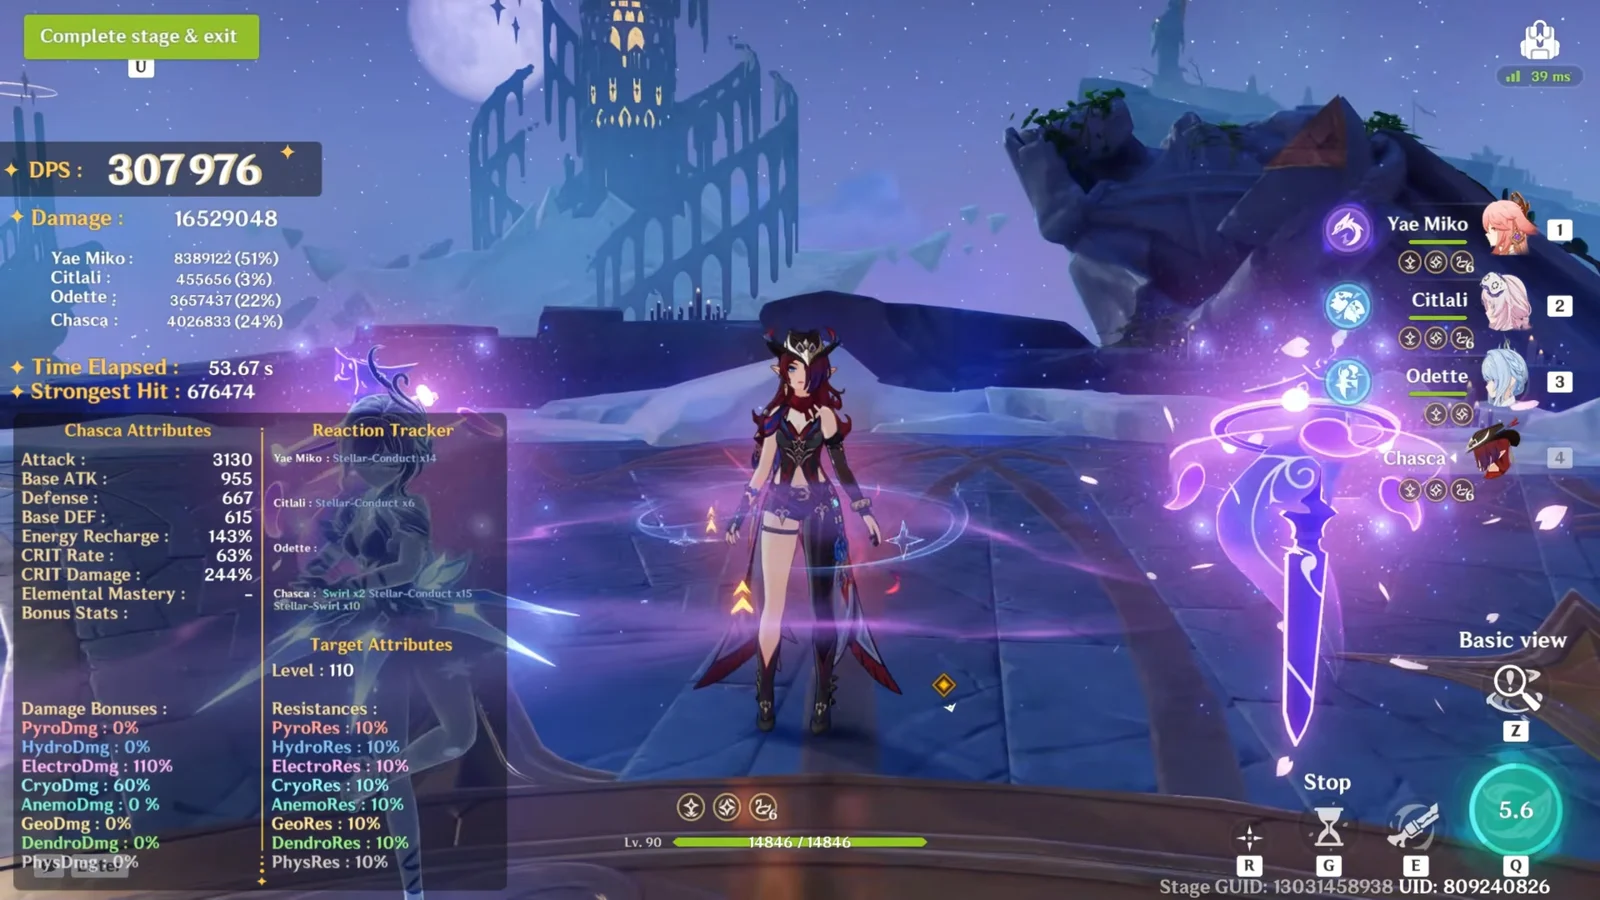
Yae Miko, Citlali, and Odette handle the reaction side while Chasca runs her burst and charged elemental shots to eat the HP bar during the downed phases. Odette is the strongest Stellar-Conduct support for this fight, and her Cryo application also speeds up the ward break.
Knuckle Duckle with the Clorinde team
Knuckle Duckle returns unchanged and remains the most rigid fight of the three. Shortly after the start it enters Duckstruction Mode, wraps itself in a White Damage Shield with extremely high RES, and summons floating Stamping Devices. The RES is too high to brute-force the ward, so the Ducklings are the actual target.
Destroying a Stamping Device takes a substantial part of the ward away. Raw damage can destroy them, while Electro-Charged and Lunar-Charged hits are counted separately; after enough of those hits, a device dismantles itself, and both reactions deal increased damage to it. Remove every Duckling to bring down the ward, which removes the bonus RES and reduces the boss’s Electro RES even further for a while before it puts its shield back up.
Clorinde and Durin drive continuous Overloaded and Electro-Pyro combos here, with Nicole and Xilonen rounding out the team. Running the rotation against a Ruin Guard in the training arena first is a cheap way to confirm the sequence clears the ward fast enough for the two-minute cap.
Weapons and artifact sets used in the clear
| Character | Weapon | Artifact set |
|---|---|---|
| Varka | Gest of the Mighty Wolf | Day Carved from Rising Wind |
| Xingqiu | Favonius Sword | Emblem of Severed Fate |
| Prune | Skyward Atlas | Viridescent Venerer |
| Mona | Thrilling Tales of Dragon Slayers | Celestial Gift |
| Chasca | Astral Vulture’s Crimson Plumage | Obsidian Codex |
| Yae Miko | Kagura’s Verity | Disenchantment in Deep Shadow |
| Citlali | Starcaller’s Watch | Scroll of the Hero of Cinder City |
| Odette | Primordial Jade Cutter | Heart of the Furnace |
| Clorinde | Absolution | Gladiator’s Finale |
| Nicole | Angelos’ Heptades | Celestial Gift |
| Durin | Athame Artis | Noblesse Oblige |
| Xilonen | Peak Patrol Song | Scroll of the Hero of Cinder City |
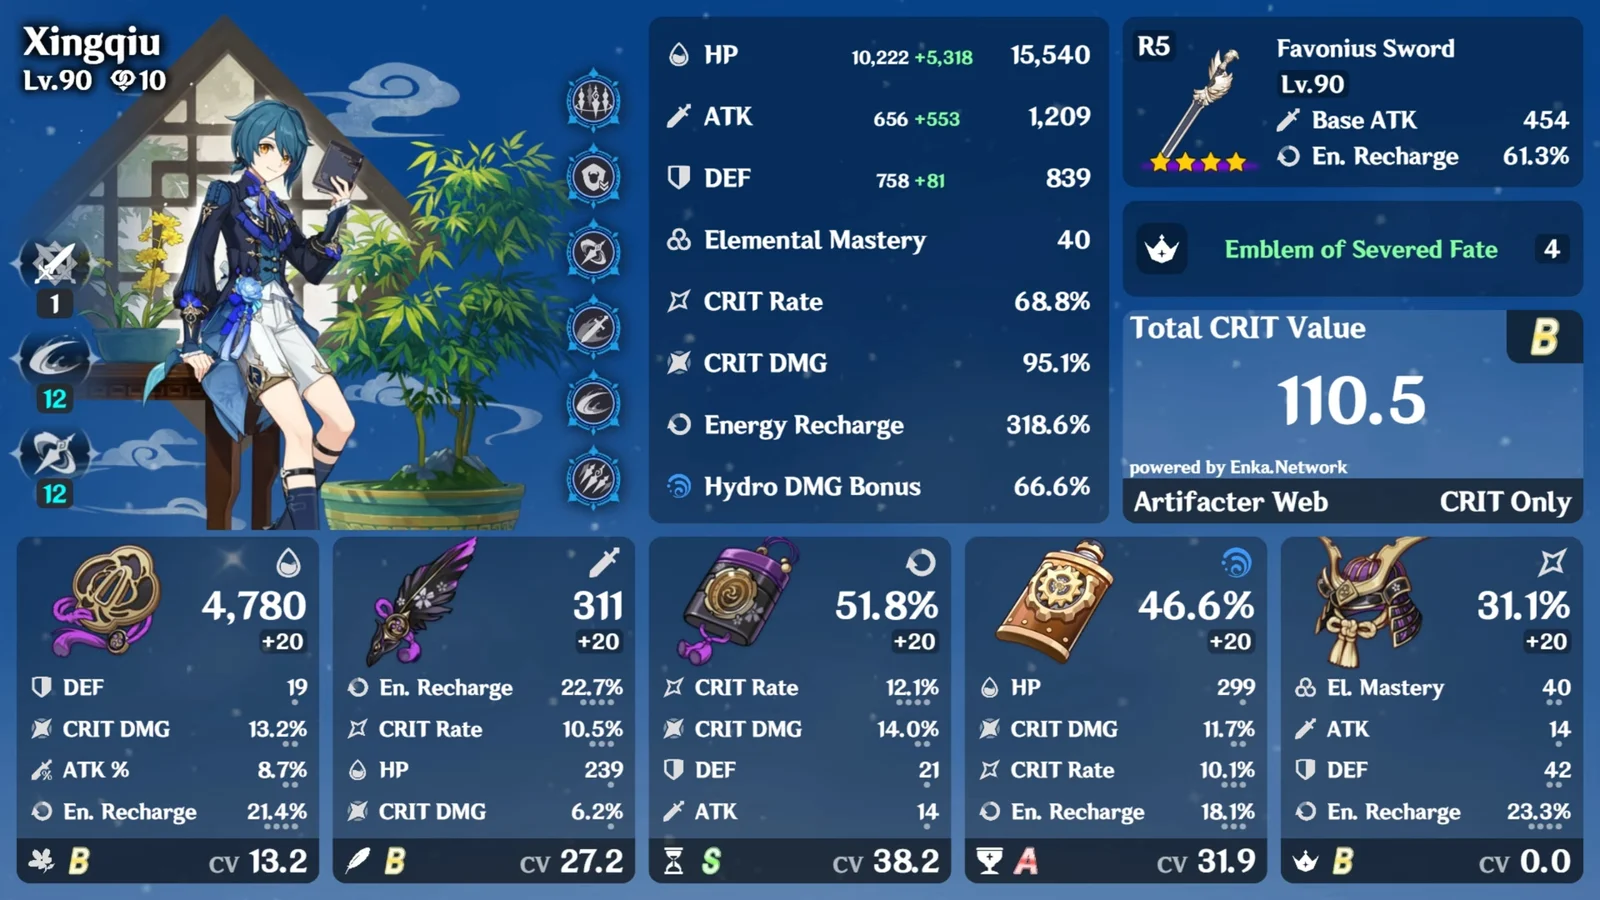
Xingqiu runs Favonius Sword with Emblem of Severed Fate, which matters because every battlefield starts your characters at zero Energy. Energy generation and recharge are effectively part of the damage check on Dire, not an optional comfort stat.
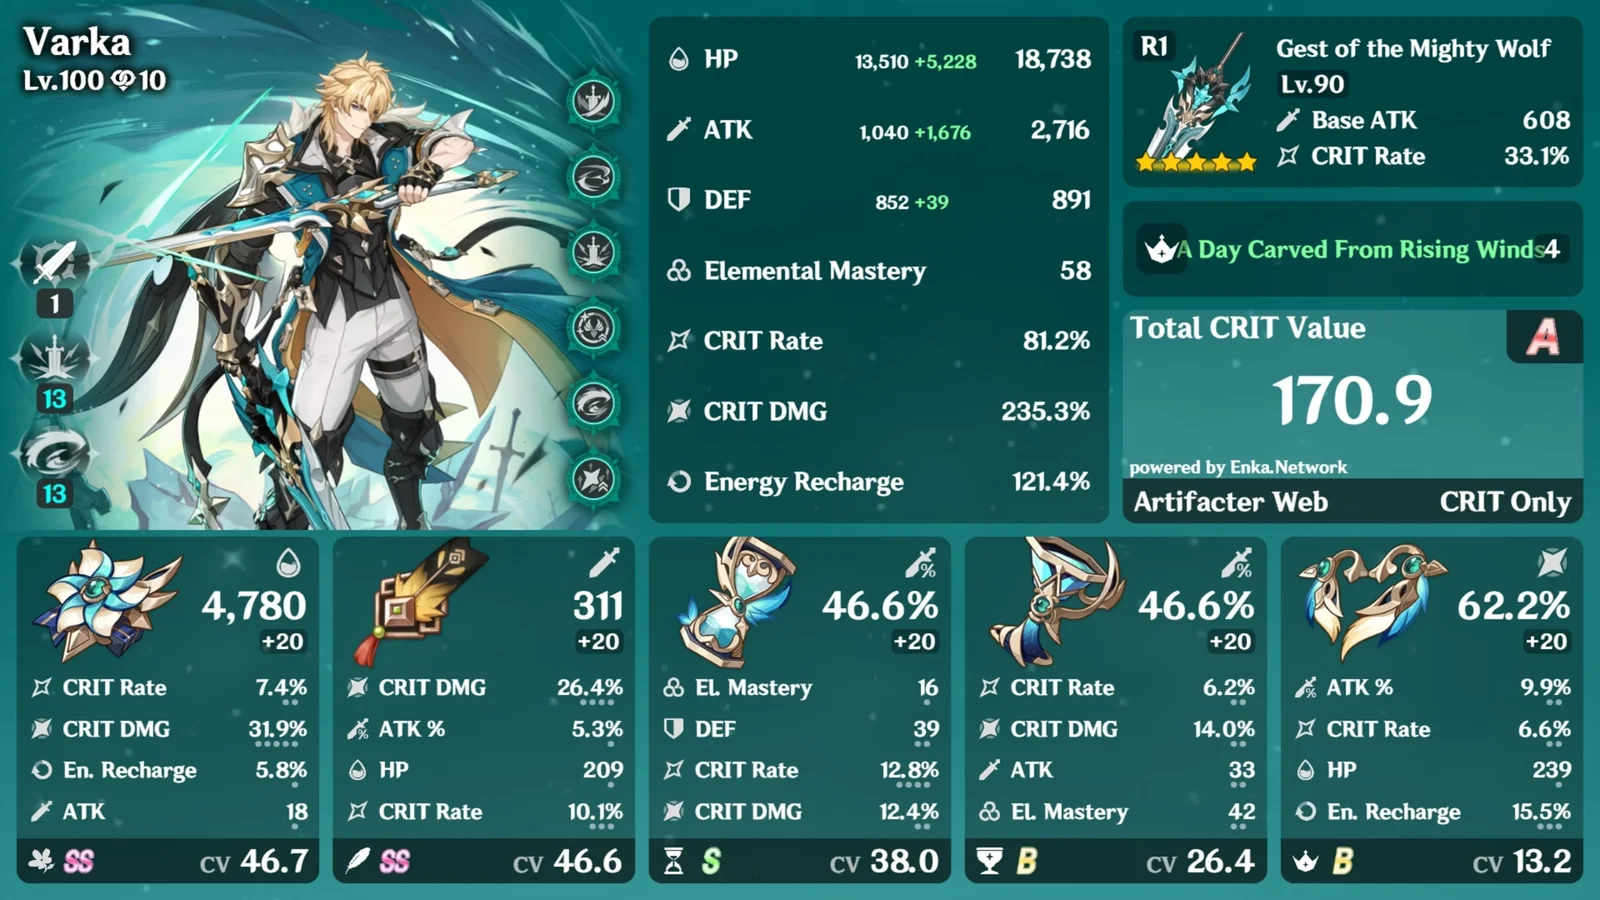
Varka pairs Gest of the Mighty Wolf with Day Carved from Rising Wind. Note: weapons and artifacts are locked to a battlefield alongside the character wearing them, so you cannot move a single good set between the three teams without erasing the earlier clear.
How to confirm the Dire clear registered
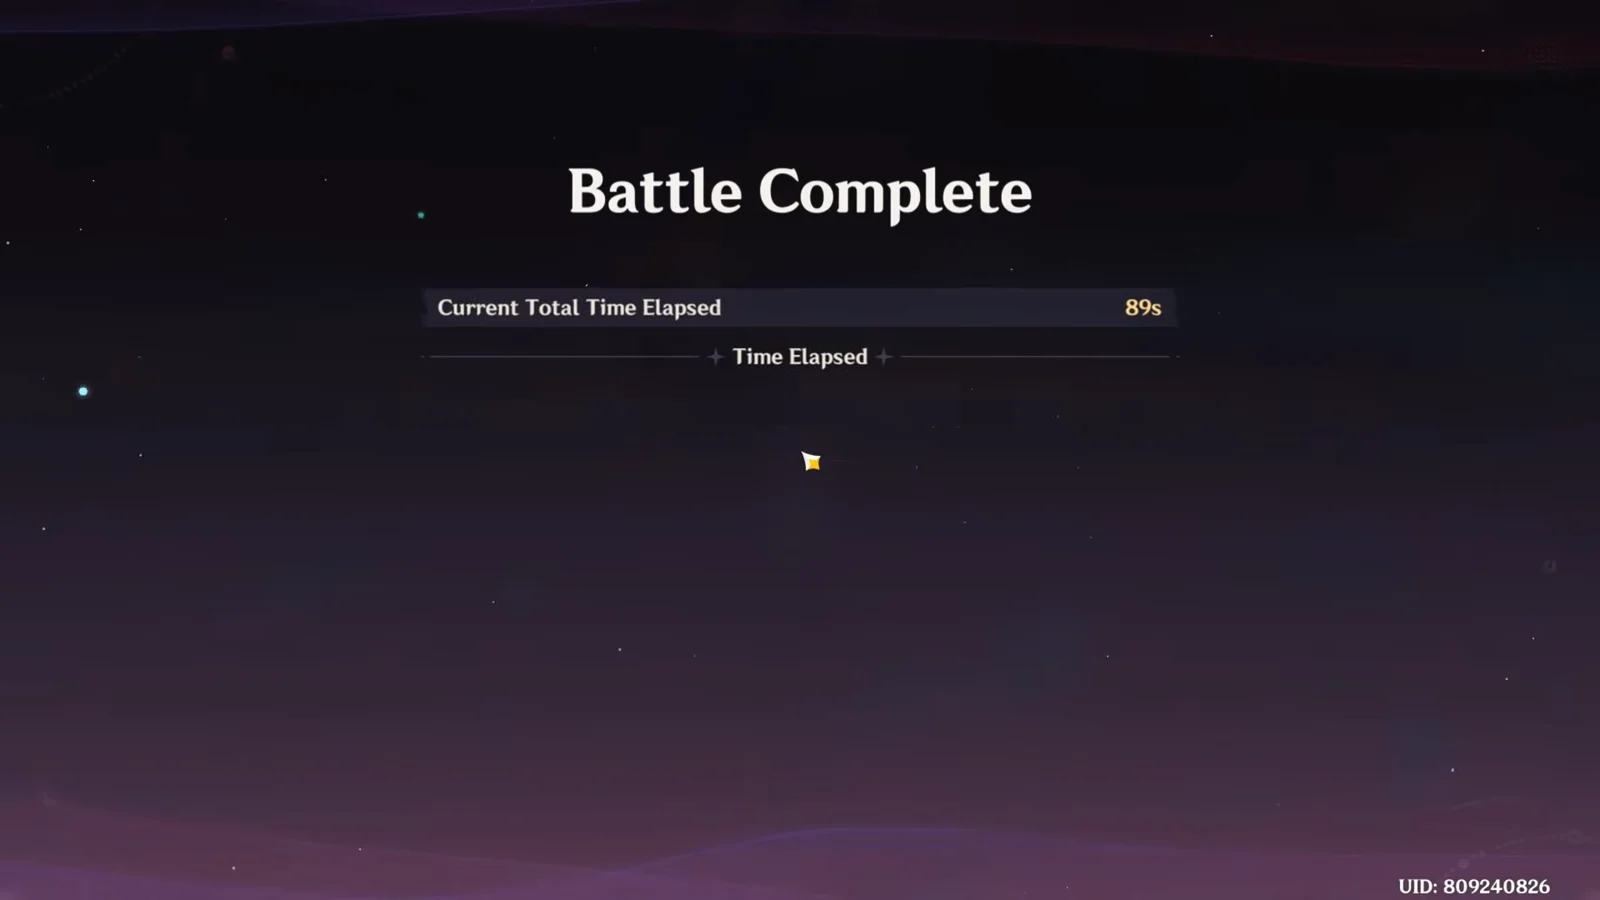
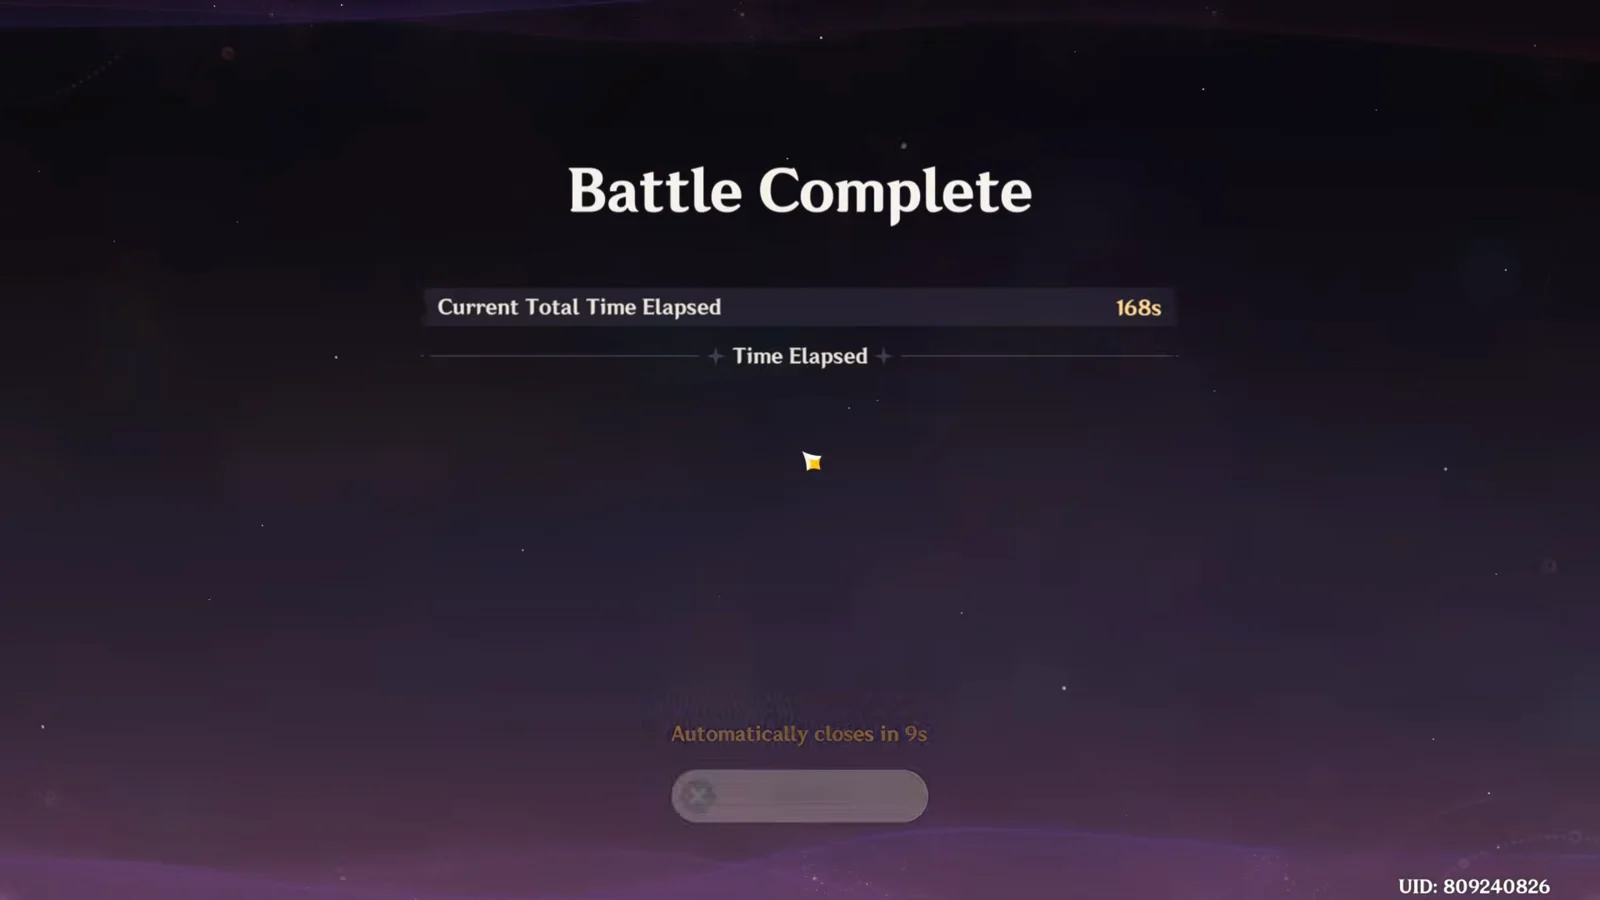
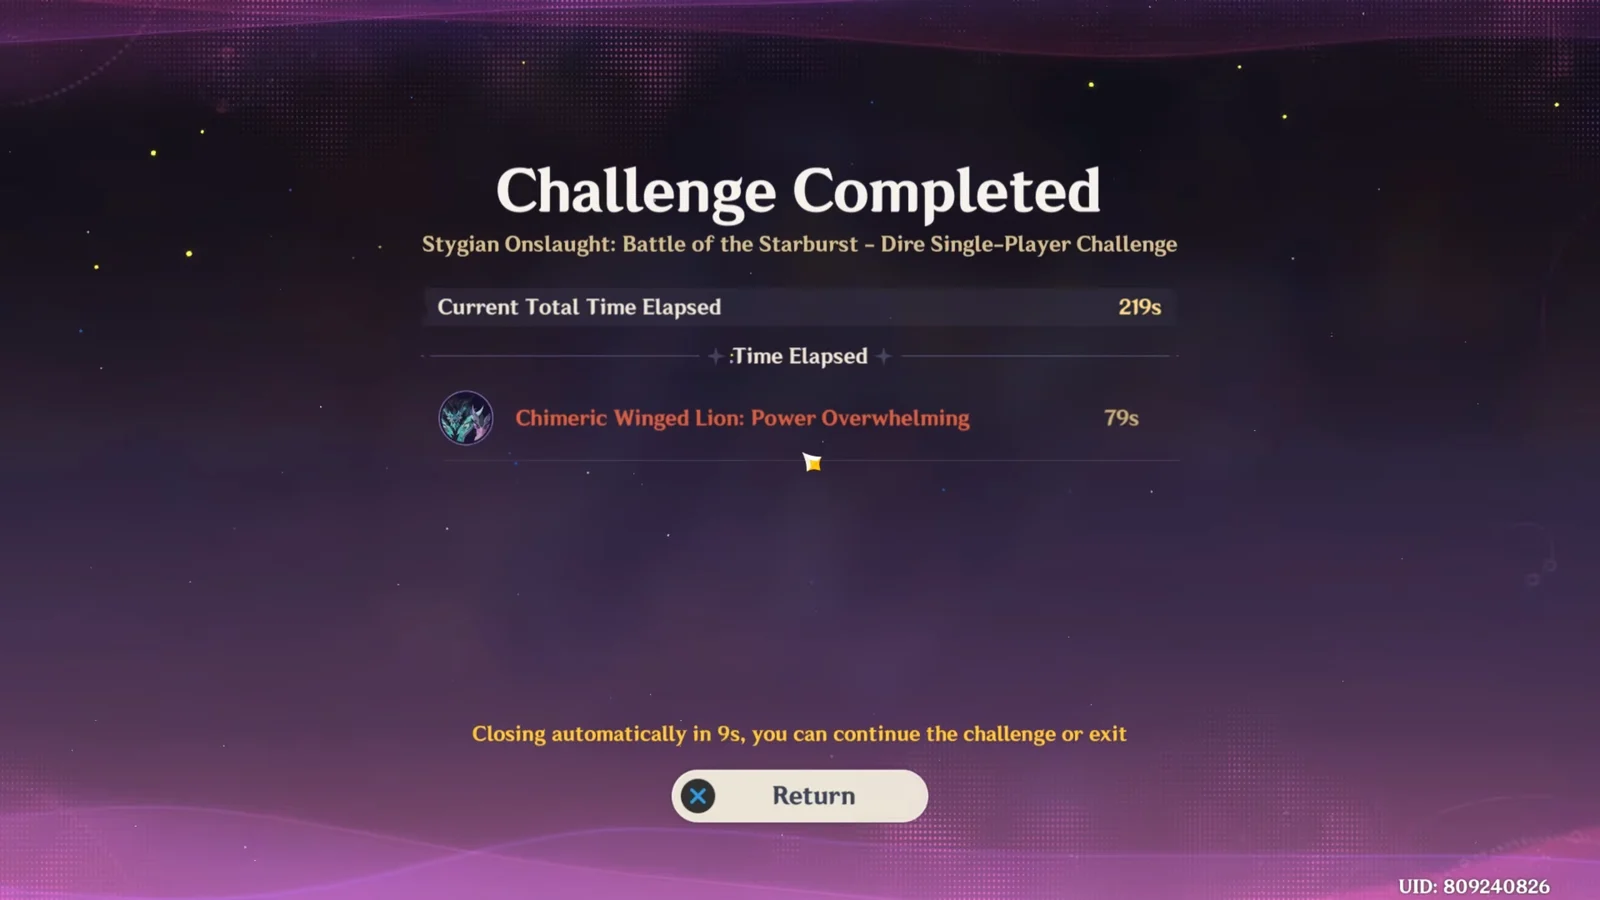
Each battlefield ends with a Battle Complete prompt on screen. After the third one, the summary screen names the run, in this case Stygian Onslaught: Battle of the Starburst, marks it as a Dire single-player challenge, and lists the total clear time.
The run above finished at 219 seconds. That completes Dire and unlocks its single-player rewards, but it lands 39 seconds past the 180-second Perilous objective, so the weapon skin tied to that timer stays unclaimed. Your best attempt is also recorded on your profile, sorted by difficulty first and clear time second.
The Version 7.0 cycle runs until September 22nd, 2026, and the following cycle opens on September 30th, 2026 with a fresh boss lineup and a new Disturbance Outbreak window. Three separate, fully built teams remain the price of entry on Dire, so it is worth planning which DPS goes where before the next rotation locks in.