Mastery is the currency that unlocks skills inside a weapon or Blood Demon Art tree in Project Slayers 2, and it is tracked separately for each one. Sword mastery, breathing mastery, and Blood Demon Art mastery all fill from different actions, which is why a character can be high level and still have an empty skill tree.
Quick answer: Clear the five Mizunoto slayers at Mistfall Harbor for roughly 41 mastery per skill per run. At level 65, Ouwigahara point exchanges and Tundra Tier 3 chests return far more per hour.
How mastery is earned in Project Slayers 2
Mastery accrues to whatever you actually use in a fight. Swing a sword and sword mastery climbs; spend breath meter on Water Breathing skills and that style’s mastery climbs alongside it. Demons work the same way with Blood Demon Art abilities, so a demon who only punches will never level a Blood Demon Art tree.
Because of that, the efficient approach is to spam abilities rather than basic attacks while clearing enemies. A single group fight can feed two bars at once if you mix weapon swings with style skills, which is how a single Mistfall Harbor clear returns both +90 Water and +104 Sword Mastery.
Method comparison
| Method | Requirement | Mastery return |
|---|---|---|
| Mistfall Harbor Mizunoto | None stated | ~41 per skill |
| Ouwigahara dungeon points | Level 65, Forge quest | Direct point exchange |
| Tundra Tier 3 chests | Emberheart Lantern | 500 per chest NPC |
| Muzan / Crow boss quests | Level 125 | Mastery plus EXP and Yen |
Farm Mizunoto slayers at Mistfall Harbor
Mistfall Harbor is the cleanest low-friction mastery spot because five Mizunoto slayers spawn as a tight group. They stand close enough together that one area-of-effect skill hits the whole pack, which is what pushes the per-run numbers up.



Wipe the whole group before leaving. The mastery and EXP totals appear on screen after the last kill, so a clean sweep is also your confirmation that the run registered.
Trade Ouwigahara dungeon points for mastery
Ouwigahara turns combat into a currency you can spend, which makes it the most controllable mastery source in the game. Instead of hoping enemies drop enough, you bank points across the dungeon floors and cash them out at the end of the run.

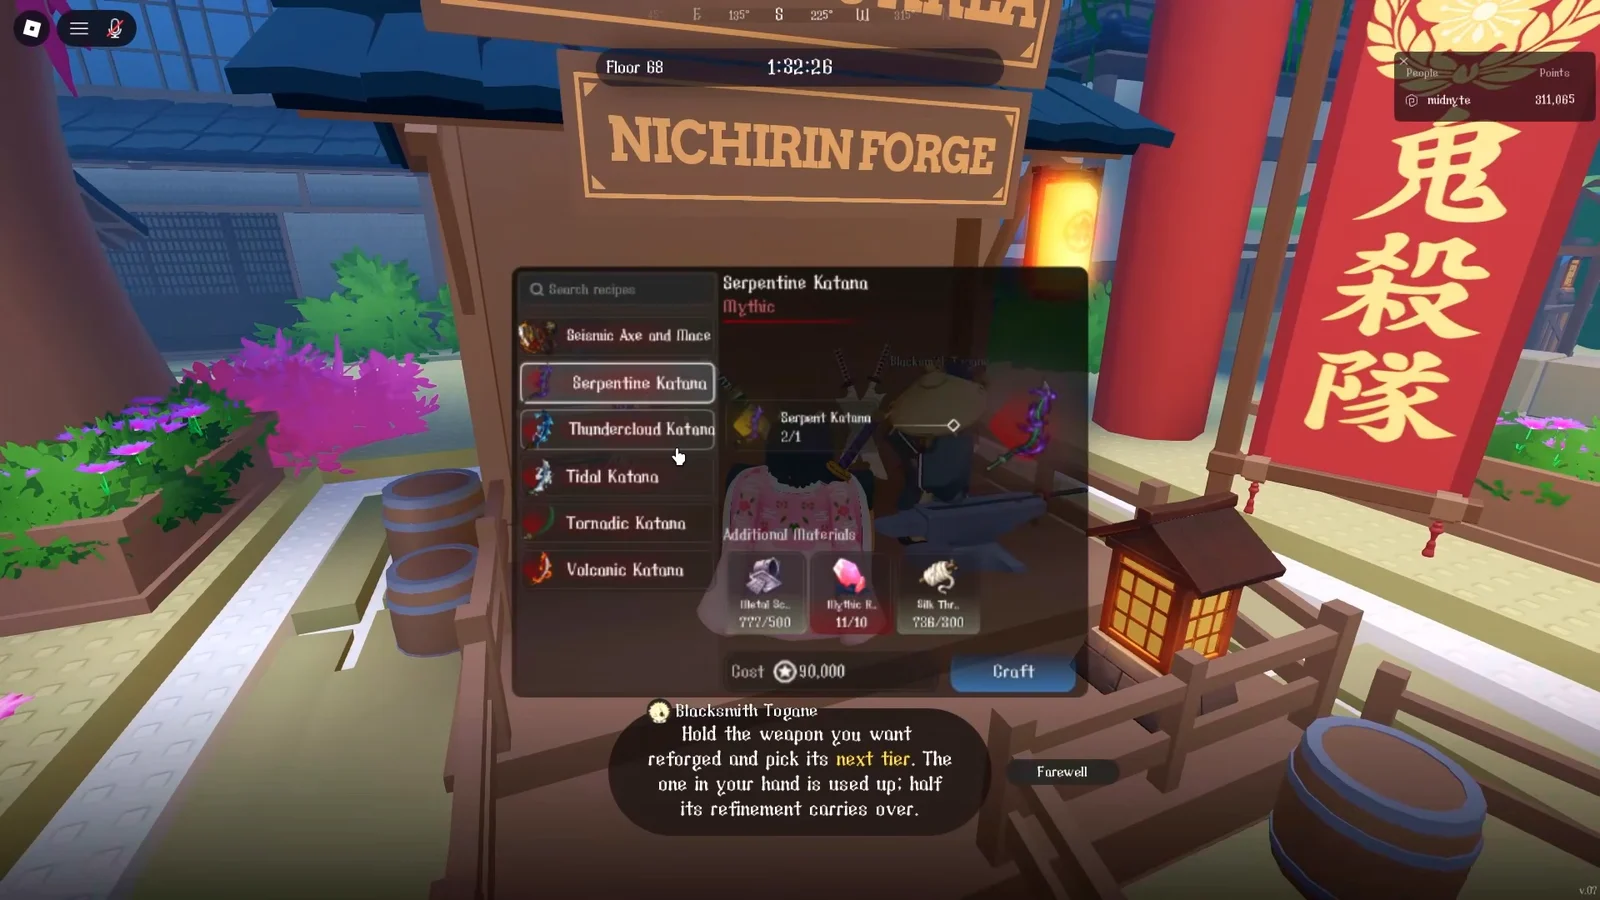
Farm Tier 3 chests in Iceveill Valley
The Tundra holds the highest single-kill mastery payout available outside of boss bounties. Head to Iceveill Valley with the Emberheart Lantern equipped and hunt the Tier 3 chest NPCs, each of which hands over 500 mastery.
The catch is the fight itself. If your damage is not there yet, tag along with high-level players clearing the same chests and leech the rewards rather than trying to solo them at an under-geared level.
Boss quests from Muzan and the Crow at level 125
Late-game characters get access to repeatable boss bounties that pay mastery on top of EXP and Yen. Demons take these from Muzan, while slayers take them from the Crow, which opens up at level 45. The high-yield boss versions of these quests come online at level 125.
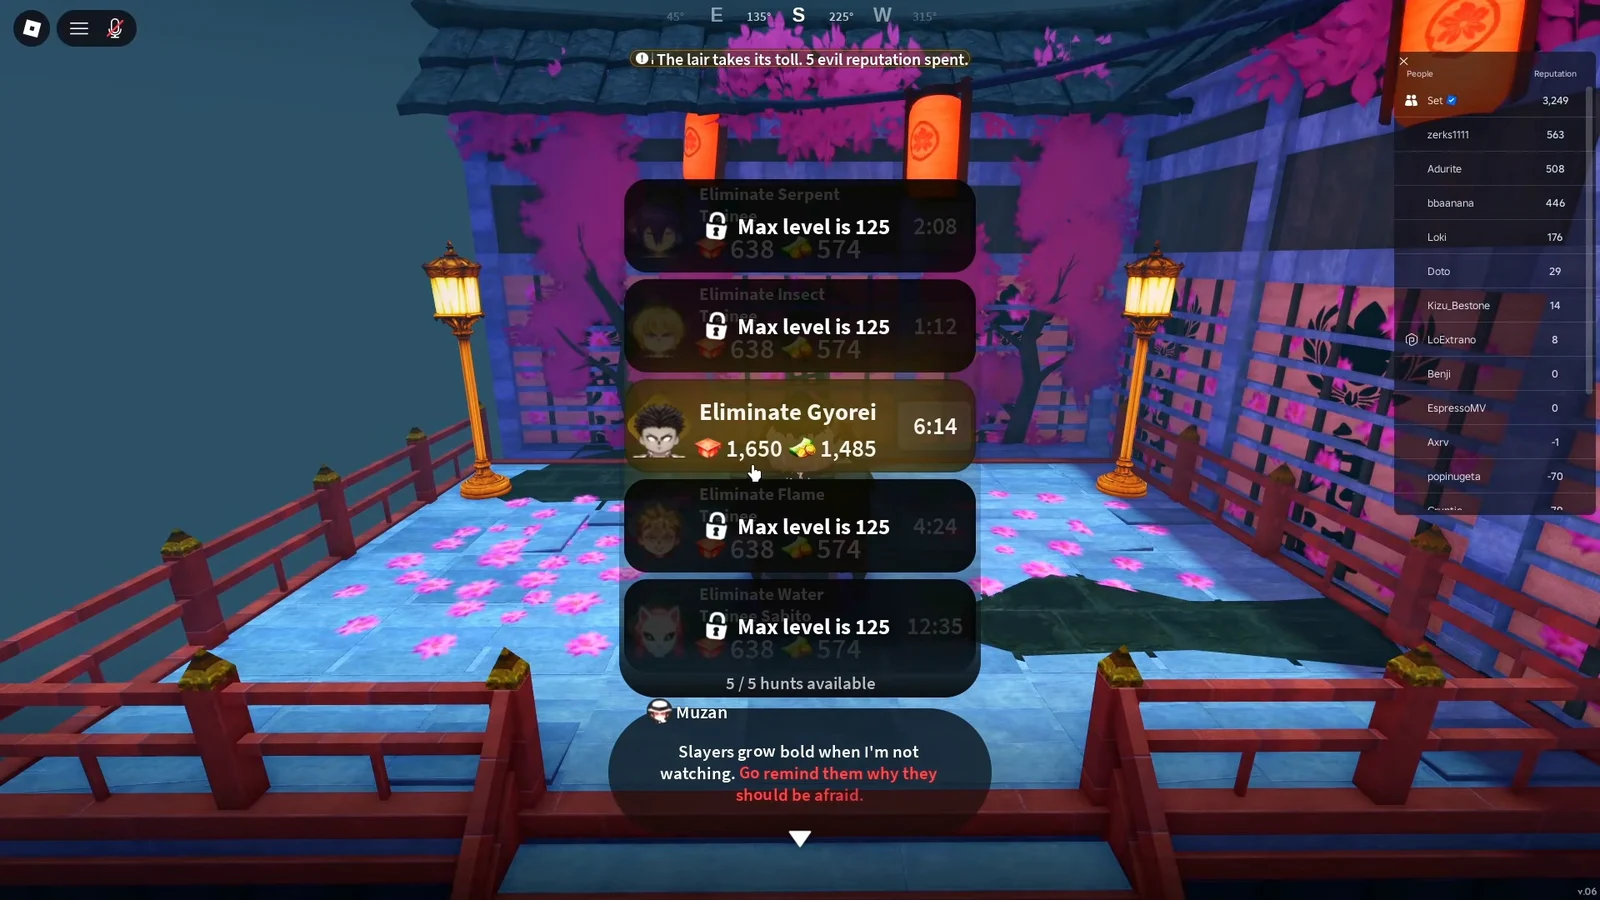
Speak to Muzan at his lair to pull up the available bounties, such as Eliminate Gyorei, and each listing shows its EXP, Yen, and mastery payout before you accept. Drinking EXP and Mastery potions before turning in stacks on top of those listed numbers.
Ranked 1v1 matches pay percentage-based EXP per win, which is strong for levelling but is not a mastery source. Use them to reach the level gates above, then switch back to the farms.
Confirm the mastery actually landed
After a clear, the mastery and EXP gains appear on screen as separate totals, one per category you used. Seeing two entries, such as a Water figure and a Sword figure, confirms you split your attacks correctly instead of feeding a single bar.
The other check is the skill tree itself. Open your weapon or Blood Demon Art tree and the locked nodes will show their mastery cost against your current total, so a farm that is working moves you visibly closer to the next unlock each run.