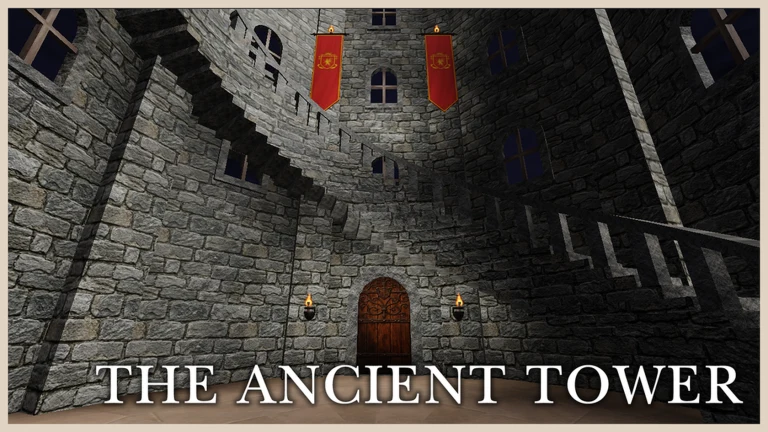
The Ancient Tower is the vertical map in Escape Room: The Sealed Castle, and it runs on a strict dependency chain. Each floor hands you one item that unlocks the next, so a single missed clue stalls the whole run. The puzzles themselves are fixed, which means the answers below work on every server.
Quick answer: Enter KEEP on the 1F pedestal, set the 3F chest to Red top, Light Pink bottom, Green left, Yellow right, then ring the roof bells 1 Left, 2 Right, 1 Left, 2 Left, 1 Right.
Ancient Tower puzzle answers and the items they unlock
| Puzzle | Solution | Reward |
|---|---|---|
| 1F pedestal code | KEEP | Room key |
| 3F stained glass chest | Red top, Light Pink bottom, Green left, Yellow right | Knife |
| Hanging rope | Cut with the knife | Power stone |
| 4F pillar symbols | Match floor tiles to pillar pictures | 5F access |
| Roof bells | 1 Left, 2 Right, 1 Left, 2 Left, 1 Right | Exit bridge |
Everything in the tower is gated by an item you carry up or down a floor, so read the table top to bottom. You cannot skip the knife to get the power stone, and you cannot reach the roof without opening the 5F hatch first.
Cross the rotating bridge and pull the 1F lever
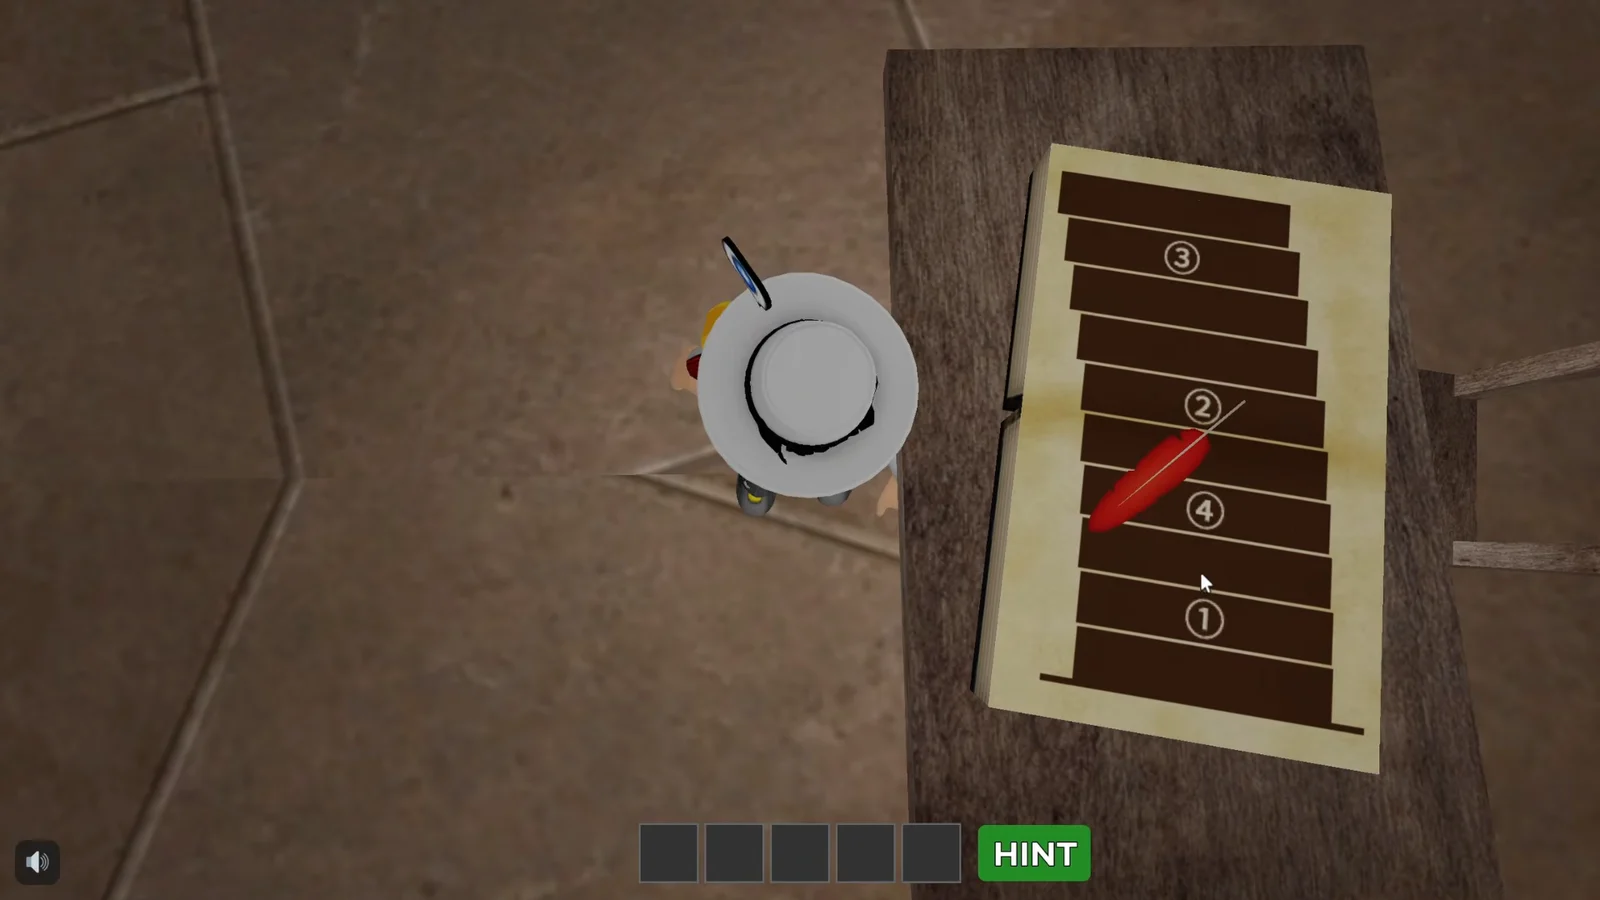
1F code: How the note gives you KEEP
3F stained glass chest: Color directions for the knife
The 3F room is ringed with stained glass windows. Each window repeats several colors, but one color in each direction appears only once, and those four unique colors are the answer.
- Top: Red
- Bottom: Light Pink
- Left: Green
- Right: Yellow
Input those four colors on the chest pedestal in their matching directions. The chest opens and gives you a knife, which is the only cutting tool in the map.
Power stone, elevator, and the 4F pillar symbols
If the roof does not appear as an option in the elevator, the hatch on 5F is still closed. Open it first, then call the elevator again.
Roof bell order and the exit bridge
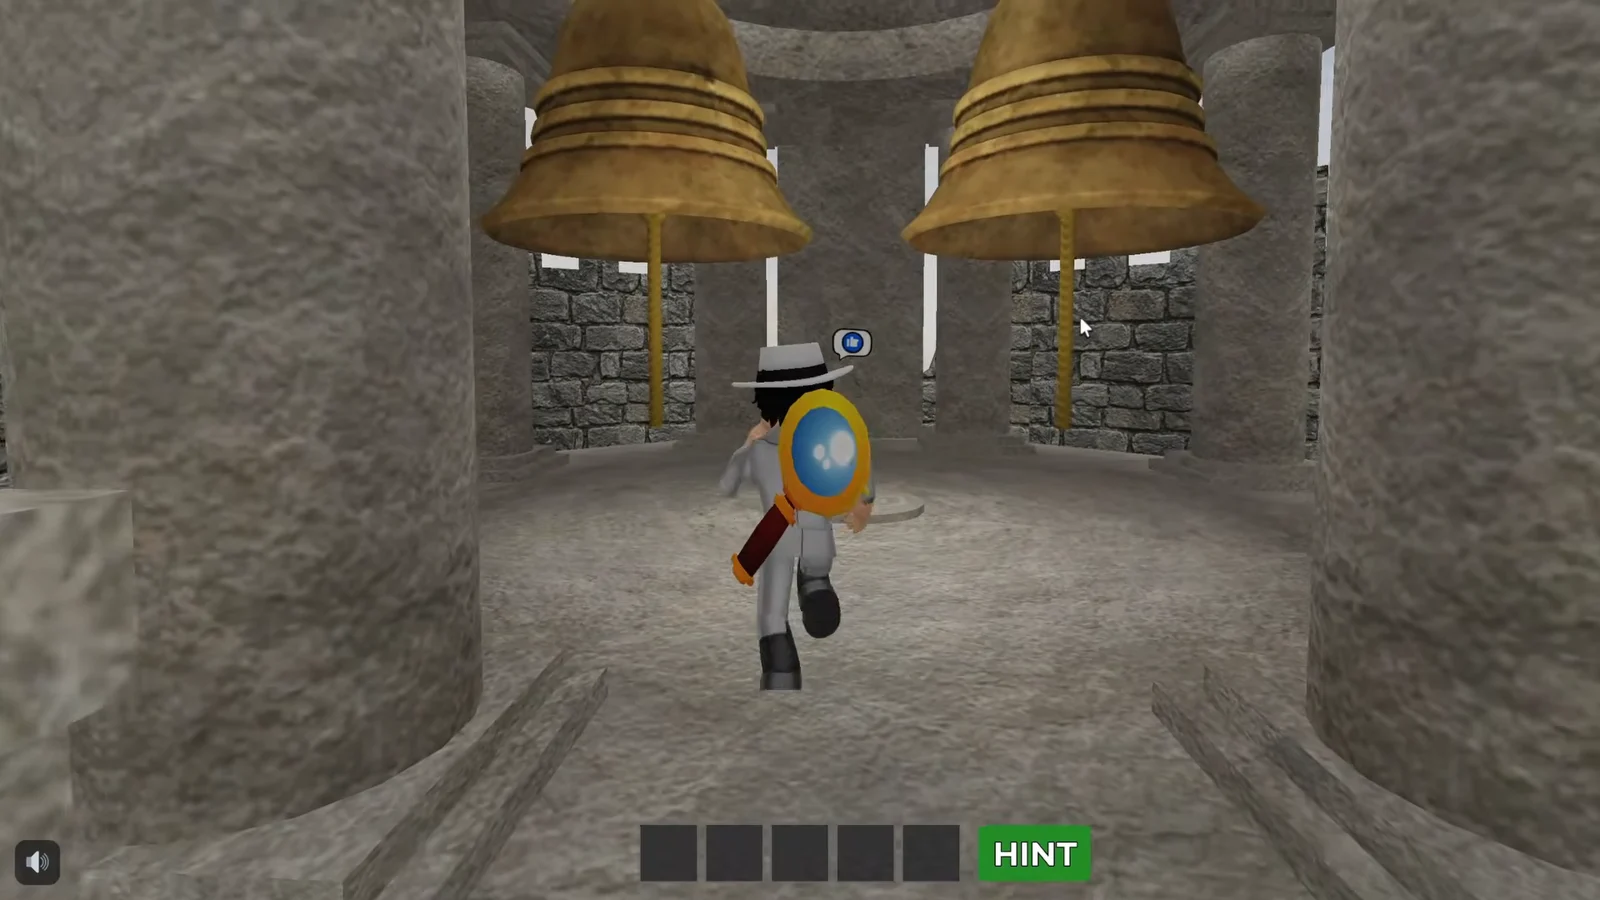
The roof clue reads 5 → 1, which tells you to read the floors in descending order. Ride the elevator back down and watch the wall beside each floor’s roman numeral, where a bell indicator shows how many times to ring and on which side.
| Order (5 → 1) | Rings | Side |
|---|---|---|
| First | 1 | Left |
| Second | 2 | Right |
| Third | 1 | Left |
| Fourth | 2 | Left |
| Fifth | 1 | Right |
Return to the roof and pull the ropes in exactly that order, which comes to seven pulls in total. Count each pull out loud if you are rushing, since a double pull on the left rope is easy to miss.
How to confirm the Ancient Tower is cleared
You get two clear confirmations along the way. The pedestal on 1F prints “The way to the 3F is open” when KEEP is accepted, and the roof bells produce a bridge that forms in front of you once the full sequence is correct.
If no bridge appears after the last rope pull, the sequence was wrong somewhere. Ride the elevator down again, re-read the indicators from floor 5 to floor 1, and repeat the pulls. Hints are also available in-game if a clue refuses to line up.
Once the bridge is there, walk across it. That ends the run and you are out of the Ancient Tower.
How the tower compares to the castle’s other maps
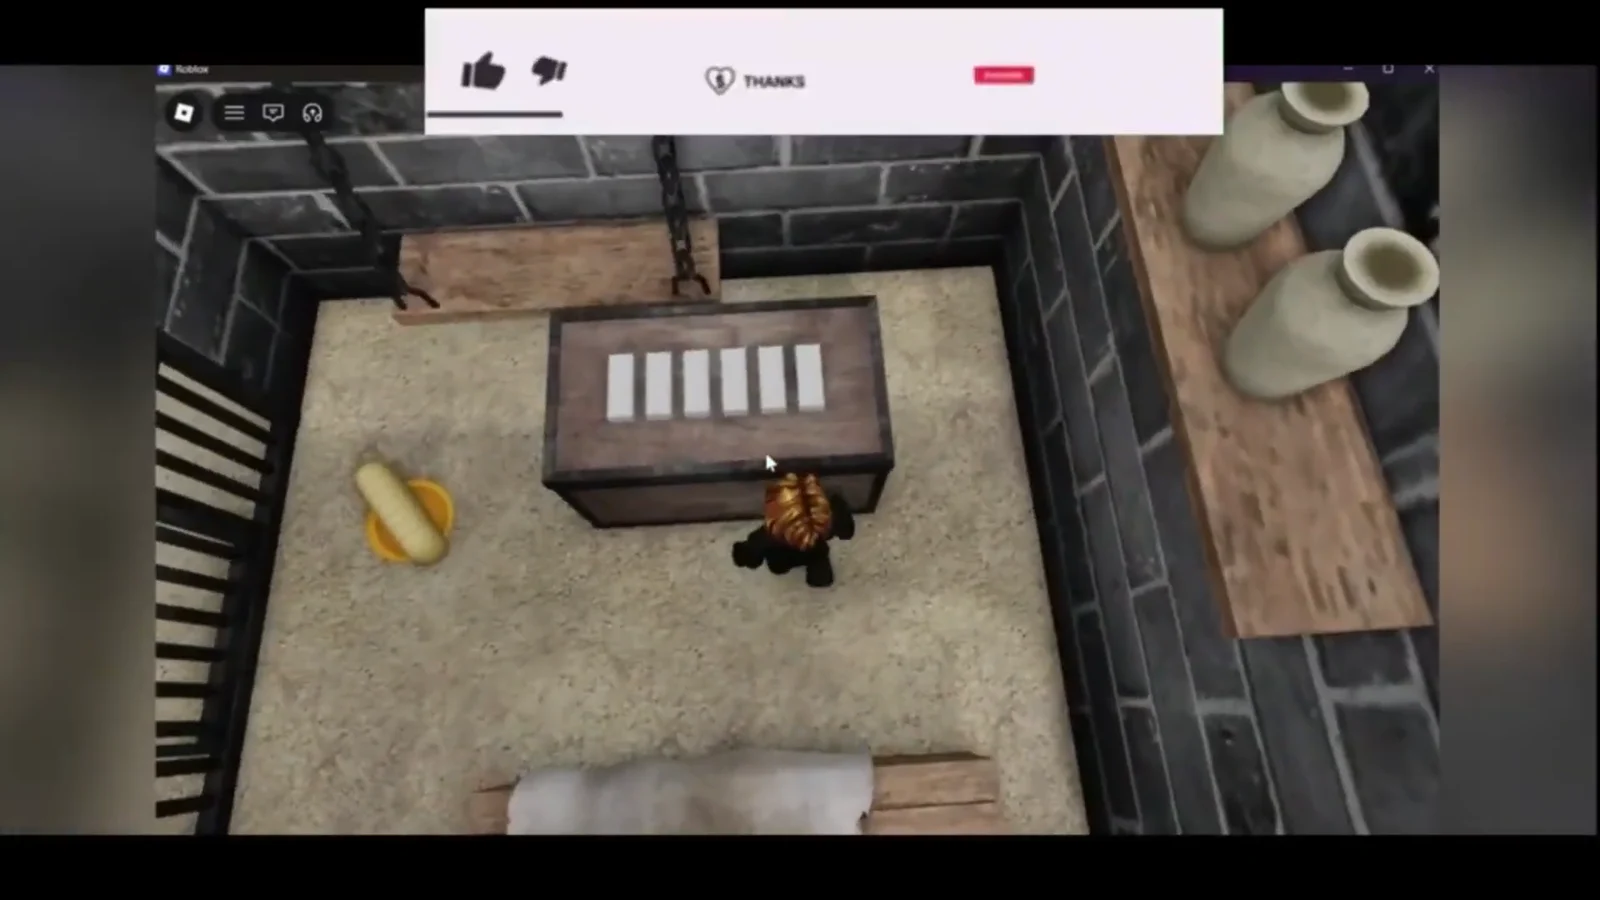
The Dungeon follows the same tool-first logic. You find a pickaxe, break the cracked masonry, and open a chest with five vertical bars by matching the lit candle clue, which hands over the key to your cell door.
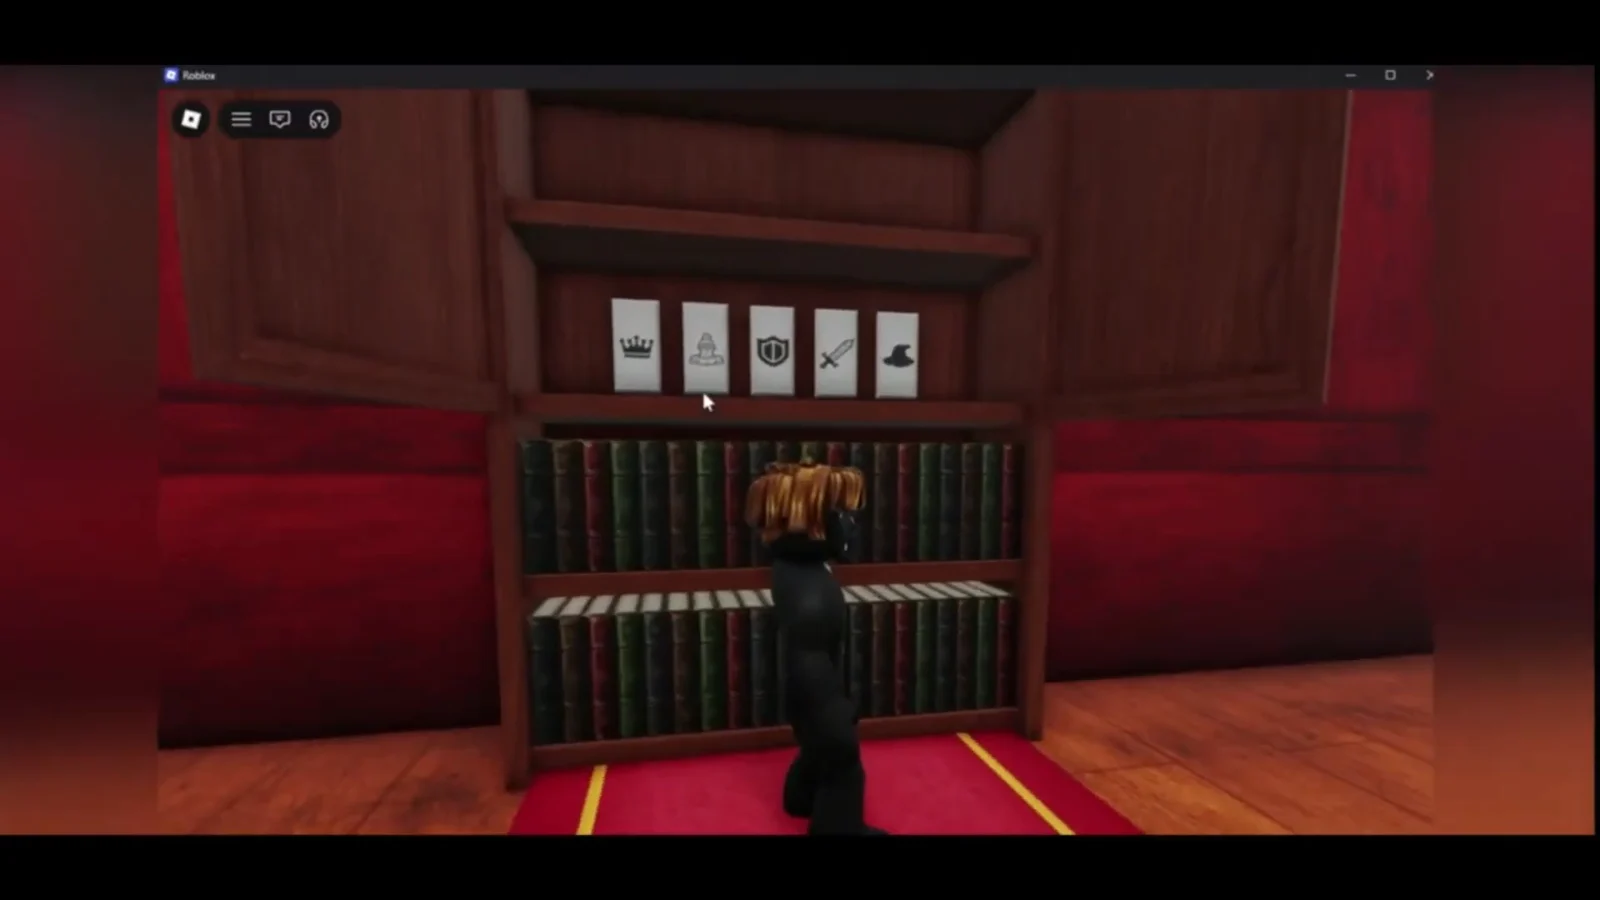
The Library swaps items for measurements. Five symbol panels, marked with a crown, tower, shield, sword, and wizard hat, are set to the heights 7, 2, 4, 3, and 1 based on where those symbols appear on the shelves, and the bookshelf slides open.
The Royal Kitchen is the outlier, since its basement runs on two sliding barrel puzzles where green, yellow, red, and blue barrels have to be pushed onto matching floor tiles.
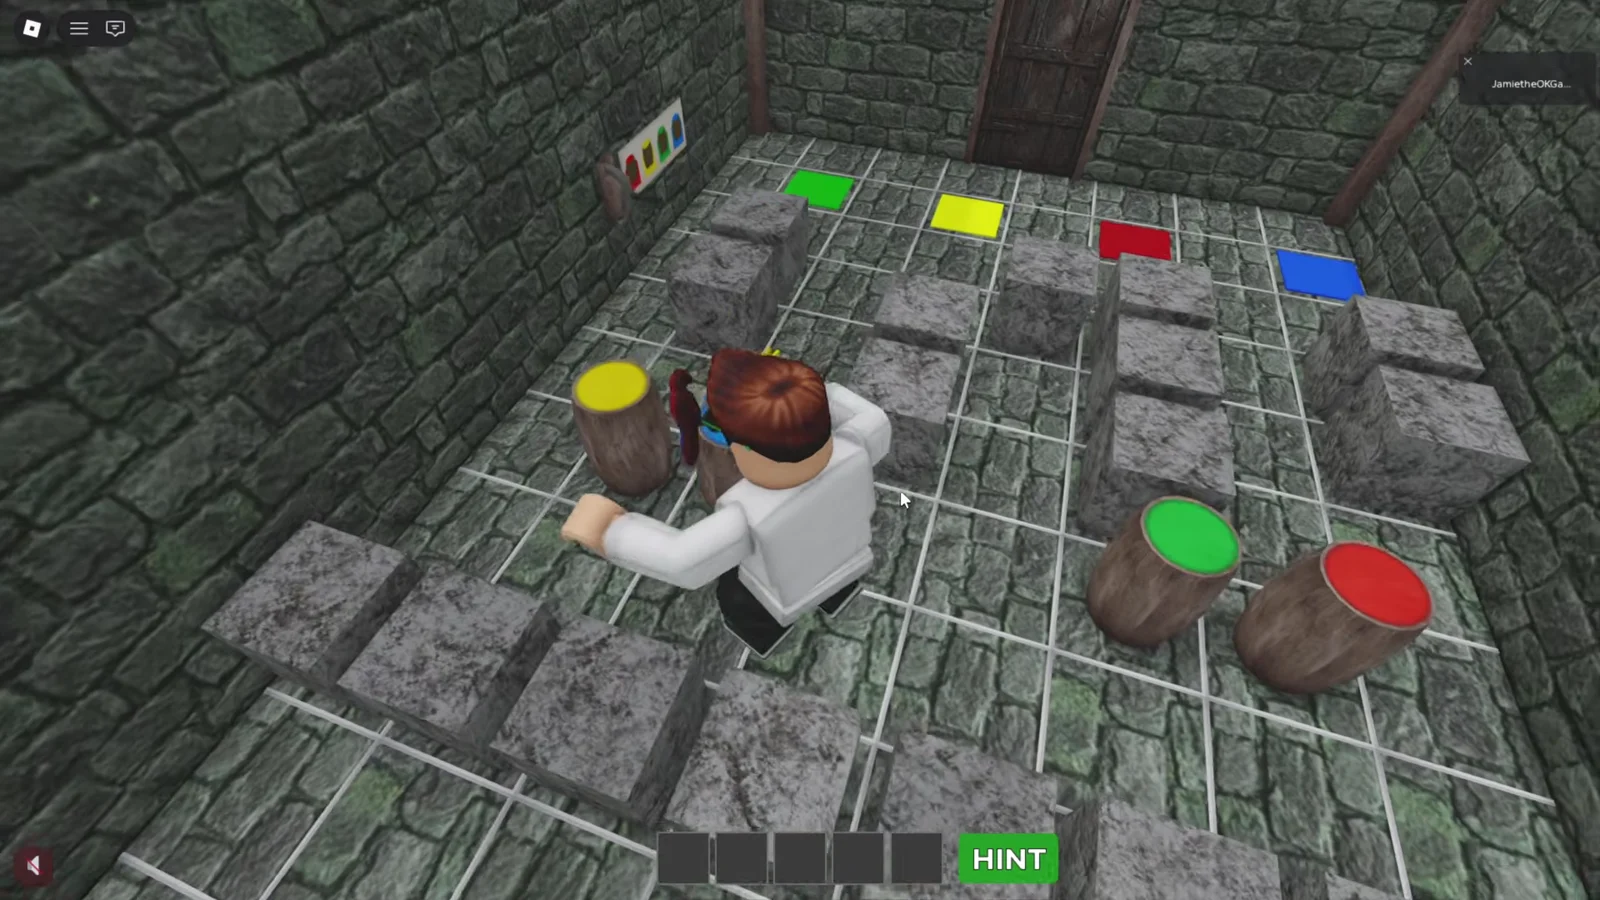
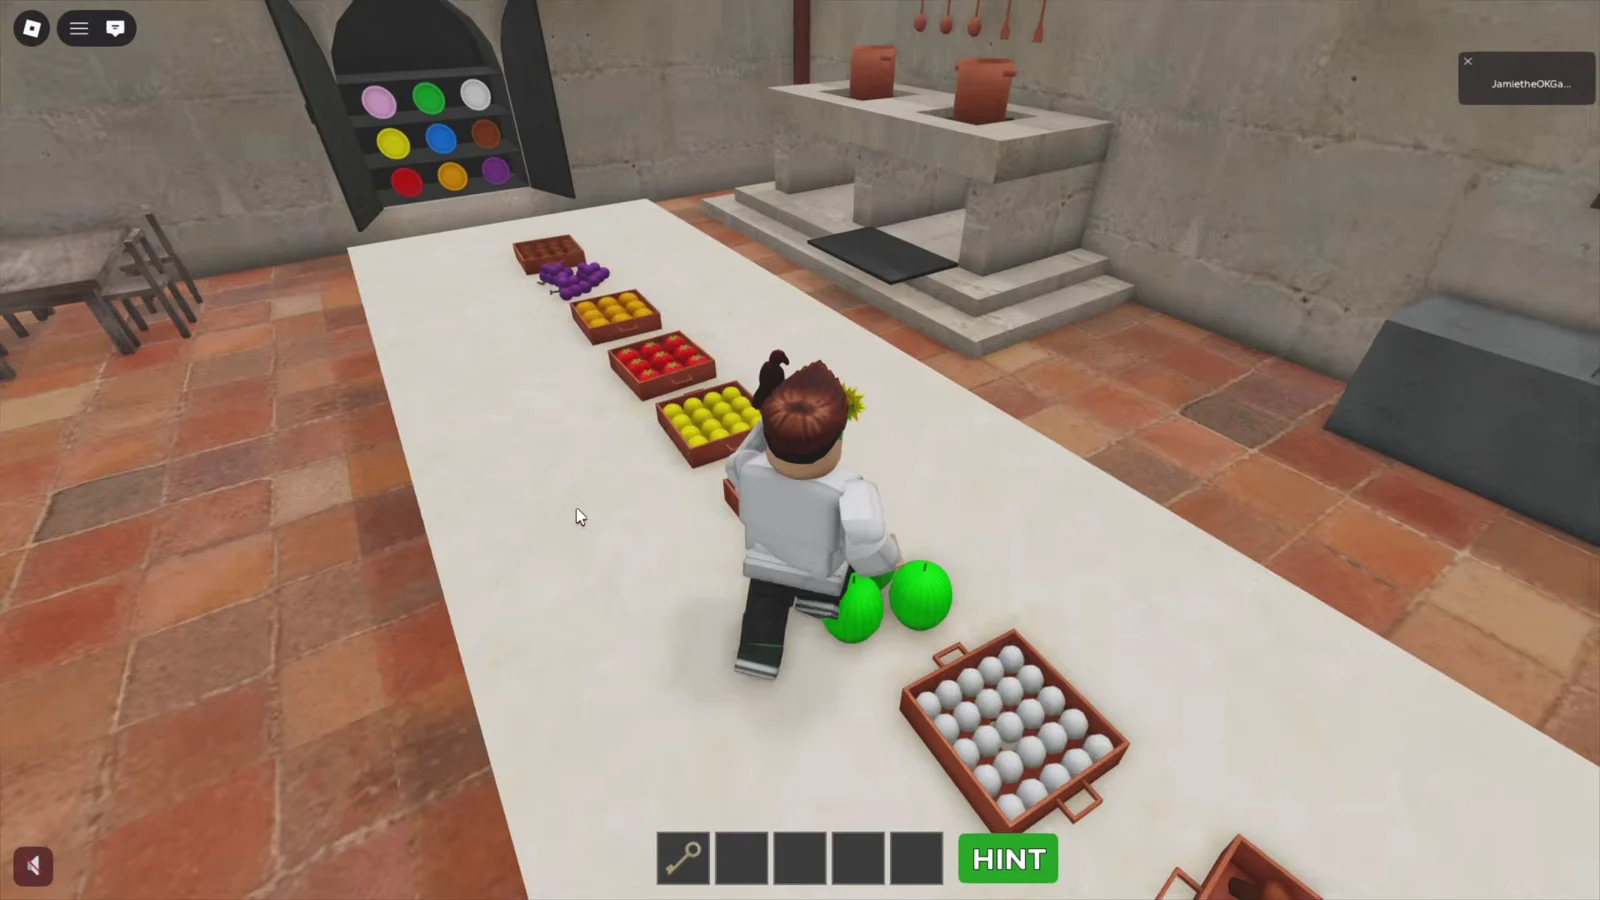
Clearing those barrels leads to the CLOVE letter lock and a gold key, which opens the dining room upstairs and sets up the fireplace dials that finish the map.
Across all of them, the pattern holds. Find the clue object, read it in the order the room tells you to, and carry the item it produces to the next lock.